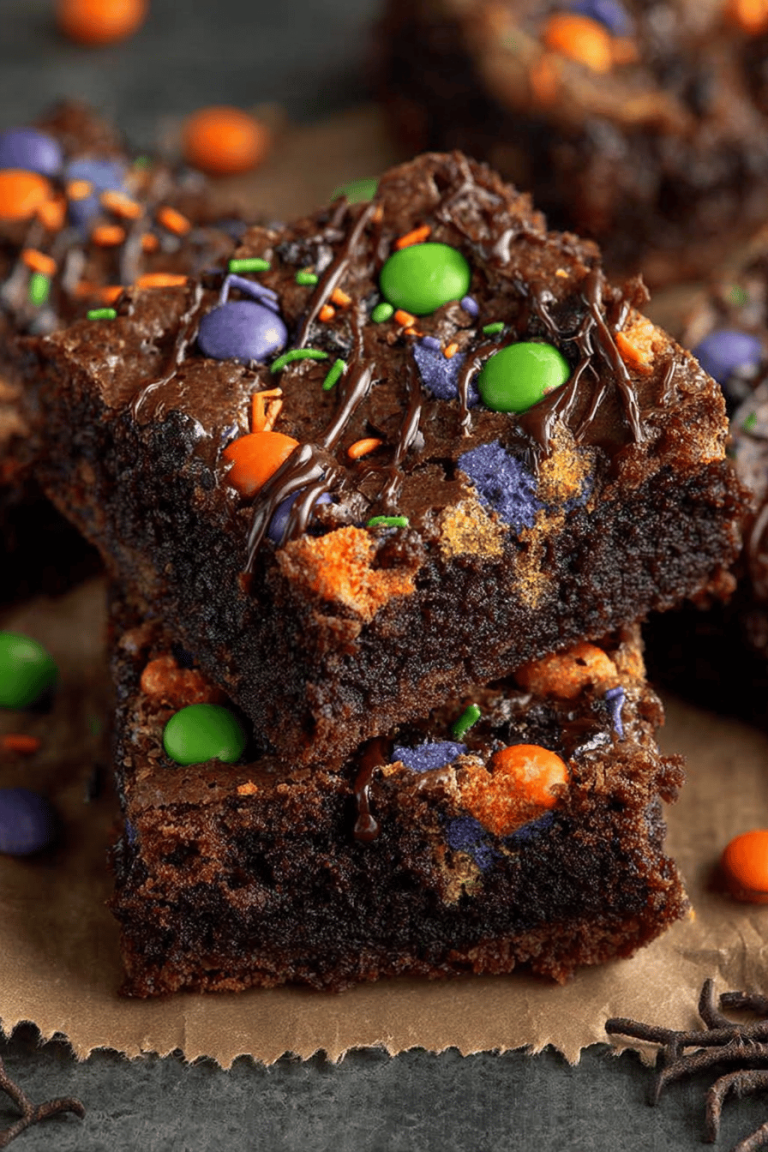
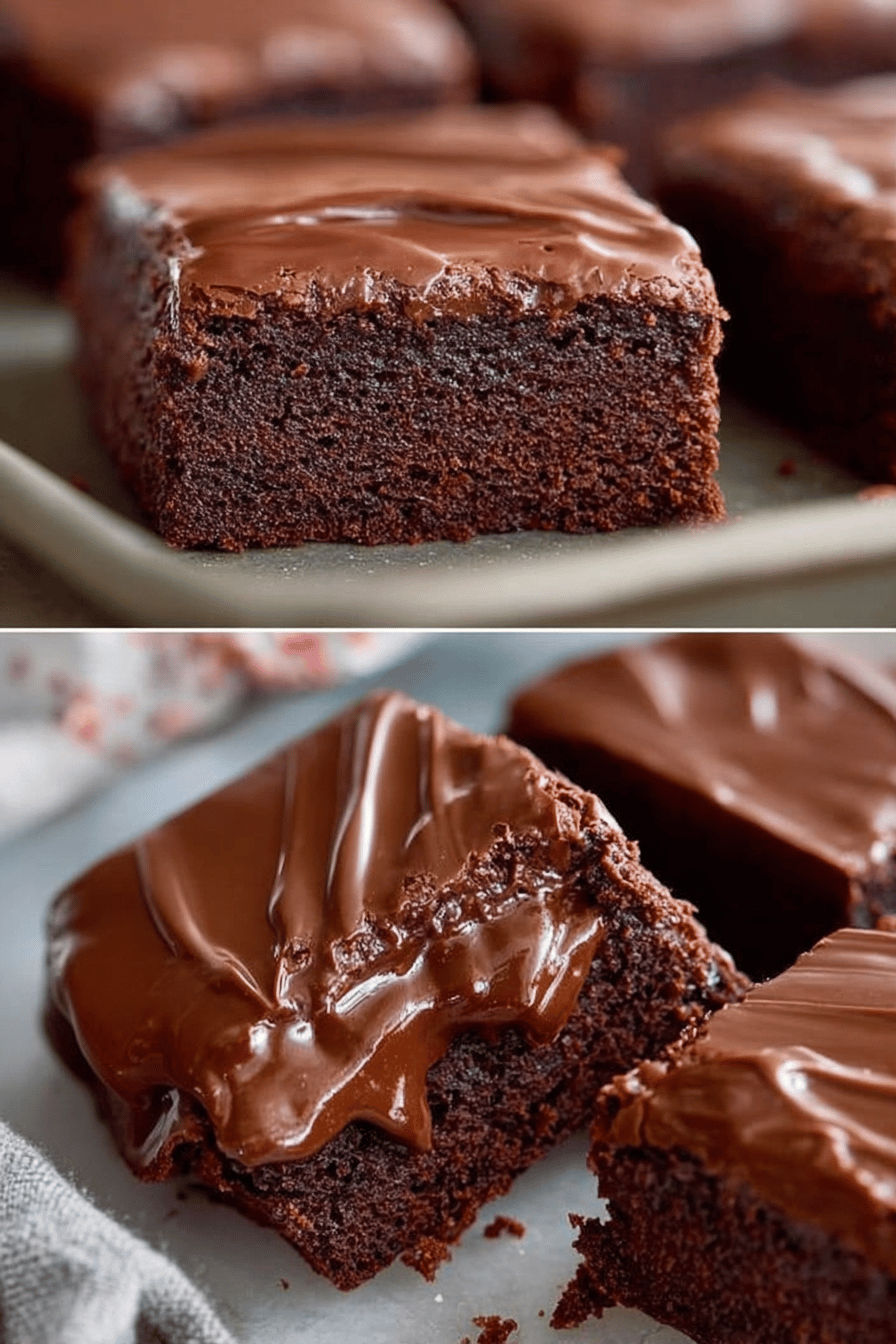
Easy Fudge Iced Brownies Recipe
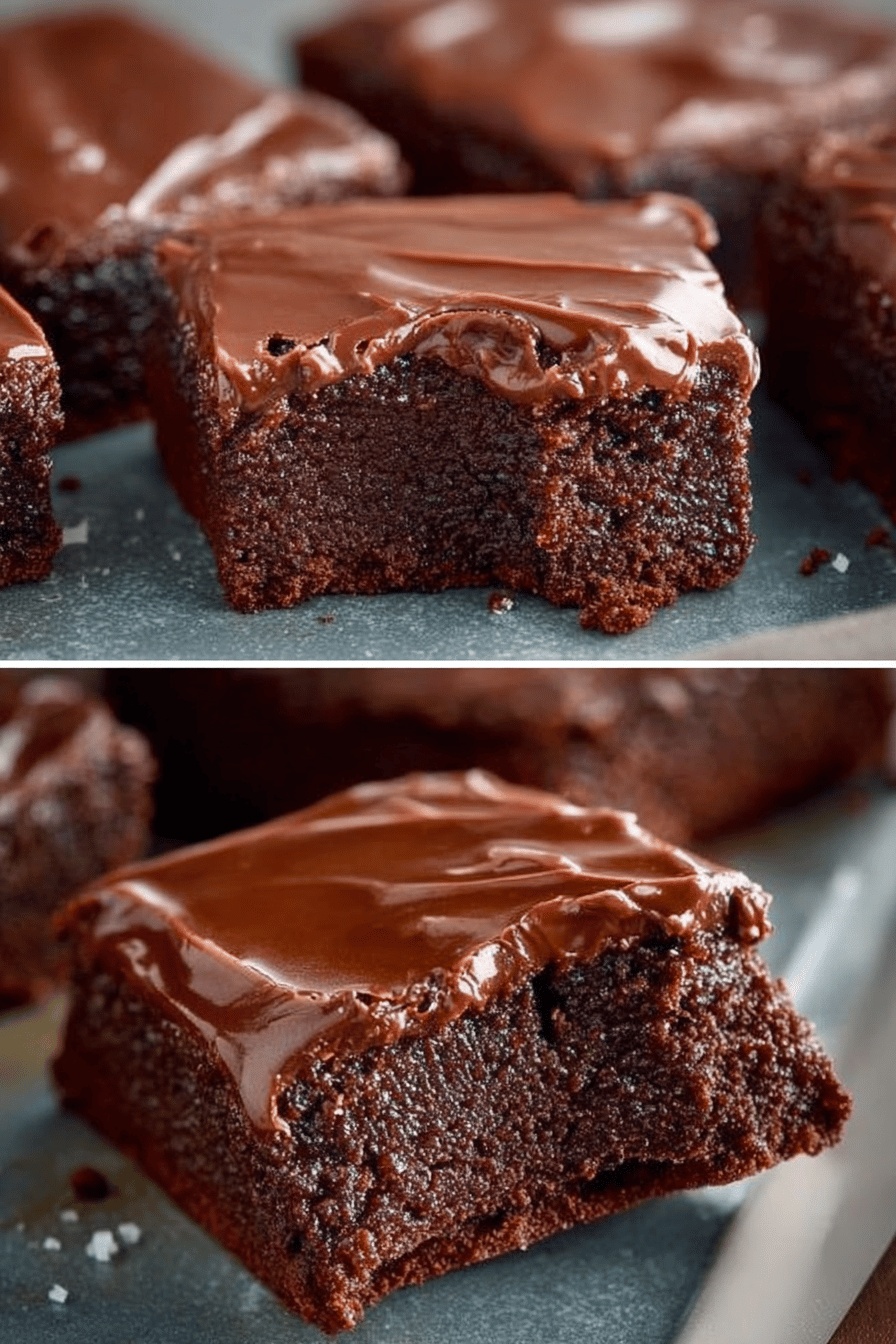
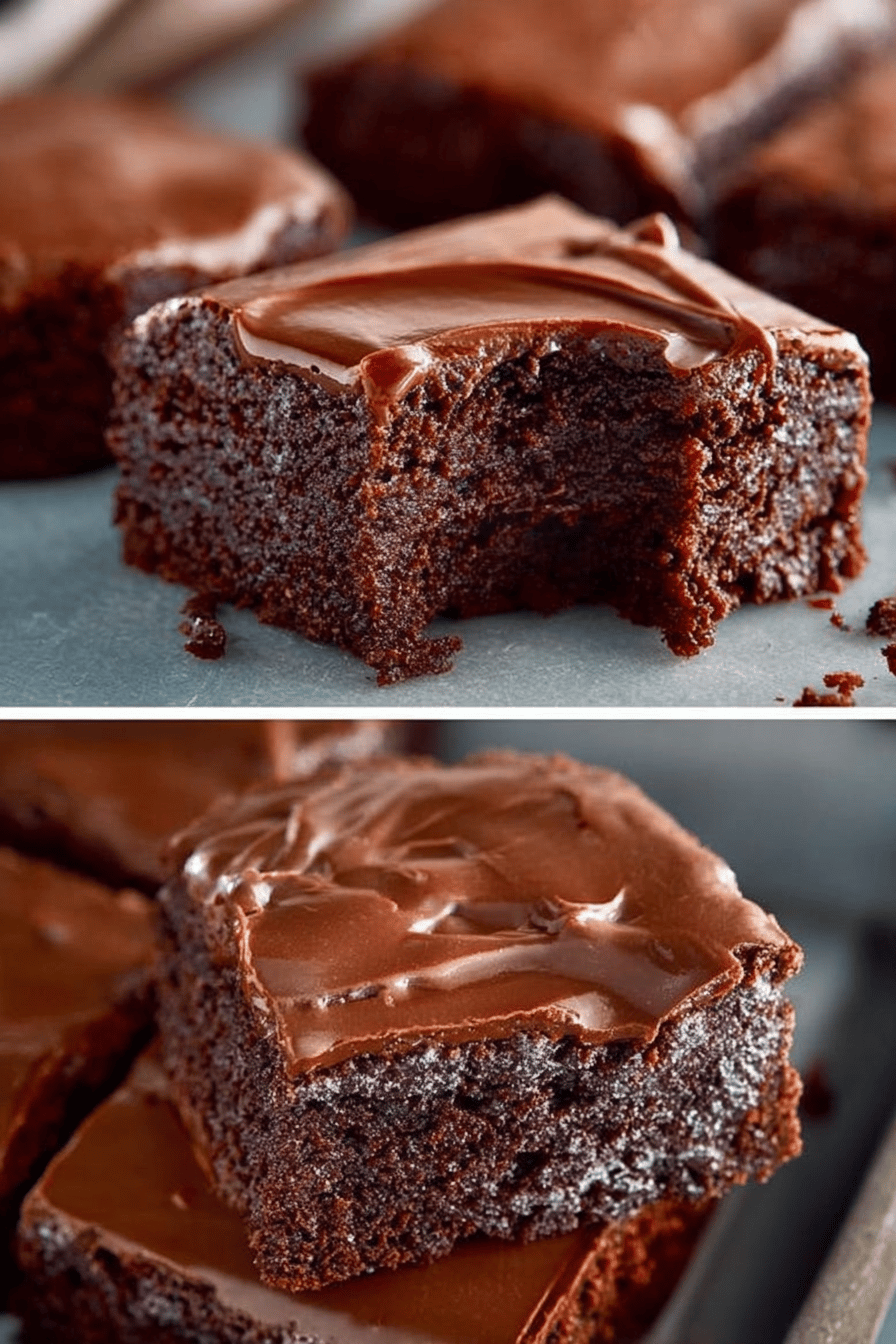
These Easy Fudge Iced Brownies Recipe are not just any brownies – they’re the kind that disappear in a flash. Seriously, I’m lucky if I get one before my family devours the whole pan. They’re ridiculously fudgy, intensely chocolatey, and that icing? Oh man, it’s the stuff dreams are made of. And the best part? They’re SO easy to make. Like, even I can’t mess them up (usually!). You absolutely HAVE to try them. They’ll become your new go-to, I promise.
My husband, bless his heart, claims he’s “not a dessert person.” Lies! He’ll inhale half the pan of these Easy Fudge Iced Brownies Recipe before I can even yell, “Hey, save some for the kids!” One time, I made a double batch for a bake sale at my daughter’s school, and we may or may not have “sampled” so much that we barely had enough to donate. Oops! Now, whenever I make them, I have to hide a few in the back of the fridge just for myself. It’s a jungle out there!
Why You’ll Love This Easy Fudge Iced Brownies Recipe
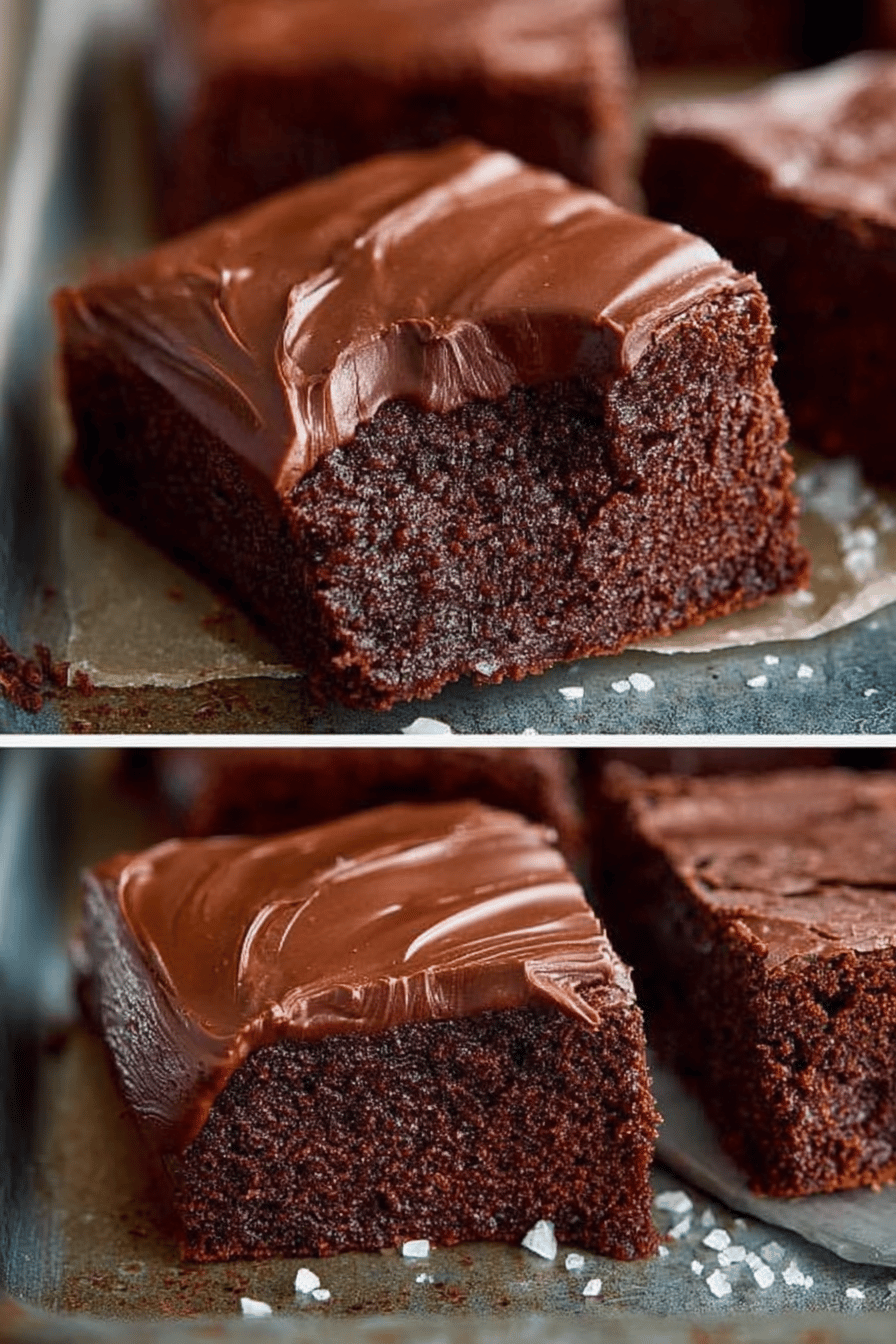
- They’re fudgy. Like, REALLY fudgy. None of that cakey nonsense here.
- The icing is crack. Okay, maybe not crack, but seriously addictive. It’s the perfect balance of sweet and chocolatey.
- They’re easy to make. Seriously, if you can melt butter, you can make these.
- They make you look like a rockstar baker, even if your skills are…questionable.
- They’re perfect for any occasion: birthdays, potlucks, or just a Tuesday when you need a serious chocolate fix.
How to Make It
Alright, let’s do this! First, preheat your oven to 350°F (175°C). Grab a 9×13 inch pan and grease that baby up! You don’t want these sticking!
Now, in a big bowl – I always use my biggest because, well, messes happen – melt your butter and chocolate together. I usually do it in the microwave in like 30-second bursts, stirring in between. Be careful not to burn the chocolate, nobody wants that!
Once it’s all melty and smooth, stir in your sugar. Then add your eggs one at a time, mixing well after each one. Don’t overmix, though, or you’ll end up with tough brownies, and nobody wants that either!
MORE OF OUR FAVORITE…
Now, gently fold in your flour, cocoa powder, and salt. Just mix until everything is combined. Don’t worry about getting every little lump out – a few are fine. Pour that batter into your prepared pan and spread it evenly.
Bake for 25-30 minutes. You’ll know they’re done when a toothpick inserted into the center comes out with moist crumbs attached. Let them cool completely before icing.
For the icing, melt your butter and chocolate together again. Once it’s smooth, stir in your powdered sugar, milk, and vanilla extract. Beat until it’s all creamy and dreamy. Spread it over your cooled brownies and try not to eat it all before it sets! Cut into squares and enjoy!
Ingredient Notes
- Unsalted Butter: Listen, salted butter works in a pinch, but unsalted gives you more control over the saltiness. Plus, sometimes I just forget to buy unsalted and use salted anyway. It’s fine.
- Semi-Sweet Chocolate Chips: I usually use semi-sweet, but dark chocolate is also amazing if you’re feeling fancy. Milk chocolate? Eh, I wouldn’t, but you do you.
- Granulated Sugar: Don’t skimp! This is what makes them sweet and delicious. I once tried to use honey to be “healthy” and they were…not good.
- Eggs: Gotta have ’em! They bind everything together. Make sure they’re room temperature for the best results. Cold eggs can mess with the batter.
- All-Purpose Flour: I haven’t tried this with gluten-free flour, so I can’t vouch for it. If you do, let me know how it turns out!
- Cocoa Powder: Unsweetened cocoa powder gives them that intense chocolate flavor. Don’t use hot chocolate mix, trust me on this one.
- Powdered Sugar: This is what makes the icing smooth and creamy. Don’t use granulated sugar, it’ll be gritty and weird.
- Milk: Any kind of milk works here. I usually use whatever I have on hand – whole, 2%, even almond milk in a pinch.
- Vanilla Extract: Don’t skip this! It adds so much flavor. Imitation vanilla? Sure, if that’s all you have. But real vanilla is always better.
Recipe Steps:
- Preheat oven to 350°F (175°C) and grease a 9×13 inch baking pan.
- Melt butter and chocolate in a large bowl until smooth.
- Stir in granulated sugar, then add eggs one at a time, mixing well after each.
- Gently fold in flour, cocoa powder, and salt until just combined.
- Pour batter into the prepared pan and spread evenly.
- Bake for 25-30 minutes, or until a toothpick inserted comes out with moist crumbs.
- Let cool completely before icing.
- For the icing, melt butter and chocolate until smooth.
- Stir in powdered sugar, milk, and vanilla extract; beat until creamy.
- Spread icing over cooled brownies, cut into squares, and serve.
What to Serve It With
Okay, so obviously these are amazing on their own. But if you’re feeling extra, try serving them with:
- A scoop of vanilla ice cream. Classic for a reason!
- A drizzle of caramel sauce. Oh my god, so good.
- A sprinkle of sea salt. Trust me on this one, it brings out the chocolate flavor.
- A big glass of cold milk. Duh!
Tips & Mistakes
- Don’t overbake! This is the key to fudgy brownies. They should be slightly underbaked in the center.
- Let them cool completely before icing. Otherwise, the icing will melt and slide right off. Messy!
- Use good quality chocolate. It makes a difference!
- Don’t overmix the batter. Overmixing will develop the gluten and make your brownies tough.
- If you burn the chocolate, don’t panic! Just scrape off the burnt part and start over. We all make mistakes!
Storage Tips
Okay, so if you actually have any leftovers (which I highly doubt), you can store them in an airtight container at room temperature for up to 3 days. Or, you can put them in the fridge for up to a week. I actually like them cold straight from the fridge. Sometimes I even eat them for breakfast. Don’t judge me! You can also freeze them for up to 3 months. Just wrap them individually in plastic wrap and then put them in a freezer bag.
Variations and Substitutions
- Nuts: Add chopped walnuts, pecans, or almonds to the batter for some crunch. I usually skip this because my husband is allergic (lame!).
- Chocolate chips: Throw in some extra chocolate chips – milk, dark, white – whatever your heart desires!
- Espresso powder: Add a teaspoon of espresso powder to the batter to enhance the chocolate flavor. I’ve done this when I needed a caffeine boost.
- Peanut butter: Swirl peanut butter into the batter for a chocolate-peanut butter explosion.
- Sprinkles: Add sprinkles to the icing for a festive touch. My kids love this!
- Coconut oil: You can use coconut oil instead of butter if you’re dairy-free. They’ll have a slight coconut flavor, but it’s actually really good. I tried it once when I was out of butter and was pleasantly surprised.
- Brown sugar: I’ve used brown sugar instead of white sugar in a pinch. It makes them a little chewier and adds a caramel-y flavour.
Frequently Asked Questions
Easy Fudge Iced Brownies Recipe
Ingredients
Main Ingredients
- 1 cup butter melted
- 2 cups granulated sugar
- 4 large eggs room temperature
- 1 cup unsweetened cocoa powder sifted
- 1 teaspoon vanilla extract
- 1 cup all-purpose flour
- 0.5 teaspoon baking powder
- 0.5 teaspoon salt
Fudge Icing
- 0.5 cup butter softened
- 0.25 cup unsweetened cocoa powder sifted
- 2 cups powdered sugar sifted
- 0.25 cup milk as needed for consistency
- 1 teaspoon vanilla extract
Instructions
Preparation Steps
- Preheat the oven to 350°F (175°C). Grease a 9x13 inch baking pan.
- In a large bowl, combine melted butter, sugar, and vanilla extract. Stir in the eggs, one at a time, until well combined.
- In another bowl, whisk together cocoa powder, flour, baking powder, and salt.
- Gradually add the dry ingredients to the wet ingredients, mixing until just combined.
- Pour the batter into the prepared baking pan and spread evenly.
- Bake in the preheated oven for 25 to 30 minutes, or until a toothpick inserted into the center comes out mostly clean.
- For the icing, cream butter and cocoa powder together. Gradually add sifted powdered sugar and milk, beating until smooth. Stir in vanilla extract.
- Once the brownies have cooled, spread the fudge icing evenly on top.
Notes
Nutrition
Featured Comments
“Made this last night and it was absolutely loved. Loved how the fresh catch came together.”
“Made this last night and it was absolutely loved. Loved how the grilled came together.”
“This celebratory recipe was absolutely loved — the creamy really stands out. Thanks!”
“Impressed! Clear steps and will make again results. Perfect for busy nights.”
“Made this last night and it was absolutely loved. Loved how the bold came together.”
“This vibrant recipe was so flavorful — the juicy really stands out. Thanks!”
“New favorite here — absolutely loved. quick was spot on.”
“Made this last night and it was so flavorful. Loved how the fluffy came together.”
“This warming recipe was family favorite — the juicy patty really stands out. Thanks!”
“Super easy and will make again! My family asked for seconds. Saving this one.”