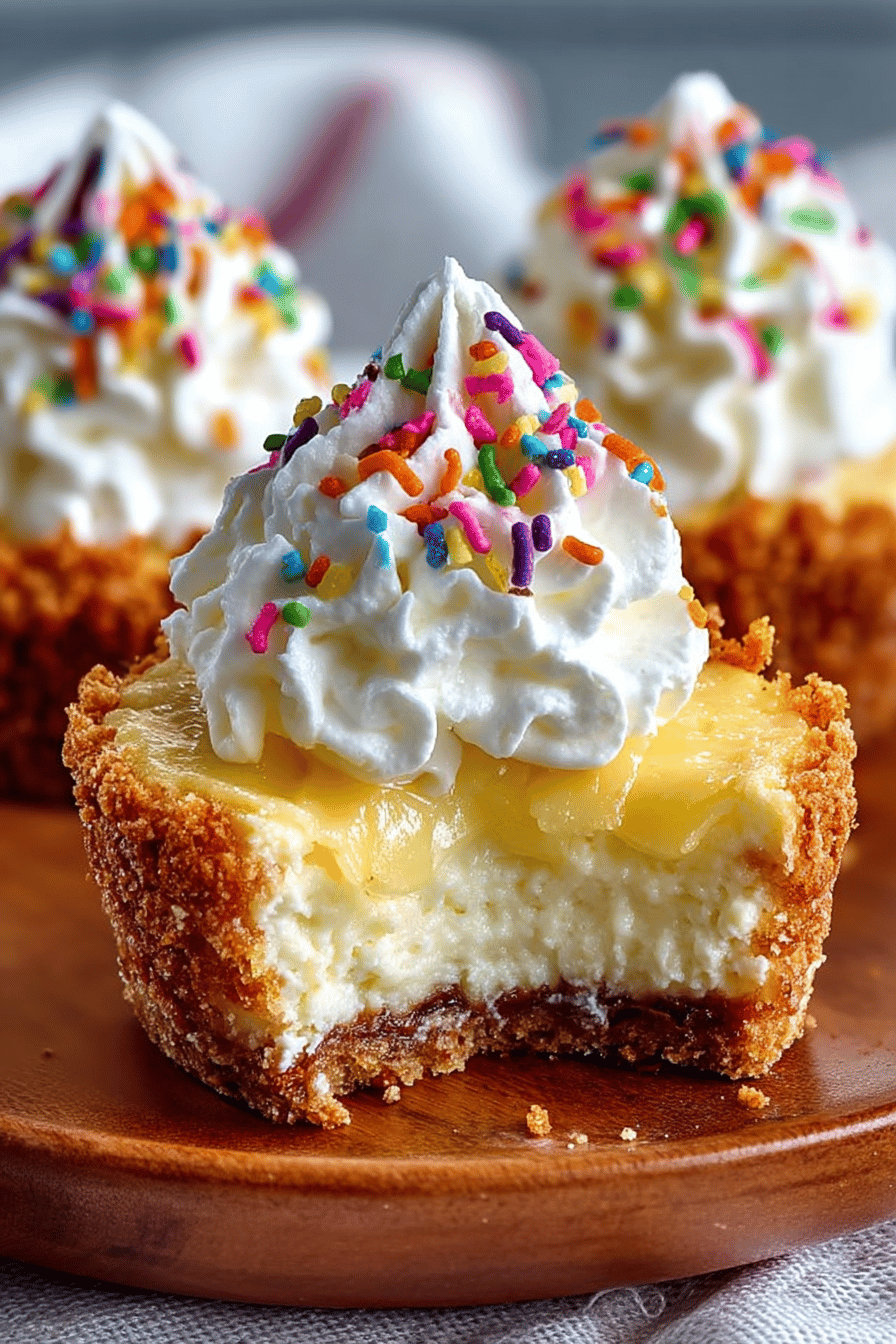
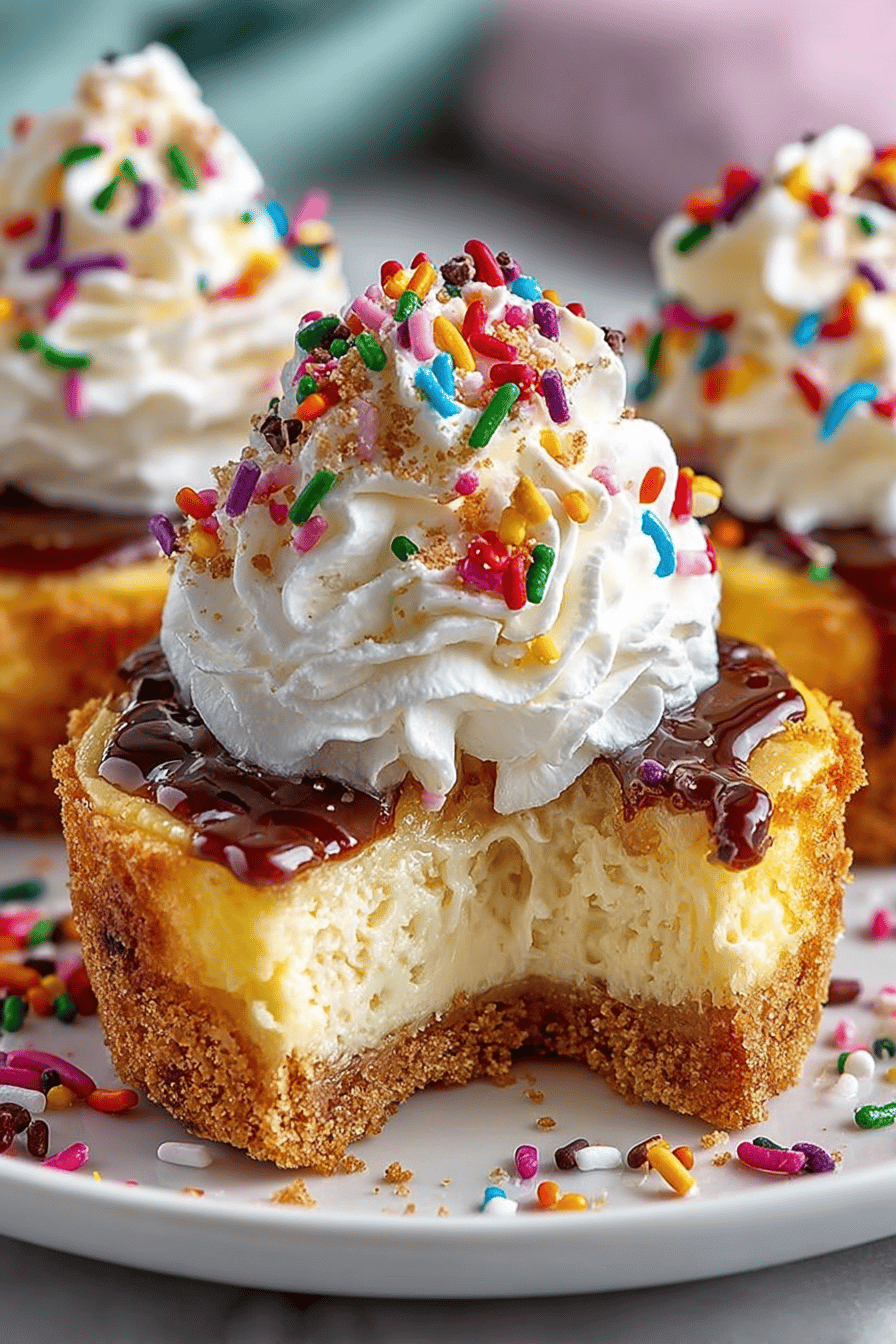
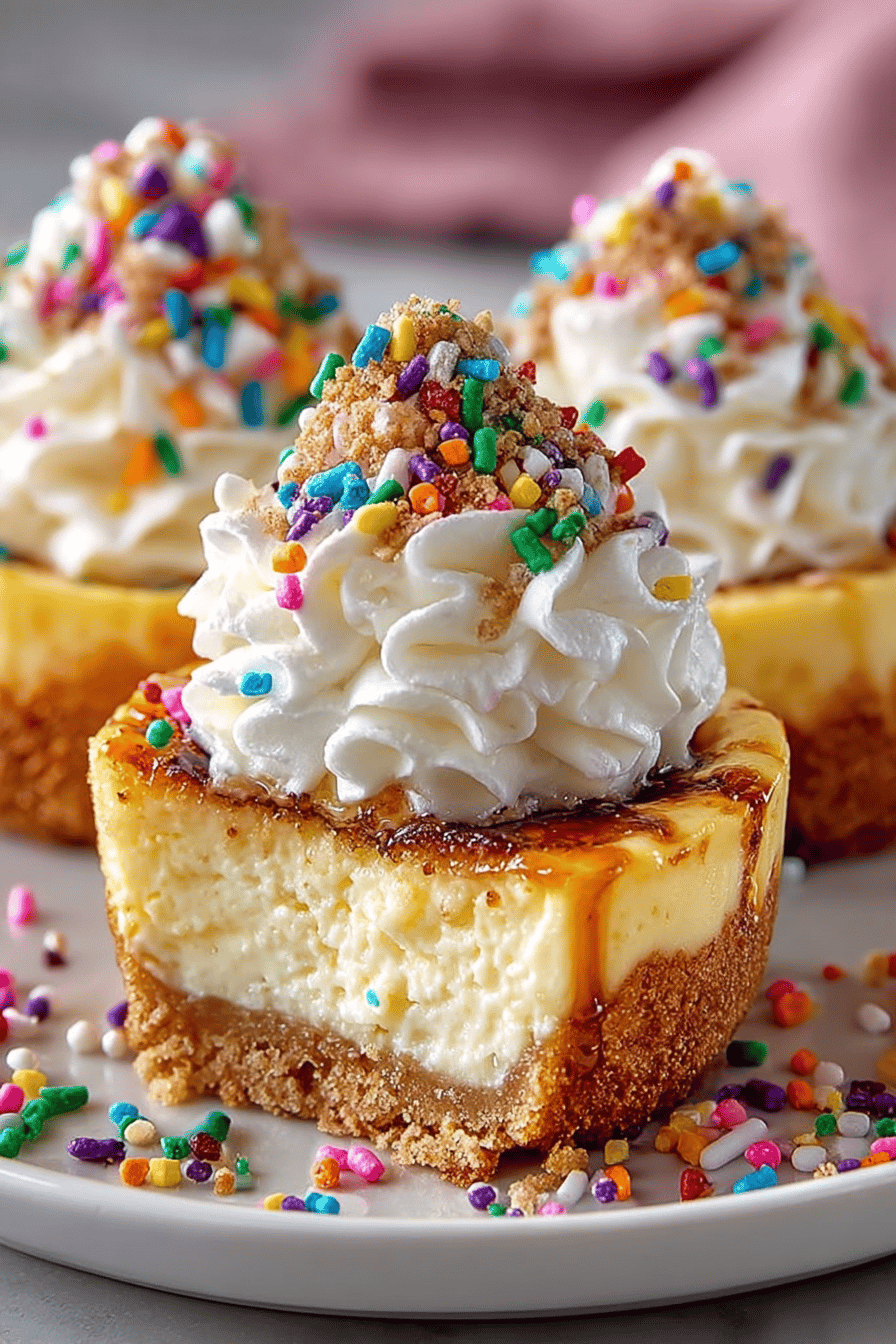
Easy Cheesecake Cupcakes Recipe
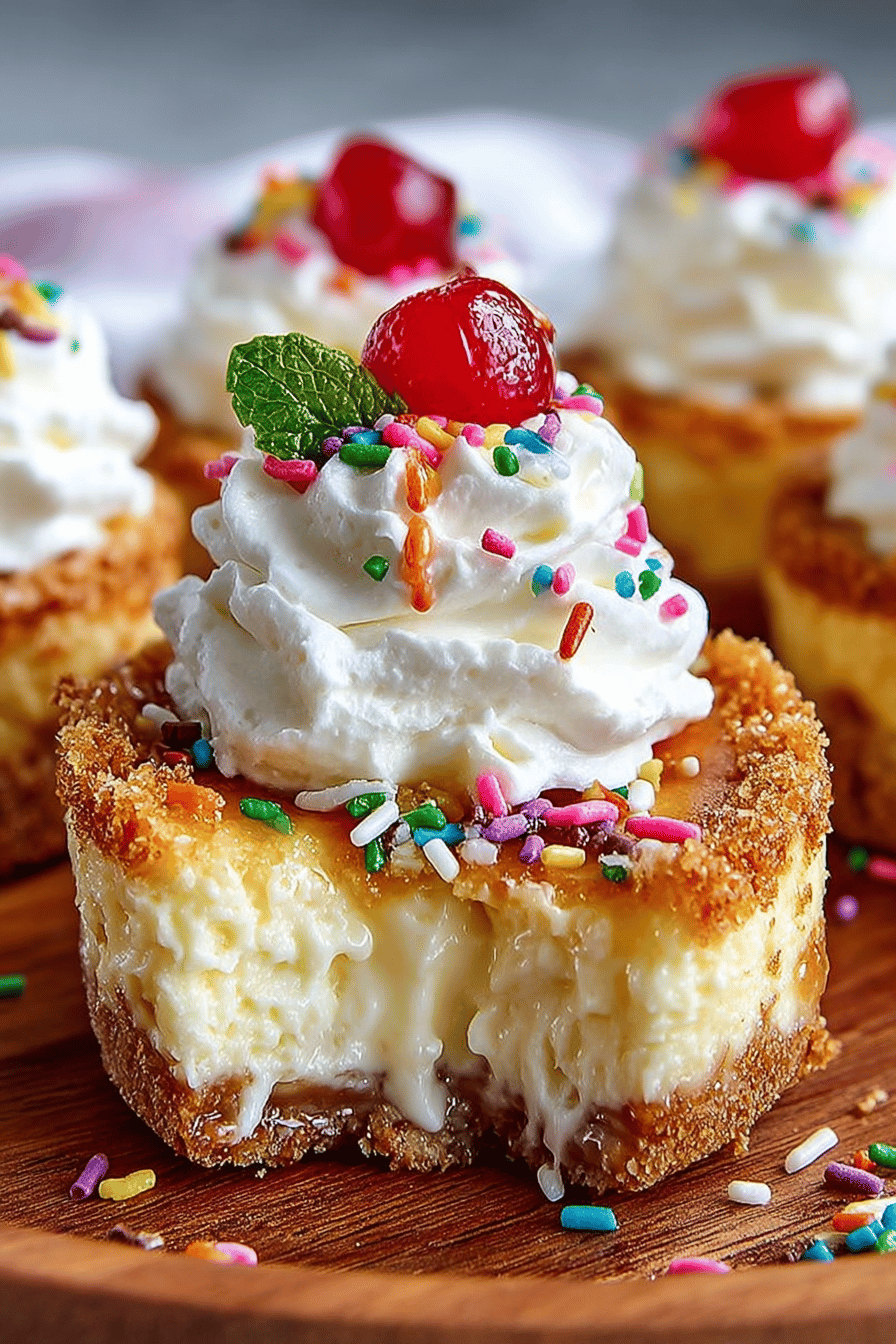
Okay, folks, buckle up because we’re about to dive headfirst into a dessert that’s ridiculously easy and tastes like a little slice of heaven. I’m talking about Easy Cheesecake Cupcakes Recipe! These aren’t your fussy, gotta-get-everything-perfect cheesecakes. Nah, these are the kind you whip up on a whim, when that cheesecake craving hits hard, and you need a fix, FAST. They’re creamy, dreamy, and perfectly portioned. What’s not to love?
So, picture this: it’s a Tuesday night, the kids are finally asleep (hallelujah!), and my husband, bless his heart, is channel-surfing. I casually mention I’m thinking of baking something. Next thing I know, he’s giving me the puppy-dog eyes and whispering, “Those little cheesecakes? Pleeeeease?” He knows the way to my heart, and I know the way to his… with cheesecake. These little guys have become a staple. Seriously, I think we’ve eaten enough to qualify as honorary cheesecakes ourselves. One time, I tried to get fancy and add a raspberry swirl. Total disaster. He looked at me like I’d betrayed him! Now, I stick to the original, and everyone’s happy.
Why You’ll Love This Easy Cheesecake Cupcakes Recipe
- They’re so easy, a toddler could almost make them. (Okay, maybe not, but close!)
- You probably already have most of the ingredients in your fridge. (Always a win!)
- They’re the perfect size for sneaking an extra one. (Don’t judge me!)
- They taste like you spent hours slaving away when you actually spent, like, 20 minutes. (Shhh, don’t tell anyone.)
How to Make It
Alright, so here’s the lowdown. First, you gotta get that oven preheating – don’t forget or you’ll be standing around like a dummy waiting. Then, it’s all about mixing the cream cheese, sugar, and vanilla together until it’s smooth as a baby’s… well, you know. Make sure your cream cheese is SOFT. I cannot stress this enough. If it’s cold, you’ll end up with lumpy cheesecake, and nobody wants that. Beat in the egg – just one, don’t get too ambitious – and pour this glorious mixture into cupcake liners. I usually use paper ones because I hate scrubbing muffin tins, but you do you. Pop ’em in the oven, and try not to peek too much while they’re baking. Let them cool completely (if you can wait that long!), then chill them in the fridge. Boom! Cheesecake cupcakes.
Ingredient Notes
- Cream Cheese: Gotta be full-fat, baby! Don’t even THINK about using the low-fat stuff. Trust me, it’s not the same. And for the love of all that is holy, make sure it’s softened. I usually leave mine out on the counter for, like, an hour. Or microwave it for 30 seconds (but watch it closely, or you’ll have melted cheese goo).
- Sugar: Regular granulated sugar works just fine. I’ve tried brown sugar before, and it’s good, but it changes the flavor a bit. If you’re feeling adventurous, go for it! But for classic cheesecake taste, stick with the white stuff.
- Vanilla Extract: Don’t skimp on the vanilla! It makes a HUGE difference. I use the real stuff, not the imitation, because, well, I’m worth it.
- Egg: Just one little egg. It binds everything together. Make sure it’s not rotten! (Yes, I’ve done that before. Don’t ask.)
- Cupcake Liners: I swear by the paper ones. They’re easy, disposable, and save you from having to scrub a muffin tin. Plus, they come in cute colors!
MORE OF OUR FAVORITE…
Recipe Steps:
- Preheat your oven.
- Mix cream cheese, sugar, and vanilla until smooth.
- Beat in one egg.
- Pour mixture into cupcake liners.
- Bake until set.
- Cool completely.
- Chill in the fridge.
- Enjoy!
What to Serve It With
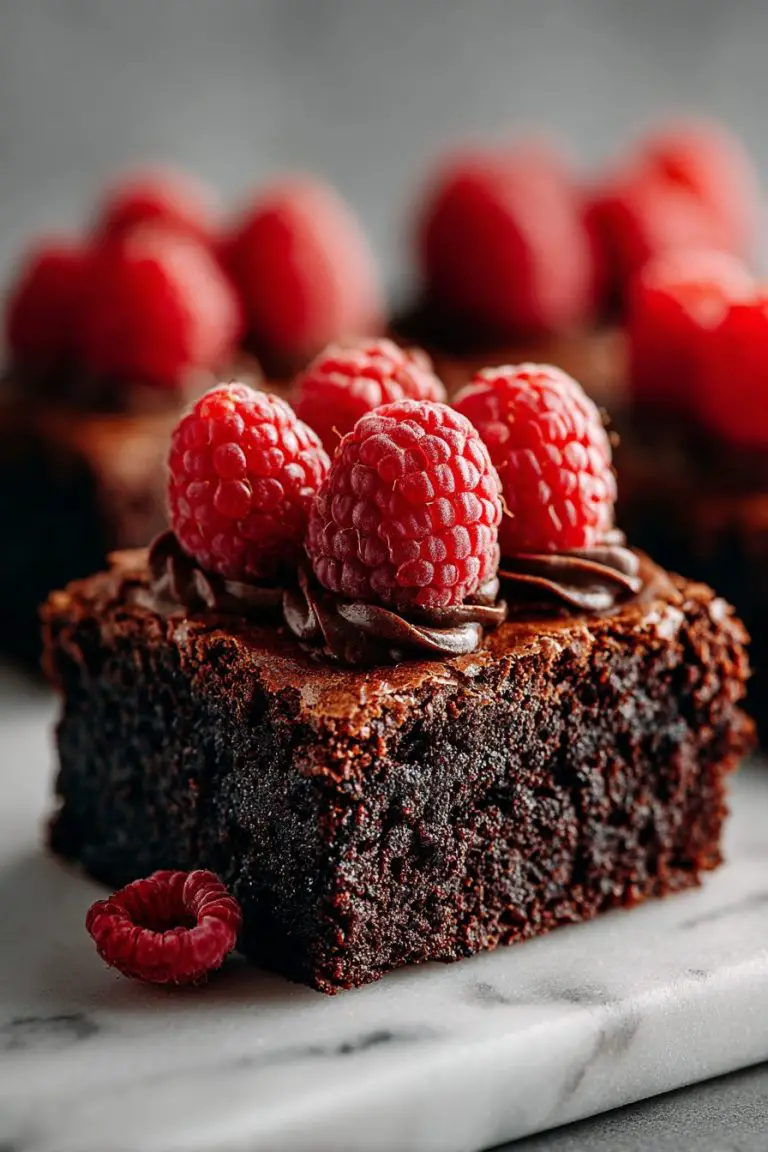
Okay, so these are pretty amazing on their own, but if you’re feeling fancy, you can top them with all sorts of goodies. Fresh berries are always a winner. Chocolate shavings? Yes, please! A dollop of whipped cream? Don’t mind if I do! Honestly, the possibilities are endless. Or just eat them straight up, like I usually do. No judgment here.
Tips & Mistakes
- Don’t overbake them! They should be just set in the center, with a slight jiggle. They’ll firm up as they cool.
- If your cream cheese is cold, you’ll end up with lumpy cheesecake. Nobody wants that.
- Don’t peek too much while they’re baking. It lets the heat out, and they might sink.
- Let them cool completely before chilling. Otherwise, they’ll be all sweaty and weird.
Storage Tips
These little guys will keep in the fridge for about 3-4 days. If they last that long, that is. I usually store them in an airtight container, so they don’t dry out. And yes, you can totally eat them cold, straight from the fridge. In fact, I highly recommend it. Especially for breakfast. Don’t tell anyone I said that.
Variations and Substitutions
Okay, so I’ve experimented with these a bit. Here’s what I’ve learned:
- Different Extracts: Almond extract is a nice twist, but don’t use too much, or it’ll taste like marzipan. (Unless you like marzipan, then go for it!)
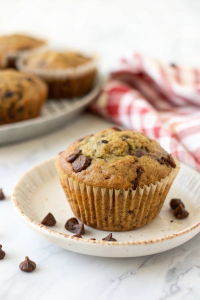
- Chocolate Chips: Mini chocolate chips are a fun addition. Just sprinkle them on top before baking.
- Cookie Crumbles: One time, I crushed up some Oreos and sprinkled them on top. It was amazing. But my husband almost divorced me for messing with the original recipe.
- Lactose-Free Cream Cheese: If you’re lactose intolerant, you can use lactose-free cream cheese. It works pretty well, but the texture might be slightly different.
- Sweetener Swap: Once I swapped honey in for the sugar and it tasted great!
Frequently Asked Questions
Easy Cheesecake Cupcakes Recipe
Ingredients
Main Ingredients
- 1.5 cups graham cracker crumbs finely crushed
- 0.25 cup granulated sugar
- 1 cup unsalted butter melted
- 16 oz cream cheese softened
- 0.5 cup sour cream
- 0.75 cup granulated sugar
- 1 tsp vanilla extract
- 2 large eggs room temperature
Instructions
Preparation Steps
- Preheat the oven to 325°F (163°C). Line a muffin tin with cupcake liners.
- Mix the graham cracker crumbs, 1/4 cup sugar, and melted butter in a bowl until well combined. Press the mixture into the bottom of the cupcake liners to form a crust.
- In a large bowl, beat the cream cheese until smooth. Add sour cream, 3/4 cup sugar, and vanilla extract, and mix well.
- Add the eggs one at a time, mixing well after each addition. Do not overmix.
- Spoon the cream cheese mixture over the crust in each muffin cup, filling nearly to the top.
- Bake in the preheated oven for 18-20 minutes until the center is set. Allow to cool at room temperature before chilling in the refrigerator for at least 2 hours.
Notes
Nutrition
Featured Comments
“New favorite here — so flavorful. speedy was spot on.”
“Made this last night and it was family favorite. Loved how the nourishing came together.”
“Super easy and family favorite! My family asked for seconds. Saving this one.”
“Made this last night and it was turned out amazing. Loved how the chilled came together.”
“Made this last night and it was will make again. Loved how the bite-sized came together.”
“Impressed! Clear steps and absolutely loved results. Perfect for busy nights.”
“This homemade recipe was turned out amazing — the fresh really stands out. Thanks!”
“Super easy and so flavorful! My family asked for seconds. Saving this one.”
“Impressed! Clear steps and so flavorful results. Perfect for busy nights.”
“Impressed! Clear steps and turned out amazing results. Perfect for busy nights.”