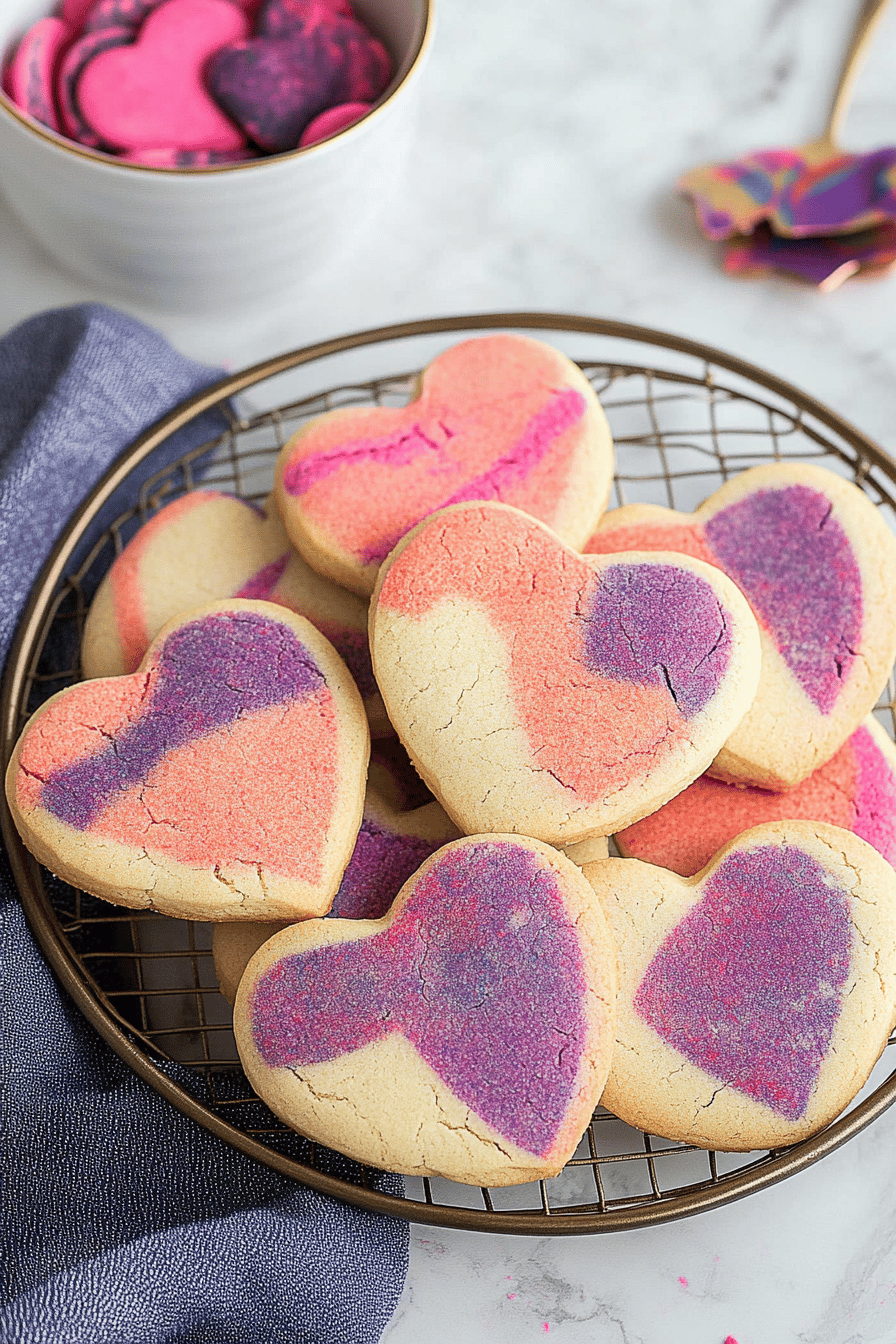
Easy Marbled Valentine’s Sugar Cookies Recipe
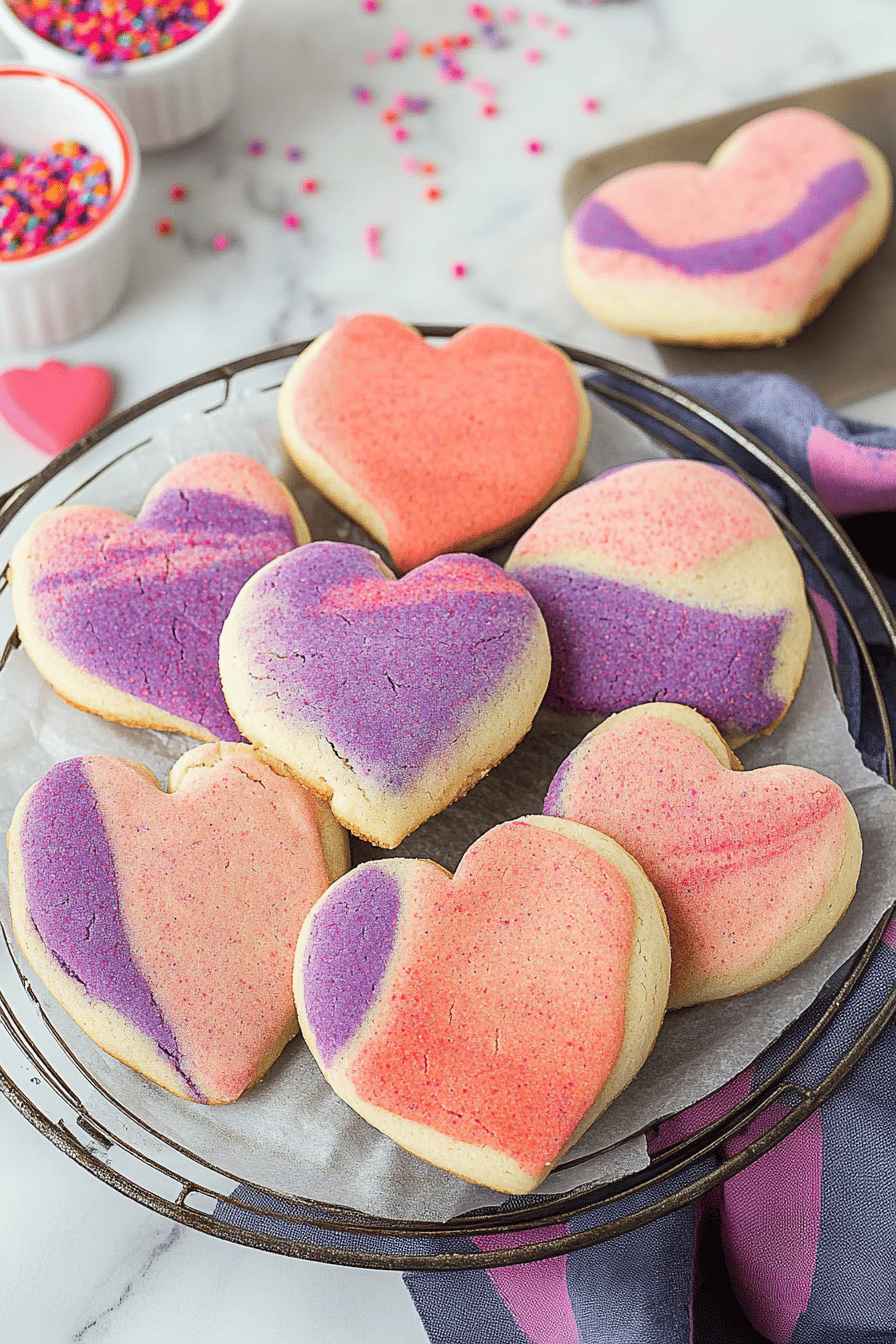
Get ready to bake a treat that’s both stunning and simple with these delightful marbled Valentine’s sugar cookies. As you mix vibrant colors into a subtle dance on each cookie, you’ll create a dessert that’s perfect for romantic occasions or simply surprising a loved one. Gather your ingredients and enjoy the magical process of baking these eye-catching treats!
Growing up, Valentine’s Day was always a family affair. My mom would cut out heart-shaped cookies, allowing us to dip them in different colored icing. The kitchen table transformed into a swirl of colors, creativity, and laughter. Making this recipe brings those fond memories back, reminding me how a simple cookie can be filled with love and joy—a tradition I now share with my own children.
Why You’ll Love This Recipe
This recipe combines ease with elegance. Not only are these sugar cookies tantalizing to the taste buds, but the marbling technique elevates their aesthetic appeal without added complexity. You’ll love crafting these cookies as a fun project with kids, or as an impressive homemade gift. Their buttery texture perfectly complements the sweet, decorative glaze, making them as delicious as they are beautiful.
Ingredients Notes
For a foolproof batch of these cookies, prioritize fresh, high-quality ingredients. Use unsalted butter to control the salt level, and high-grade vanilla extract to enhance their aroma. For the marbling effect, liquid food color works best, but gel variants also do the trick. Consider natural colorings if you prefer an organic touch.
MORE OF OUR FAVORITE…

Recipe Steps
Step 1
Preheat your oven to 350°F (175°C) and line baking sheets with parchment paper. This will ensure an even bake and prevent the cookies from sticking.
Step 2
In a large bowl, beat the unsalted butter and sugar until fluffy. Add the egg and vanilla, mixing until well combined. Gradually incorporate the flour and a pinch of salt until a dough forms.
Step 3
Divide the dough into two portions, adding food coloring to one. Knead each portion slightly until the color is even. Roll each piece into 1/4-inch thick sheets and stack them.
Step 4
Roll the stacked dough into a log, and slice into 1/4-inch rounds. Each slice reveals a unique marbled pattern. Arrange cookies on baking sheets, ensuring they have space to expand.
Step 5
Bake for 8-10 minutes until edges are light golden. Allow cookies to cool on the sheet for a few minutes before transferring to wire racks to cool completely.
Storage Options
Store your cookies in an airtight container at room temperature for up to a week. If freezing, layer them between sheets of wax paper in a freezer-safe container. To enjoy later, thaw at room temperature or lightly reheat in a 300°F (150°C) oven until warmed through.
Variations & Substitutions
For a twist, try flavoring with almond extract or swapping some of the flour for cocoa powder to create a chocolate variant. Gluten-free flour blends can replace regular flour, just be mindful that textures may differ slightly. For added zing, incorporate lemon zest into the dough.
Serving Suggestions
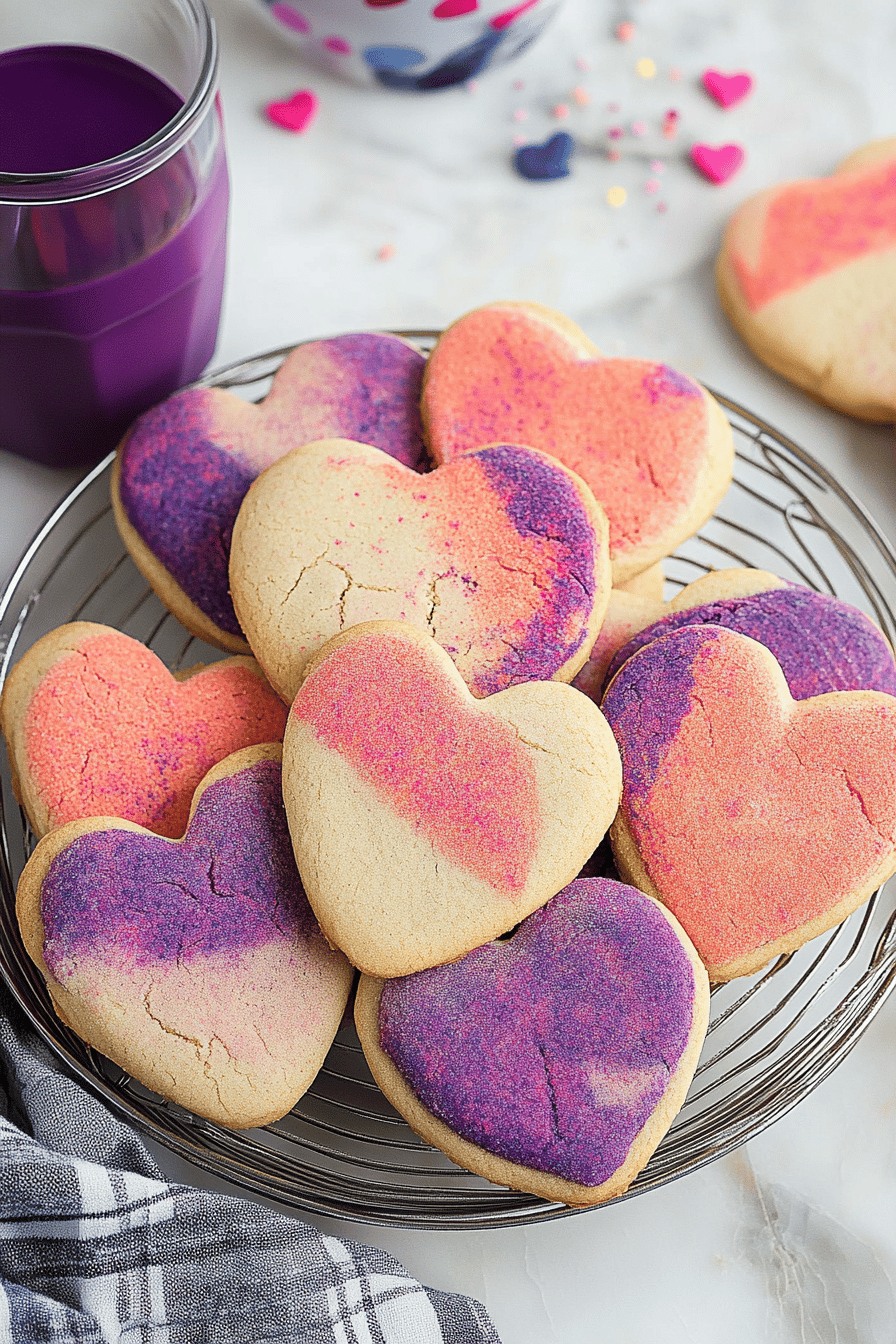
These cookies are perfect for any romantic celebration or as a thoughtful homemade gift. Pair them with hot chocolate on a cozy winter evening, or serve alongside a bouquet of roses for a Valentine’s Day surprise. They’re a charming addition to any dessert platter, particularly around festive holidays.
Frequently Asked Questions
Can I make the dough ahead of time? Absolutely! Prepare the dough up to two days in advance and refrigerate it. Just be sure to let it return to room temperature before working with it, as cold dough can be tough to roll.
Is it possible to use this technique with other shapes? Definitely! Feel free to experiment with various cookie cutters to create stars, leaves, or more. Simply adjust your marbling technique according to the shape’s details for the best presentation.
How do I achieve more vibrant colors? For bold, vivid hues, opt for concentrated gel food coloring, which offers more intensity without altering the dough’s consistency. Start with small amounts, mixing thoroughly, and add more as desired for richer tones.
Easy Marbled Valentine's Sugar Cookies Recipe
Ingredients
- 3/4 lb 1 1/2 sticks unsalted butter, softened
- 1 cup granulated sugar
- 1 large egg
- 1 1/2 teaspoons vanilla extract
- 2 1/2 cups all-purpose flour
- 1/2 teaspoon baking powder
- 1/4 teaspoon salt
- Red and pink gel food coloring
Instructions
- Make the Dough:
- In a large mixing bowl, cream together the butter and sugar until light and fluffy (about 2–3 minutes). Beat in the egg and vanilla extract until smooth.
- Add Dry Ingredients:
- In a separate bowl, whisk together the flour, baking powder, and salt. Gradually mix the dry ingredients into the butter mixture until a soft dough forms.
- Divide and Color:
- Split the dough into 2 or 3 portions. Leave one plain, and tint the others with a small amount of red or pink food coloring. Knead gently until the color is evenly distributed.
- Create the Marble Effect:
- Lightly knead the colored and plain doughs together just a few times to swirl the colors. Don’t over-mix—you want a marbled look, not a uniform pink.
- Chill:
- Form the dough into a flat disk, wrap in plastic, and chill for at least 1 hour (or up to overnight).
- Roll and Cut:
- Preheat your oven to 350°F (175°C). On a lightly floured surface, roll the chilled dough to about 1/4 inch thick. Use heart-shaped cookie cutters (or any shape you like) to cut out cookies.
- Bake:
- Place cookies on a parchment-lined baking sheet, about 1 inch apart. Bake for 10–12 minutes, or until edges are just starting to turn golden. Don’t overbake.
- Cool and Enjoy:
- Allow cookies to cool on the pan for a few minutes before transferring to a wire rack. Serve as-is or drizzle with a simple icing or dust with powdered sugar.
Notes
Nutrition
Featured Comments
“Super easy and family favorite! My family asked for seconds. Saving this one.”
“Impressed! Clear steps and absolutely loved results. Perfect for busy nights.”
“Made this last night and it was absolutely loved. Loved how the crispy crust came together.”
“Super easy and so flavorful! My family asked for seconds. Saving this one.”
“This plant-powered recipe was will make again — the satisfying really stands out. Thanks!”
“Made this last night and it was so flavorful. Loved how the crowd-pleaser came together.”
“This bite-sized recipe was will make again — the picky-eater approved really stands out. Thanks!”
“Impressed! Clear steps and so flavorful results. Perfect for busy nights.”
“This vibrant recipe was turned out amazing — the quick bite really stands out. Thanks!”
“This perfectly seasoned recipe was will make again — the weeknight winner really stands out. Thanks!”