Double Layer Chocolate Ice Cream Cake
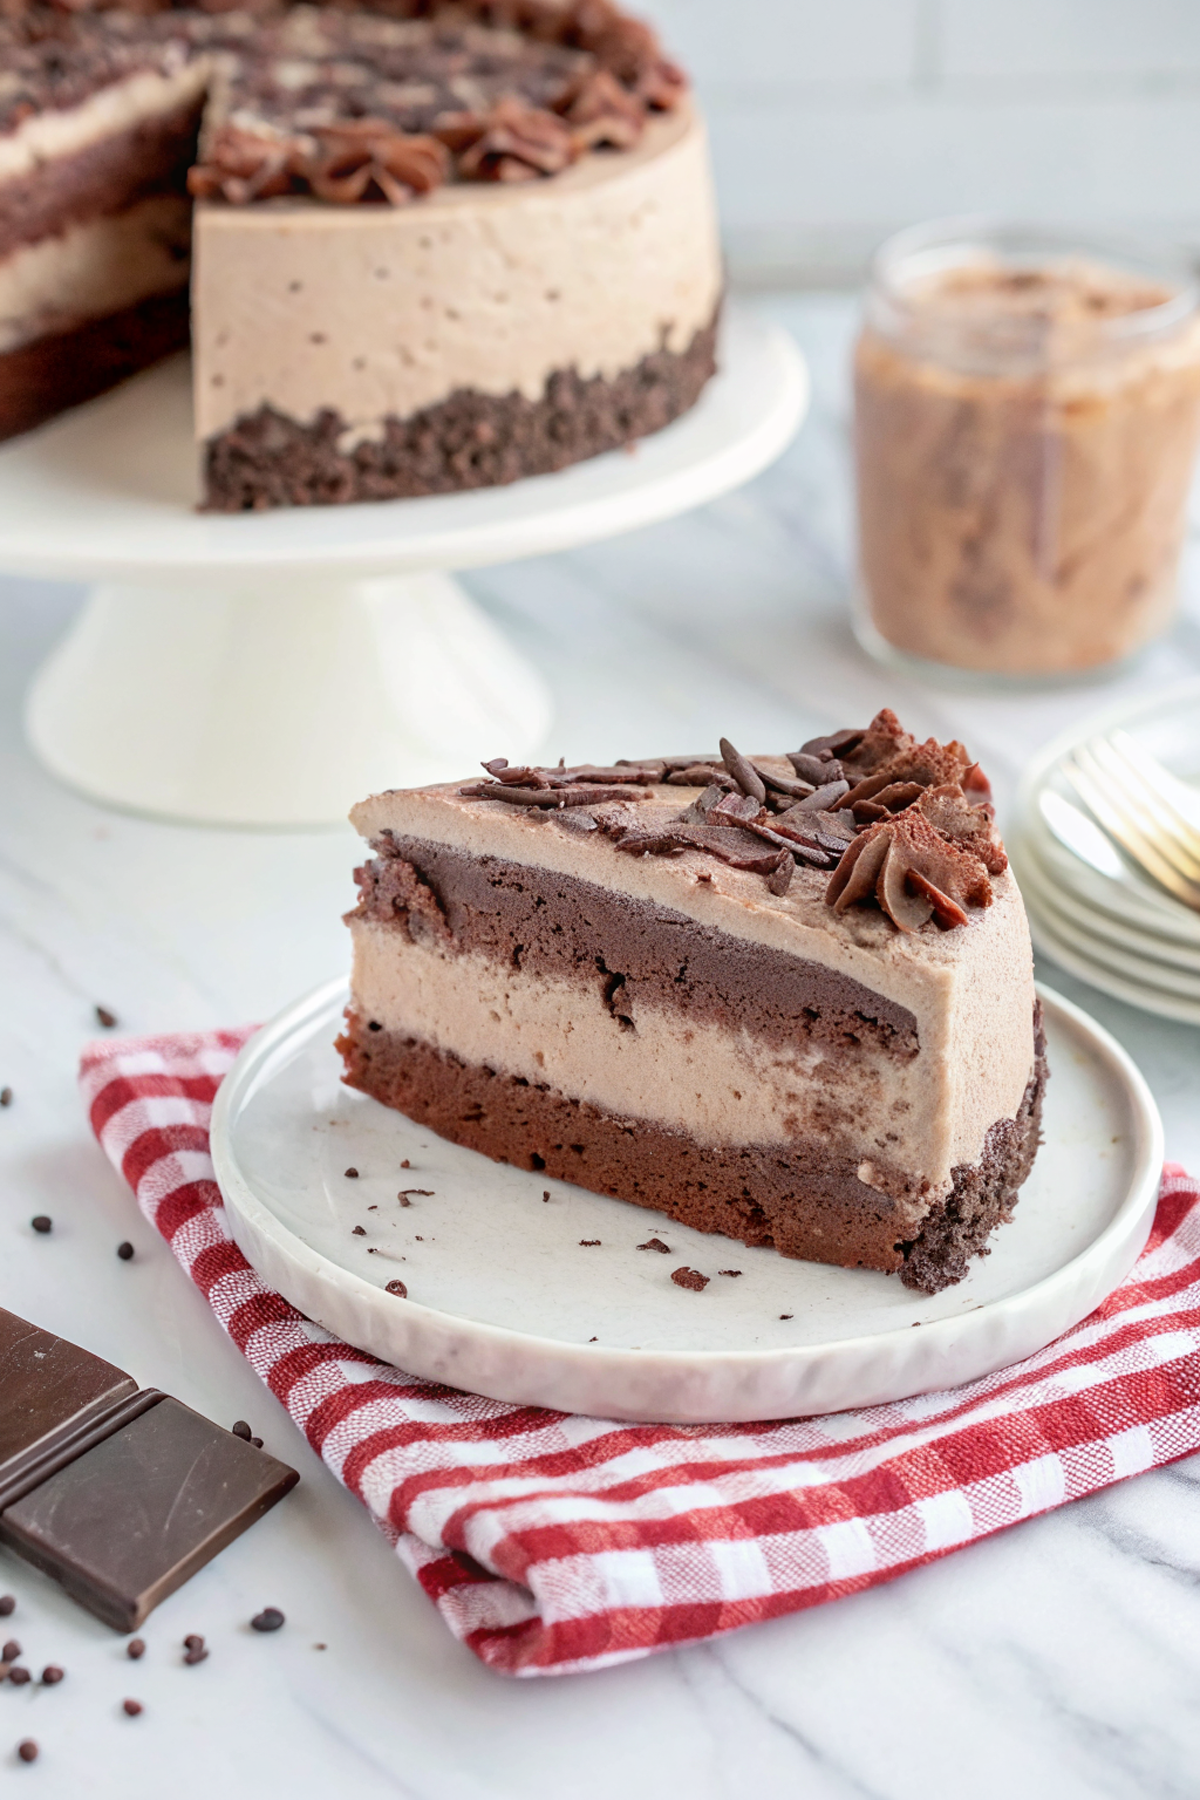
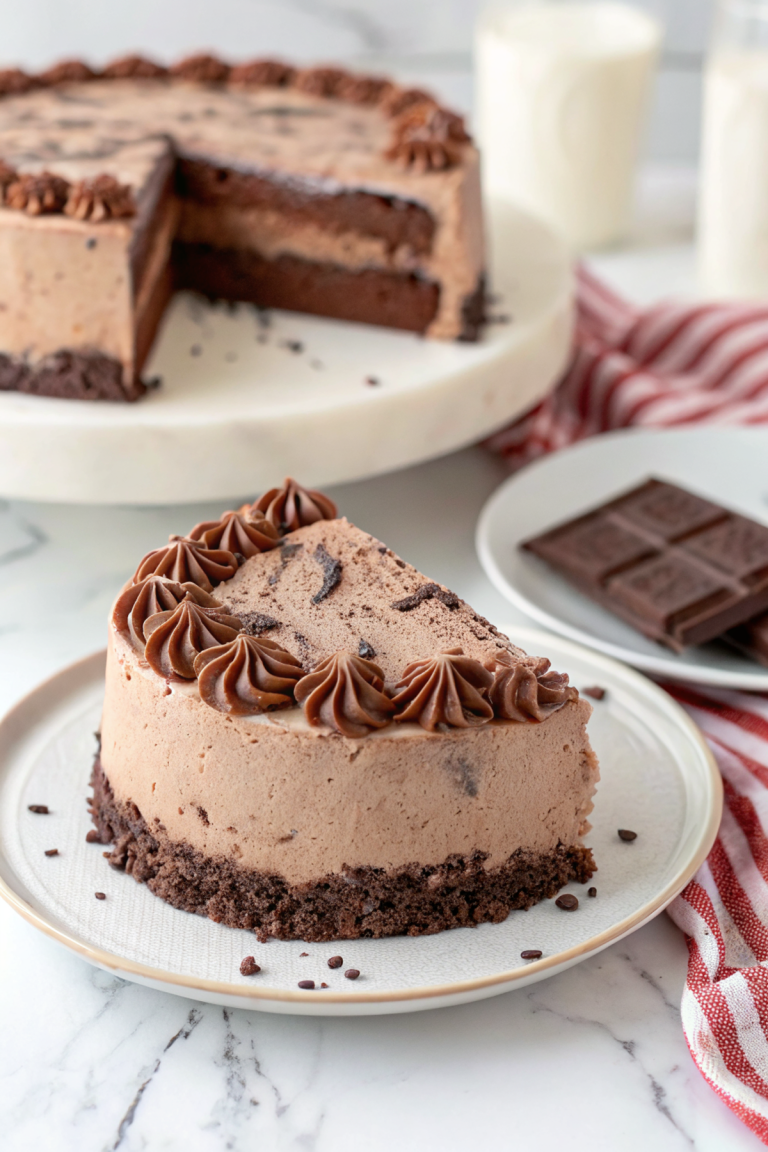
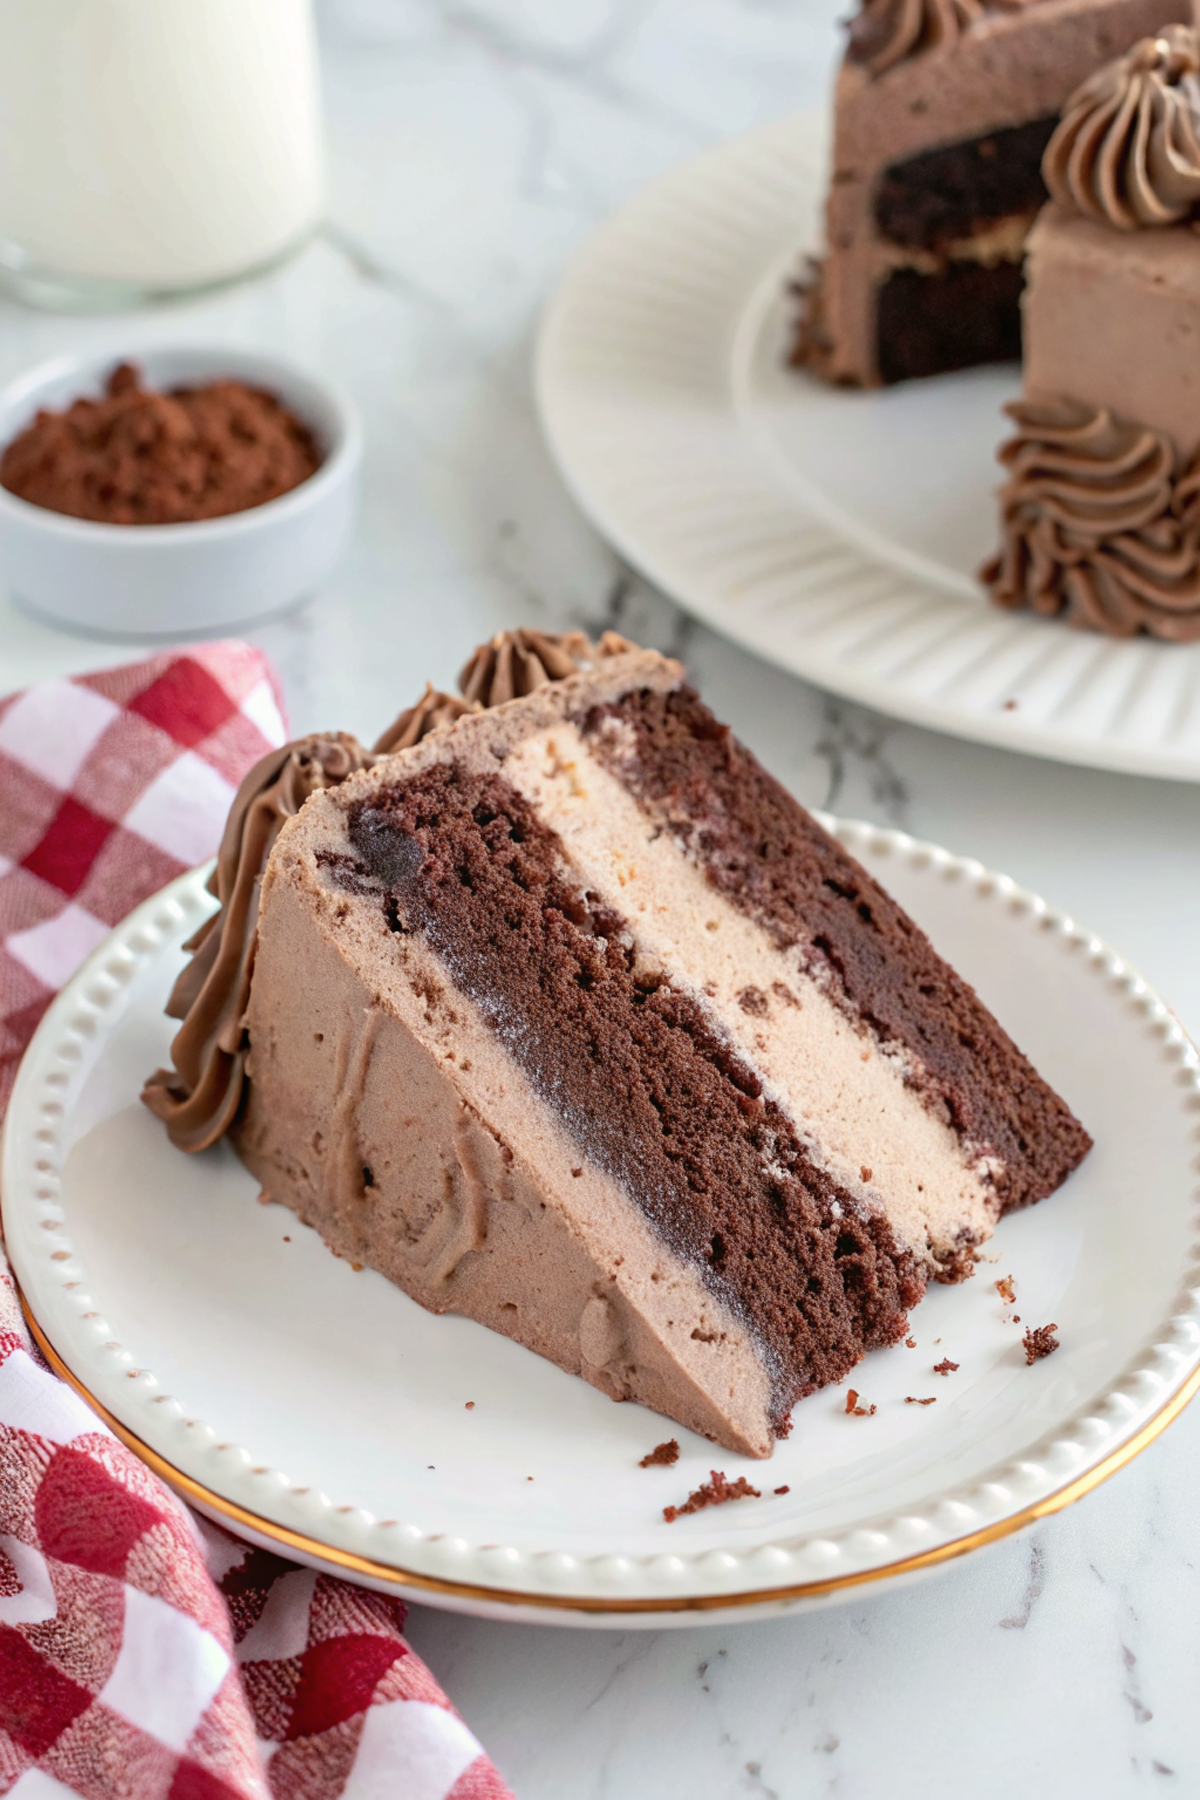
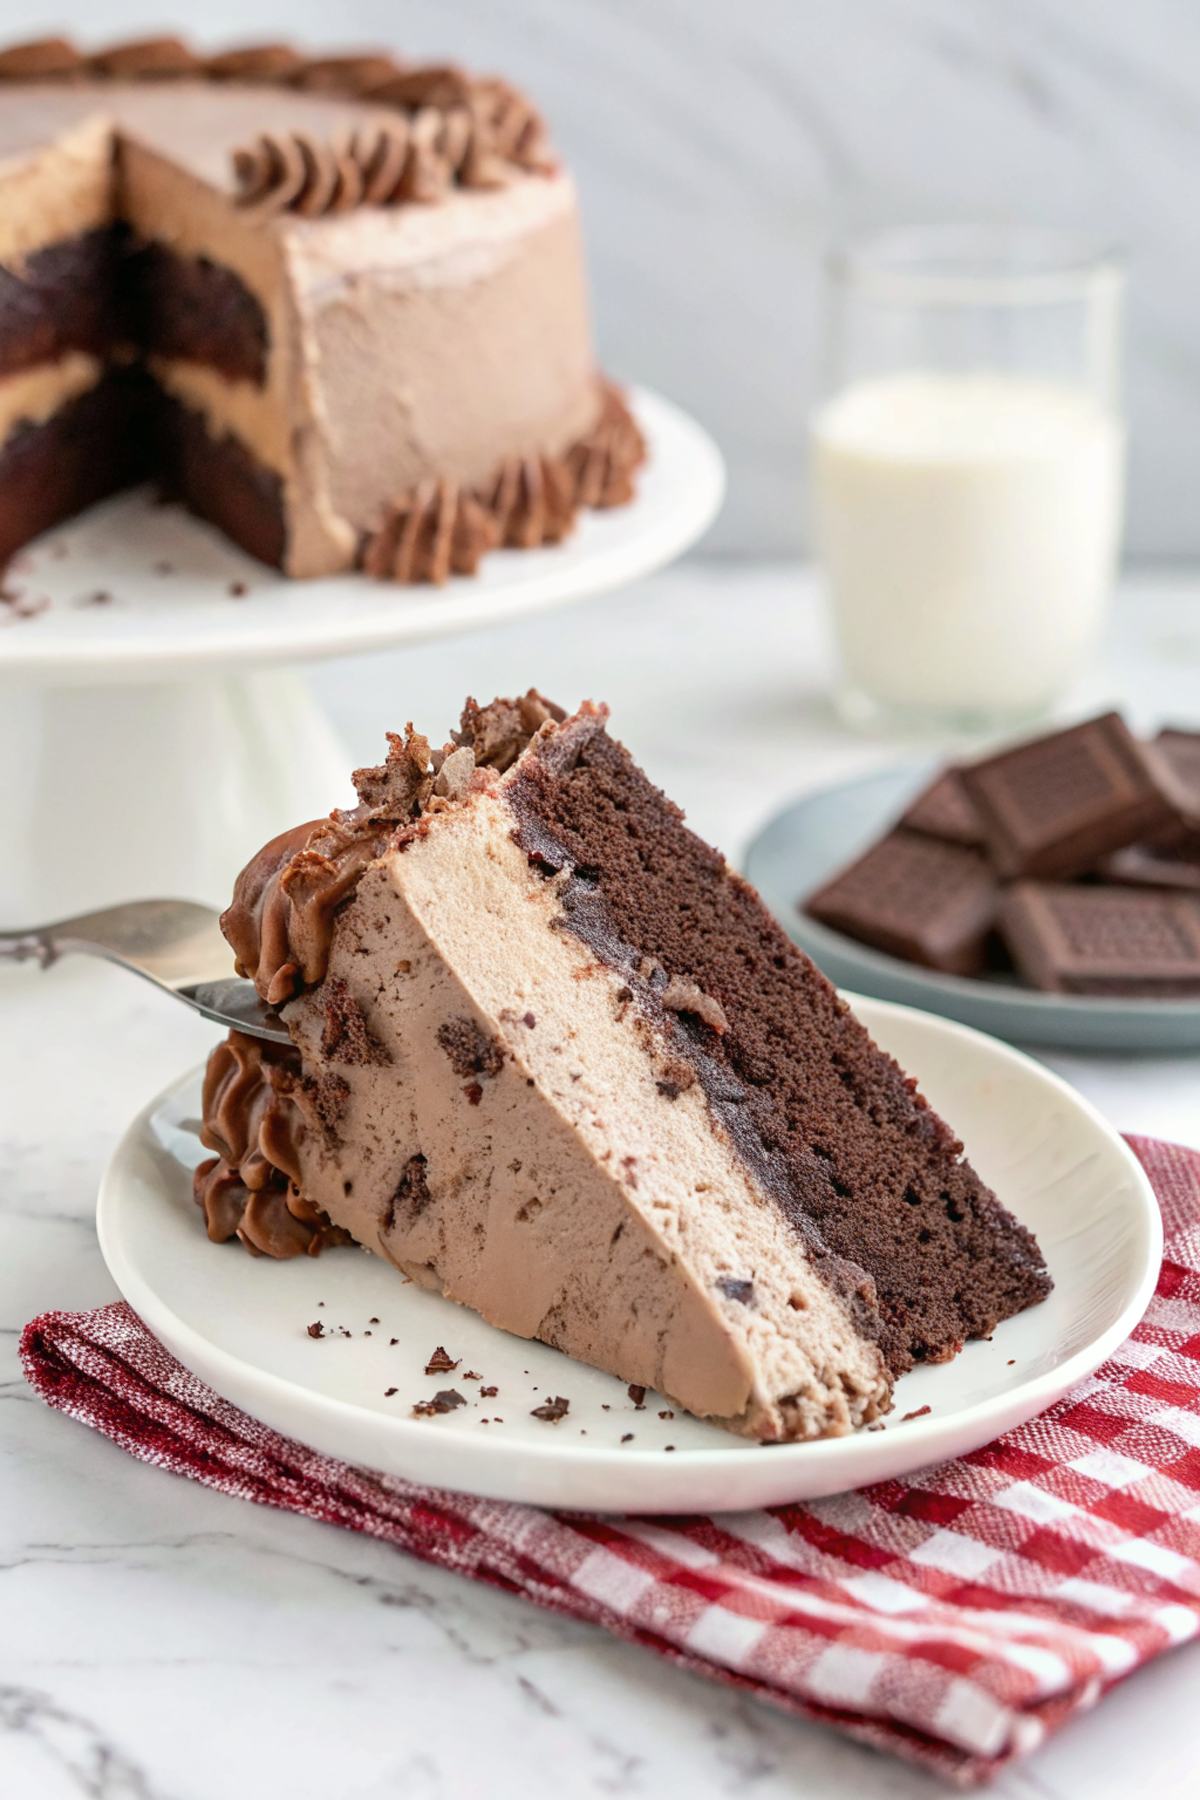
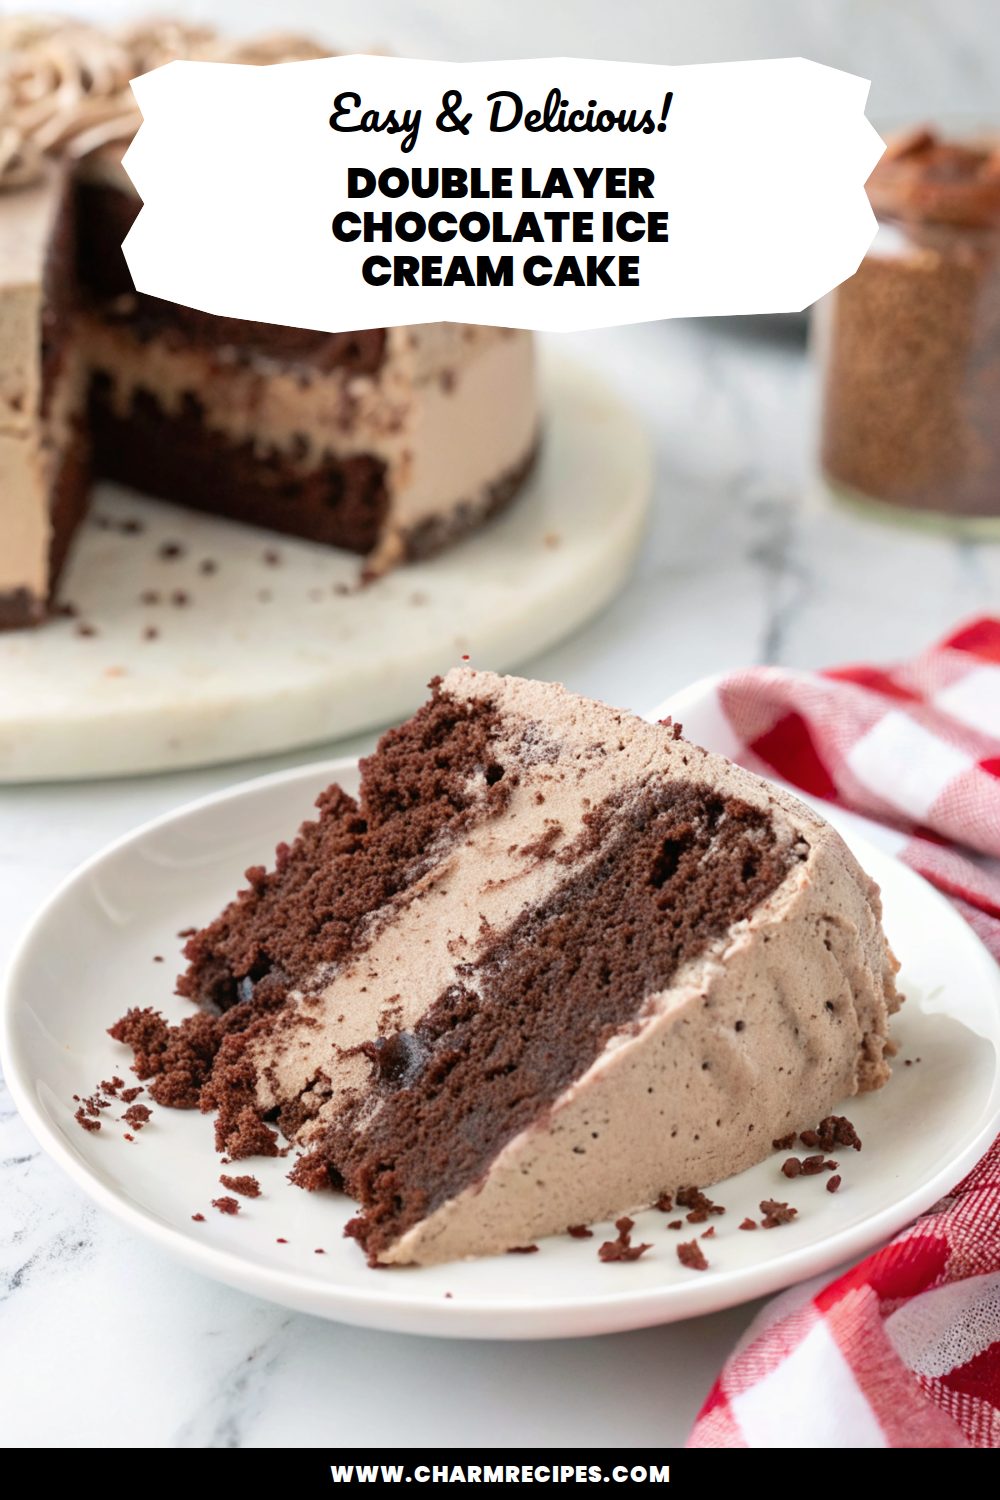
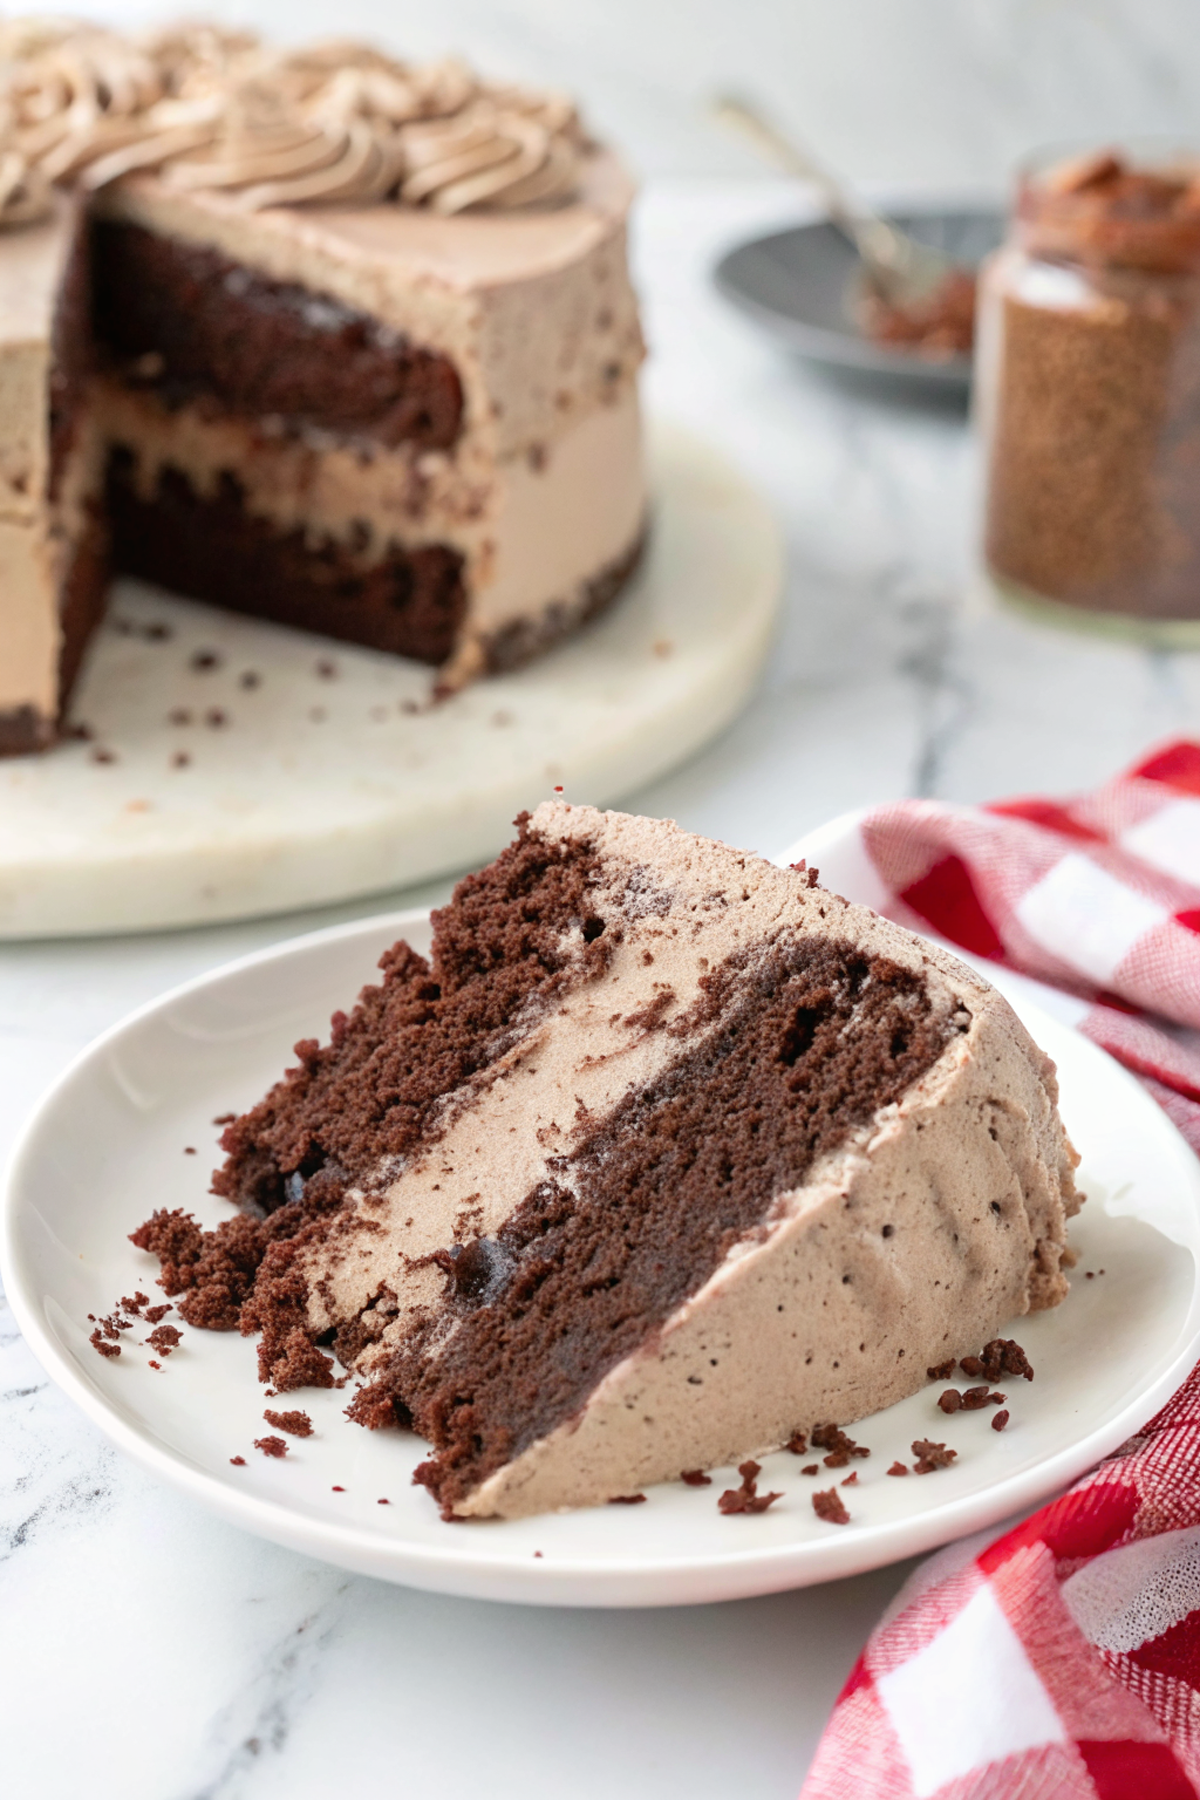
A smooth, no-bake double layer chocolate ice cream cake — two velvety chocolate ice cream layers separated by a crisp chocolate crust and a thin ribbon of fudge — that’s easy to assemble and makes a rich, freezer-ready dessert for parties or simple weeknight treats.
It’s straightforward to make ahead, and you can customize the crust or ganache to taste. I like recipes like this because they’re forgiving: small imperfections won’t ruin the final slice, and the contrast of creamy ice cream and crunchy base is exactly what you want in a chocolate ice cream cake.
Why This Double Layer Chocolate Ice Cream Cake Works
1. Contrast of textures: a crunchy chocolate crumb base balances the dense, creamy ice cream layers for a satisfying bite.
2. Deep chocolate flavor: two layers of chocolate ice cream plus a chocolate ganache or fudge ribbon give concentrated cocoa without being one-note.
3. Easy assembly: no baking required for the ice cream layers and minimal hands-on time — most of it is chilling.
4. Make-ahead friendly: it freezes well and slices neatly after a short thaw, so it’s perfect for planning ahead.
Ingredients




A quick note on the main components you’ll need.
MORE OF OUR FAVORITE…
– Chocolate ice cream: Pick a high-quality, full-fat variety for the best texture; darker chocolate gives more intense flavor.
– Chocolate cookie crumbs or brownie pieces: Use crushed chocolate sandwich cookies or a thin brownie layer for the base — cookies give a crisp texture, brownies add chew.
– Unsalted butter: Melted and mixed with crumbs to bind the crust; adjust quantity to get a firm pressable base.
– Semi-sweet chocolate: For ganache or hot fudge ribbon — choose 60–70% cacao for balanced sweetness.
– Heavy cream: Warming cream with chocolate makes a glossy ganache that sets softly between layers.
– Optional add-ins: Chocolate chips, chopped nuts, or a pinch of sea salt — use sparingly so the texture stays smooth.
Substitutions and Variations
– Swap the chocolate cookie crust for a crushed pretzel base to add salty crunch and cut sweetness. Texture becomes crisper and saltier.
– Use brownie slices instead of crumbs for a denser, chewier bottom layer; the cake will be richer and heavier.
– Replace one chocolate ice cream layer with coffee or salted caramel for a complementary flavor contrast. This changes the flavor profile but keeps texture similar.
– Make a dairy-free version using coconut-based ice cream and vegan butter; expect a slightly softer mouthfeel from non-dairy ice creams.
– Use store-bought hot fudge instead of making ganache to save time; the flavor will be sweeter and less glossy.
How to Make Double Layer Chocolate Ice Cream Cake
This is a short summary—refer to the full recipe card for exact amounts and timing.
1. Line a springform pan (or a loaf pan) with plastic wrap or parchment and press the chocolate crumb mixed with melted butter into the bottom; freeze until firm.
2. Soften the first carton of chocolate ice cream just until spreadable (about 5–10 minutes at room temp) and smooth a layer over the chilled crust; return to the freezer to harden.
3. Make a thin ganache by heating cream and pouring over chopped chocolate; chill slightly so it thickens but is still pourable, then spread or drizzle a thin ribbon over the first ice cream layer.
4. Soften the second ice cream and spread it evenly on top of the ganache; smooth the surface, cover, and freeze until very firm (several hours or overnight).
5. When ready to serve, run a hot knife around the pan, release the springform, and let the cake sit 8–12 minutes at room temperature for cleaner slices before cutting.
Tips for the Best Results
1. Soften ice cream just enough to spread — too soft and layers will mix; too hard and you’ll tear the crust.
2. Chill the crust well before adding ice cream so it stays firm and doesn’t absorb moisture.
3. Make the ganache slightly thicker than needed so it sets as a distinct ribbon between layers.
4. Use a springform pan for easy removal; if using a regular pan, lift the cake out with parchment overhang.
5. For clean slices, dip a sharp knife in hot water and wipe between cuts.
Common Mistakes
– Adding ice cream to a warm crust: fix by chilling the crust completely before assembling.
– Over-softening the ice cream: let it firm back in the freezer between layers to avoid mixing.
– Pouring ganache that’s too hot: let it cool slightly or it will melt the ice cream — aim for pourable but not scorching.
– Skipping the plastic wrap/parchment: without it removal is messy — always line the pan for neat edges.
– Not allowing enough final freezing time: slices will be slushy if not fully frozen; give at least 4–6 hours or overnight.
Storage
Storing: Keep the cake tightly wrapped in plastic wrap or in an airtight container in the freezer to prevent freezer burn and off-flavors. If you plan to keep it longer than a week, wrap an extra layer of foil.
Freezing: This dessert freezes very well — up to 1 month for best texture. Beyond that the ice cream can pick up freezer flavors and get icy.
Reheating or serving later: Remove from the freezer and let sit 8–12 minutes at room temperature before slicing for clean pieces. If slices soften too much, return them to the freezer for 10–15 minutes.
How to Serve Double Layer Chocolate Ice Cream Cake
– Slice with a hot, dry knife and serve on chilled plates to keep pieces firm.
– Add a dollop of whipped cream and a few fresh berries to cut richness.
– Drizzle extra warm chocolate or caramel over each slice for a sauce contrast.
– Serve with espresso or a simple shortbread cookie on the side for texture.
More Helpful Notes
– If you’re short on time, use store-bought crushed cookies and pre-made hot fudge, but still chill each layer between steps.
– Mark the recipe card with the pan size used so future batches match size and freezing times.
– For party prep, assemble two days ahead and keep covered in the freezer; decorate the day of serving for best appearance.
– If you want neat layered edges, press each ice cream layer with an offset spatula and smooth immediately.
Frequently Asked Questions
Double Layer Chocolate Ice Cream Cake
Ingredients
Chocolate cake (8-inch round)
- 1 cup all-purpose flour (about 130g)
- 1/3 cup unsweetened natural cocoa powder (about 28g)
- 1 1/2 teaspoons baking powder
- 1/2 teaspoon fine salt
- 2/3 cup granulated sugar (about 135g)
- 2 large eggs
- 1/3 cup neutral oil (such as vegetable or canola)
- 1 1/2 teaspoons pure vanilla extract
- 1/3 cup full-fat sour cream (or plain Greek yogurt)
- 3/4 cup very hot whole milk (about 180ml)
- 1 teaspoon instant espresso powder boosts chocolate flavor
Ice cream layer
- 1.5 quarts ice cream, chocolate or flavor of choice (48oz), slightly softened
Cocoa whipped cream
- 2 cups cold heavy whipping cream
- 2/3 cup powdered sugar (about 85g)
- 3 tablespoons unsweetened cocoa powder (about 18g)
- 1 teaspoon pure vanilla extract
- 1 pinch fine sea salt
Instructions
Preparation Steps
- Chill a metal mixing bowl and whisk or beaters in the freezer for 10 minutes. Line the base of an 8-inch springform pan with parchment; if you have acetate, line the sides and set the pan in the freezer.
- Heat the oven to 340°F (171°C). Grease an 8-inch round cake pan, line the bottom with parchment, and dust the sides lightly with cocoa.
- Bloom the cocoa: In a heatproof cup, whisk the hot milk, cocoa powder, and espresso powder until smooth and glossy. Let stand 5 minutes to cool slightly.
- Make the batter (reverse-mix): In a large bowl whisk flour, baking powder, salt, and sugar. Add eggs, oil, vanilla, and sour cream; whisk until thick and mostly smooth. Stream in the warm cocoa-milk and whisk just until combined and no dry streaks remain.
- Bake: Pour into the prepared pan and bake 24–27 minutes, until the center springs back and a toothpick shows a few moist crumbs. Cool 15 minutes, then turn out to a rack and cool completely.
- Firm and split: Wrap the cooled cake and freeze 30 minutes to make slicing easy. Using a long serrated knife, split horizontally into two even layers.
- Soften the ice cream at room temperature 10–15 minutes until spreadable but not melty. Place one cake layer into the chilled springform pan. Spread about 3/4 of the ice cream evenly over the cake, pressing to eliminate gaps. Top with the second cake layer and add the remaining ice cream if space allows, smoothing the top flush with the rim. Freeze until solid, at least 3–4 hours (overnight for the cleanest slices).
- Whip the topping: In the chilled bowl, beat the cold cream to soft peaks. Sift in powdered sugar and cocoa, add vanilla and a pinch of salt, and whip to medium-stiff peaks that hold lines but still look silky.
- Finish: Unmold the cake, remove acetate/parchment, and frost the top and sides with cocoa whipped cream. Create swirls with an offset spatula. Freeze 20–30 minutes to set before serving.
- Serve: Warm a sharp knife under hot water, wipe dry, and slice. Return leftovers to the freezer well covered.
Notes
Featured Comments
“Impressed! Clear steps and will make again results. Perfect for busy nights.”
“Impressed! Clear steps and family favorite results. Perfect for busy nights.”
“This tasty recipe was family favorite — the nostalgic really stands out. Thanks!”
“This cheesy recipe was absolutely loved — the weeknight winner really stands out. Thanks!”
“Made this last night and it was family favorite. Loved how the shareable came together.”
“New favorite here — absolutely loved. crunchy was spot on.”
“This tasty recipe was so flavorful — the clean really stands out. Thanks!”
“Made this last night and it was will make again. Loved how the salty-sweet came together.”
“Super easy and absolutely loved! My family asked for seconds. Saving this one.”
“Impressed! Clear steps and absolutely loved results. Perfect for busy nights.”