Halloween Hot Chocolate Bomb Recipe
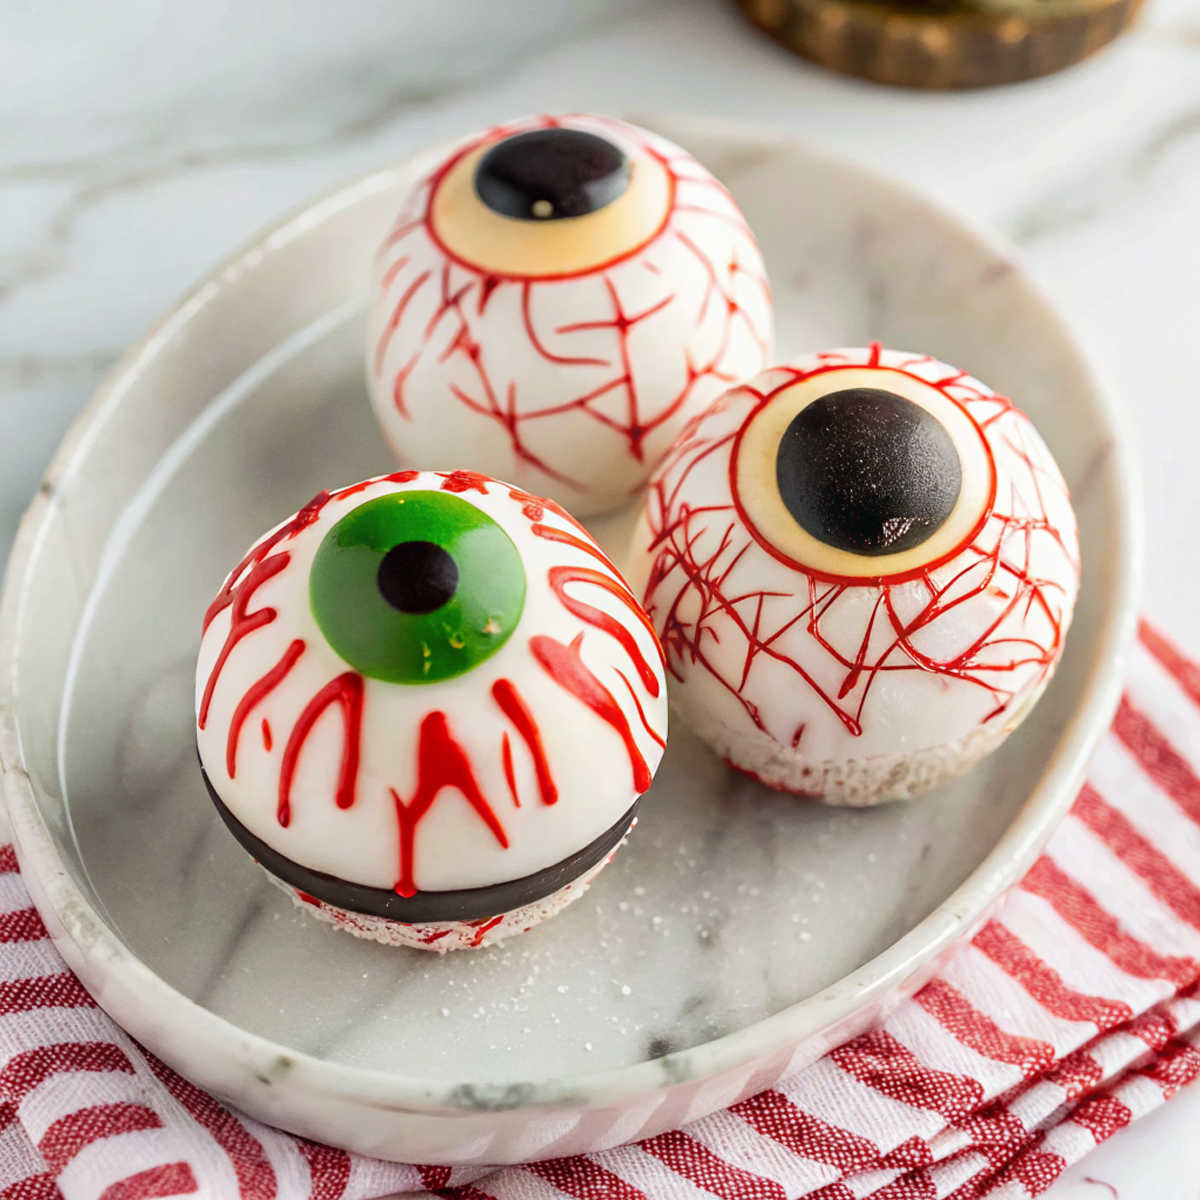
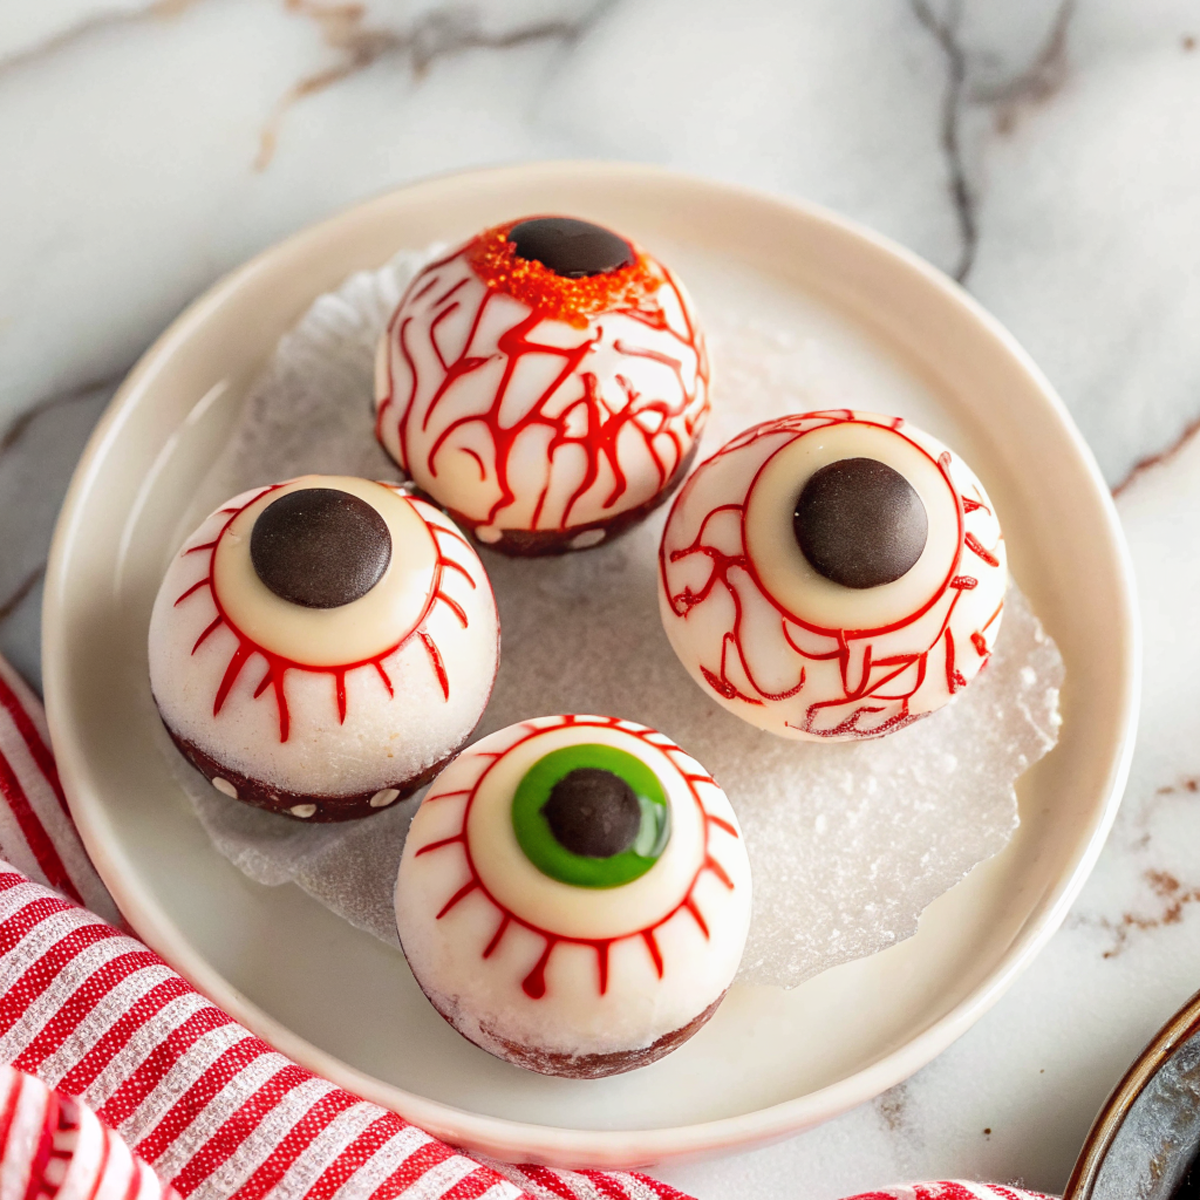
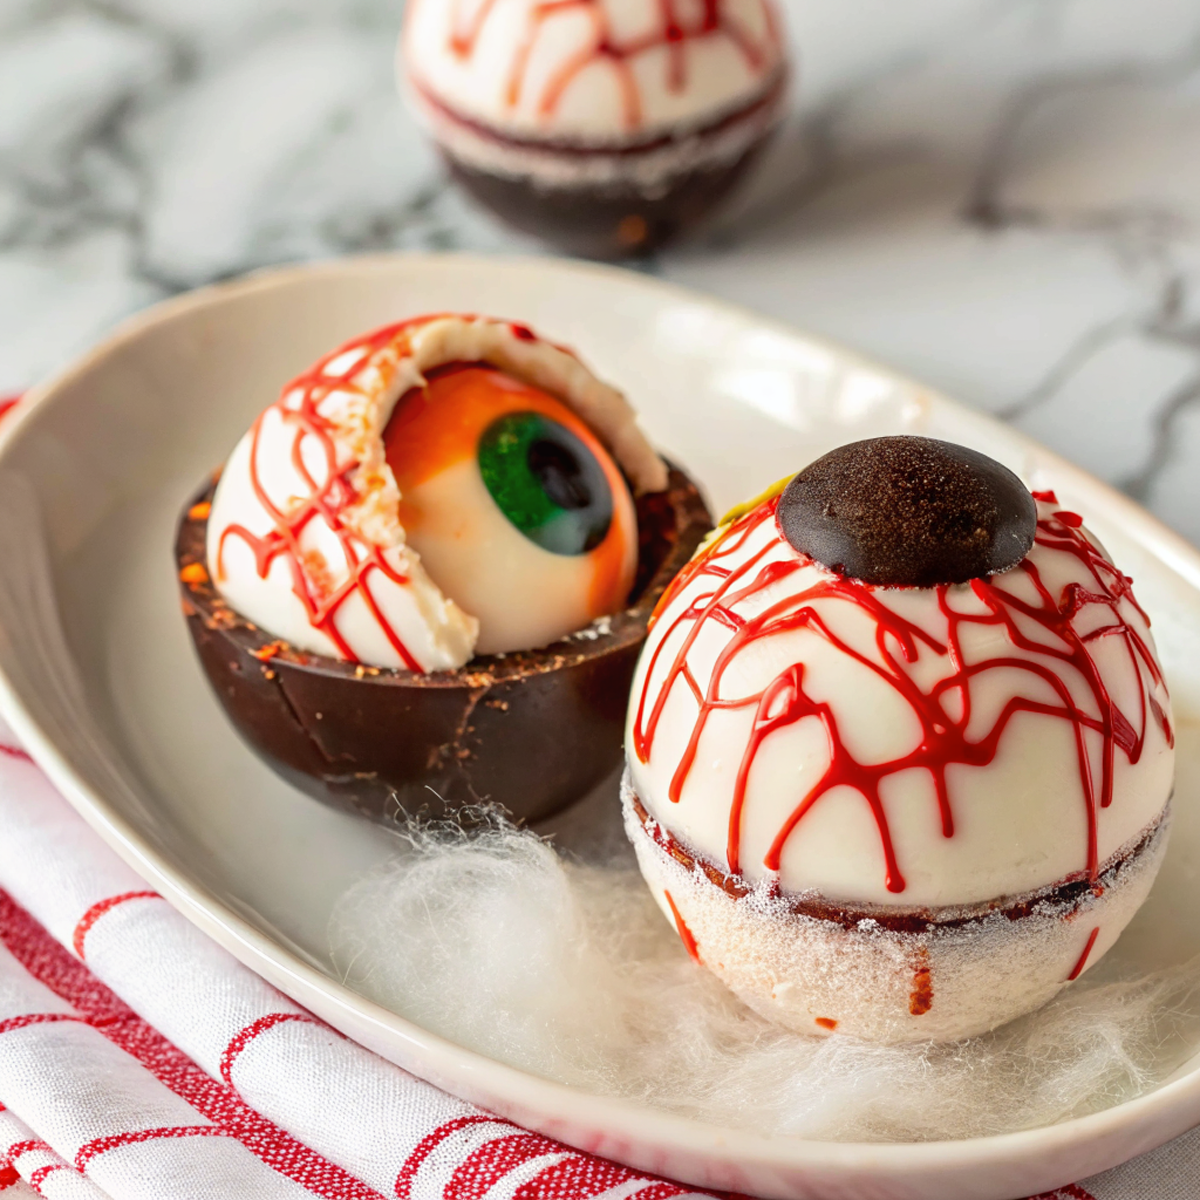
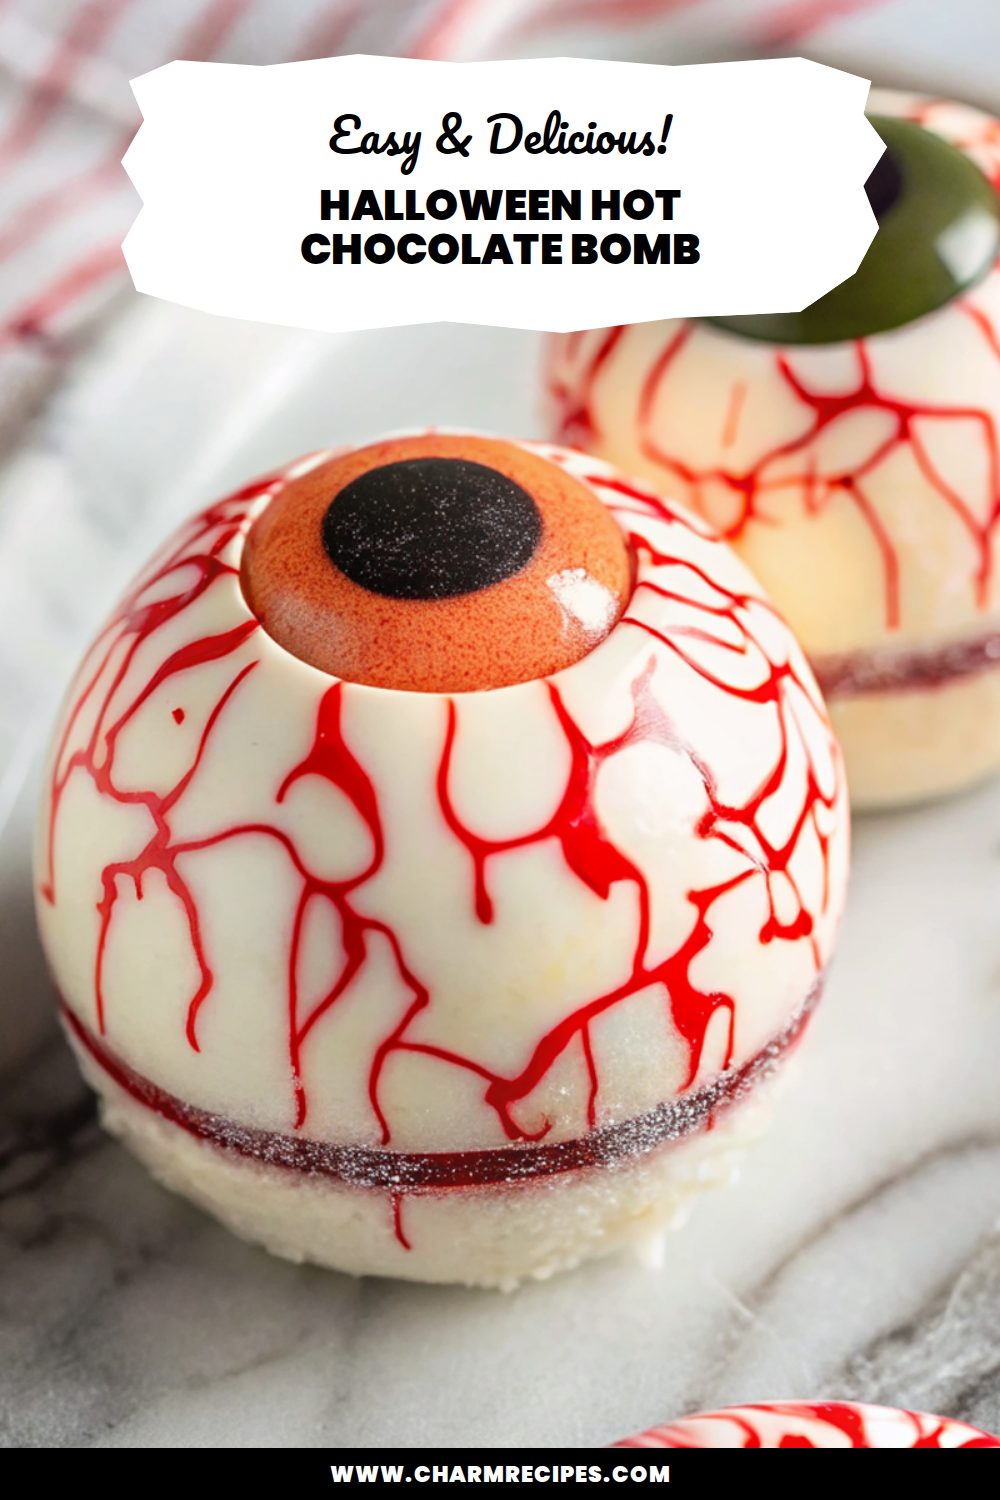
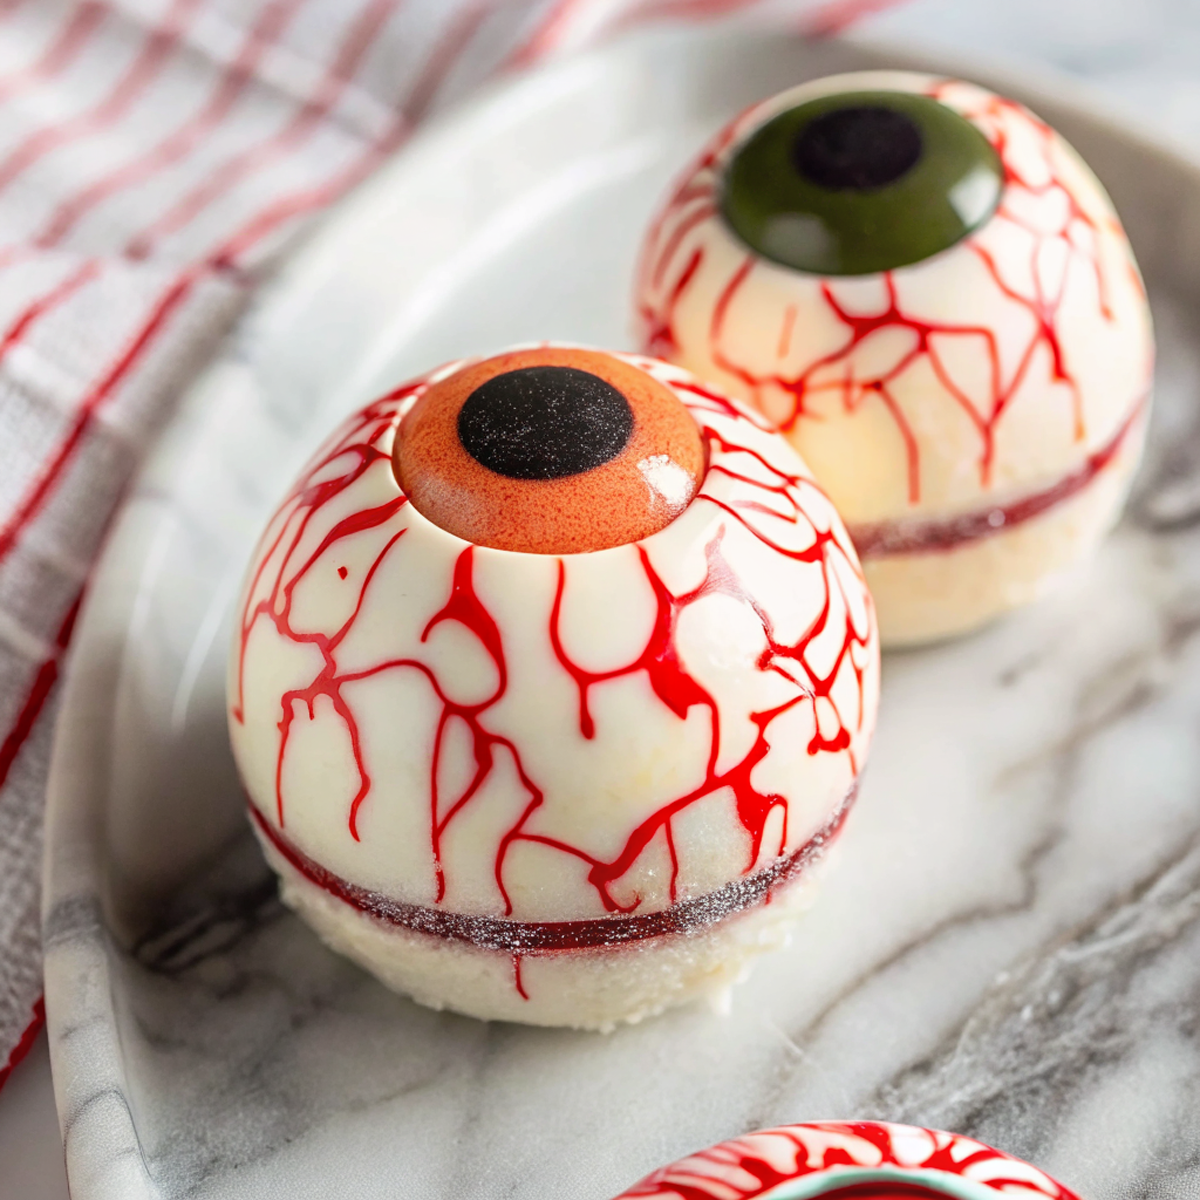
These Halloween hot chocolate bombs are hollow chocolate shells filled with hot cocoa mix and mini marshmallows that melt into a rich, creamy drink when you pour hot milk over them. They taste like classic hot chocolate with a fun, gooey reveal—sweet, chocolatey, and easy to customize with orange or black decorations for a seasonal twist.
They’re simple to make at home with a silicone sphere mold and a little patience. Once you get the rhythm of coating the molds, filling, and sealing, you can make a batch for a party or package a few as treats.
Why This Halloween Hot Chocolate Bomb Recipe Works
1. The chocolate shell locks in the cocoa mix and marshmallows so the surprise “bomb” melts dramatically when hot milk is added.
2. Using good melting chocolate gives a smooth, glossy shell and clean snaps for easy handling.
3. Hot cocoa mix melts quickly and creates a creamy texture without measuring spices or cocoa on the spot.
4. Decorations and candy melts make them festive without changing the base flavor—easy to personalize.
Ingredients




A few focused ingredients make these easy and reliable.
MORE OF OUR FAVORITE…
– Good melting chocolate (semi‑sweet or milk): Choose couverture or melting wafers for smooth shells; if using chips, add a little oil to help them melt.
– Hot cocoa mix: Instant drinking chocolate powder for quick melting and consistent flavor—use a spiced mix for extra warmth.
– Mini marshmallows: Classic filling that puff up when melted; marshmallow bits work well for even distribution.
– Colored candy melts or white chocolate: For orange/black decoration and drizzle—easy to color and pipe.
– Vegetable shortening or coconut oil (optional): A teaspoon helps thin chocolate for a glossy finish and easier molding.
– Sprinkles and small Halloween candies: Add texture and decoration—use hard candies sparingly to avoid melting into the drink.
– Optional flavorings (vanilla extract, pumpkin spice, peppermint): A small pinch or drop changes the profile without overpowering the cocoa.
Substitutions and Variations
– Swap milk chocolate for dark for a richer, less sweet shell; texture is firmer and flavor more intense.
– Use dairy‑free chocolate and vegan marshmallows to make vegan bombs; the finish may be slightly softer.
– Replace hot cocoa mix with finely grated drinking chocolate for a deeper chocolate flavor; it takes a little more stirring to dissolve.
– Add a pinch of pumpkin spice or cinnamon to the cocoa mix for a warm autumn twist.
– Make adult bombs by adding a tiny amount of instant espresso powder to the mix or serving with a shot of bourbon/rum in the mug after the bomb melts.
How to Make Halloween Hot Chocolate Bomb Recipe
This is a summary—see the full recipe card for exact amounts and timing.
1. Melt the chocolate in 20–30 second microwave bursts or over a double boiler until smooth; stir to finish.
2. Spoon or brush melted chocolate into silicone half‑sphere molds, coating evenly; tip and pour out excess for thin shells.
3. Chill the coated molds until fully set (10–20 minutes), then repeat a second thin coat if needed for sturdiness.
4. Fill half the shells with a measured spoonful of hot cocoa mix, a few mini marshmallows, and any small candies or spices.
5. Warm the rim of an empty chocolate half on a slightly warmed plate or pan, then quickly press it to a filled half to seal; smooth edges with a warm spatula if needed.
6. Decorate with melted candy melts, sprinkles, or piped faces/accents. Let set before storing or gifting.
7. To serve, place a bomb in a mug and pour 8–10 oz of very hot milk over it; stir as it melts and enjoy.
Tips for the Best Results
1. Use a silicone sphere mold—flexible molds release the shells cleanly.
2. Chill shells between coats so they’re strong enough to handle but not brittle.
3. Thin chocolate slightly with coconut oil or shortening if it’s too thick to coat evenly.
4. Warm the edge of one half before sealing to get a clean, secure join.
5. Decorate after sealing once the join is fully set to avoid smudging.
Common Mistakes
– Shells too thin and fragile: fix by adding a second thin coat of chocolate and chilling between coats.
– Chocolate seizes or grainy: fix by melting gently (low heat) and stirring; add a teaspoon of neutral oil if needed.
– Halves won’t seal: fix by warming the rim of one half and pressing firmly, holding for a few seconds.
– Overfilled shells cause leakage: fix by measuring the cocoa and marshmallows so there’s space to seal.
– Decorations melt into the shell: fix by waiting until the seal is fully set and the shell is cool before piping or adding sprinkles.
Storage
Storing: Keep finished bombs in an airtight container in a cool, dry place away from direct sunlight. Stored this way they stay good for about 1–2 weeks depending on room temperature.
Freezing: You can freeze them, but condensation can make the decorations tacky. If freezing, wrap individually in plastic, move to an airtight container, and thaw slowly in the fridge before bringing to room temperature.
Reheating or serving later: Do not microwave the bombs to “reheat.” For serving later, pour freshly heated milk over the bomb in a mug so it melts evenly and stays creamy.
How to Serve Halloween Hot Chocolate Bomb Recipe
– Pour hot whole milk for a rich, creamy finish; use plant milk for a lighter or dairy‑free option.
– Top with whipped cream, extra mini marshmallows, and a sprinkle of Halloween candy bits.
– Serve at a kids’ party as a make‑your‑own station—let guests pick their decorations and pour their own milk.
– Add a small splash of liqueur for an adult version after the bomb has melted.
More Helpful Notes
– Test one bomb first to dial in chocolate thickness and filling amounts before making a batch.
– Work on a cool, dry day if possible—heat and humidity make chocolate harder to set.
– Use spoons or small scoops to portion cocoa mix so each bomb melts consistently.
– Store decorated bombs in a single layer to avoid smudging.
Frequently Asked Questions
Halloween Hot Chocolate Bomb Recipe
Ingredients
Main Recipe
- 1 1/4 cups white chocolate melting wafers (or white candy melts)
- 3 tablespoons black candy melts
- 3 tablespoons green candy melts
- 3 tablespoons purple candy melts replaces orange for a Halloween hue
- 3 tablespoons red candy melts
- 7 tablespoons powdered hot cocoa mix
- 1/2 cup mini marshmallows
- 1/4 teaspoon vanilla powder optional, mixes with cocoa for a rounder flavor
Instructions
Preparation Steps
- Polish a 6-cavity silicone half-sphere mold with a paper towel for shine. Have 2 small piping bags (or zip-top bags) ready and a small nonstick skillet you can warm later for sealing.
- Melt candy melts and wafers in microwave-safe bowls at 50% power in 15–20 second bursts, stirring well between each round until smooth. Avoid overheating.
- Make the pupils: Melt the black candy melts, transfer to a piping bag, and pipe a nickel-size dot in the very center of each mold cavity. Freeze 4 minutes to set.
- Add the irises: Melt green and purple melts in separate bowls. Pipe a 1-inch ring over and around each black pupil, alternating colors as desired. Freeze 4 minutes until firm.
- Create veins: Melt the red candy melts and snip a very fine tip on the bag. Drizzle thin, squiggly lines up the sides of each cavity for a bloodshot look. Freeze 4 minutes.
- First white coat: Melt about two-thirds of the white wafers. Spoon a little into each cavity and swirl/brush it up the sides to form a thin shell. Patch any see-through spots. Refrigerate 8 minutes.
- Second coat: Melt the remaining white wafers. Add a second layer, focusing on reinforcing the rims. Refrigerate 6 minutes until completely set, then carefully unmold the shells.
- Prep the filling: In a small bowl, whisk the hot cocoa mix with the vanilla powder (if using). Warm a clean, dry nonstick skillet over low heat for about 1 minute, then turn heat off; residual warmth will seal the shells without melting them.
- Fill and seal: Lightly press the rim of one shell onto the warm skillet for 1–2 seconds to level. Add 1 tablespoon cocoa mix and a few mini marshmallows. Warm the rim of a second shell briefly and cap the first, holding 8–10 seconds to seal. Repeat for all bombs; dab on a touch of melted white chocolate if any seams need patching.
- Set the bombs: Chill assembled bombs 8–10 minutes in the refrigerator, or let sit at room temperature for 15 minutes to fully firm up.
- Serve: Place one bomb in a mug and pour 8–10 oz very hot milk over the top. Stir as the shell opens and enjoy. Optional: finish with whipped cream.
Notes
Featured Comments
“New favorite here — will make again. nourishing was spot on.”
“Made this last night and it was turned out amazing. Loved how the picky-eater approved came together.”
“Impressed! Clear steps and family favorite results. Perfect for busy nights.”
“Impressed! Clear steps and so flavorful results. Perfect for busy nights.”
“Super easy and turned out amazing! My family asked for seconds. Saving this one.”
“New favorite here — will make again. charred was spot on.”
“New favorite here — absolutely loved. smoky was spot on.”
“Super easy and family favorite! My family asked for seconds. Saving this one.”
“This anytime recipe was family favorite — the flavorful really stands out. Thanks!”
“New favorite here — will make again. tasty was spot on.”