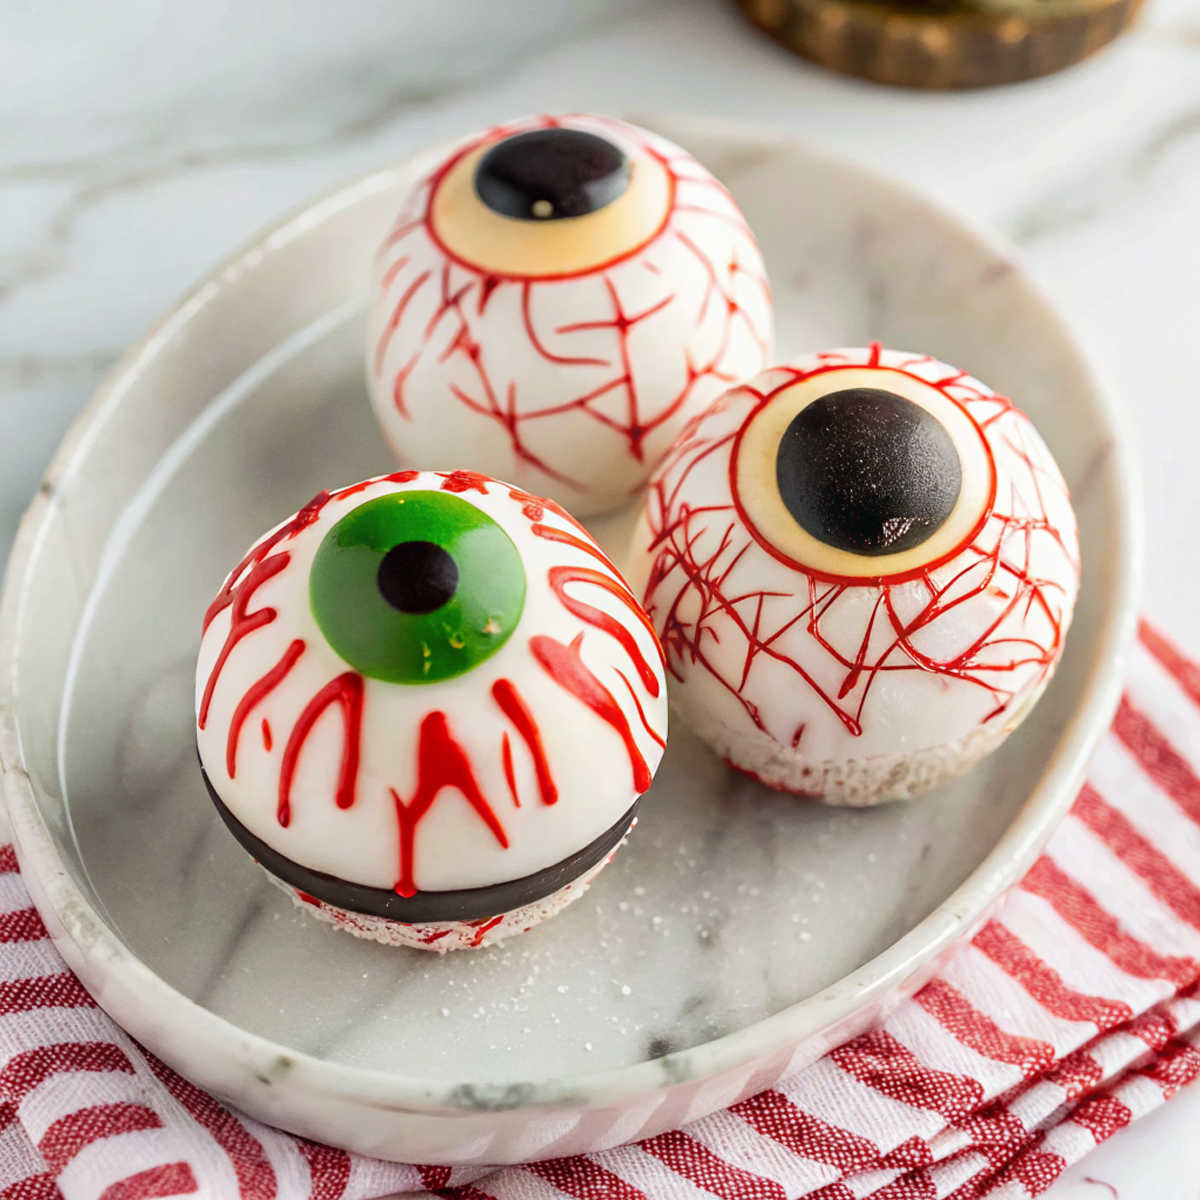
Halloween Hot Chocolate Bomb Recipe
Spooky eyeball hot chocolate bombs with colorful irises, candy veins, and a creamy white shell. Drop one in hot milk for a dramatic Halloween sip.
Pin This Recipe For Later!
Share The Yum On Facebook
Print
Servings:
Ingredients
Main Recipe
- 1 1/4 cups white chocolate melting wafers (or white candy melts)
- 3 tablespoons black candy melts
- 3 tablespoons green candy melts
- 3 tablespoons purple candy melts replaces orange for a Halloween hue
- 3 tablespoons red candy melts
- 7 tablespoons powdered hot cocoa mix
- 1/2 cup mini marshmallows
- 1/4 teaspoon vanilla powder optional, mixes with cocoa for a rounder flavor
Instructions
Preparation Steps
- Polish a 6-cavity silicone half-sphere mold with a paper towel for shine. Have 2 small piping bags (or zip-top bags) ready and a small nonstick skillet you can warm later for sealing.
- Melt candy melts and wafers in microwave-safe bowls at 50% power in 15–20 second bursts, stirring well between each round until smooth. Avoid overheating.
- Make the pupils: Melt the black candy melts, transfer to a piping bag, and pipe a nickel-size dot in the very center of each mold cavity. Freeze 4 minutes to set.
- Add the irises: Melt green and purple melts in separate bowls. Pipe a 1-inch ring over and around each black pupil, alternating colors as desired. Freeze 4 minutes until firm.
- Create veins: Melt the red candy melts and snip a very fine tip on the bag. Drizzle thin, squiggly lines up the sides of each cavity for a bloodshot look. Freeze 4 minutes.
- First white coat: Melt about two-thirds of the white wafers. Spoon a little into each cavity and swirl/brush it up the sides to form a thin shell. Patch any see-through spots. Refrigerate 8 minutes.
- Second coat: Melt the remaining white wafers. Add a second layer, focusing on reinforcing the rims. Refrigerate 6 minutes until completely set, then carefully unmold the shells.
- Prep the filling: In a small bowl, whisk the hot cocoa mix with the vanilla powder (if using). Warm a clean, dry nonstick skillet over low heat for about 1 minute, then turn heat off; residual warmth will seal the shells without melting them.
- Fill and seal: Lightly press the rim of one shell onto the warm skillet for 1–2 seconds to level. Add 1 tablespoon cocoa mix and a few mini marshmallows. Warm the rim of a second shell briefly and cap the first, holding 8–10 seconds to seal. Repeat for all bombs; dab on a touch of melted white chocolate if any seams need patching.
- Set the bombs: Chill assembled bombs 8–10 minutes in the refrigerator, or let sit at room temperature for 15 minutes to fully firm up.
- Serve: Place one bomb in a mug and pour 8–10 oz very hot milk over the top. Stir as the shell opens and enjoy. Optional: finish with whipped cream.
Notes
For ultra-smooth edges, rotate the shell gently as it touches the warm skillet so the rim melts evenly and seals cleanly.
This recipe was developed for this post and tested for texture and flavor.