Halloween Hot Chocolate Bomb Recipe
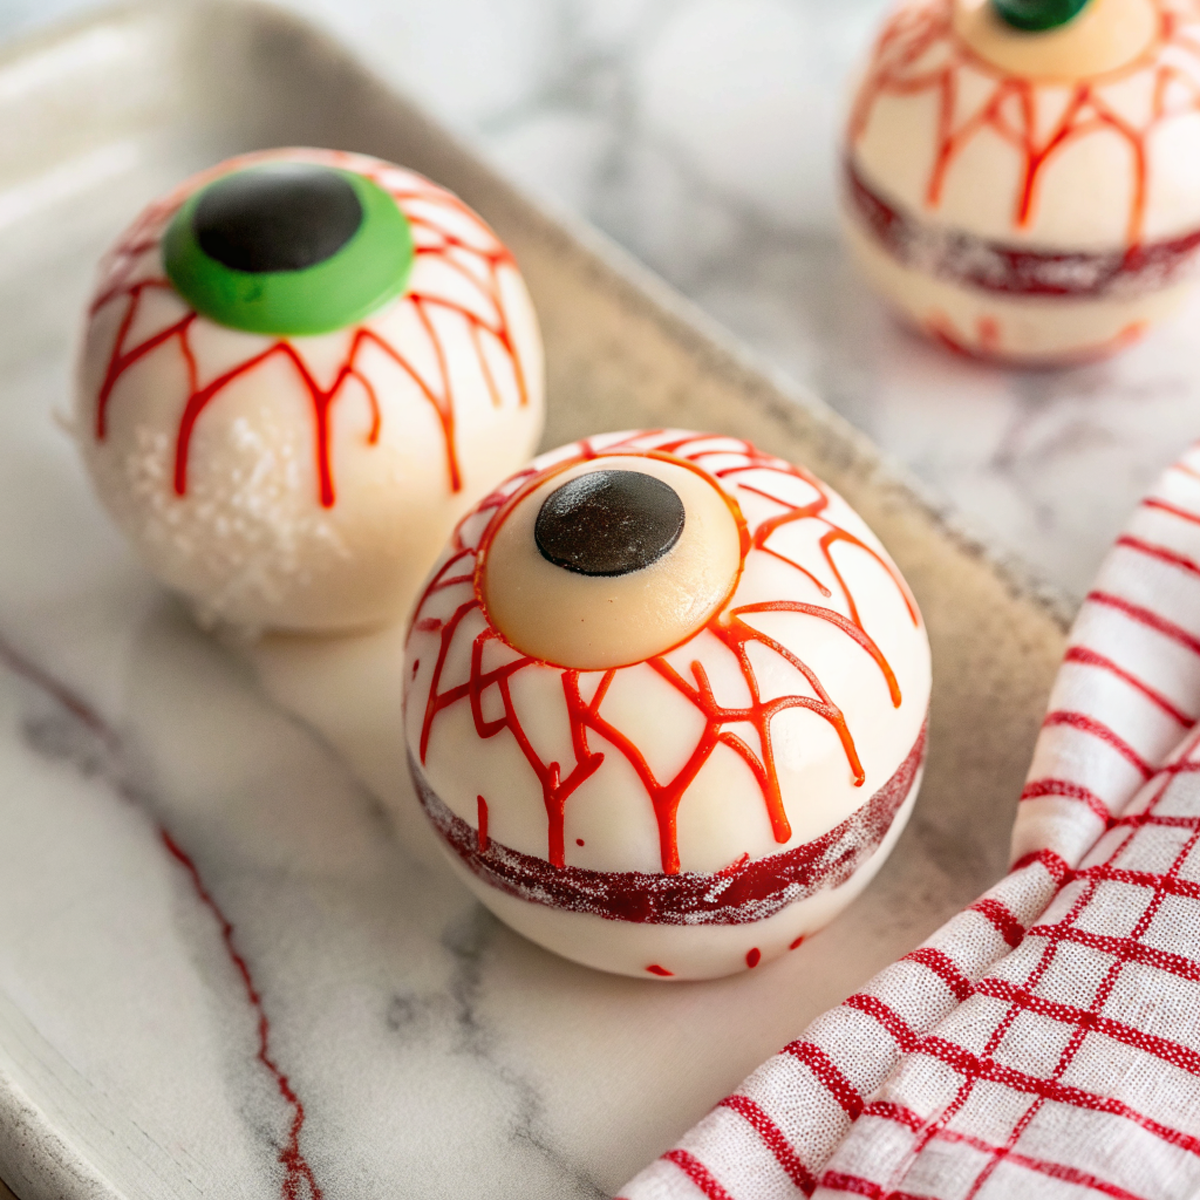
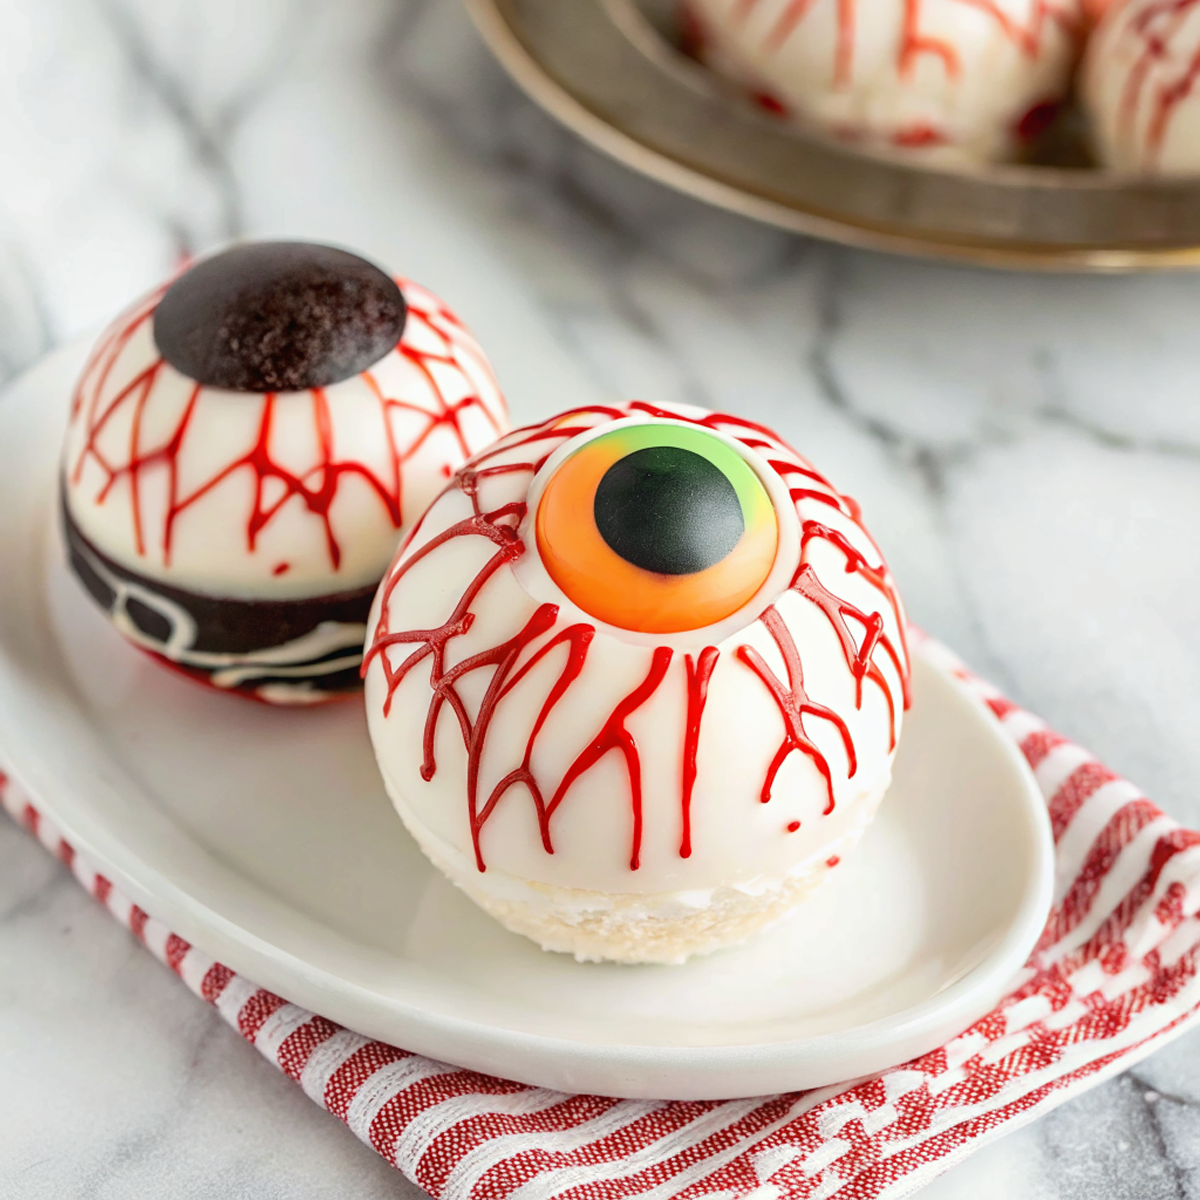
This Halloween hot chocolate bomb is a fun little chocolate shell filled with cocoa mix, mini marshmallows, and festive candy—pour hot milk over it and watch it melt into a rich, creamy hot chocolate. The texture is a crisp chocolate shell that gives way to gooey, frothy hot cocoa; it’s worth making for the visual surprise and the chance to customize flavors and decorations for a party or gift.
It’s an easy project if you temper or gently melt the chocolate and use a silicone sphere mold. You can make a batch ahead, decorate simply with candy melts and sprinkles, and assemble them with minimal tools.
Why This Halloween Hot Chocolate Bomb Recipe Works
1. The chocolate shell holds the fillings securely and melts cleanly when hot milk is added, giving a satisfying reveal.
2. Using quality cocoa mix or hot cocoa powder keeps the flavor rich without clumping.
3. Candy melts and sprinkles make decorating quick and foolproof for a Halloween look.
4. The bombs are easy to store and gift, so you can prepare them ahead for parties or favors.
Ingredients




These are the building blocks—choose quality chocolate and simple mix-ins for the best result.
MORE OF OUR FAVORITE…
– Chocolate or candy melts: Use dark, milk, or white chocolate chips that melt smoothly; candy melts are easier for bright colors but can be softer.
– Instant hot cocoa mix or unsweetened cocoa: Cocoa mix gives sweetness and texture; unsweetened cocoa needs sugar added.
– Mini marshmallows: Classic filling that makes the drink frothy; use mini or cut small regular marshmallows.
– Colored candy melts or white chocolate: For drizzling and decorating—pick orange, black, purple, or white for Halloween effects.
– Sprinkles and small candies: Edible decorations that add theme and texture—avoid anything too heavy.
– Neutral oil or shortening (optional): A teaspoon thinned into melted chocolate helps make it glossy and easier to work with.
– Silicone sphere mold: A 2- to 3-inch mold makes standard-size bombs; silicone releases easily.
Substitutions and Variations
– Swap instant hot cocoa mix for unsweetened cocoa + powdered sugar; the bomb will be less sweet unless you add sugar.
– Use dark chocolate for a richer, less sweet bomb; milk or white chocolate makes it sweeter and creamier.
– Replace mini marshmallows with freeze-dried marshmallow bits or marshmallow fluff in a small piped pouch for less melting.
– Add a pinch of instant espresso or espresso powder for deeper chocolate flavor; it won’t make it taste like coffee, just more chocolate.
– Mix in tiny candy corn or Halloween-themed candies for texture; softer candies may melt faster when poured over hot milk.
How to Make Halloween Hot Chocolate Bomb Recipe
This is a brief summary—see the full recipe card for exact amounts and timings.
1. Melt chocolate or candy melts in short bursts in the microwave or over a double boiler until smooth, stirring frequently.
2. Spoon or brush melted chocolate into silicone sphere molds, coating evenly; chill briefly to set and repeat for a thicker shell.
3. Remove half-spheres from molds, fill each with 1–2 teaspoons hot cocoa mix and a small handful of mini marshmallows and candies.
4. Warm a plate, briefly press the edge of an empty half-sphere onto the warm plate to melt the rim, then quickly seal it to a filled half.
5. Chill sealed bombs until firm, then decorate by drizzling with colored candy melts and adding sprinkles.
6. Let decorations set completely before storing or packaging.
7. To serve, heat 8–10 oz of milk until steaming, place a bomb in a mug, and pour hot milk over it to melt open.
Tips for the Best Results
1. Temper or gently heat chocolate to avoid streaky, dull shells; don’t overheat—stir frequently and stop when mostly melted.
2. Use a thin, even layer of chocolate for the first coat and chill; add a second coat for sturdier shells that won’t break when handled.
3. Warm the plate just enough to slightly melt the rim—too hot will deform shells, too cool won’t seal.
4. Work on a cool, dry day if possible; humidity can cause chocolate to seize or bloom.
5. Store bombs in a single layer with parchment between if stacking to avoid smudged decorations.
Common Mistakes
– Chocolate seizes when water gets in: Fix by starting over with dry tools and a fresh batch of chocolate, or gently stir in a small amount of neutral oil to smooth it.
– Shells too thin and break: Apply a second coat of chocolate and chill between coats for sturdier bombs.
– Filling spills when sealing: Don’t overfill the halves—leave enough edge to melt and seal.
– Decorations melting or sliding: Ensure the base shell is fully chilled before drizzling with warm candy melts.
– Bombs bloom or look dull: Chocolate wasn’t tempered; re-melt and temper or use candy melts for more forgiving finishes.
Storage
Storing:
Keep finished hot chocolate bombs in a cool, dry place away from direct sunlight and strong odors. Store in an airtight container in a single layer or separated with parchment paper for up to 2 weeks.
Freezing:
You can freeze bombs for up to 2 months in an airtight, well-sealed container. Prevent condensation by wrapping individually and thawing in the container at room temperature before opening.
Reheating or serving later:
No reheating needed—just heat milk or a milk alternative and pour over the bomb in a mug. If bombs feel slightly soft from warm storage, chill briefly before gifting.
How to Serve Halloween Hot Chocolate Bomb Recipe
– Pour hot milk over the bomb in a large mug and stir once it melts—top with extra marshmallows.
– Serve as party favors on a spooky dessert table with labels instructing guests to pour hot milk.
– Include in hot beverage gift boxes with a small bag of extra marshmallows and a cute mug.
– For adults, add a splash of spiced rum or peppermint schnapps to the milk before pouring.
More Helpful Notes
– Use a small offset spatula or the back of a spoon to smooth shells inside the mold for even thickness.
– If you want clean, glossy decorations, temper the drizzle chocolate or use candy melts and work at room temperature.
– Label any bombs that contain nuts or allergens if you’re gifting them.
– Small silicone molds (2–3 inch) are easiest for single-serving bombs and fit standard mugs well.
Frequently Asked Questions
Halloween Hot Chocolate Bomb Recipe
Ingredients
Chocolate Bombs
- 1 1/4 cups white chocolate melting wafers
- 1/3 cup green candy melts
- 3 tablespoons orange candy melts
- 3 tablespoons black candy melts
- 1/3 cup red candy melts
- 9 tablespoons powdered hot cocoa mix
- 2/3 cup mini marshmallows
- 1/8 teaspoon fine sea salt
- 1/4 teaspoon instant espresso powder (optional)
- 3 cups hot milk, for serving
Instructions
Preparation Steps
- Line a small sheet pan with parchment. Make sure your silicone half-sphere mold is clean and completely dry; set both aside.
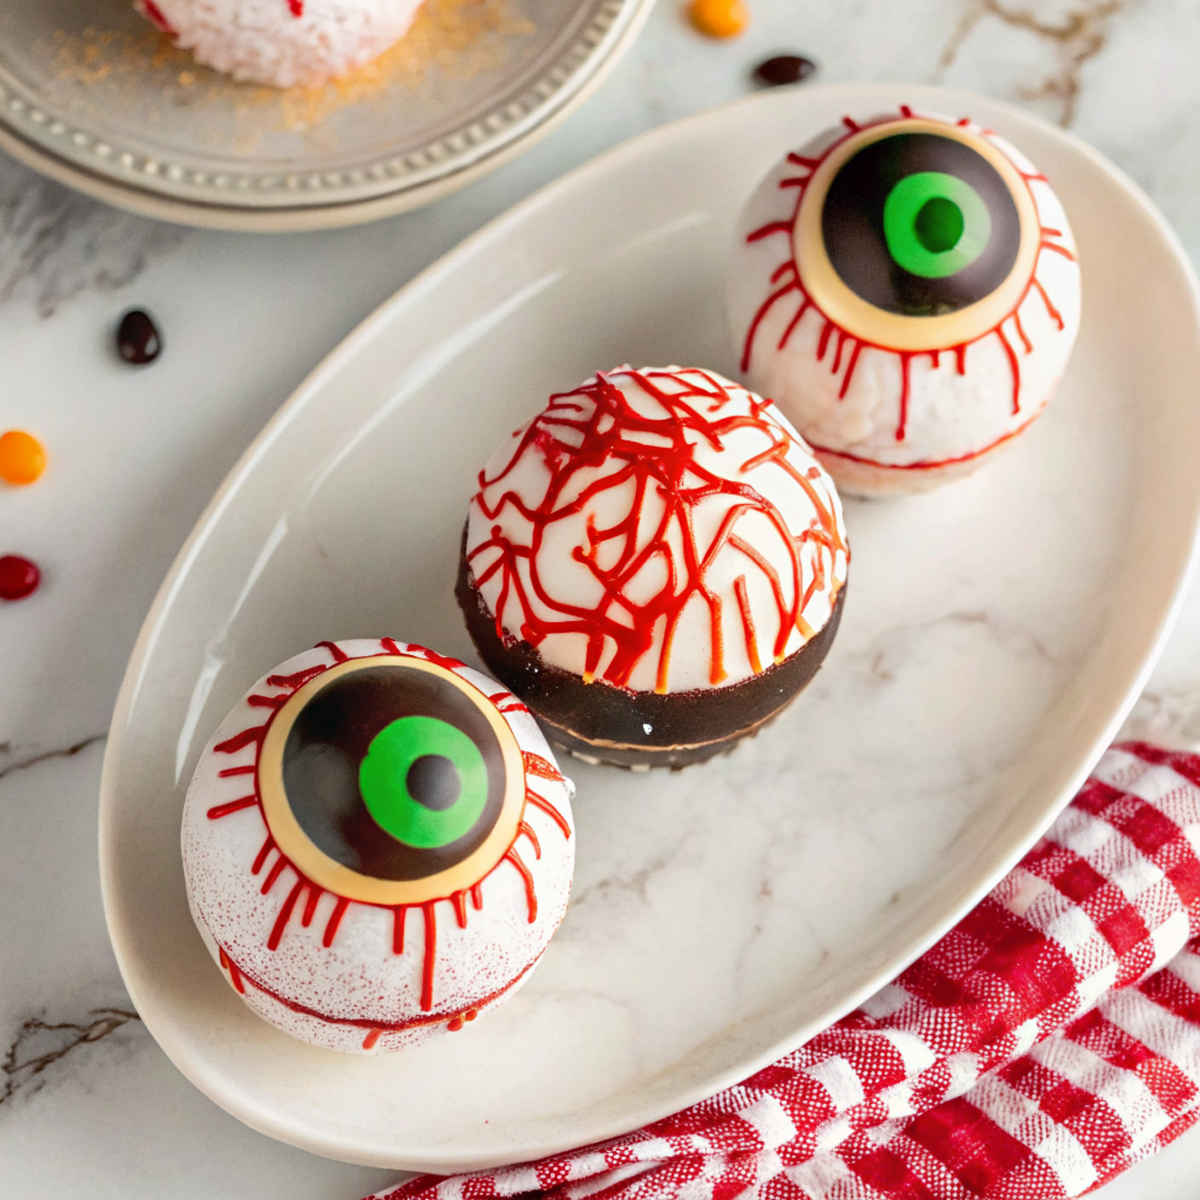
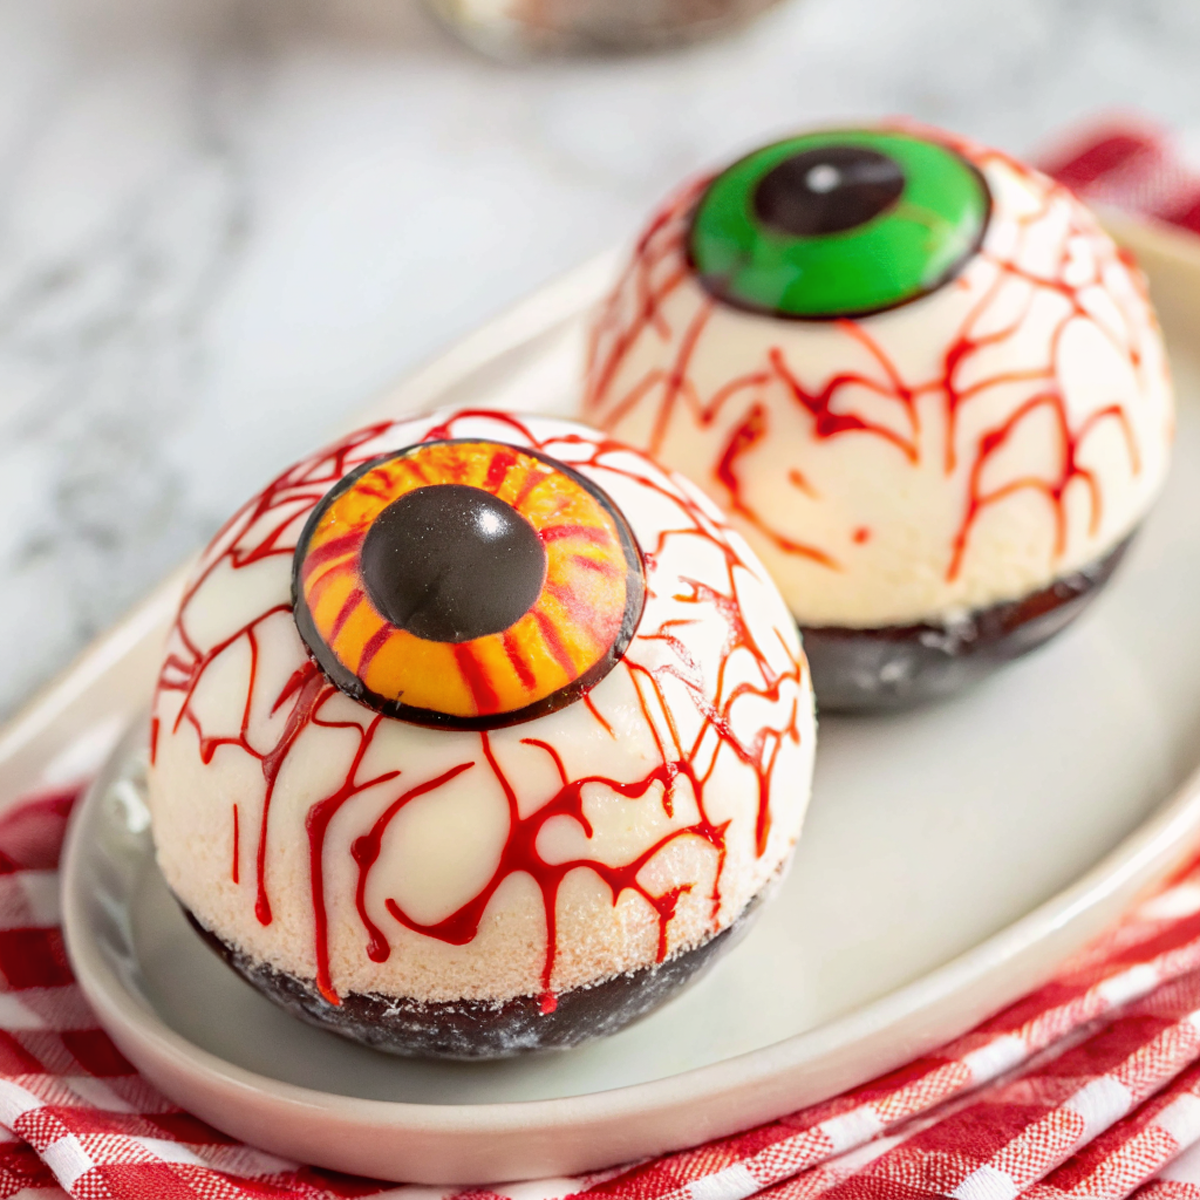
- Create iris and pupil disks: In separate microwave-safe bowls, melt the green and orange candy melts in 20–25 second bursts at 60% power, stirring between each burst until smooth. Pipe 1-inch circles onto the parchment (about 8–10 total so you have extras). Melt the black candy melts the same way and dot a small circle in the center of each colored disk for the pupil. Chill the tray in the freezer for 4–5 minutes to firm up.
- Build the white shells (two coats): Place two-thirds of the white chocolate wafers in a microwave-safe bowl. Heat at 60% power in 25-second intervals, stirring well each time, until just melted and warm to the touch (not hot). Stir in the remaining wafers to seed and cool the chocolate until smooth and slightly thickened. Using the back of a spoon or a pastry brush, paint a thin layer inside each mold cavity. Refrigerate 5 minutes, then add a second coat to reinforce the sides and rim. Refrigerate another 7–8 minutes until fully set.
- Carefully release all white shells from the mold by gently pulling the silicone away from the edges before pushing up from the bottom. Warm a clean nonstick skillet over low heat for 30–45 seconds and remove from heat. One at a time, briefly touch the rim of a shell to the warm pan (1–2 seconds) to even the edge.
- Anchor the irises: Add a pea-size dab of melted white chocolate to the inside center of half the shells. Press a chilled iris disk (colored side out) onto each dab so it adheres. Let set 2 minutes.
- Mix the filling: In a small bowl, combine the powdered hot cocoa mix with the fine sea salt and espresso powder (if using).
- Fill the bombs: Into each iris shell, add 1 1/2 tablespoons cocoa mixture and a generous pinch of mini marshmallows.
- Seal: Gently warm the rims of the remaining shells on the skillet as before, then cap each filled half. Hold together for 5–10 seconds to bond. For a cleaner seam, swipe a warmed spoon around the join to smooth any gaps.
- Add the bloodshot effect: Melt the red candy melts in short bursts at 60% power until fluid. Using a food-safe paintbrush or the tip of a skewer, paint fine squiggly lines from the iris outward over each sphere. Let set at room temperature for 10 minutes or refrigerate 5 minutes until firm.
- Serve: Place one bomb in a mug and pour 8–10 ounces of hot milk over the top. Stir until the shell melts and the cocoa is fully blended.
Notes
Featured Comments
“This gooey recipe was so flavorful — the nourishing really stands out. Thanks!”
“This rich recipe was absolutely loved — the flavorful really stands out. Thanks!”
“Super easy and turned out amazing! My family asked for seconds. Saving this one.”
“Super easy and absolutely loved! My family asked for seconds. Saving this one.”
“Super easy and absolutely loved! My family asked for seconds. Saving this one.”
“This nostalgic recipe was family favorite — the weeknight saver really stands out. Thanks!”
“Impressed! Clear steps and absolutely loved results. Perfect for busy nights.”
“Super easy and family favorite! My family asked for seconds. Saving this one.”
“Made this last night and it was so flavorful. Loved how the crunchy came together.”
“Made this last night and it was will make again. Loved how the creamy came together.”