Halloween Hot Chocolate Bomb Recipe
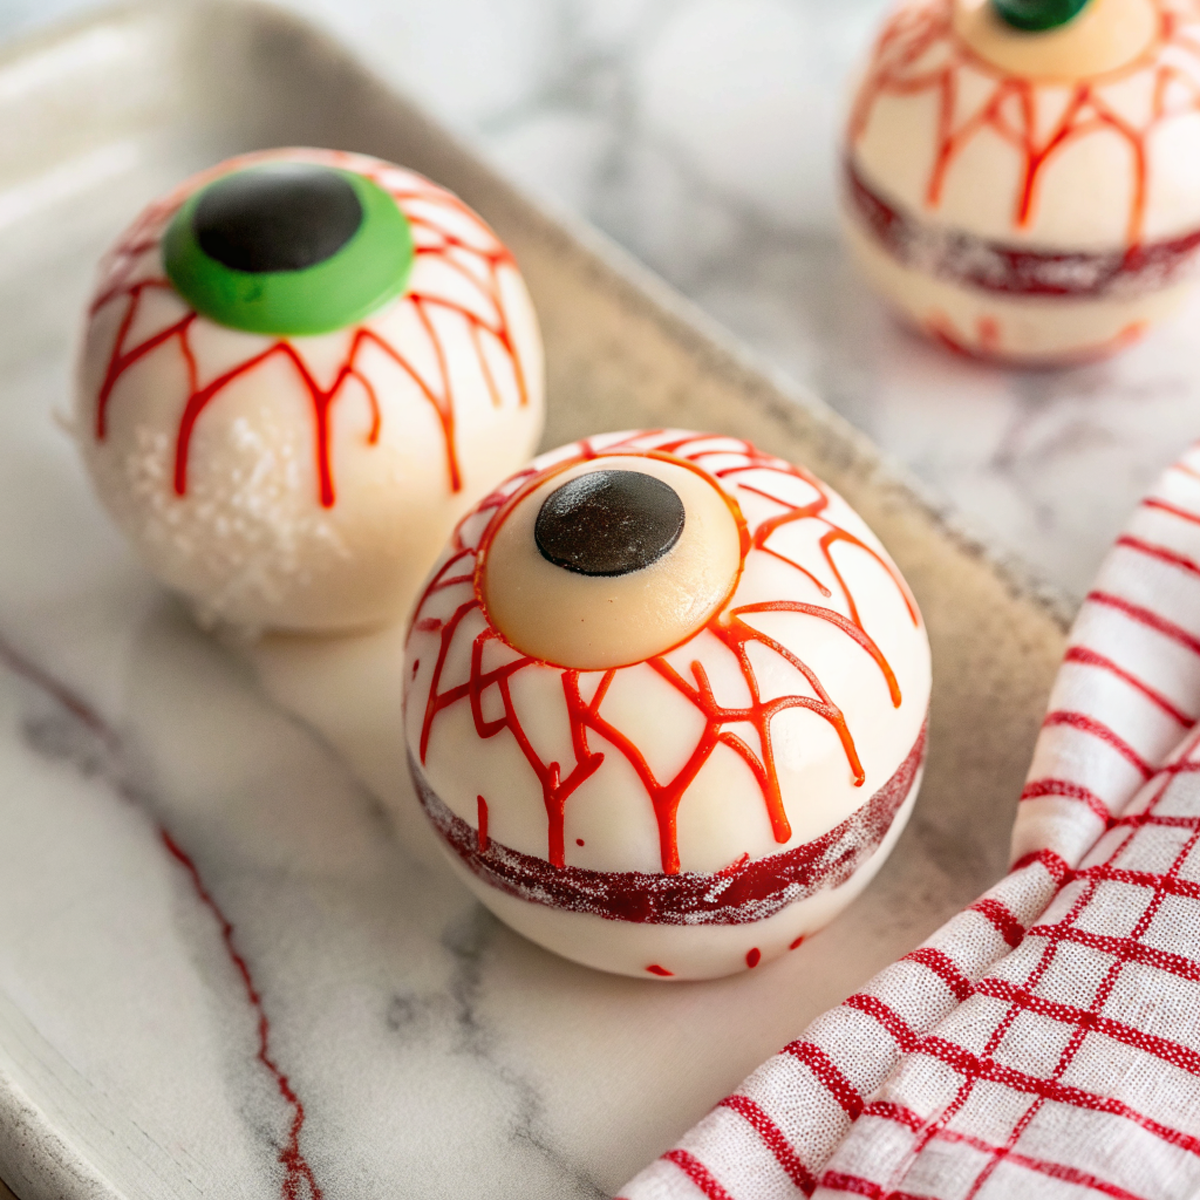
Spooky fun meets cozy cocoa with these bloodshot eyeball hot chocolate bombs—crisp white shells, creepy colored irises, and a rich cocoa-marshmallow center. Just add hot milk and watch the magic happen.
Pin This Recipe For Later!
Share The Yum On Facebook
Print
Servings:
Ingredients
Chocolate Bombs
- 1 1/4 cups white chocolate melting wafers
- 1/3 cup green candy melts
- 3 tablespoons orange candy melts
- 3 tablespoons black candy melts
- 1/3 cup red candy melts
- 9 tablespoons powdered hot cocoa mix
- 2/3 cup mini marshmallows
- 1/8 teaspoon fine sea salt
- 1/4 teaspoon instant espresso powder (optional)
- 3 cups hot milk, for serving
Instructions
Preparation Steps
- Line a small sheet pan with parchment. Make sure your silicone half-sphere mold is clean and completely dry; set both aside.
- Create iris and pupil disks: In separate microwave-safe bowls, melt the green and orange candy melts in 20–25 second bursts at 60% power, stirring between each burst until smooth. Pipe 1-inch circles onto the parchment (about 8–10 total so you have extras). Melt the black candy melts the same way and dot a small circle in the center of each colored disk for the pupil. Chill the tray in the freezer for 4–5 minutes to firm up.
- Build the white shells (two coats): Place two-thirds of the white chocolate wafers in a microwave-safe bowl. Heat at 60% power in 25-second intervals, stirring well each time, until just melted and warm to the touch (not hot). Stir in the remaining wafers to seed and cool the chocolate until smooth and slightly thickened. Using the back of a spoon or a pastry brush, paint a thin layer inside each mold cavity. Refrigerate 5 minutes, then add a second coat to reinforce the sides and rim. Refrigerate another 7–8 minutes until fully set.
- Carefully release all white shells from the mold by gently pulling the silicone away from the edges before pushing up from the bottom. Warm a clean nonstick skillet over low heat for 30–45 seconds and remove from heat. One at a time, briefly touch the rim of a shell to the warm pan (1–2 seconds) to even the edge.
- Anchor the irises: Add a pea-size dab of melted white chocolate to the inside center of half the shells. Press a chilled iris disk (colored side out) onto each dab so it adheres. Let set 2 minutes.
- Mix the filling: In a small bowl, combine the powdered hot cocoa mix with the fine sea salt and espresso powder (if using).
- Fill the bombs: Into each iris shell, add 1 1/2 tablespoons cocoa mixture and a generous pinch of mini marshmallows.
- Seal: Gently warm the rims of the remaining shells on the skillet as before, then cap each filled half. Hold together for 5–10 seconds to bond. For a cleaner seam, swipe a warmed spoon around the join to smooth any gaps.
- Add the bloodshot effect: Melt the red candy melts in short bursts at 60% power until fluid. Using a food-safe paintbrush or the tip of a skewer, paint fine squiggly lines from the iris outward over each sphere. Let set at room temperature for 10 minutes or refrigerate 5 minutes until firm.
- Serve: Place one bomb in a mug and pour 8–10 ounces of hot milk over the top. Stir until the shell melts and the cocoa is fully blended.
Notes
Tip: If any candy melts seem thick, stir in 1/2 teaspoon refined coconut oil to loosen for easier piping and painting.
Store assembled bombs in an airtight container in a cool, dry spot for up to 1 week; avoid the refrigerator once decorated to prevent condensation.
This recipe is an original creation inspired by classic Halloween Hot Chocolate Bomb Recipe flavors. All ingredient ratios and instructions are independently developed.