Rich Chocolate Mousse Cake Recipe
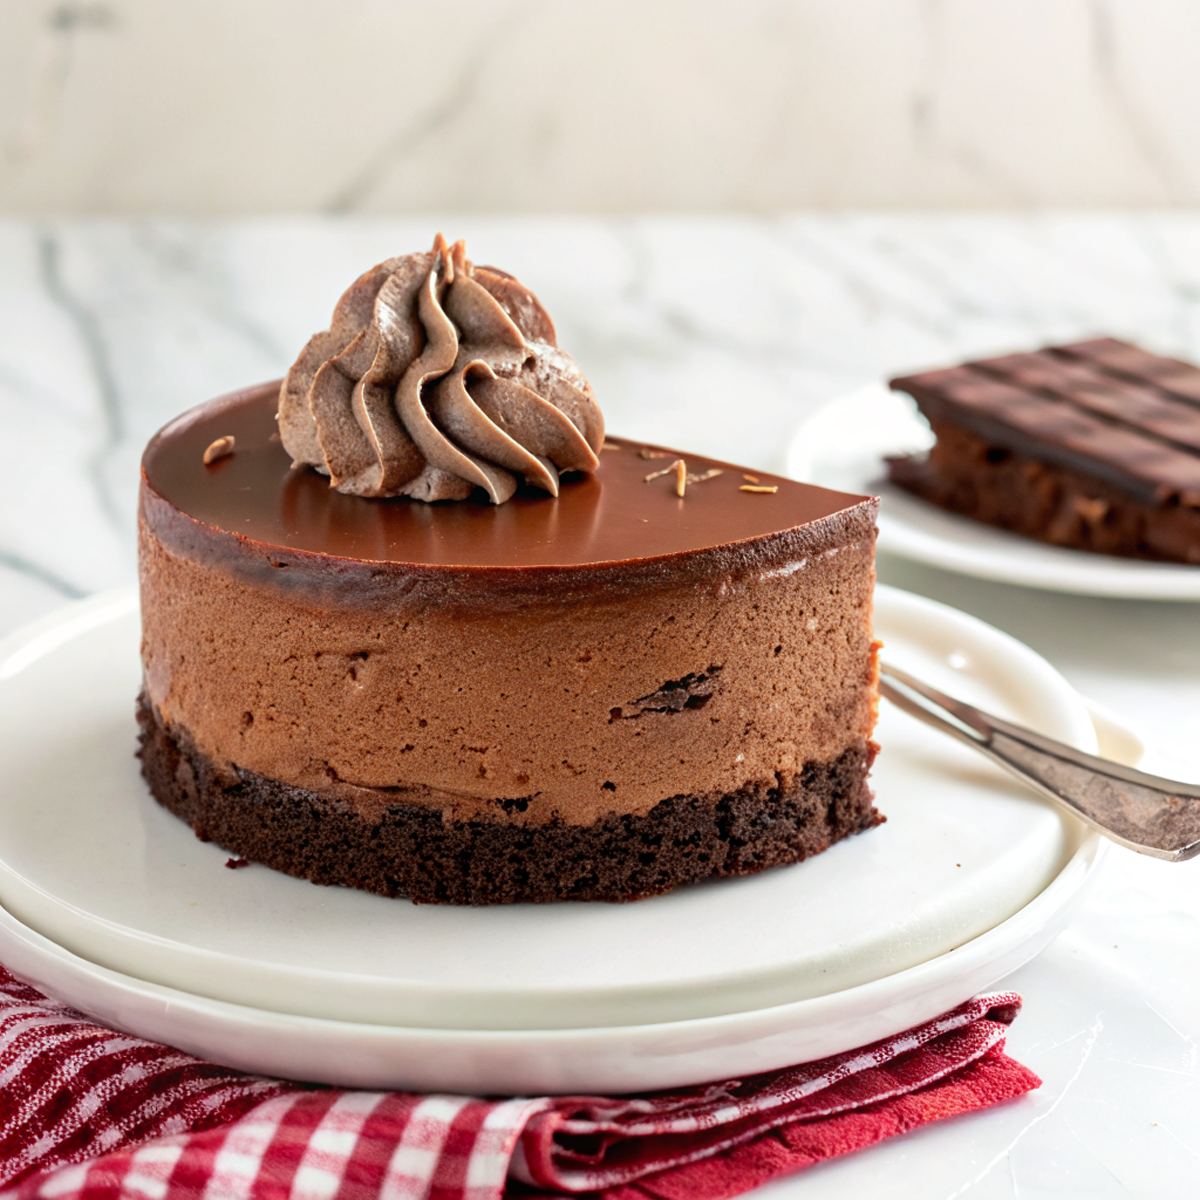
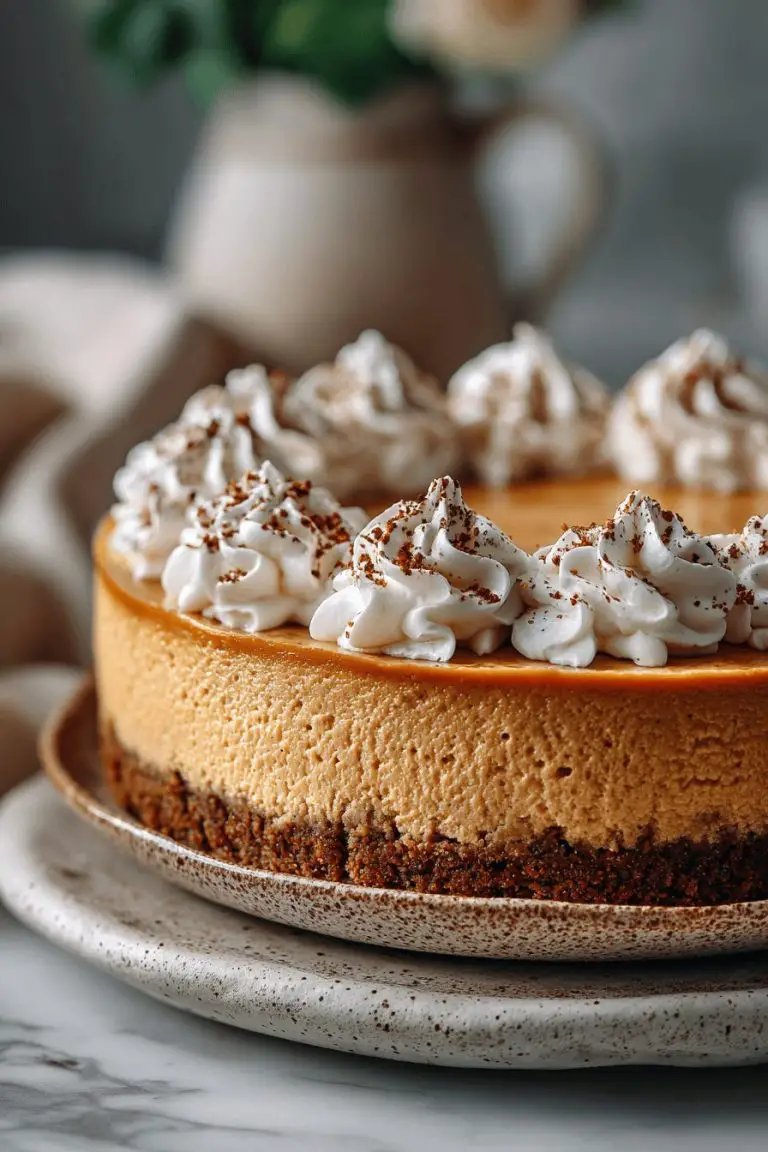
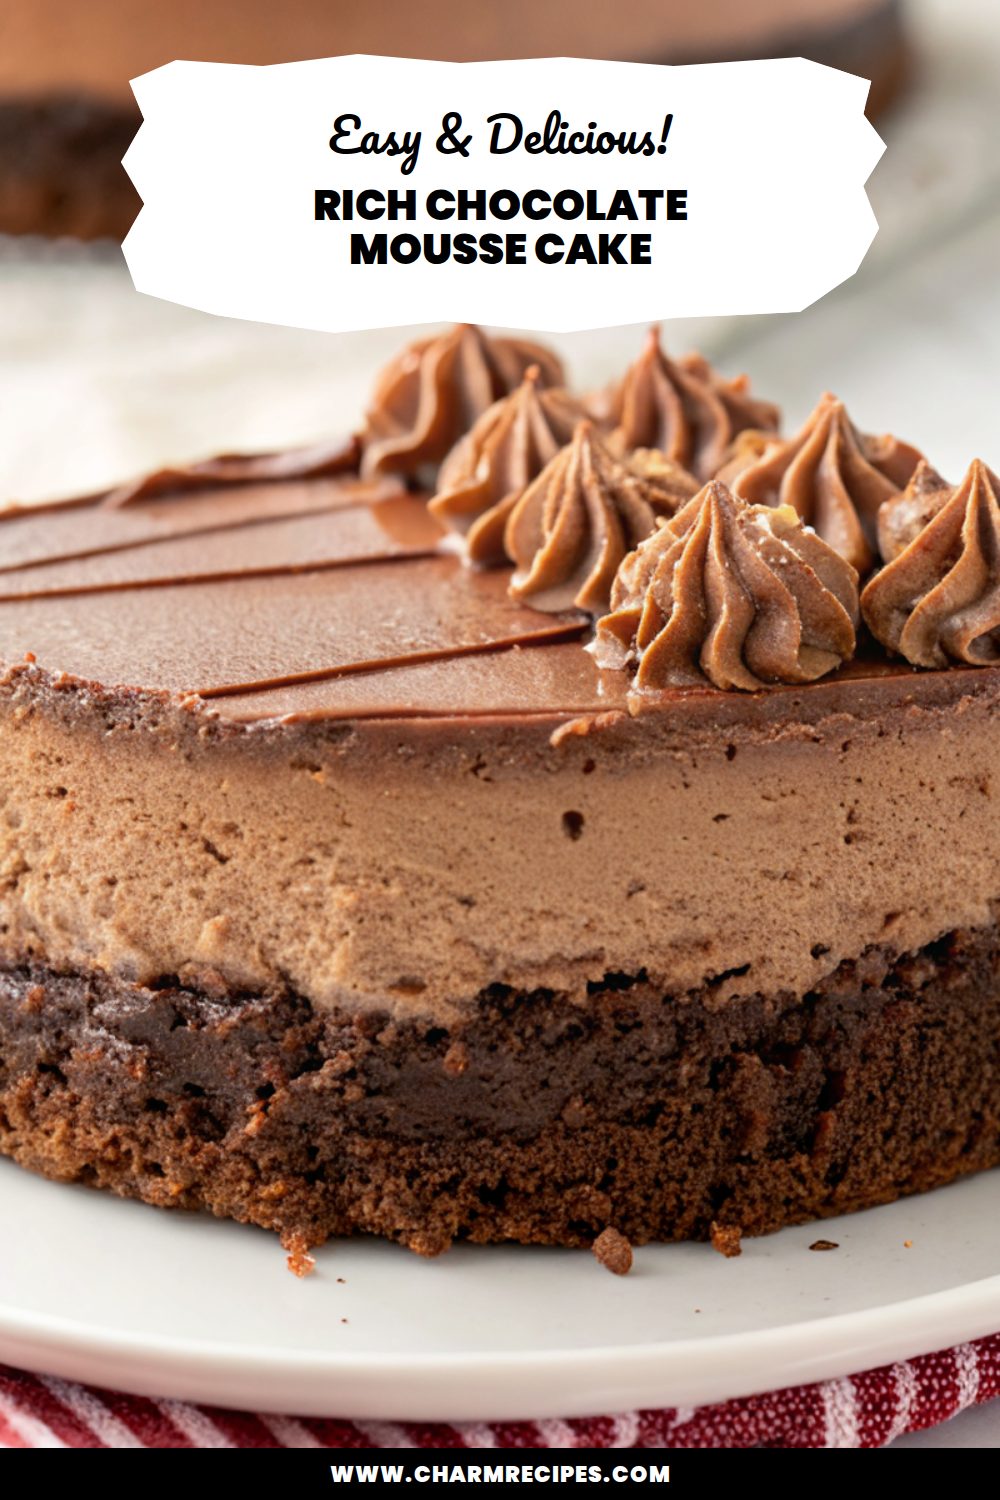
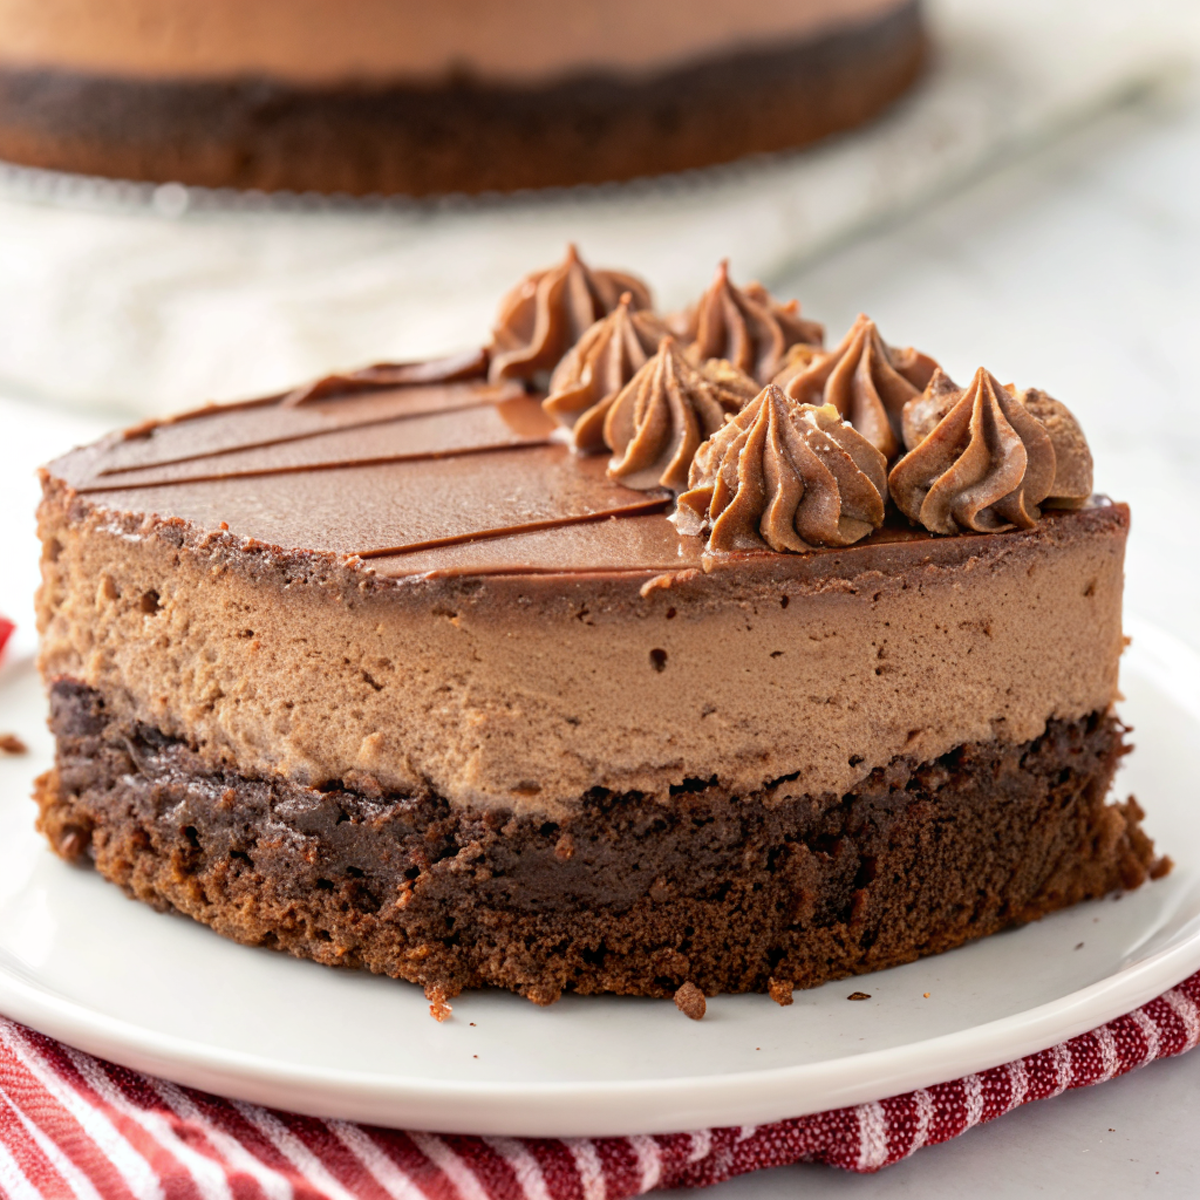
This rich chocolate mousse cake is a layered dessert with a tender chocolate base and a silky, deeply chocolatey mousse on top — smooth, not too sweet, and nicely balanced with a hint of espresso. It’s worth making when you want an impressive-looking cake that mostly comes together with a few straightforward steps and a bit of chilling time.
It’s a forgiving recipe: no tempering chocolate or complicated piping required. You can make the components a day ahead and assemble the cake the next day, which helps for timing and for a better-set mousse.
Why This Rich Chocolate Mousse Cake Recipe Works
1. The base (sponge or cookie crust) gives structure without competing with the mousse’s silkiness.
2. High-quality dark chocolate provides concentrated cocoa flavor and a smooth mouthfeel.
3. Whipped cream folded into the melted chocolate creates a light, airy mousse that still tastes rich.
4. A short chill sets the layers properly so slices come out clean and the texture holds.
Ingredients




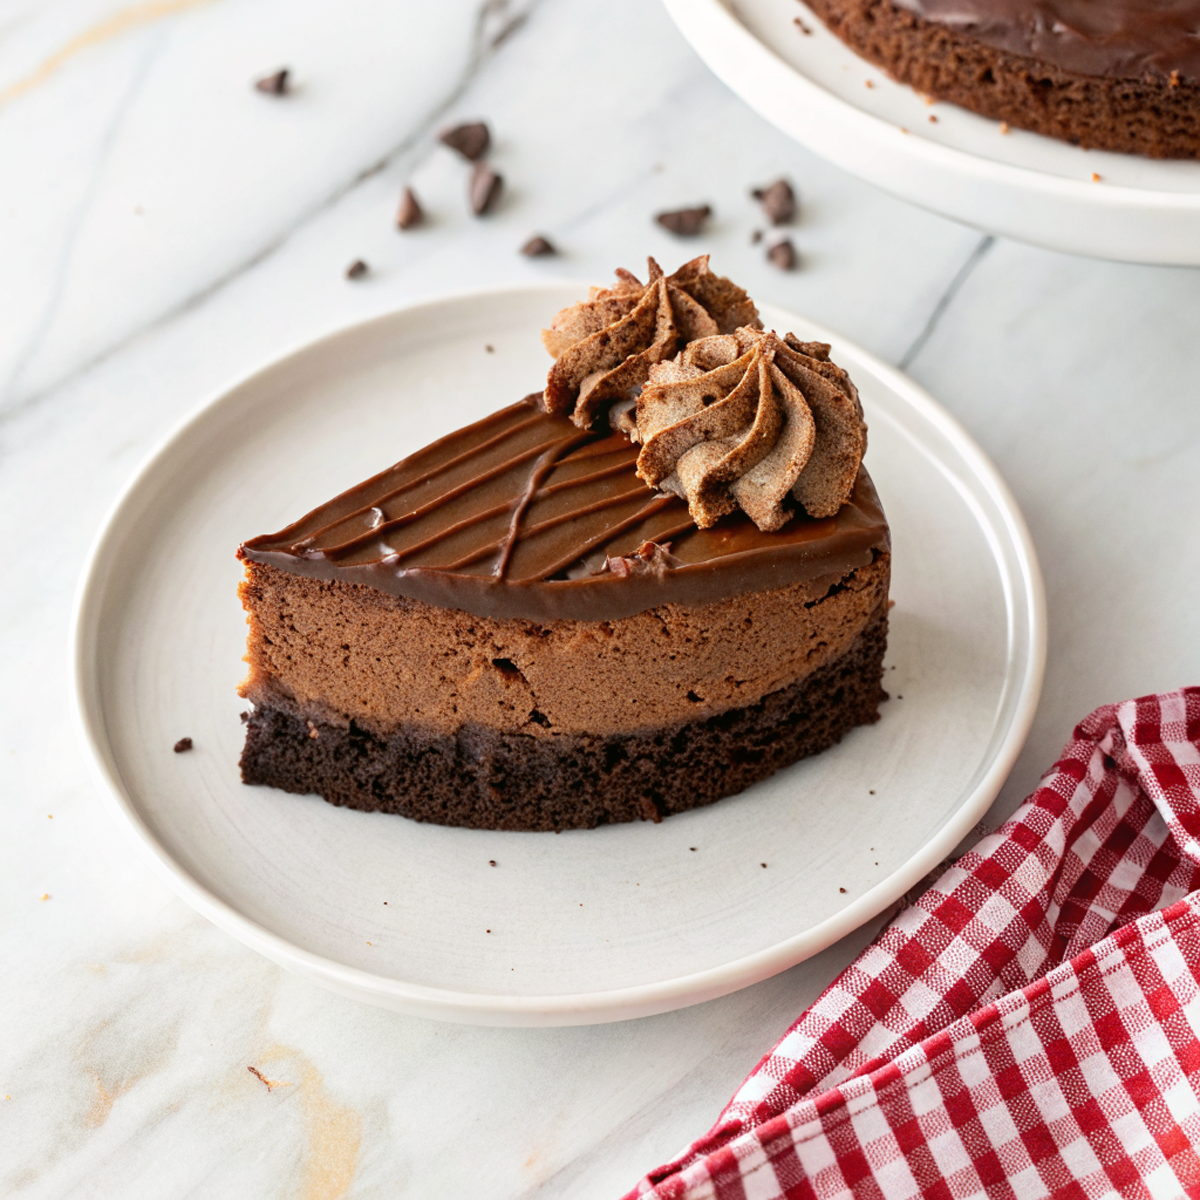
A quick note: these bullets describe the role of each main ingredient so you know why it’s used and how to pick a good substitute if needed.
MORE OF OUR FAVORITE…
– Dark chocolate: Use 60–70% cocoa for depth without too much bitterness; good-quality chopped chocolate or couverture melts smoothly.
– Heavy cream: For both whipping and adding silkiness; use full-fat cream for best texture.
– Eggs (or egg whites): Common in mousse recipes for lift and structure — pasteurized if you’re concerned about raw eggs.
– Sugar: Granulated sugar to sweeten the mousse; adjust slightly if your chocolate is sweeter or more bitter.
– Butter: Adds richness to the base and helps a cookie crust set when chilled.
– Instant espresso or strong coffee: Optional but recommended — enhances the chocolate flavor without tasting like coffee.
– Salt & vanilla: Small amounts sharpen the chocolate notes and round the flavor.
Substitutions and Variations
– Use a cookie crust (crushed chocolate wafers + butter) instead of sponge for a denser base; it makes the cake slightly firmer.
– Substitute gelatin for whipped egg whites if you prefer a fully cooked/stabilized mousse; mousse will be a bit denser and more sliceable.
– Swap dark chocolate for milk chocolate for a sweeter, creamier mousse; reduce added sugar slightly.
– Add a layer of raspberry jam or fresh raspberries between base and mousse for bright acidity; texture becomes more complex and refreshing.
– Make a single-flavor version with 70% chocolate for more intense cocoa, or mix dark and milk chocolate for balance.
How to Make Rich Chocolate Mousse Cake Recipe
This is a summary — the full recipe card has exact amounts and timings for each step.
1. Prepare the base: bake a thin chocolate sponge or press a chocolate cookie crust into a springform pan and chill until firm.
2. Melt chopped dark chocolate gently over a double boiler or short bursts in the microwave; stir until smooth and add a splash of espresso and butter if using.
3. Whip heavy cream to soft peaks and keep chilled; separately whip egg whites with sugar to glossy peaks if using them.
4. Temper the chocolate by folding in a couple of spoonfuls of whipped cream (or egg whites) to loosen it, then gently fold in the remaining cream and whites until uniform.
5. Pour the mousse over the prepared base, smooth the top, and refrigerate for at least 4 hours or overnight to set.
6. Run a thin knife around the pan before removing the springform ring; chill again if slices seem soft before serving.
7. Garnish with shaved chocolate, cocoa powder, or berries just before serving.
Tips for the Best Results
1. Use room-temperature eggs and cool melted chocolate slightly before folding to avoid seizing or deflating the mousse.
2. Don’t overwhip the cream — stop at soft to medium peaks so the mousse remains silky.
3. If using egg whites, make sure bowls and utensils are grease-free so whites reach maximum volume.
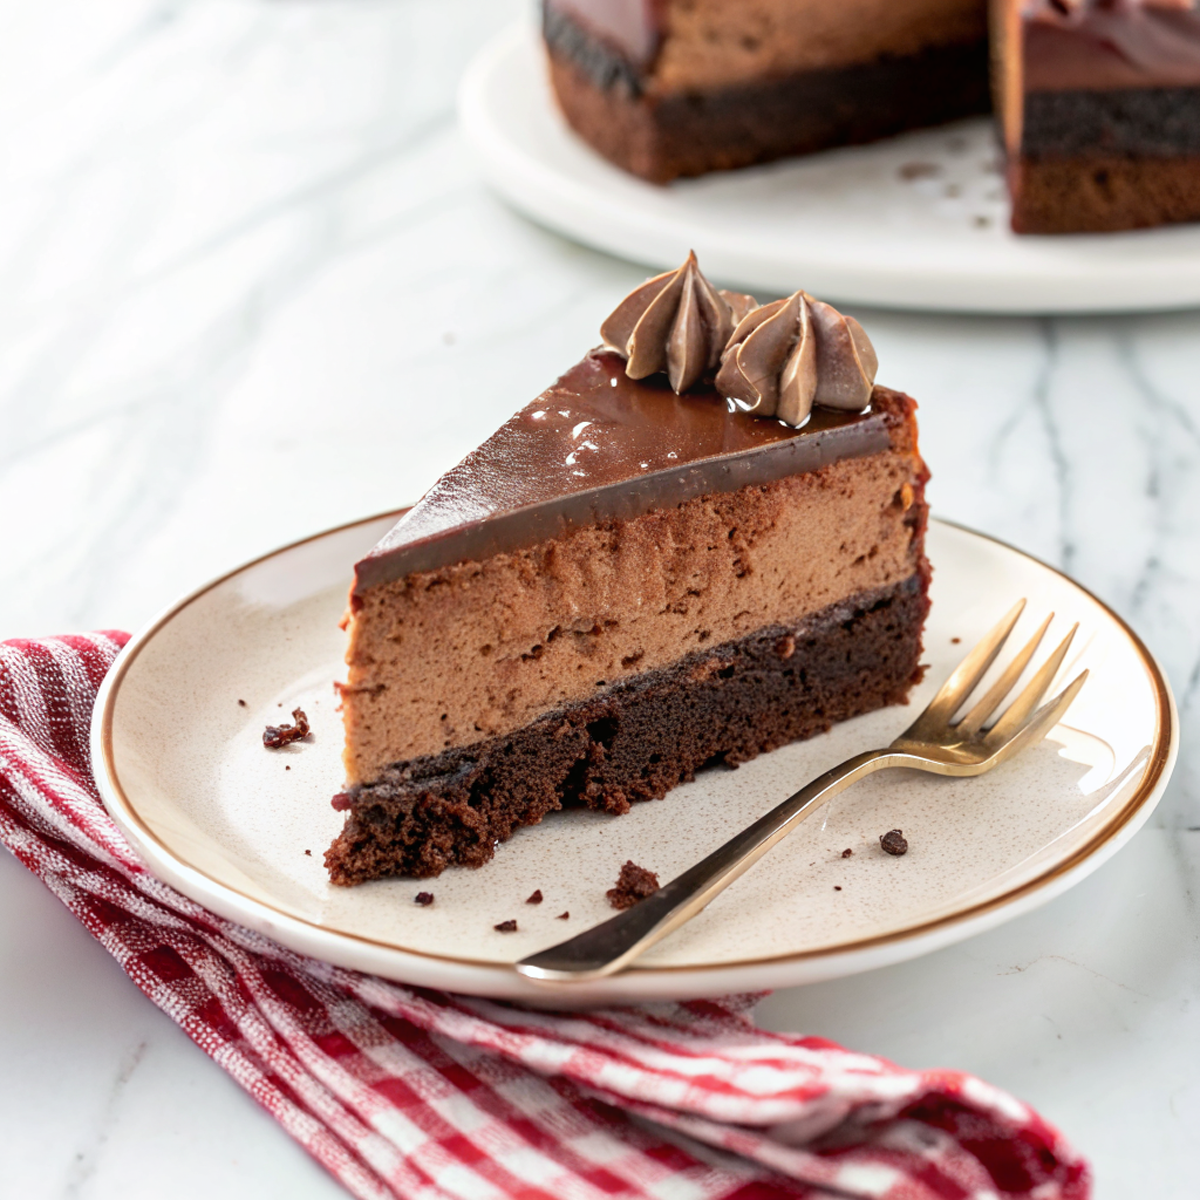
4. Chill the assembled cake at least 4–6 hours (ideally overnight) for clean slices.
5. For a neater release, line the pan with parchment or use acetate strips around the sides.
Common Mistakes
– Chocolate seized when melting: fix by removing from heat and stirring in a tablespoon of warm cream to smooth it out.
– Mousse is grainy or separated: often from folding hot chocolate into cold cream — let melted chocolate cool slightly before combining.
– Cake too soft to slice: didn’t chill long enough — return to fridge for several hours or briefly to the freezer (10–15 minutes) before slicing.
– Overwhipped cream leading to curdled texture: gently fold in a small amount of liquid chocolate to rebalance, but better to avoid overwhipping.
– Greasy or collapsed layers: oil or butter residue on tools prevents proper whipping — ensure everything is clean and dry.
Storage
Storing: Keep the cake covered in the refrigerator for up to 3 days. Store on a flat surface and cover with a cake dome or plastic wrap to prevent it from absorbing fridge odors.
Freezing: You can freeze the whole cake or individual slices wrapped tightly in plastic and foil for up to 1 month. Thaw in the refrigerator overnight to preserve texture.
Reheating or serving later: Serve cold or at cool room temperature — take the cake out of the fridge 20–30 minutes before serving for slightly softer mousse and better flavor release.
How to Serve Rich Chocolate Mousse Cake Recipe
– Serve plain with a dusting of cocoa powder and a few fresh raspberries for contrast.
– Add a spoonful of lightly sweetened whipped cream and a sprinkle of flaky sea salt for a grown-up touch.
– Pair slices with espresso or strong black tea to balance richness.
– Offer a simple fruit compote (cherry or raspberry) on the side for bright acidity.
More Helpful Notes
– If you prefer a firmer mousse for transport, add a small amount of powdered gelatin (bloomed and dissolved) to the chocolate before folding in cream.
– Taste the chocolate mixture before folding in all the cream to adjust sweetness or add a pinch of salt.
– Use a serrated knife warmed under hot water and wiped dry for cleaner slices.
– If using a sponge base, brush it lightly with syrup (coffee or sugar syrup) to keep it moist under the mousse.
Frequently Asked Questions
Rich Chocolate Mousse Cake Recipe
Ingredients
Chocolate Cake Base
- 2/3 cup granulated sugar (133g)
- 1/3 cup neutral vegetable oil (80ml)
- 2 large eggs, at room temperature
- 1 1/2 teaspoons vanilla extract
- 1/3 cup plain Greek yogurt (80g), room temperature
- 1 cup all-purpose flour (125g), sifted
- 1/3 cup Dutch-process cocoa powder (35g), sifted
- 1 teaspoon baking powder
- 1/2 teaspoon baking soda
- 1/2 teaspoon fine salt
- 1/2 cup hot brewed coffee (120ml)
- 1 teaspoon instant espresso powder
Silky Chocolate Mousse
- 6 ounces dark chocolate 60–70%, chopped (170g)
- 1 1/4 cups heavy whipping cream (300ml), cold, divided use
- 1/2 cup powdered sugar (60g)
- 8 ounces cream cheese (226g), softened
- 1 teaspoon unflavored powdered gelatin
- 2 tablespoons cold water (for blooming gelatin)
- 1 teaspoon vanilla extract
- 1 pinch fine sea salt
Ganache Layer
- 3 ounces dark chocolate, chopped (85g)
- 1/3 cup heavy whipping cream (80ml)
Vanilla Whipped Topping
- 3/4 cup heavy whipping cream (180ml), cold
- 3 tablespoons powdered sugar (24g)
- 1/2 teaspoon vanilla extract
Instructions
Preparation Steps
- Line the bottom of an 8-inch springform pan with parchment and lightly grease the sides. For extra clean edges later, line the sides with a strip of parchment or an acetate collar. Preheat the oven to 325°F (165°C).
- Whisk the hot coffee and instant espresso powder together, then whisk in the cocoa powder until smooth and glossy. Set aside to cool slightly while you start the batter.
- In a large bowl, beat the sugar, eggs, and vanilla for 1 minute until lightly foamy. Slowly stream in the oil while whisking to emulsify.
- In a separate bowl, sift the flour with the baking powder, baking soda, and salt. Fold half of this dry mix into the egg mixture, then whisk in the cocoa–coffee slurry and the Greek yogurt. Add the remaining dry mix and stir just until no dry streaks remain.
- Scrape the batter into the prepared springform. Bake at 325°F for 32–38 minutes, until the center springs back and a toothpick comes out with a few moist crumbs. Cool 15 minutes in the pan, then level the top if domed. Keep the cake in the springform and chill it in the freezer for 10 minutes to firm while you begin the mousse.
- Bloom the gelatin: sprinkle it over the cold water in a small bowl and let stand 5 minutes. Meanwhile, place the chopped chocolate in a heatproof bowl set over a pan of barely simmering water (do not let the bowl touch the water) and stir until melted and smooth. Remove from heat to cool for 5 minutes.
- In a chilled bowl, whip 1 cup (240ml) of the heavy cream to soft peaks; refrigerate. In another bowl, beat the cream cheese, powdered sugar, vanilla, and a pinch of sea salt until creamy and lump-free, 1–2 minutes.
- Liquefy the bloomed gelatin by warming it briefly (5–8 seconds in the microwave, or set the bowl in warm water) until just melted. Whisk the liquid gelatin into the melted chocolate until glossy and uniform.
- Blend the chocolate–gelatin mixture into the cream cheese base until fully combined. Fold in the whipped cream in two additions, keeping the mixture airy. If it feels loose, refrigerate the bowl for 5 minutes to slightly thicken before assembling.
- Spoon the mousse over the cooled cake in the springform. Smooth the top and tap the pan gently on the counter to release any large air bubbles. Cover and refrigerate until set, 1½–3 hours.
- Make the ganache: heat the cream in a small saucepan just to a simmer. Pour over the chopped chocolate in a bowl, let stand 1–2 minutes, then stir from the center out until smooth. Cool 10–15 minutes until thickened but still pourable, then spread over the set mousse. Chill 20–30 minutes to lightly set the glaze.
- For the topping, whip the remaining 1/4 cup (60ml) heavy cream with the powdered sugar and vanilla to medium peaks. Pipe rosettes or a simple border around the edge. To serve, warm a thin knife under hot water, wipe dry, and cut clean slices.
Notes
Featured Comments
“Impressed! Clear steps and so flavorful results. Perfect for busy nights.”
“New favorite here — turned out amazing. quick was spot on.”
“Super easy and so flavorful! My family asked for seconds. Saving this one.”
“Impressed! Clear steps and so flavorful results. Perfect for busy nights.”
“Impressed! Clear steps and family favorite results. Perfect for busy nights.”
“This crowd-pleaser recipe was turned out amazing — the satisfying really stands out. Thanks!”
“Made this last night and it was family favorite. Loved how the weeknight saver came together.”
“Impressed! Clear steps and absolutely loved results. Perfect for busy nights.”
“Super easy and family favorite! My family asked for seconds. Saving this one.”
“Impressed! Clear steps and so flavorful results. Perfect for busy nights.”