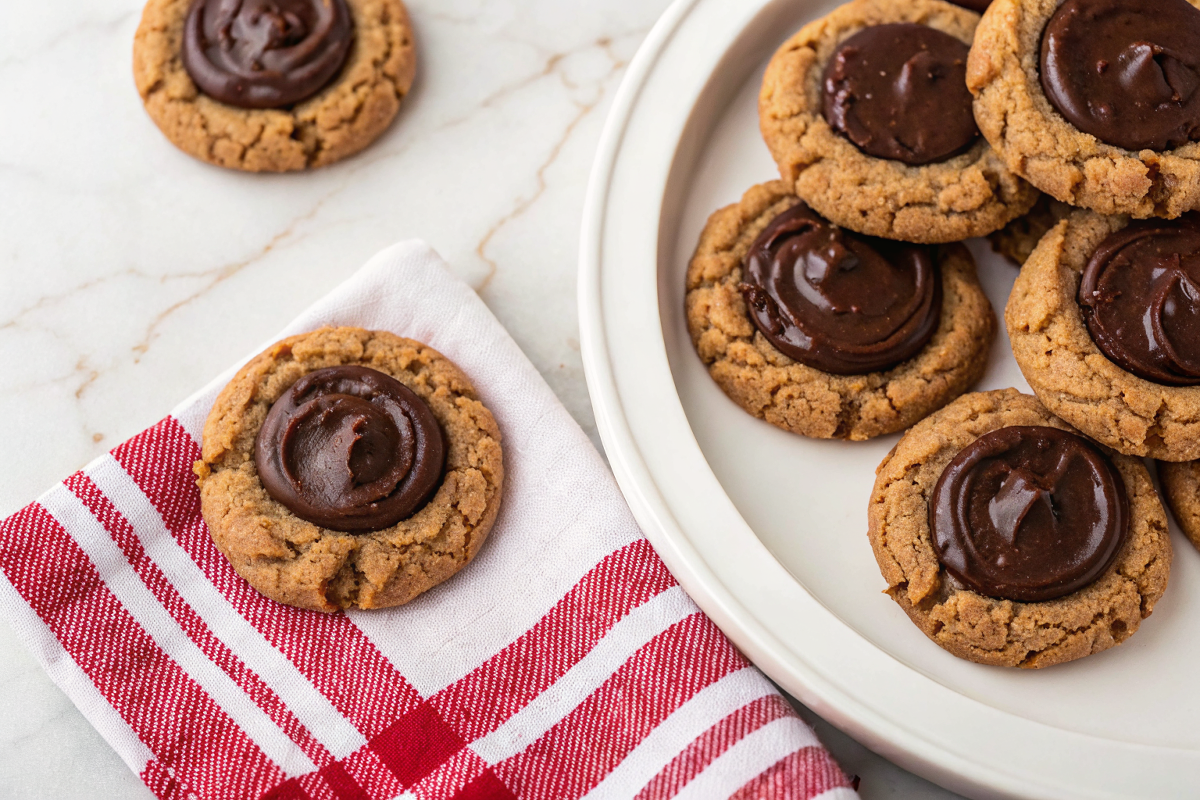
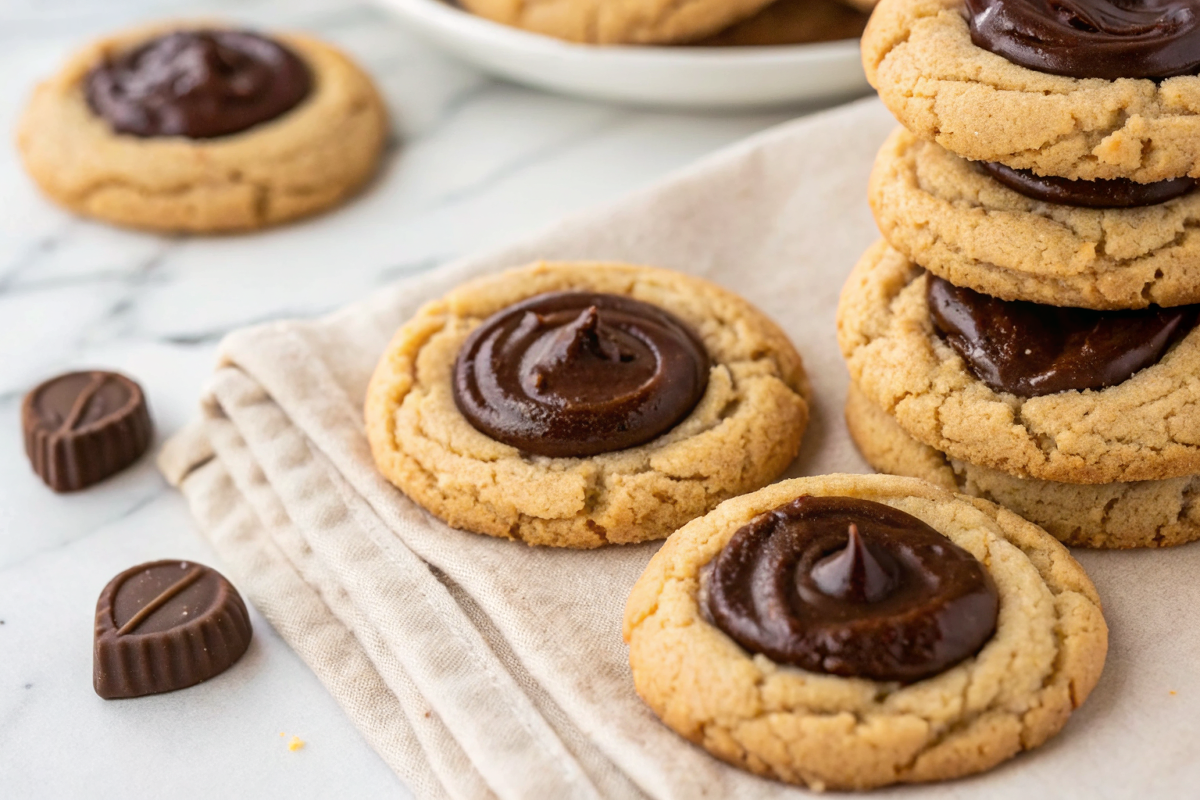
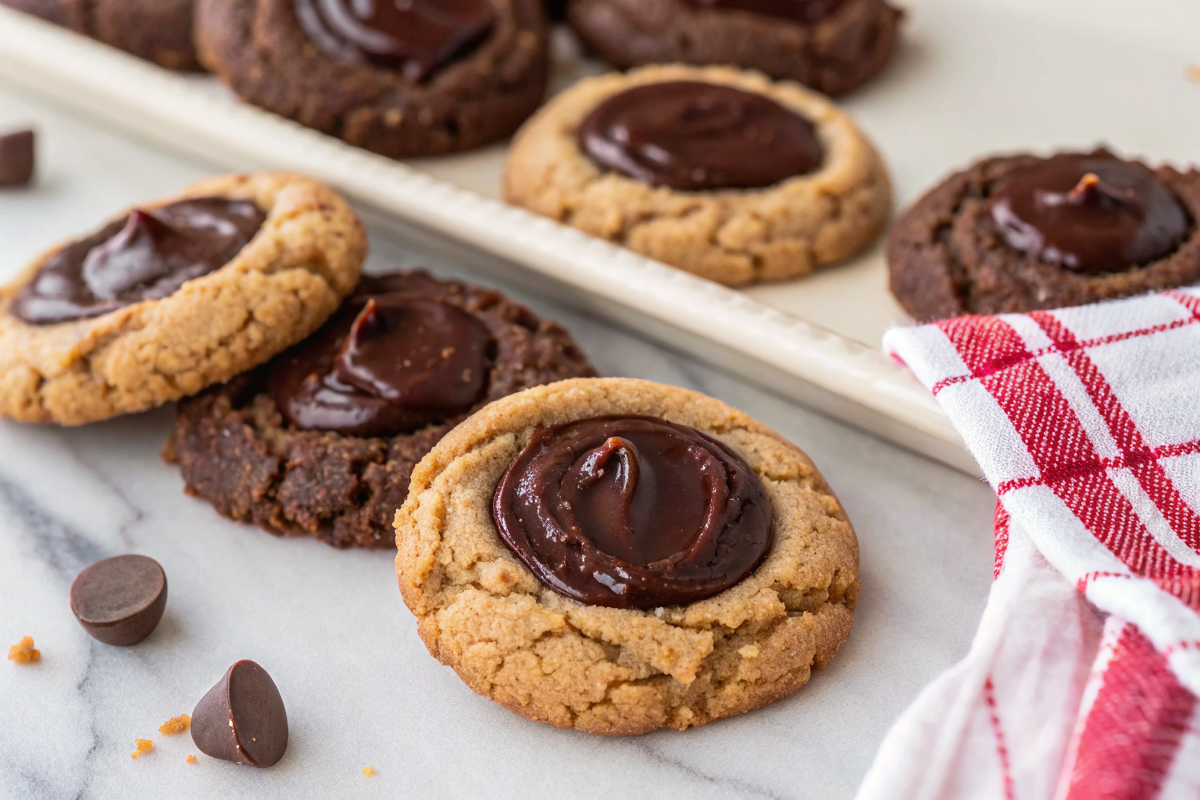
Chocolate Thumbprint Cookies
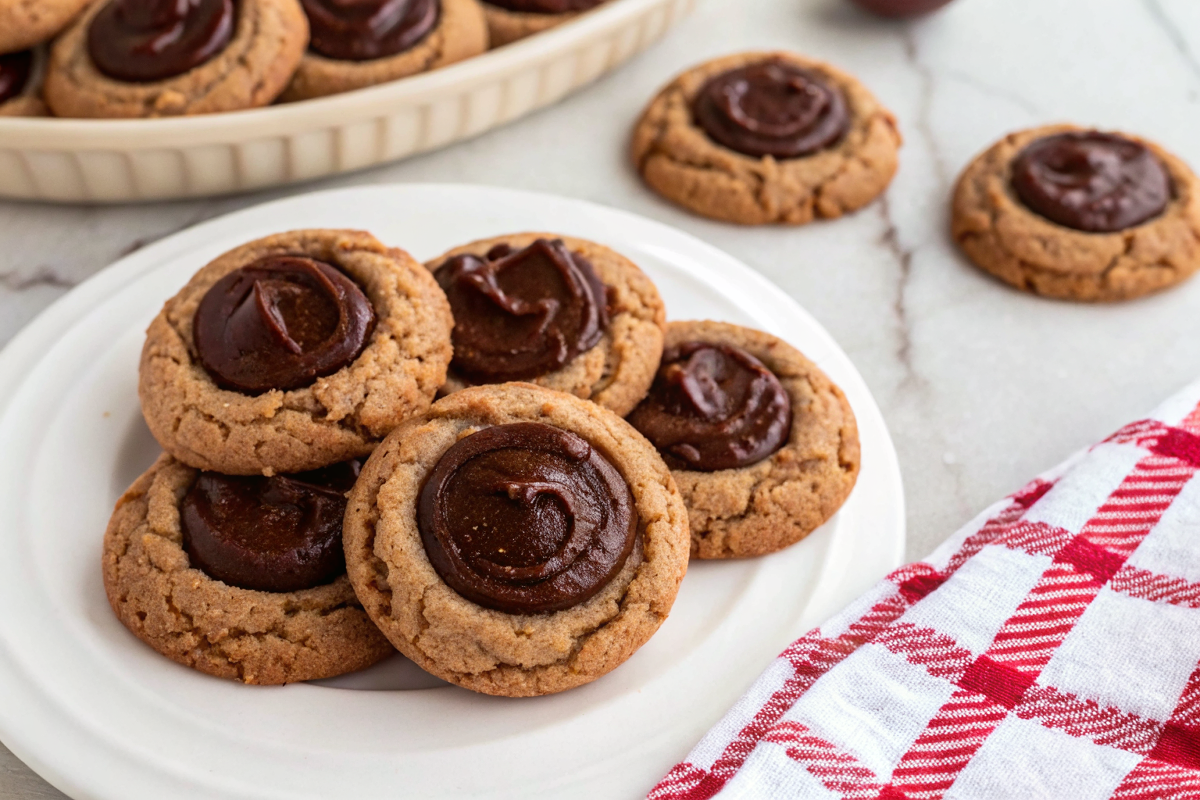
I have a soft spot for cookies that look fancy but are actually lazy-genius to make — enter these chocolate thumbprint cookies: buttery little rounds with a crackly top, a perfect chocolatey dent filled with jam or more ganache, and zero pretense. They’re nostalgic, comforting, and the kind of thing you can pull out for a last-minute gift or dunk into coffee without feeling judged.
My husband calls these “the cookies that make him stop mid-argument.” Not kidding. Once I started making them on repeat, they became our weekend ritual — he sets up the old record player, I mess around with fillings (sometimes jam, sometimes melted chocolate gone rogue), and the kitchen smells like butter and nostalgia. The kids learned to press the little thumbprints and then insist on licking the bowl. Totally predictable chaos, but also totally ours.
Why You’ll Love This Chocolate Thumbprint Cookies
- Tiny, comforting bites that somehow look fancy without any fuss.
- The hollow center is perfect for getting creative — jam, chocolate, caramel, peanut butter — you do you.
- They keep well enough to pretend you rationed them, but not well enough to actually save any.
- Great for bake sales, last-minute hostess gifts, or when you need a small victory in the kitchen.
Kitchen Talk
These cookies are forgiving in a gloriously sloppy way. I once forgot to chill the dough and they still turned out soft in the middle with crispy edges — just a bit flatter. If you want tidy little domes, chill the dough; if you want rustic “I made these between 8:58 and 9:10” vibes, skip it. Also: don’t be precious about the thumbprint. A spoon handle, the back of a measuring spoon, or even a wooden spoon work just fine and look artisanal-ish.
Shopping Tips
- Baking Basics: Use all-purpose flour and a good baking powder/soda — check the date; old leavener = sad cookies.
- Fats & Oils: Real butter will win every time for flavor; stick with salted or unsalted based on how you like to control salt.
- Chocolate: Buy a chocolate bar you’d actually eat — it makes a huge difference if you’re melting for a filling.
- Nuts & Seeds: If adding chopped nuts for texture, toast them quickly in a pan for more flavor and less grittiness.
- Flavor Boosts: Vanilla extract (or a scrape of vanilla bean) and a pinch of flaky salt at the end take these from good to addictive.
Prep Ahead Ideas
- Make the dough a day or two ahead and keep it chilled; that way you only have to scoop, press, and bake when company arrives.
- Pre-portion dough into balls and freeze them on a tray — toss frozen balls onto the sheet and add a minute or two to bake time.
- Store fillings (jam, ganache, caramel) in small jars in the fridge; warm them briefly before filling so they glide into the thumbprints.
- Use shallow airtight containers or a rimmed tray covered tightly with plastic while chilling.
MORE OF OUR FAVORITE…
Time-Saving Tricks
- Scoop all your dough at once with a cookie scoop and freeze balls on a tray; bake straight from frozen when guests text “20 minutes.”
- Use good-quality store-bought jam when you’re tired; the flavor is usually better than your 2-am desperation jam.
- Melt chocolate gently over a double boiler or microwave in short bursts — avoids weird gritty seizures.
- If you’re making a lot, bake on multiple sheets in rotation instead of trying to cram the oven.
Common Mistakes
- Over-pressing the thumbprint so it disappears during baking — press gently and reinforce the indentation after a quick bake if needed.
- Using butter that’s too soft: cookies spread and get sad. Chill slightly if your kitchen’s warm.
- Filling with cold ganache/jam right out of the fridge — it won’t set nicely. Warm a touch so it’s spreadable.
- Baking too long to get “crisp” — they dry out. Pull when edges are set and centers still look a touch soft.
What to Serve It With
- A cup of strong coffee or espresso — balances the sugar and makes everything believable before noon.
- Vanilla ice cream for a dessert-ish plate; crumble a cookie on top for texture.
- Tea (black or mint) for afternoon cookie sharing with friends.
- A simple fruit salad if you need something fresh on the side.
Tips & Mistakes
- Use a small spoon or piping bag for neat filling — less mess, more elegant.
- If cookies spread too much, chill the dough balls for 20–30 minutes before baking.
- Salt is your friend — a tiny pinch of flaky salt on top makes the chocolate pop.
- If you forget to press before baking, quickly poke the center within the first 3 minutes out of the oven.
Storage Tips
Keep leftovers in an airtight container at room temp for a few days, or in the fridge if you used a perishable filling. If they go cold, they’re still great — especially for breakfast dunked in coffee (no shame). Freeze baked cookies between layers of parchment for up to a month; thaw on the counter, or briefly warm in a low oven to revive that just-baked vibe.
Variations and Substitutions
Jam fillings: raspberry, apricot, or strawberry all work. Swap part of the flour for almond flour for nuttier flavor (will be a touch more fragile). Want vegan? Use a butter substitute and a flax egg — texture changes but flavor remains crowd-pleasing. For a salty-sweet route, use caramel filling and a sprinkle of sea salt. Didn’t buy jam? Melt chocolate and mix with a spoonful of peanut butter.
Frequently Asked Questions
Chocolate Thumbprint Cookies
Ingredients
Cookie Dough
- 1/2 cup unsalted butter, softened
- 3/4 cup light brown sugar, packed
- 1 large egg
- 1 teaspoon pure vanilla extract
- 1 2/3 cups all-purpose flour
- 3/4 teaspoon baking powder
- 1/4 teaspoon baking soda
- 1/4 teaspoon fine sea salt
Chocolate Center
- 1 1/4 cups semi-sweet chocolate chips
- 1/4 cup heavy cream
Instructions
Preparation Steps
- Line two baking sheets with parchment and preheat the oven to 350°F (177°C).
- Make the chocolate center: Warm the cream in a small saucepan over medium heat just until steaming. Pour it over the chocolate chips in a heatproof bowl, cover, and let sit for 2 minutes. Stir until smooth and glossy, then set aside to thicken slightly while you prepare the cookies.
- Whisk the flour, baking powder, baking soda, and sea salt together in a medium bowl.
- In a large bowl with a hand mixer (or stand mixer), beat the softened butter and brown sugar on medium speed until light and fluffy, about 2 minutes. Beat in the egg and vanilla until fully combined, 30 seconds more.
- Add the dry ingredients to the butter mixture and mix on low just until a soft dough forms with no dry spots. Cover and chill the bowl for 15 minutes to help the cookies hold their shape.
- Scoop 1-tablespoon portions of dough (about 1-inch balls). Roll smooth and arrange 2 inches apart on the prepared baking sheets.
- Press a deep well in the center of each ball using your thumb or the back of a 1/2-teaspoon measuring spoon. Tip: Warm the spoon in hot water, dry it, and then press—this helps prevent cracking around the edges.
- Bake until the edges look set and just starting to turn golden, 9–10 minutes. If the centers puff, re-press the wells immediately after removing from the oven. Cool on the sheet for 5 minutes, then transfer to a rack to cool slightly.
- Stir the ganache again; it should be thick but spoonable. Spoon or pipe about 1 teaspoon into each indentation. Let the chocolate set for 20–30 minutes, or enjoy while the centers are still a bit warm and glossy.
Notes
Featured Comments
“This nostalgic recipe was family favorite — the speedy really stands out. Thanks!”
“Super easy and so flavorful! My family asked for seconds. Saving this one.”
“New favorite here — absolutely loved. clean was spot on.”
“Impressed! Clear steps and absolutely loved results. Perfect for busy nights.”
“New favorite here — turned out amazing. effortless was spot on.”
“New favorite here — so flavorful. gooey was spot on.”
“Super easy and turned out amazing! My family asked for seconds. Saving this one.”
“New favorite here — absolutely loved. al dente was spot on.”
“This foolproof recipe was will make again — the toasty really stands out. Thanks!”
“Impressed! Clear steps and absolutely loved results. Perfect for busy nights.”