Chocolate Salted Caramel Tart
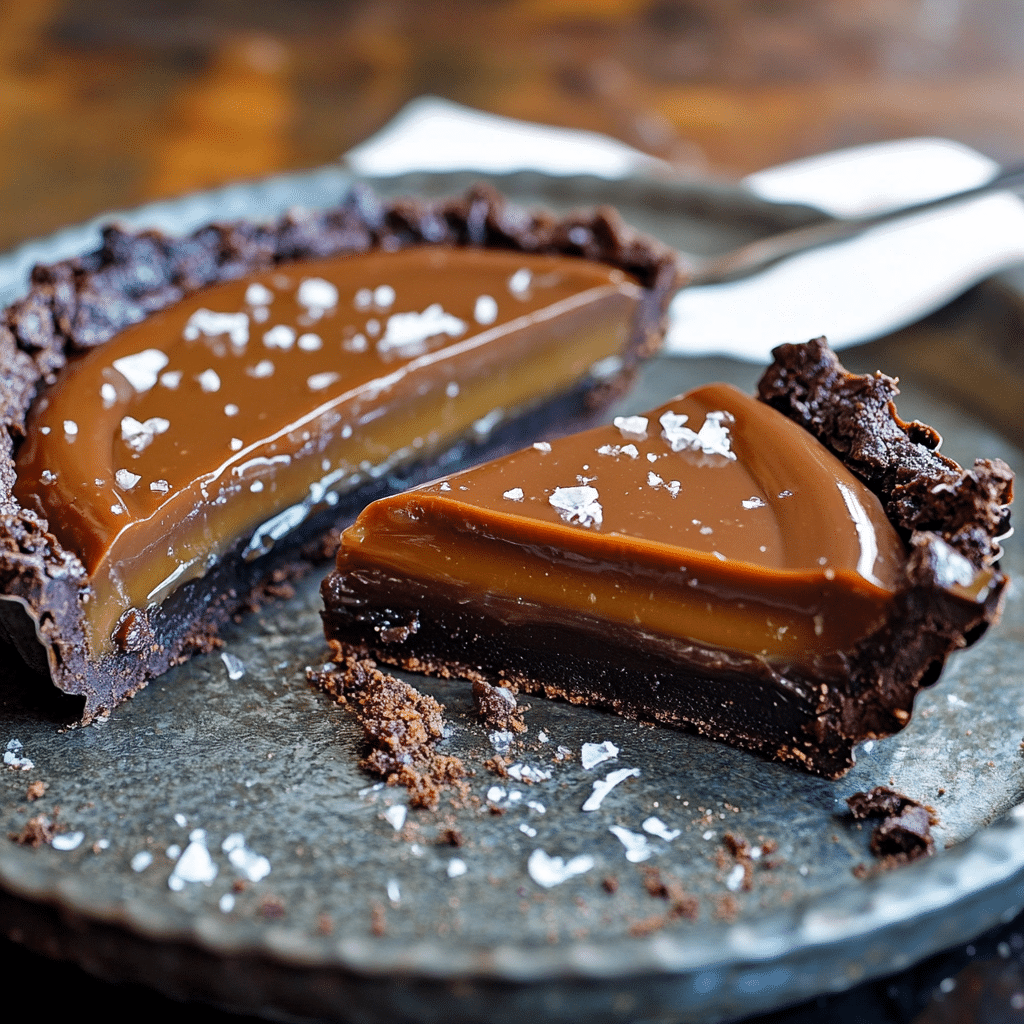
If you’re looking for a dessert that perfectly balances richness and sweetness with a touch of sophistication, this Chocolate Salted Caramel Tart is the answer. The smooth, velvety chocolate ganache combined with a luscious layer of salted caramel, all nestled in a buttery crust, creates a dessert that’s truly unforgettable. Whether you’re making it for a special occasion or simply treating yourself, this tart is sure to impress.
Our Family’s Love for Chocolate Salted Caramel Tart
There’s something magical about the combination of chocolate and salted caramel that just hits the spot every time. I remember the first time I made this tart for my family – it was a cool autumn evening, and we were all craving something comforting and decadent. The moment my husband took his first bite, his eyes lit up, and he couldn’t stop raving about how perfect the balance of flavors was. Even the kids, who usually prefer simpler desserts, kept asking for more slices. Now, this Chocolate Salted Caramel Tart has become our go-to dessert for special occasions and cozy nights in. It’s one of those recipes that brings everyone to the table, eager to enjoy every last bite.
Why You’ll Love Chocolate Salted Caramel Tart
- Decadent Flavor: The rich chocolate ganache pairs beautifully with the sweet and salty caramel, making each bite a luxurious experience.
- Perfect Balance: The hint of sea salt perfectly balances the sweetness, making it indulgent without being overwhelming.
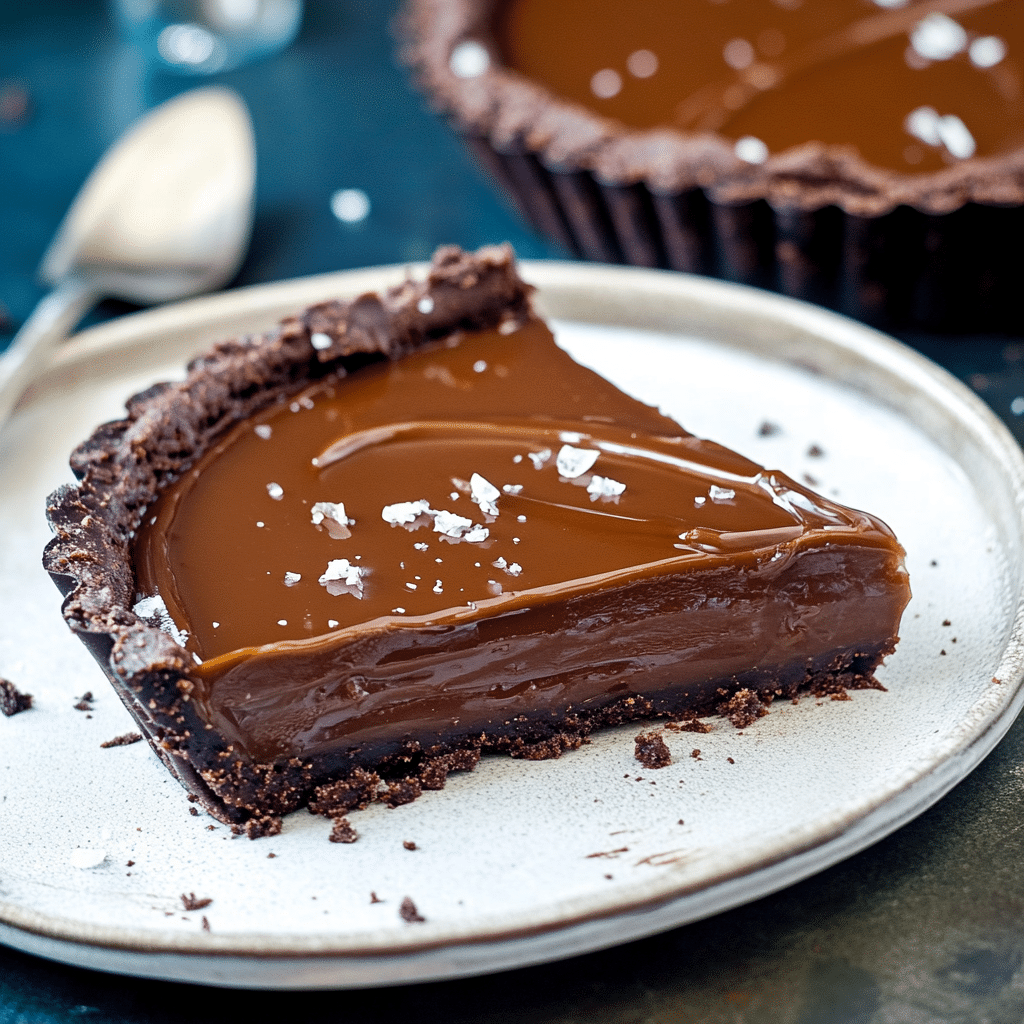
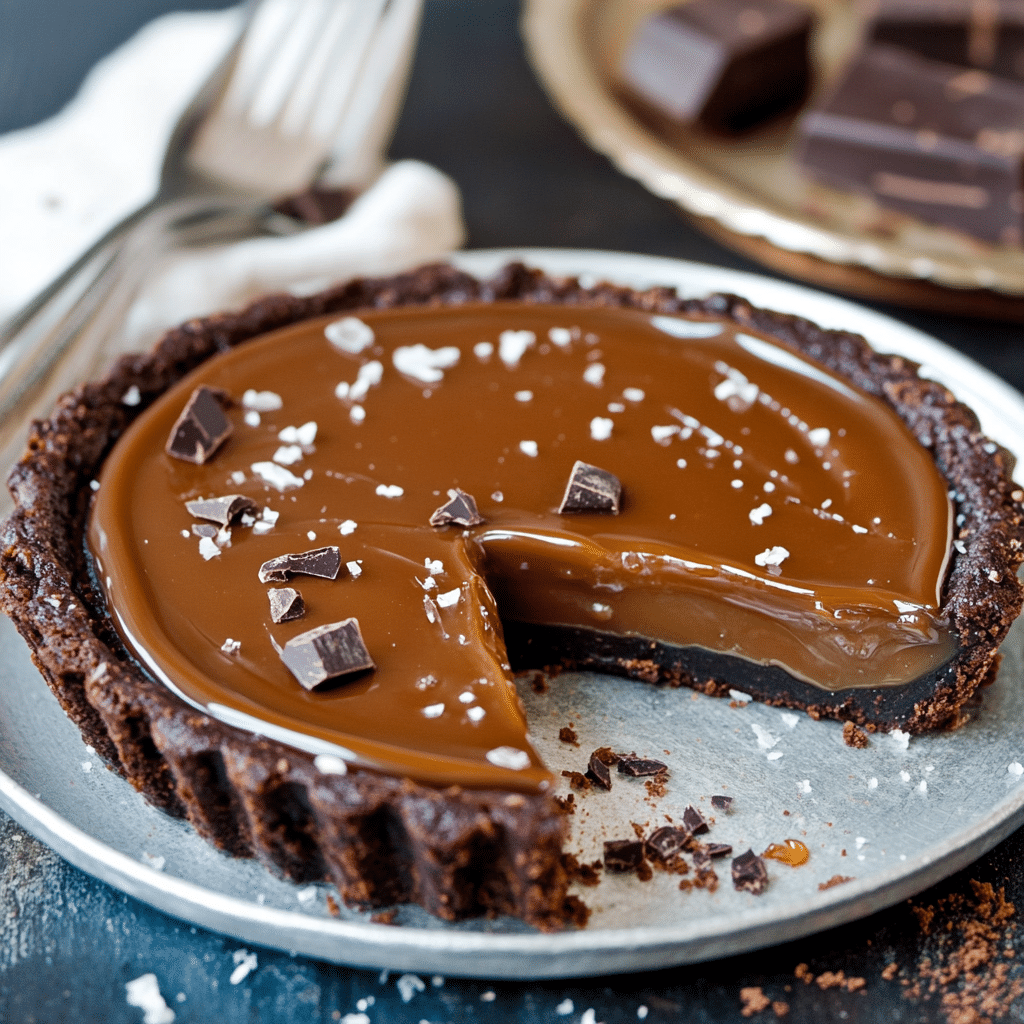
- Impressive Presentation: This tart looks stunning with its glossy ganache and delicate sprinkle of sea salt – perfect for impressing guests.
- Make-Ahead Friendly: You can prepare this tart in advance, making it a stress-free option for entertaining.
Ingredients Notes For Chocolate Salted Caramel Tart
- Chocolate: Use high-quality dark chocolate for the ganache to ensure a rich and smooth texture.
- Caramel: Homemade caramel sauce is best, but you can use a good store-bought version if you’re short on time.
- Sea Salt: A flaky sea salt like Maldon works wonderfully, adding just the right amount of crunch and flavor.
Recipe Steps for Chocolate Salted Caramel Tart
- Prepare the Crust: Begin by making a buttery, crumbly tart crust. Press it into a tart pan and bake until golden.
- Make the Caramel: While the crust cools, prepare the salted caramel by melting sugar, adding butter, and finishing with cream and sea salt. Pour it into the cooled crust and allow it to set.
- Prepare the Ganache: Melt the dark chocolate with heavy cream until smooth and glossy. Pour this over the set caramel layer and let it cool until firm.
- Finish with Sea Salt: Once the ganache has set, sprinkle a little flaky sea salt on top for the perfect finishing touch.
- Serve and Enjoy: Slice the tart and serve it up to your delighted family or guests!
Storage Options
- Refrigerate: Store any leftovers in the fridge for up to 5 days. Be sure to cover the tart with plastic wrap to keep it fresh.
- Freeze: You can also freeze the tart for up to a month. Thaw it in the fridge overnight before serving.
Variations & Substitutions
- Nutty Crust: Add finely chopped nuts to the crust for extra texture and flavor.
- Milk Chocolate Ganache: If you prefer a sweeter ganache, swap dark chocolate for milk chocolate.
- Fruit Topping: Top the tart with fresh berries for a burst of freshness.
MORE OF OUR FAVORITE…

Chocolate Salted Caramel Tart
Rate This Yum Pin This Recipe For Later! Share The Yum On Facebook PrintIngredients
- Crust
- 1 1/2 cups graham cracker crumbs or chocolate cookie crumbs
- 1/4 cup granulated sugar
- 1/2 cup unsalted butter melted
- Salted Caramel Layer
- 1 cup granulated sugar
- 6 tablespoons unsalted butter cut into pieces
- 1/2 cup heavy cream
- 1 teaspoon sea salt or to taste
- Chocolate Ganache Layer
- 1 cup heavy cream
- 8 oz semi-sweet or dark chocolate chopped
- 1 tablespoon unsalted butter
- Sea salt flakes for garnish
Instructions
- Prepare the Crust
- Preheat Oven: Preheat your oven to 350°F (175°C).
- Make the Crust: In a medium bowl, combine the graham cracker crumbs (or chocolate cookie crumbs) and sugar. Stir in the melted butter until the mixture resembles wet sand.
- Form the Crust: Press the crumb mixture evenly into the bottom and up the sides of a 9-inch tart pan with a removable bottom. Use the back of a spoon or a measuring cup to compact the crust firmly.
- Bake the Crust: Bake in the preheated oven for 10-12 minutes, until the crust is set and slightly golden. Remove from the oven and let it cool completely.
- Prepare the Salted Caramel Layer
- Make the Caramel: In a medium saucepan, heat the granulated sugar over medium heat, stirring constantly until it melts and turns a deep amber color. Be careful not to burn the sugar.
- Add the Butter: Once the sugar is fully melted, carefully stir in the butter pieces until melted and combined.
- Add the Cream: Slowly pour in the heavy cream while stirring. The mixture will bubble up vigorously. Continue stirring until the caramel is smooth.
- Add Salt: Stir in the sea salt and remove the caramel from the heat. Let it cool slightly before pouring.
- Add Caramel to the Crust: Pour the salted caramel into the cooled tart crust, spreading it evenly. Place the tart in the refrigerator to set while you prepare the chocolate ganache.
- Prepare the Chocolate Ganache Layer
- Heat the Cream: In a small saucepan, heat the heavy cream over medium heat until it begins to simmer. Remove from heat.
- Melt the Chocolate: Place the chopped chocolate and butter in a heatproof bowl. Pour the hot cream over the chocolate and let it sit for 2-3 minutes. Stir until the chocolate is completely melted and the mixture is smooth and glossy.
- Assemble the Tart: Pour the chocolate ganache over the set caramel layer, spreading it evenly to cover the caramel.
- Garnish: Sprinkle sea salt flakes over the top of the ganache for a finishing touch.
- Chill and Serve
- Chill: Refrigerate the tart for at least 1-2 hours, or until the ganache is set.
- Serve: Remove the tart from the refrigerator and let it sit at room temperature for a few minutes before slicing. Serve and enjoy!
Featured Comments
“Super easy and will make again! My family asked for seconds. Saving this one.”
“Impressed! Clear steps and turned out amazing results. Perfect for busy nights.”
“Impressed! Clear steps and will make again results. Perfect for busy nights.”
“New favorite here — will make again. cozy was spot on.”
“Super easy and will make again! My family asked for seconds. Saving this one.”
“New favorite here — will make again. homemade was spot on.”
“This homemade recipe was so flavorful — the savory really stands out. Thanks!”
“Impressed! Clear steps and family favorite results. Perfect for busy nights.”
“Super easy and will make again! My family asked for seconds. Saving this one.”
“New favorite here — will make again. picky-eater approved was spot on.”

