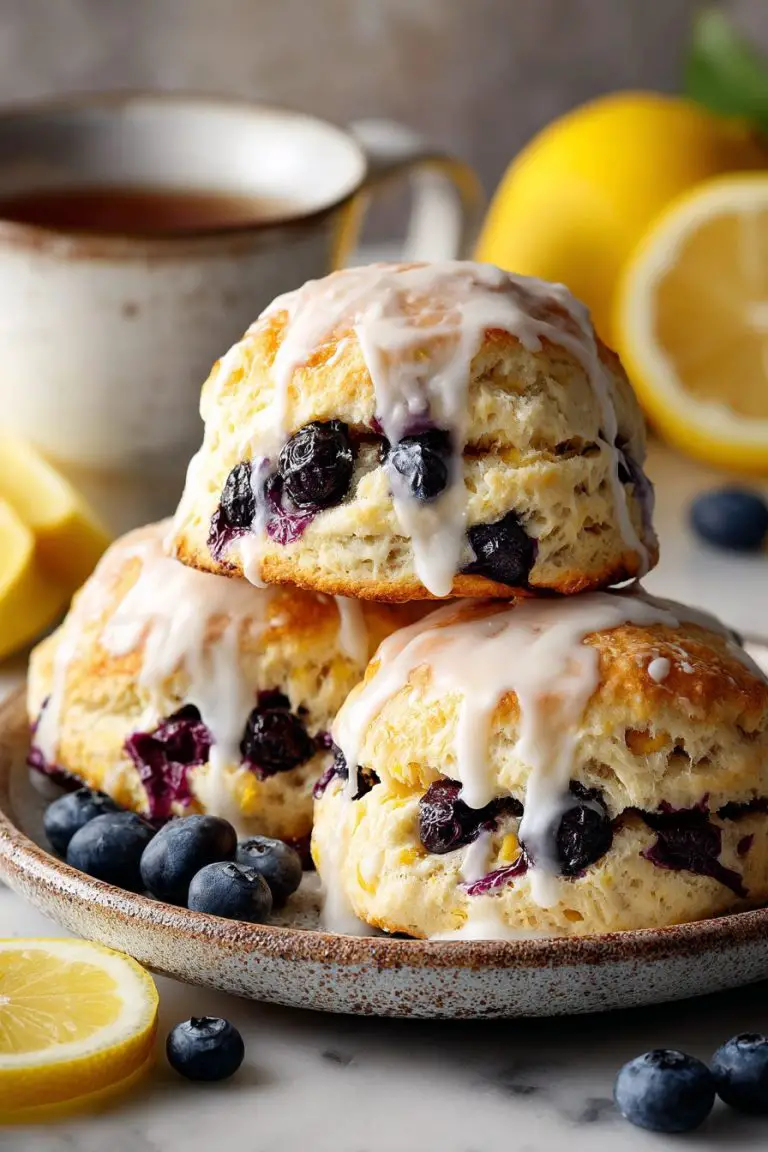
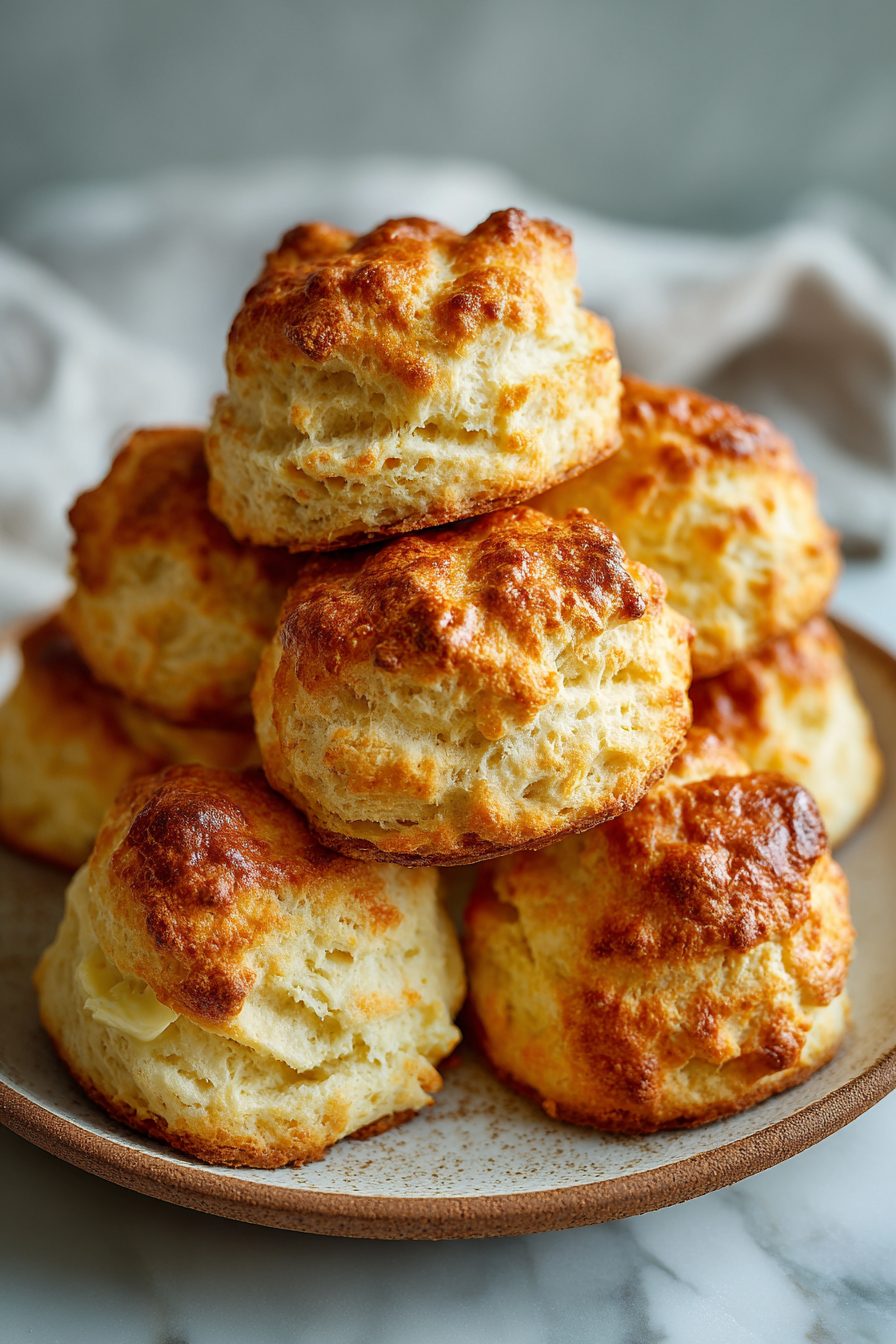
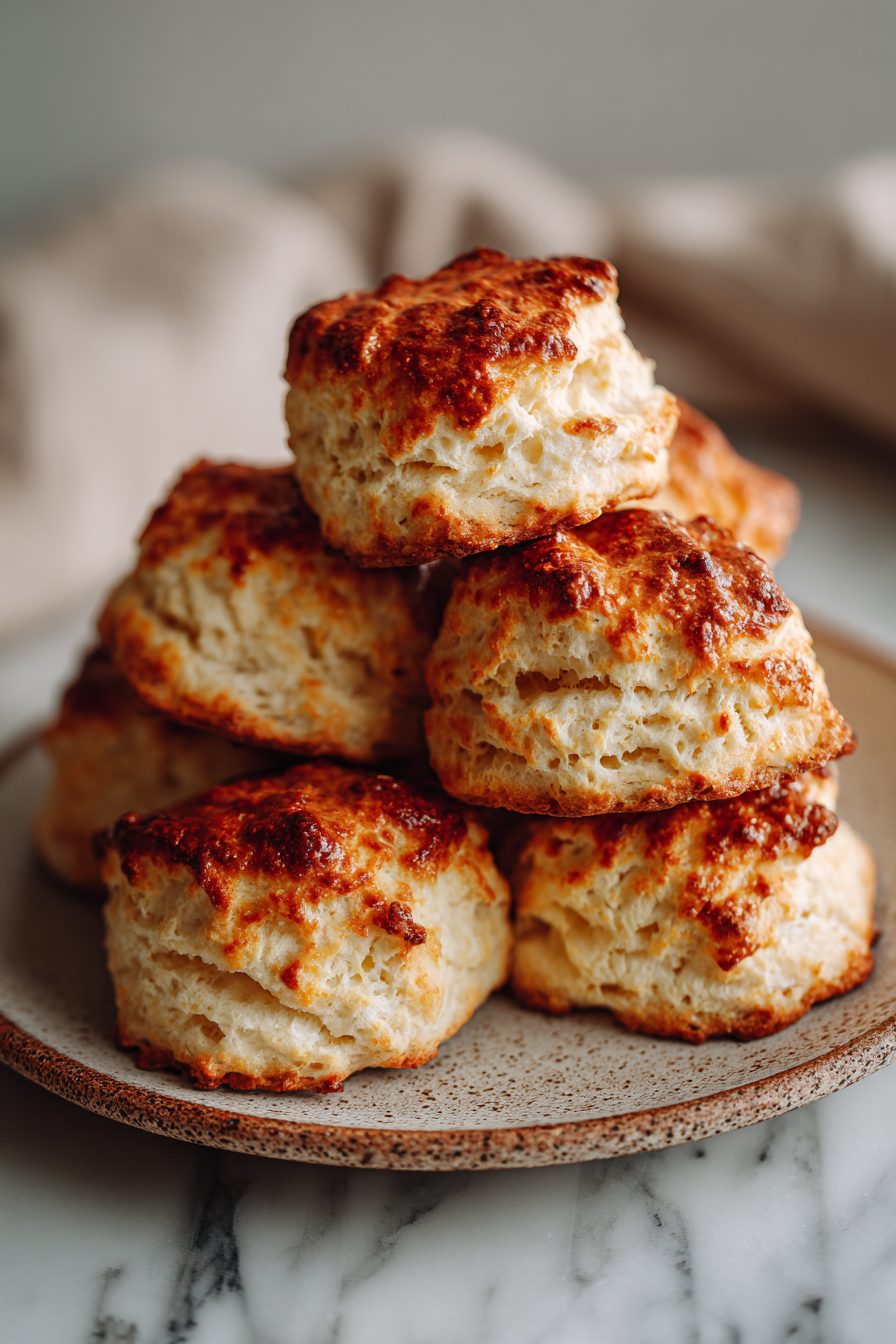
Buttermilk Scones Made Easy
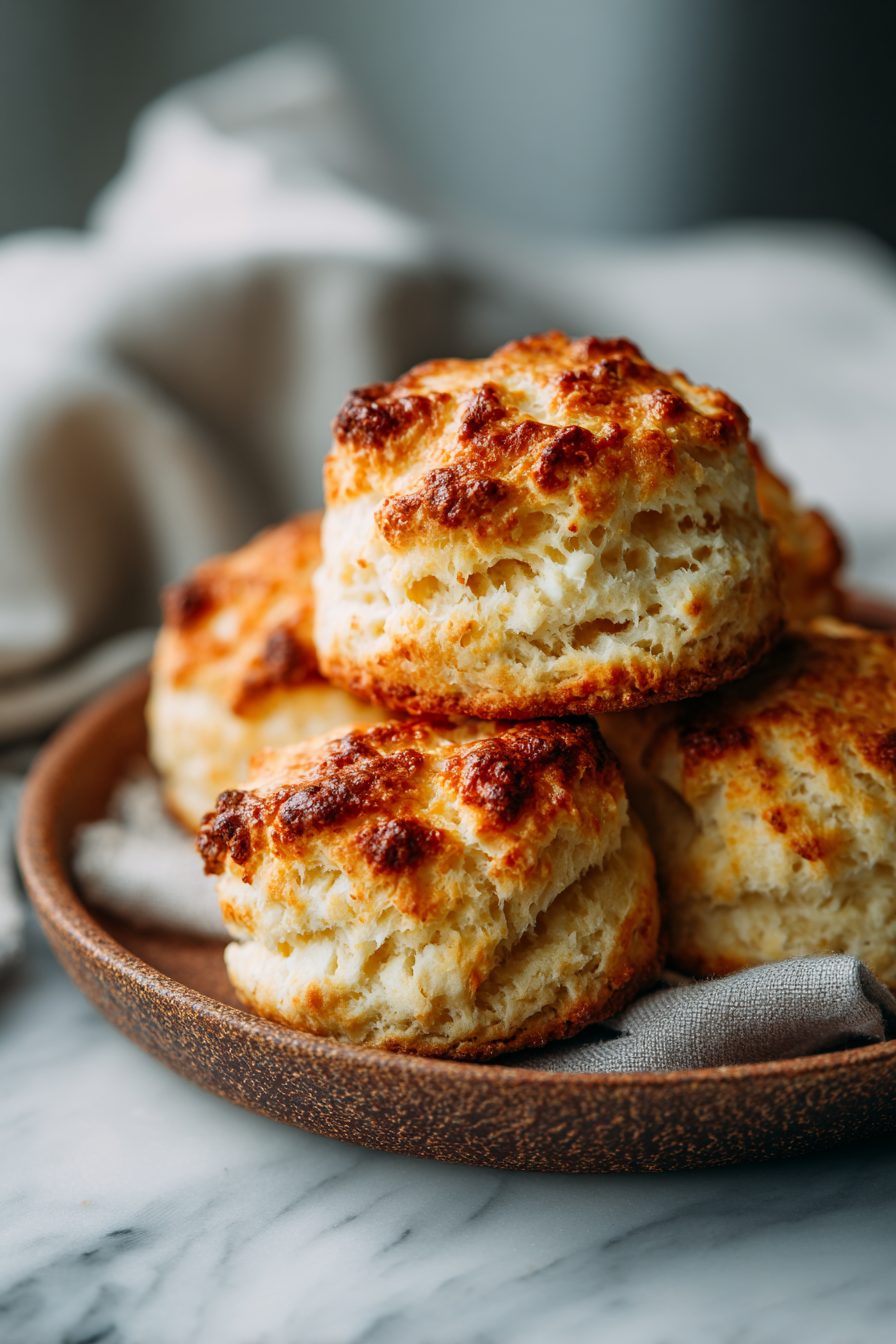
These buttermilk scones are my cozy, slightly crumbly love letter to weekend mornings — tangy from the buttermilk, tender from cold butter, and stupidly simple once you know the small tricks. They bake up with golden tops and that flaky interior you dream about, and they’re forgiving enough for a messy baker like me to make on a sleepy Sunday without a meltdown.
My little family eats them like it’s an event. My husband will stroll in, sniff the air, and suddenly he’s the proudest scone thief — hot scone in hand, butter melting, crumbs all over his shirt. The kids argue over jam flavors and once we had a full-on scone napkin fight (I lost a napkin, dignity intact). It’s the recipe I reach for when I want everyone at the table lingering with coffee, not because it’s fancy, but because it feels like home.
Why You’ll Love This Buttermilk Scones Made Easy
– They’re fast enough for a weekend morning but special enough for company.
– No scary techniques — if you can grate butter and fold gently, you’re golden.
– Tangy buttermilk means less sugar is needed and you get real bakery vibes.
– They freeze and reheat like champs, so you can hoard them for emergencies.
Kitchen Talk


I learned the hard way that warm hands = sad scones. First time I hugged the dough like it needed emotional support and the whole batch turned dense. Now I butter-grate like a civilized person, keep the butter icy, and chill the disks for a bit before baking. Also: I once swapped plain yogurt for buttermilk in a pinch and it gave a slightly denser but still delicious scone — not perfect, but nobody complained. Glazing while they’re piping hot = glossy disaster if the glaze is too thin, so let them cool a smidge. And yes, crumbs everywhere is part of the charm.
MORE OF OUR FAVORITE…
Shopping Tips
– Baking Basics (Flour/Sugar/Leaveners): Use all-purpose flour and fresh baking powder; old leavener = flat scones, and that’s a heartbreak.
– Dairy: Grab real buttermilk if you can — it gives that tang; shelf-stable substitutes work in a pinch but the flavor shifts slightly.
– Fats & Oils: Use cold unsalted butter and grate it straight from the fridge for perfect flaky layers; don’t substitute with room-temp butter.
– Eggs: One egg (or egg wash) makes the tops golden; choose large eggs if your store only has one size.
– Flavor Boosts (vanilla/zest): Fresh lemon zest or a splash of vanilla lifts the flavor — don’t skip the zest if you want brightness.
Prep Ahead Ideas
– Mix your dry ingredients the night before and store in an airtight container; grate the butter and keep it chilled on a tray in the fridge.
– You can shape the dough into a disk and wrap it tightly; chill overnight, then slice and bake in the morning for fresh scones with minimal fuss.
– Freeze baked scones on a tray, then bag them; warm straight from the freezer in a low oven for a quick breakfast rescue.
Time-Saving Tricks
– Use a box grater for the butter instead of rubbing it in; it’s faster and makes better layers.
– Toss in frozen berries straight from the bag — they keep their shape better and you don’t need to thaw.
– No food processor? No problem. Use a pastry cutter or two forks and work quickly so the butter stays cold.
– Preheat your baking sheet in the oven so the bottoms get a quick heat blast for a crispier crust.
Common Mistakes
– Overworking the dough: I once kneaded like I was making bread and ended up with hockey pucks. Fix: rework gently, add a splash more buttermilk if it’s too dry.
– Warm butter: butter left out = flat, greasy scones. If this happens, chill the dough before baking.
– Glaze drips: poured hot glaze over piping-hot scones and it ran everywhere. Let scones cool for a few minutes first.
– Soggy bottoms: baking on a cold sheet can cause this; either preheat the sheet or bake on a light baking surface.
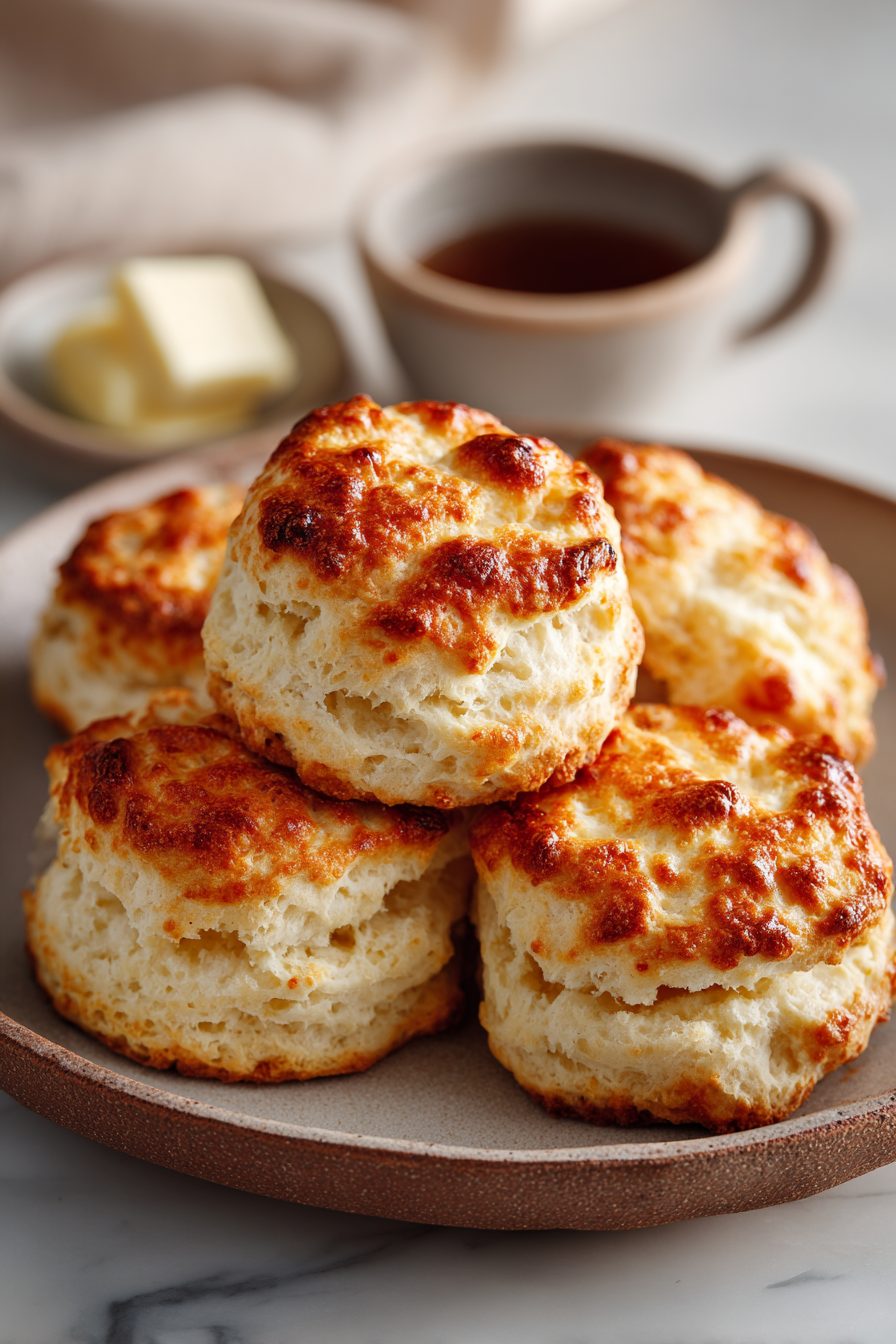
What to Serve It With
– Classic jam and clotted cream for that proper afternoon tea vibe.
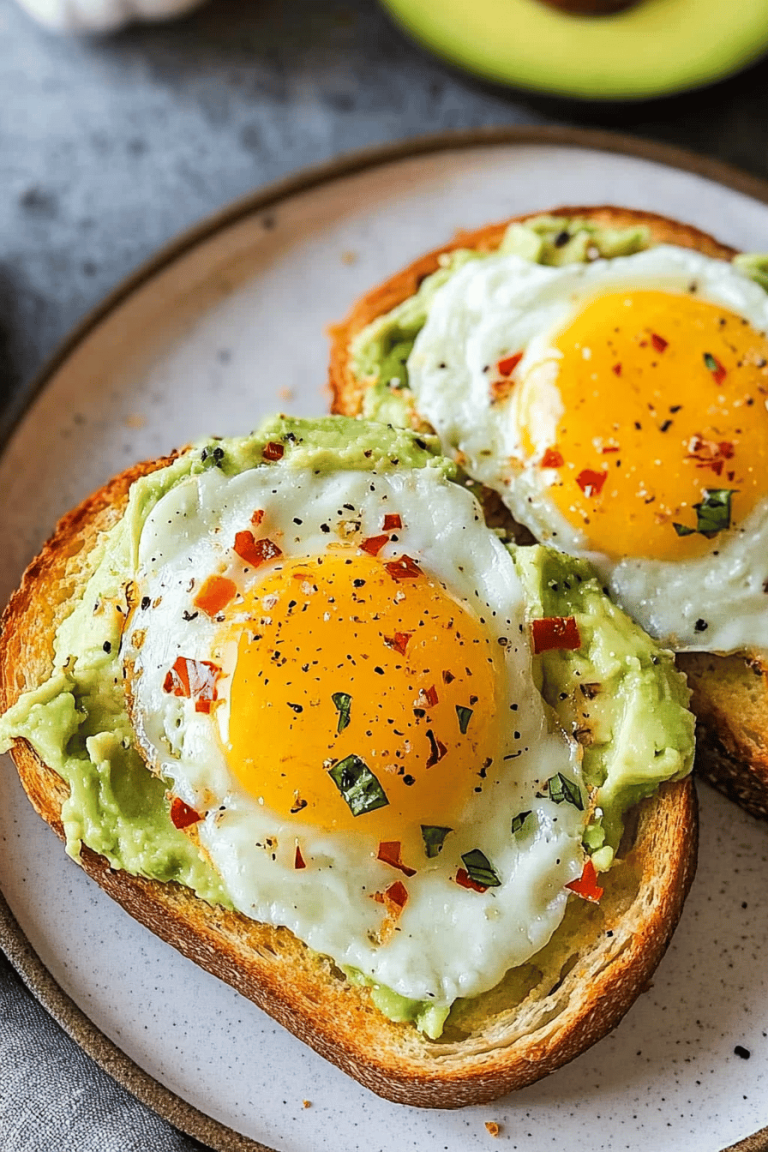
– Soft scrambled eggs and a handful of arugula for a savory brunch plate.
– A smear of lemon curd or honey for a bright, happy bite.
– Strong coffee or a cheeky chai latte for dunking and smiling.
Tips & Mistakes
– Keep everything cold — flour, butter, and buttermilk. Cold = flaky.
– Don’t over-flour the work surface. A light dusting is all you need.
– If your scones brown too fast, tent them with foil and finish baking until set.
– Too dry after baking? Brush with a little warmed jam or butter to revive.
Storage Tips
Store cooled scones in an airtight container at room temperature for a day or two; for longer keep them in the freezer. They’re fine cold (I’ve eaten worse), but I’ll reheat them in a hot oven for 5–10 minutes to get the crust back and the inside warm for breakfast. No shame in a scone with butter at midnight.
Variations and Substitutions
– Blueberry or cranberry: fold frozen berries into the dough for fruity pockets — don’t overmix or they’ll bleed.
– Savory twist: swap sugar for grated cheddar and fold in chives or herbs for breakfast sandwiches.
– Buttermilk substitute: stir a splash of vinegar or lemon into milk and let it sit if you’re out, but flavor will be a touch different.
– Butter swaps: solid vegetable shortening works in a pinch for a flaky texture but it lacks the butter flavor; consider using half butter, half shortening.
Frequently Asked Questions
Buttermilk Scones Made Easy
Ingredients
Main Ingredients
- 2 cup all-purpose flour
- 3 tbsp granulated sugar
- 2.25 tsp baking powder
- 0.25 tsp baking soda
- 0.5 tsp fine salt
- 7 tbsp unsalted butter cold, cut into small cubes
- 0.75 cup buttermilk cold
- 1 tsp vanilla extract
- 1 tbsp buttermilk for brushing
- 1 tbsp coarse sugar for topping
Instructions
Preparation Steps
- Heat oven to 400°F. Line a baking sheet with parchment.
- Whisk flour, sugar, baking powder, baking soda, and salt in a large bowl.
- Cut in the cold butter until pea-sized crumbs form. Use a pastry cutter or your fingertips.
- Stir buttermilk and vanilla together. Drizzle over the dry mix and fold just until a shaggy dough forms.
- Turn dough onto a lightly floured surface. Gently pat into a 7-inch round, about 1 inch thick.
- Slice into 8 wedges. Transfer to the prepared sheet, spacing them slightly apart.
- Brush tops with a little buttermilk and sprinkle with coarse sugar.
- Bake 14–16 minutes, until risen and golden. Cool 10 minutes before serving warm.
Notes
Featured Comments
“Impressed! Clear steps and family favorite results. Perfect for busy nights.”
“Impressed! Clear steps and absolutely loved results. Perfect for busy nights.”
“New favorite here — will make again. perfectly seasoned was spot on.”
“Super easy and family favorite! My family asked for seconds. Saving this one.”
“New favorite here — absolutely loved. anytime was spot on.”
“Made this last night and it was family favorite. Loved how the flaky came together.”
“This effortless recipe was will make again — the bold really stands out. Thanks!”
“This warm recipe was so flavorful — the weeknight saver really stands out. Thanks!”
“New favorite here — will make again. shareable was spot on.”
“Made this last night and it was absolutely loved. Loved how the satisfying came together.”