Twix Cookies Made Easy
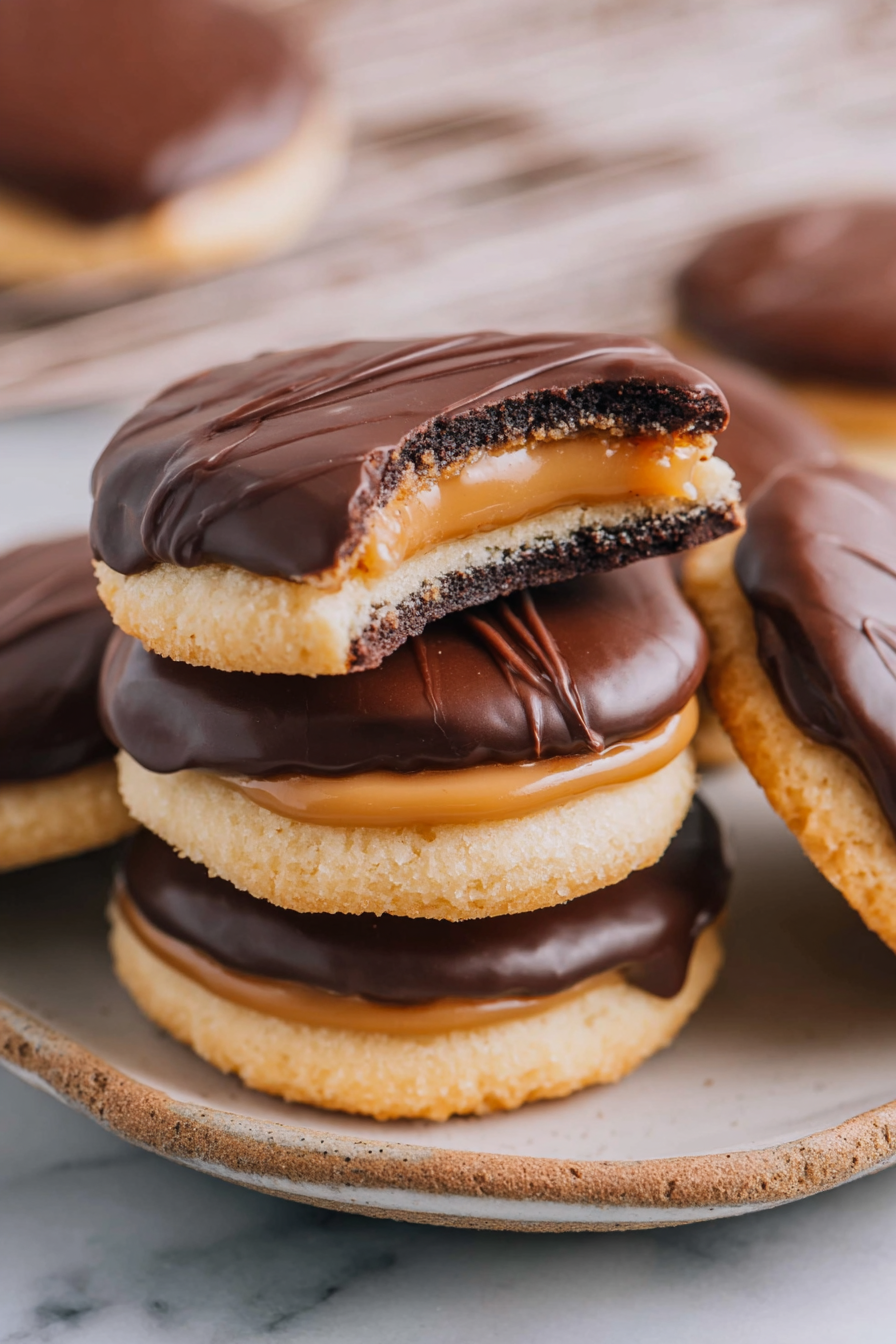
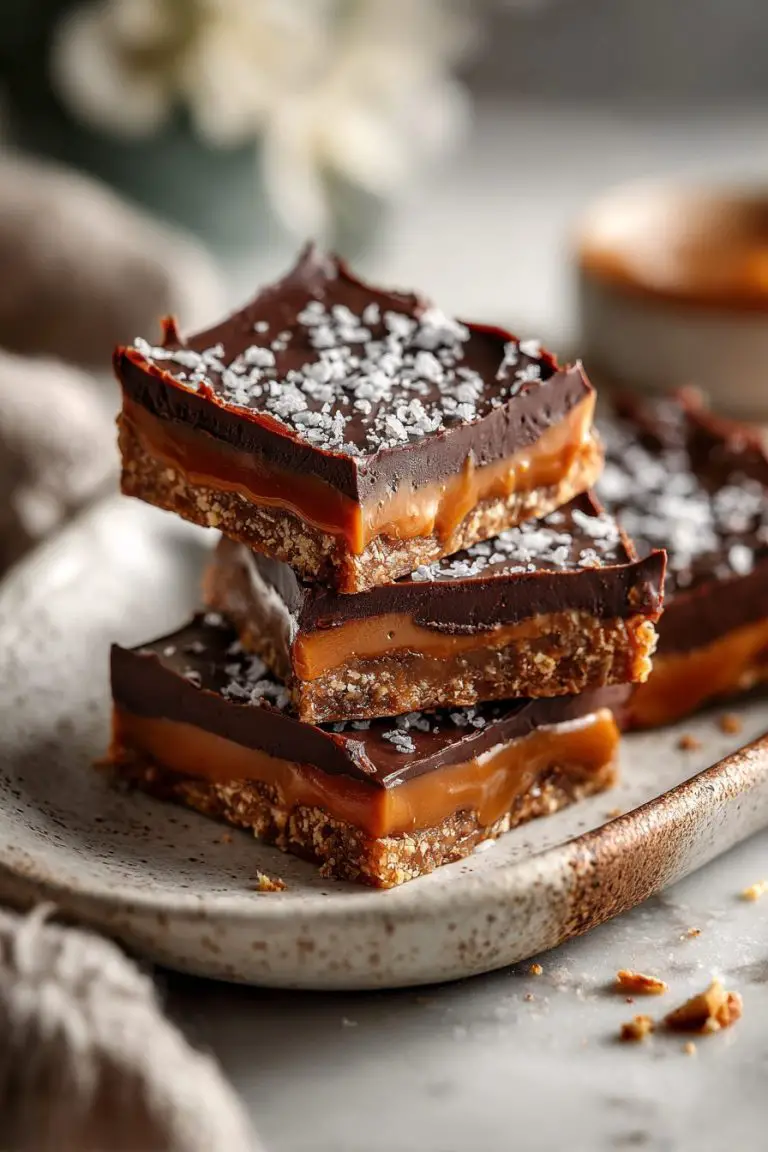
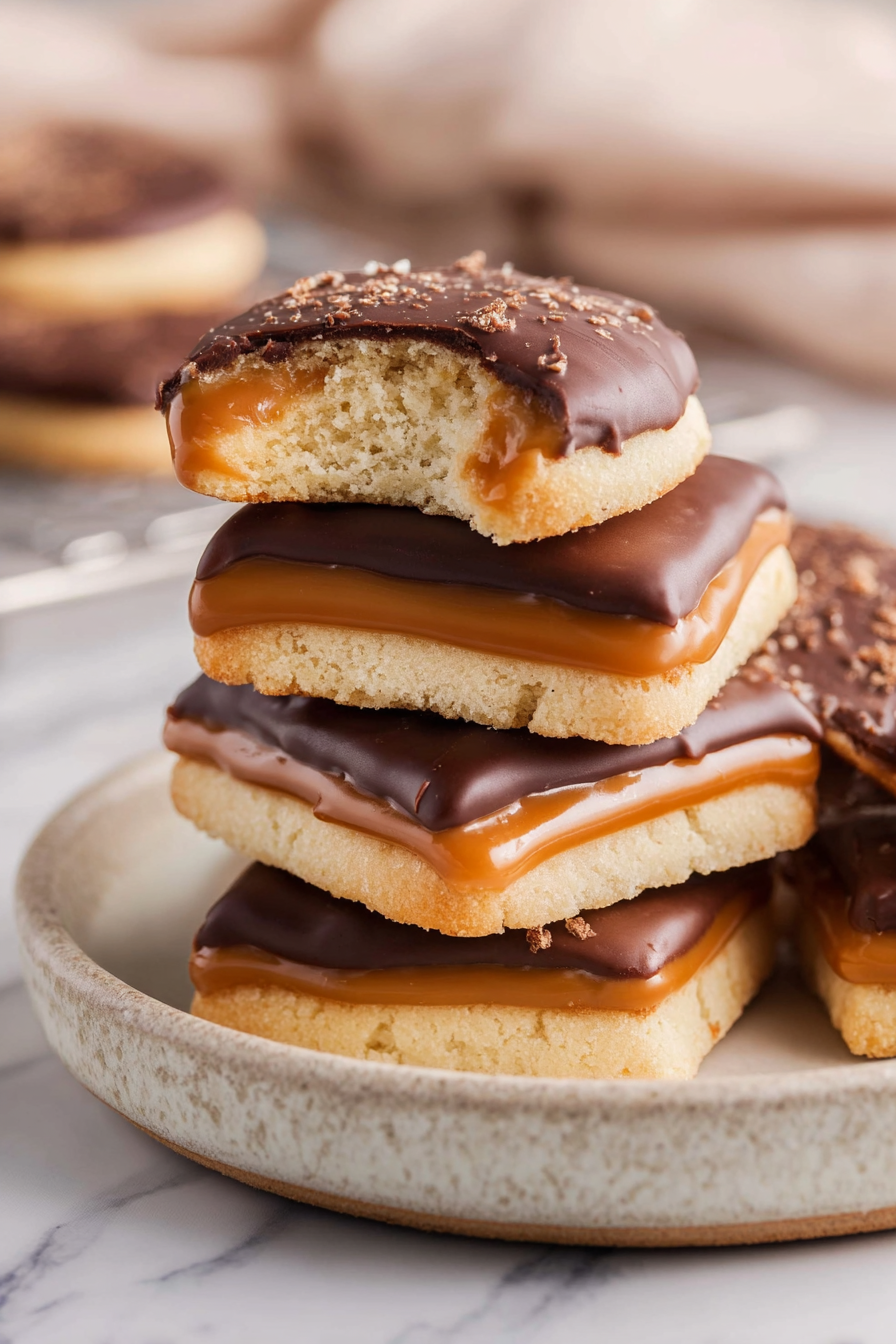
I made these Twix cookies on a sleepy Saturday because I wanted candy-bar vibes without the grocery-store price or the stick-to-your-teeth mess of trying to eat a whole Twix. They’re basically a buttery shortbread-ish cookie, a gooey caramel layer, and a chocolate top — all in tidy little bars (or squares, if you’re slapdash like me). They feel fancy but are stupidly forgiving, and they travel well to potlucks, lunchbox missions, and that “I need cookies and I need them now” emergency.
My husband declared these “the ones you can’t stop at one” the first test batch, which is both flattering and terrifying. Our kiddo calls them “cookie candy” and convinced me to stash half the pan on the top shelf — genius move, because I kept sneaking them and blaming the dog. This recipe has become our quick gift-giving hack: bake, wrap in parchment, tie with twine, and people suddenly believe you have your life together.
Why You’ll Love This Twix Cookies Made Easy
– All the Twix goodness but in cookie form: crumbly base, sticky caramel, melty chocolate — handheld and slightly less of a sugar hangover.
– Ridiculously adaptable: use store-bought caramel for speed or make a quick dulce de leche if you’re feeling virtuous.
– Perfect for sharing because they break into imperfect, rustic pieces that somehow feel artisanal.
– Great for making ahead and freezing, so you can be smug when guests arrive.
Kitchen Talk
I once tried to pipe caramel like a chef and ended up with long, sad caramel strings that looked like modern art. Now I spread it, flatten it with an offset spatula, and accept the imperfections. If your caramel is too runny, pop the pan in the fridge for 10–15 minutes — it firms up and is easier to work with. Also: parchment paper is your best friend here. Line the pan, press the base into it, then lift the whole slab out later for cleaner cuts. Don’t skip the pinch of flaky salt on top unless you hate joy.
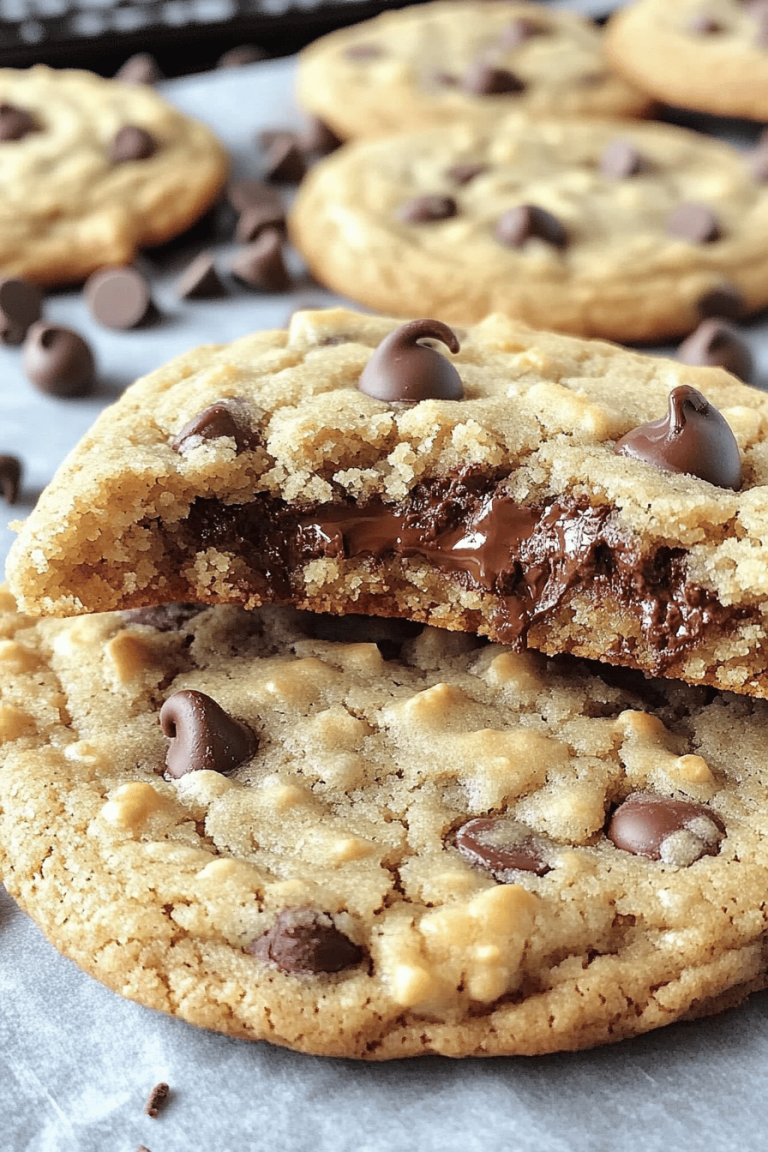
These Twix Cookies were a total hit—super easy to make and packed with gooey caramel and chocolate bits that made every bite feel like a candy bar. The cookie base was chewy with just the right amount of sweetness, and I loved how the chopped Twix pieces added that extra crunch and caramel surprise. Definitely a new favorite for weekend baking!
MORE OF OUR FAVORITE…
Shopping Tips
– Baking Basics: Use all-purpose flour and a granulated + brown sugar combo for the best cookie texture; fresh baking powder makes for a lighter base.
– Fats & Oils: Real butter gives the nicest flavor and snap in the cookie base — don’t sub margarine unless you’re desperate.
– Chocolate: Go with a milk chocolate that melts smoothly (chopped bars or chips); add a teaspoon of neutral oil if your chocolate seizes while melting.
– Sweeteners: If you want deeper flavor, use dark brown sugar for the cookie base; light brown is fine for a milder caramel taste.
– Flavor Boosts: Pure vanilla extract and a tiny pinch of sea salt lift the whole thing — buy good vanilla if you plan to bake a lot.
Prep Ahead Ideas
– Make the cookie base a day ahead, press it into the pan, cover, and keep in the fridge; bake straight from cold.
– Make the caramel or dulce de leche and refrigerate in an airtight jar for up to a week — warms up easily in a microwave.
– Store the melted chocolate in a heatproof bowl over warm water to keep it pourable while you work; cool and reheat gently if needed.
– Use square baking pans and line with parchment that overhangs, so you can lift the slab out and cut on a cutting board — fewer crumbs, less drama.

Time-Saving Tricks
– Use store-bought caramel sauce or soft caramel squares to skip simmering and stirring; they melt quickly and save 20–30 minutes.
– Melt chocolate in short bursts in the microwave, stirring every 15–20 seconds — less babysitting than a double boiler.
– Press and bake the entire base in one pan so you assemble layers in that same pan; no extra clean-up pan dance.
– Chill the whole tray briefly between layers so you can work faster — caramel firms up faster with a short fridge stint.
Common Mistakes
– Overbaking the base: I once left it in two minutes too long and had a cracker instead of a tender cookie — pull it when edges are golden, center still pale.
– Caramel too runny: If it won’t set, stir in a spoonful of powdered sugar or cook it longer to reduce; or give it a fridge timeout.
– Chocolate bloom or seizing: Water + chocolate = sad, grainy mess. Dry utensils, no steam, and gentle heat fix most drama.
– Cutting too soon: Chop when fully chilled or you’ll get gooey, misshapen bars — patience lets the layers set and look neat.
What to Serve It With
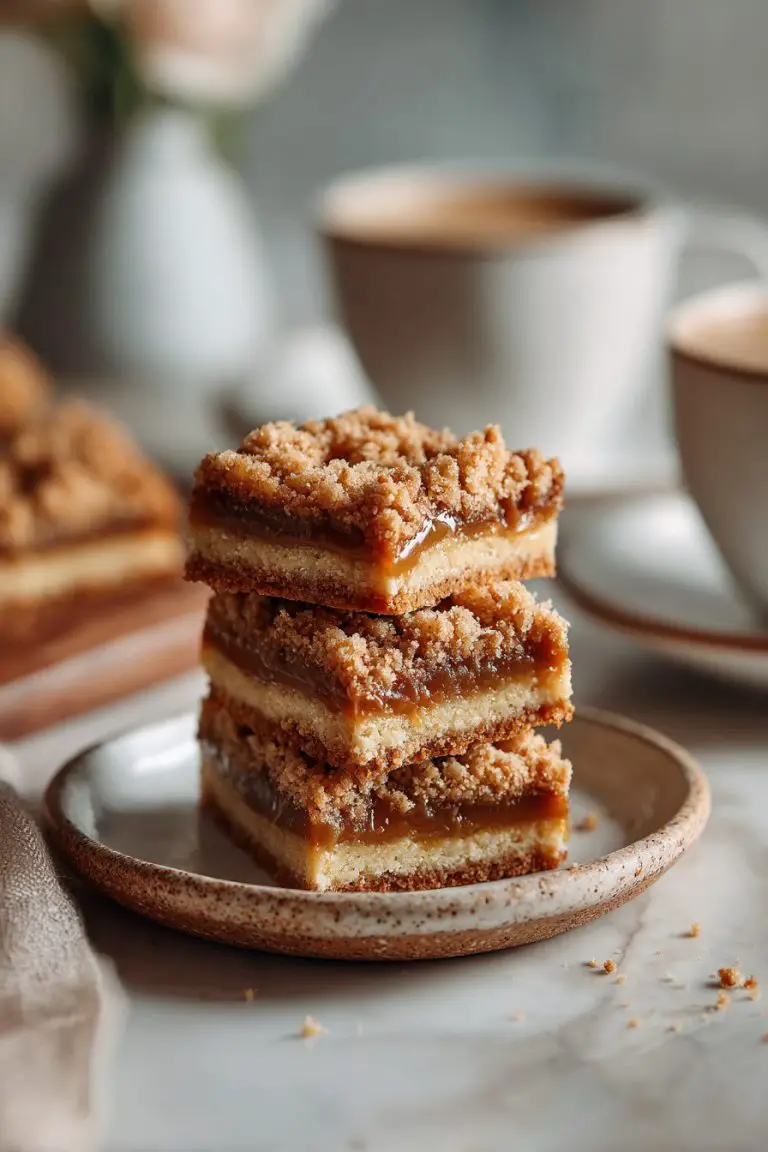
– Strong coffee or espresso — the bitter-sweet contrast is everything.
– A scoop of vanilla ice cream for a dessert plate that feels like late-night brilliance.
– Cold milk, always the classic pairing.
– Crushed over plain yogurt with a drizzle of honey for an indulgent breakfast (no judgment — it’s just dessert for breakfast).
Tips & Mistakes
– Use a serrated knife dipped in hot water for cleaner cuts; wipe between slices.
– Salt is tiny but mighty — flaky sea salt on top makes these sing.
– If caramel cracks when you cut, warm the knife slightly and try again.
– Don’t rush cooling; rushing leads to smooshed layers and regret.
Storage Tips
Keep these in an airtight container at room temp for 2–3 days, or in the fridge if your house is warm. They freeze beautifully — layer parchment between pieces in a freezer-safe container for up to 3 months. Cold is still good (perfect with coffee), and if you want them softer, microwave a piece for 6–8 seconds — instant bliss.

Variations and Substitutions
– Use dulce de leche (canned or homemade) for a richer, deeper caramel flavor; it’s thicker and less likely to run.
– Swap milk chocolate for dark if you want less sweetness and more chocolate depth.
– For nutty texture, sprinkle chopped toasted hazelnuts or almonds between the caramel and chocolate.
– Gluten-free? Try a 1:1 GF flour blend and chill the dough a bit longer before baking to prevent crumbling.
– Vegan-ish: use plant butter and vegan chocolate, but expect slightly different texture — still delicious.
Frequently Asked Questions
Twix Cookies Made Easy
Ingredients
Main Ingredients
- 1 cup unsalted butter, softened
- 0.5 cup granulated sugar
- 1.5 tsp pure vanilla extract
- 2.25 cup all-purpose flour
- 2 tbsp cornstarch for extra tenderness
- 0.5 tsp fine sea salt
- 12 oz soft caramel candies, unwrapped
- 3 tbsp heavy cream
- 8 oz milk chocolate, chopped or chips
- 1 tsp neutral oil (canola or vegetable) helps chocolate set shiny
- 0.25 tsp flaky sea salt optional, for topping
Instructions
Preparation Steps
- Heat oven to 350°F. Line two baking sheets with parchment.
- Beat butter and sugar until pale and fluffy, about 2 minutes.
- Mix in vanilla and salt until combined.
- Add flour and cornstarch. Mix just until the dough looks sandy and clumps together.
- Press dough into a smooth mass by hand.
- Roll between parchment to 1/4 inch thick. Chill 10 minutes for cleaner cuts.
- Cut 2-inch rounds or scoop 1 tablespoon mounds. Arrange 2 inches apart and flatten lightly.
- Bake 11 to 13 minutes, until set and barely golden at the edges.
- Cool on pans 5 minutes. Transfer cookies to a rack to cool completely.
- Microwave caramels with cream in 30-second bursts, stirring, until smooth and pourable.
- Spoon about 1 teaspoon caramel onto each cookie center. Let stand until tacky, 10 to 15 minutes.
- Melt chocolate with oil until glossy. Spread over caramel. Sprinkle flaky salt. Let set completely.
Notes
Featured Comments
“Impressed! Clear steps and absolutely loved results. Perfect for busy nights.”
“Made this last night and it was turned out amazing. Loved how the hands-off came together.”
“This al dente recipe was so flavorful — the salty-sweet really stands out. Thanks!”
“This charred recipe was family favorite — the nourishing really stands out. Thanks!”
“Impressed! Clear steps and turned out amazing results. Perfect for busy nights.”
“Impressed! Clear steps and family favorite results. Perfect for busy nights.”
“Made this last night and it was absolutely loved. Loved how the fluffy came together.”
“Made this last night and it was absolutely loved. Loved how the fresh catch came together.”
“New favorite here — will make again. nourishing was spot on.”
“New favorite here — will make again. crusty was spot on.”