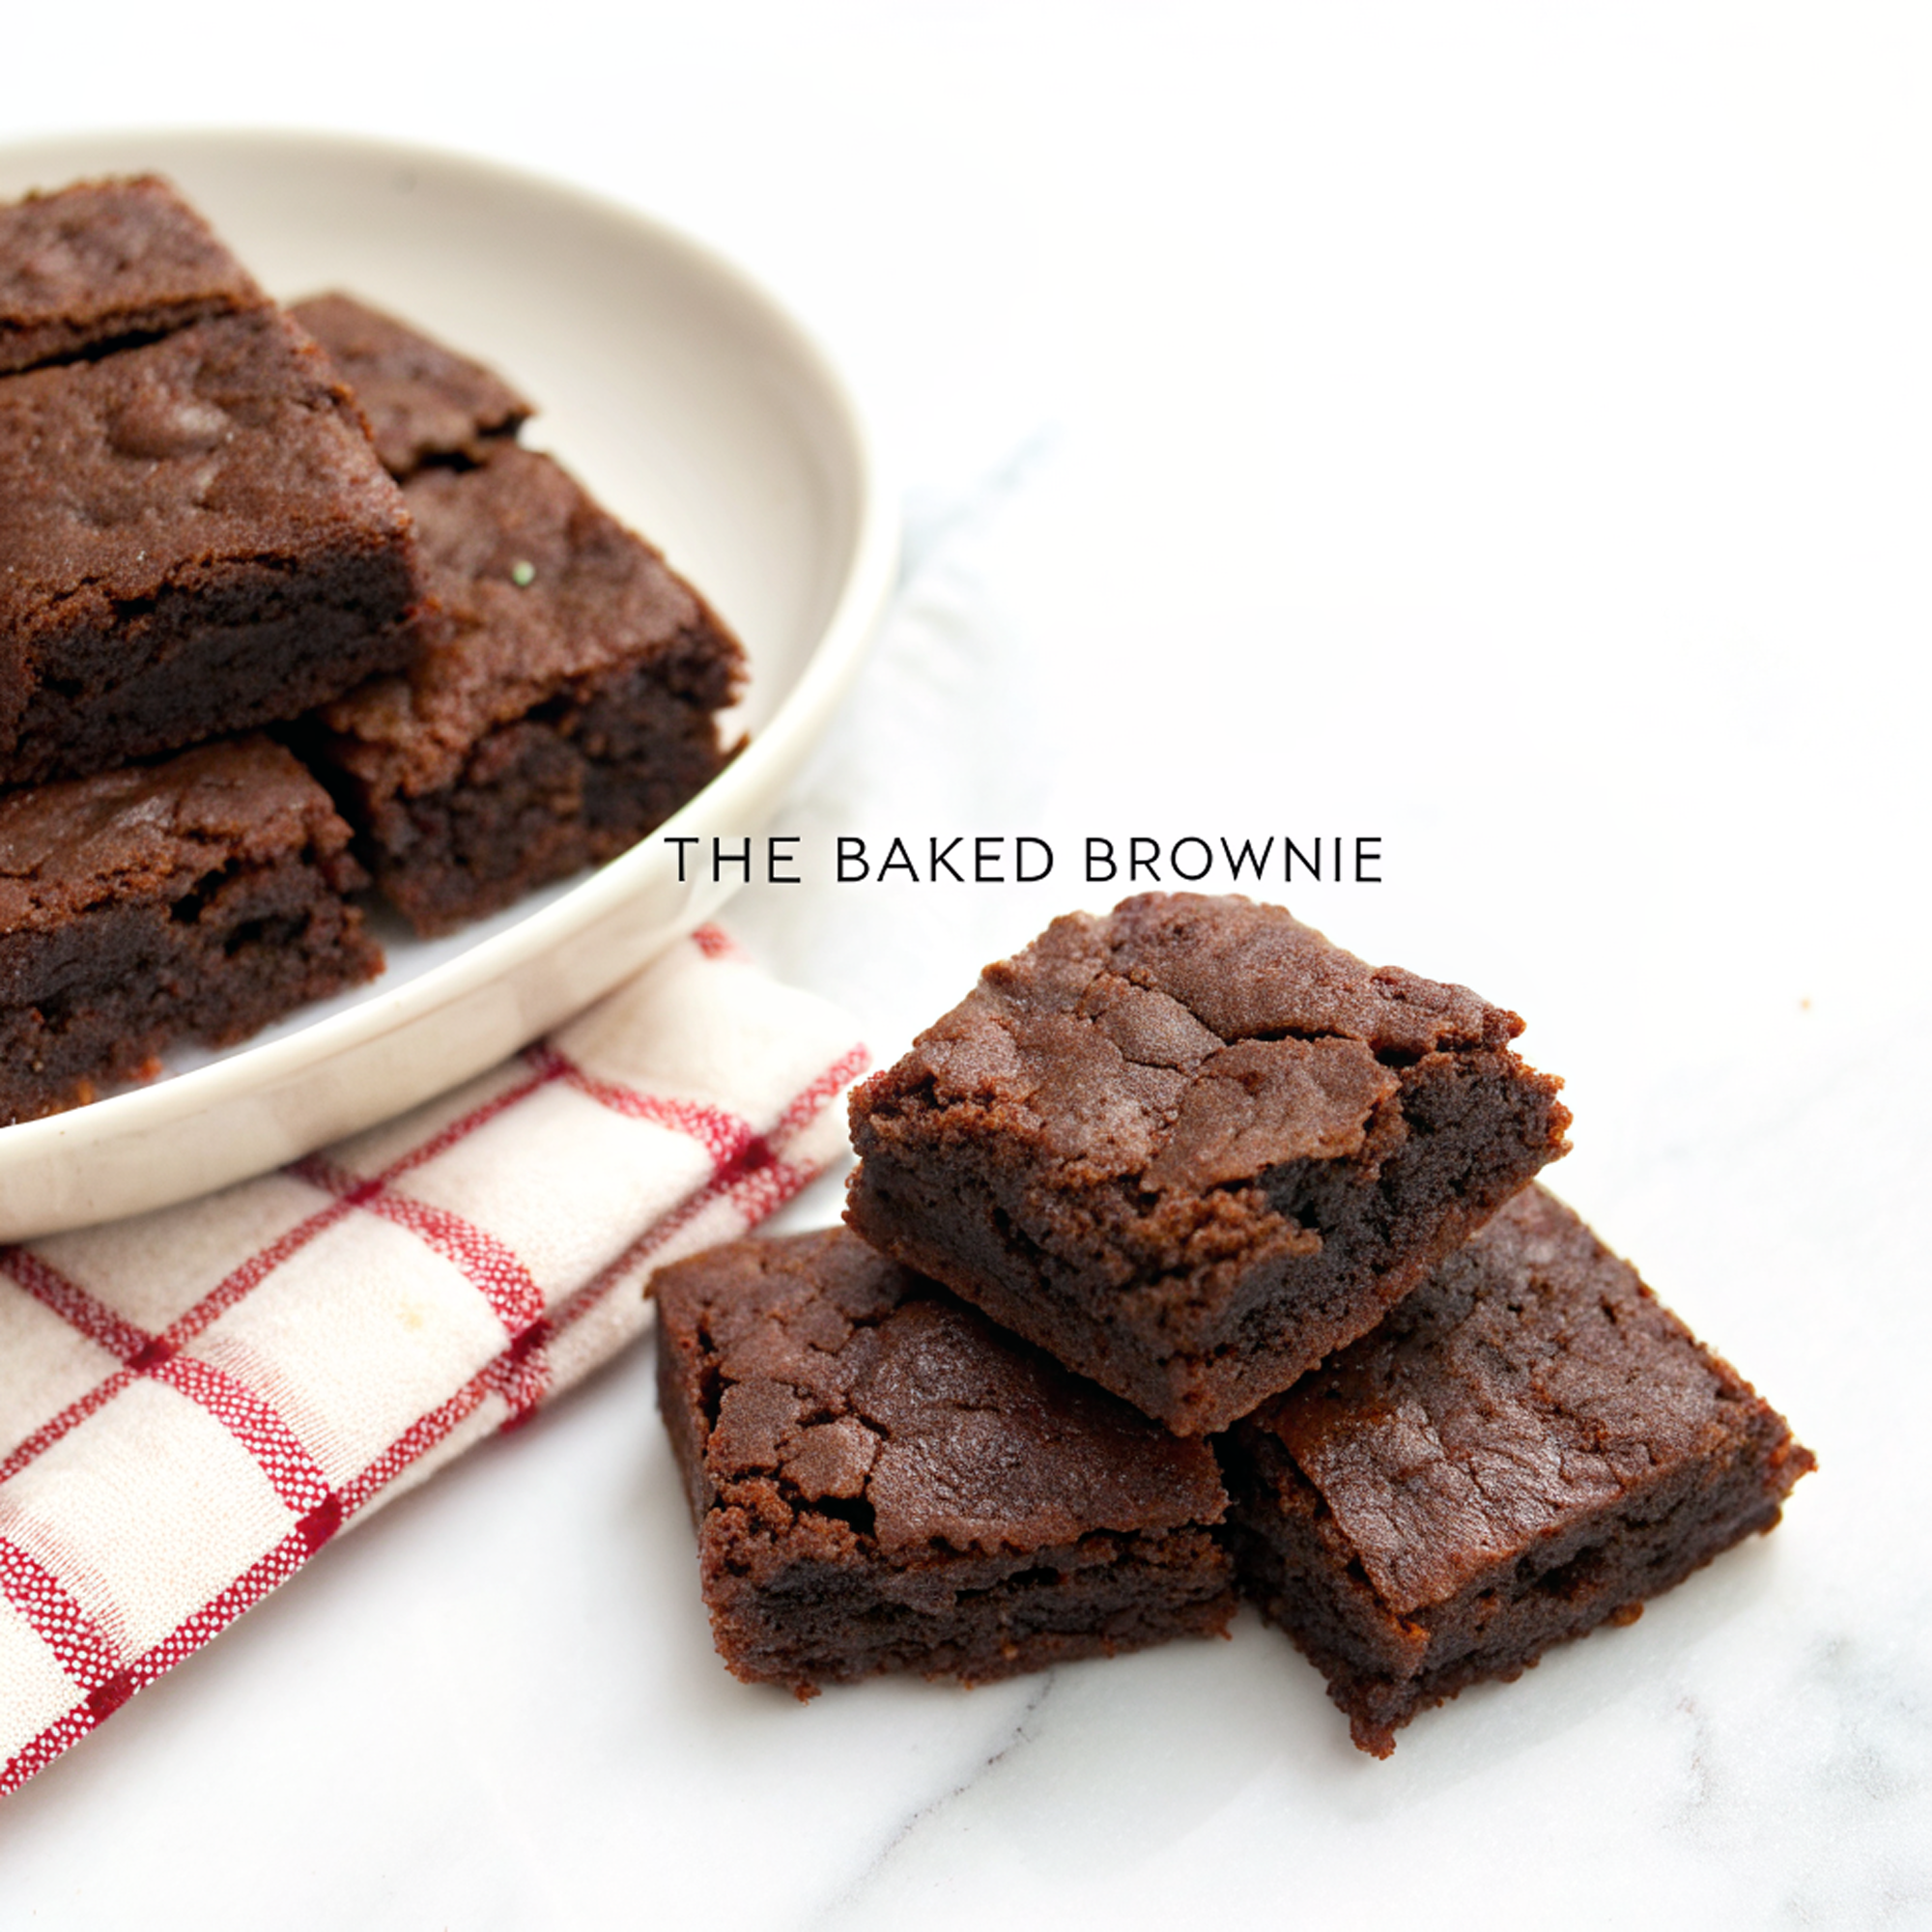
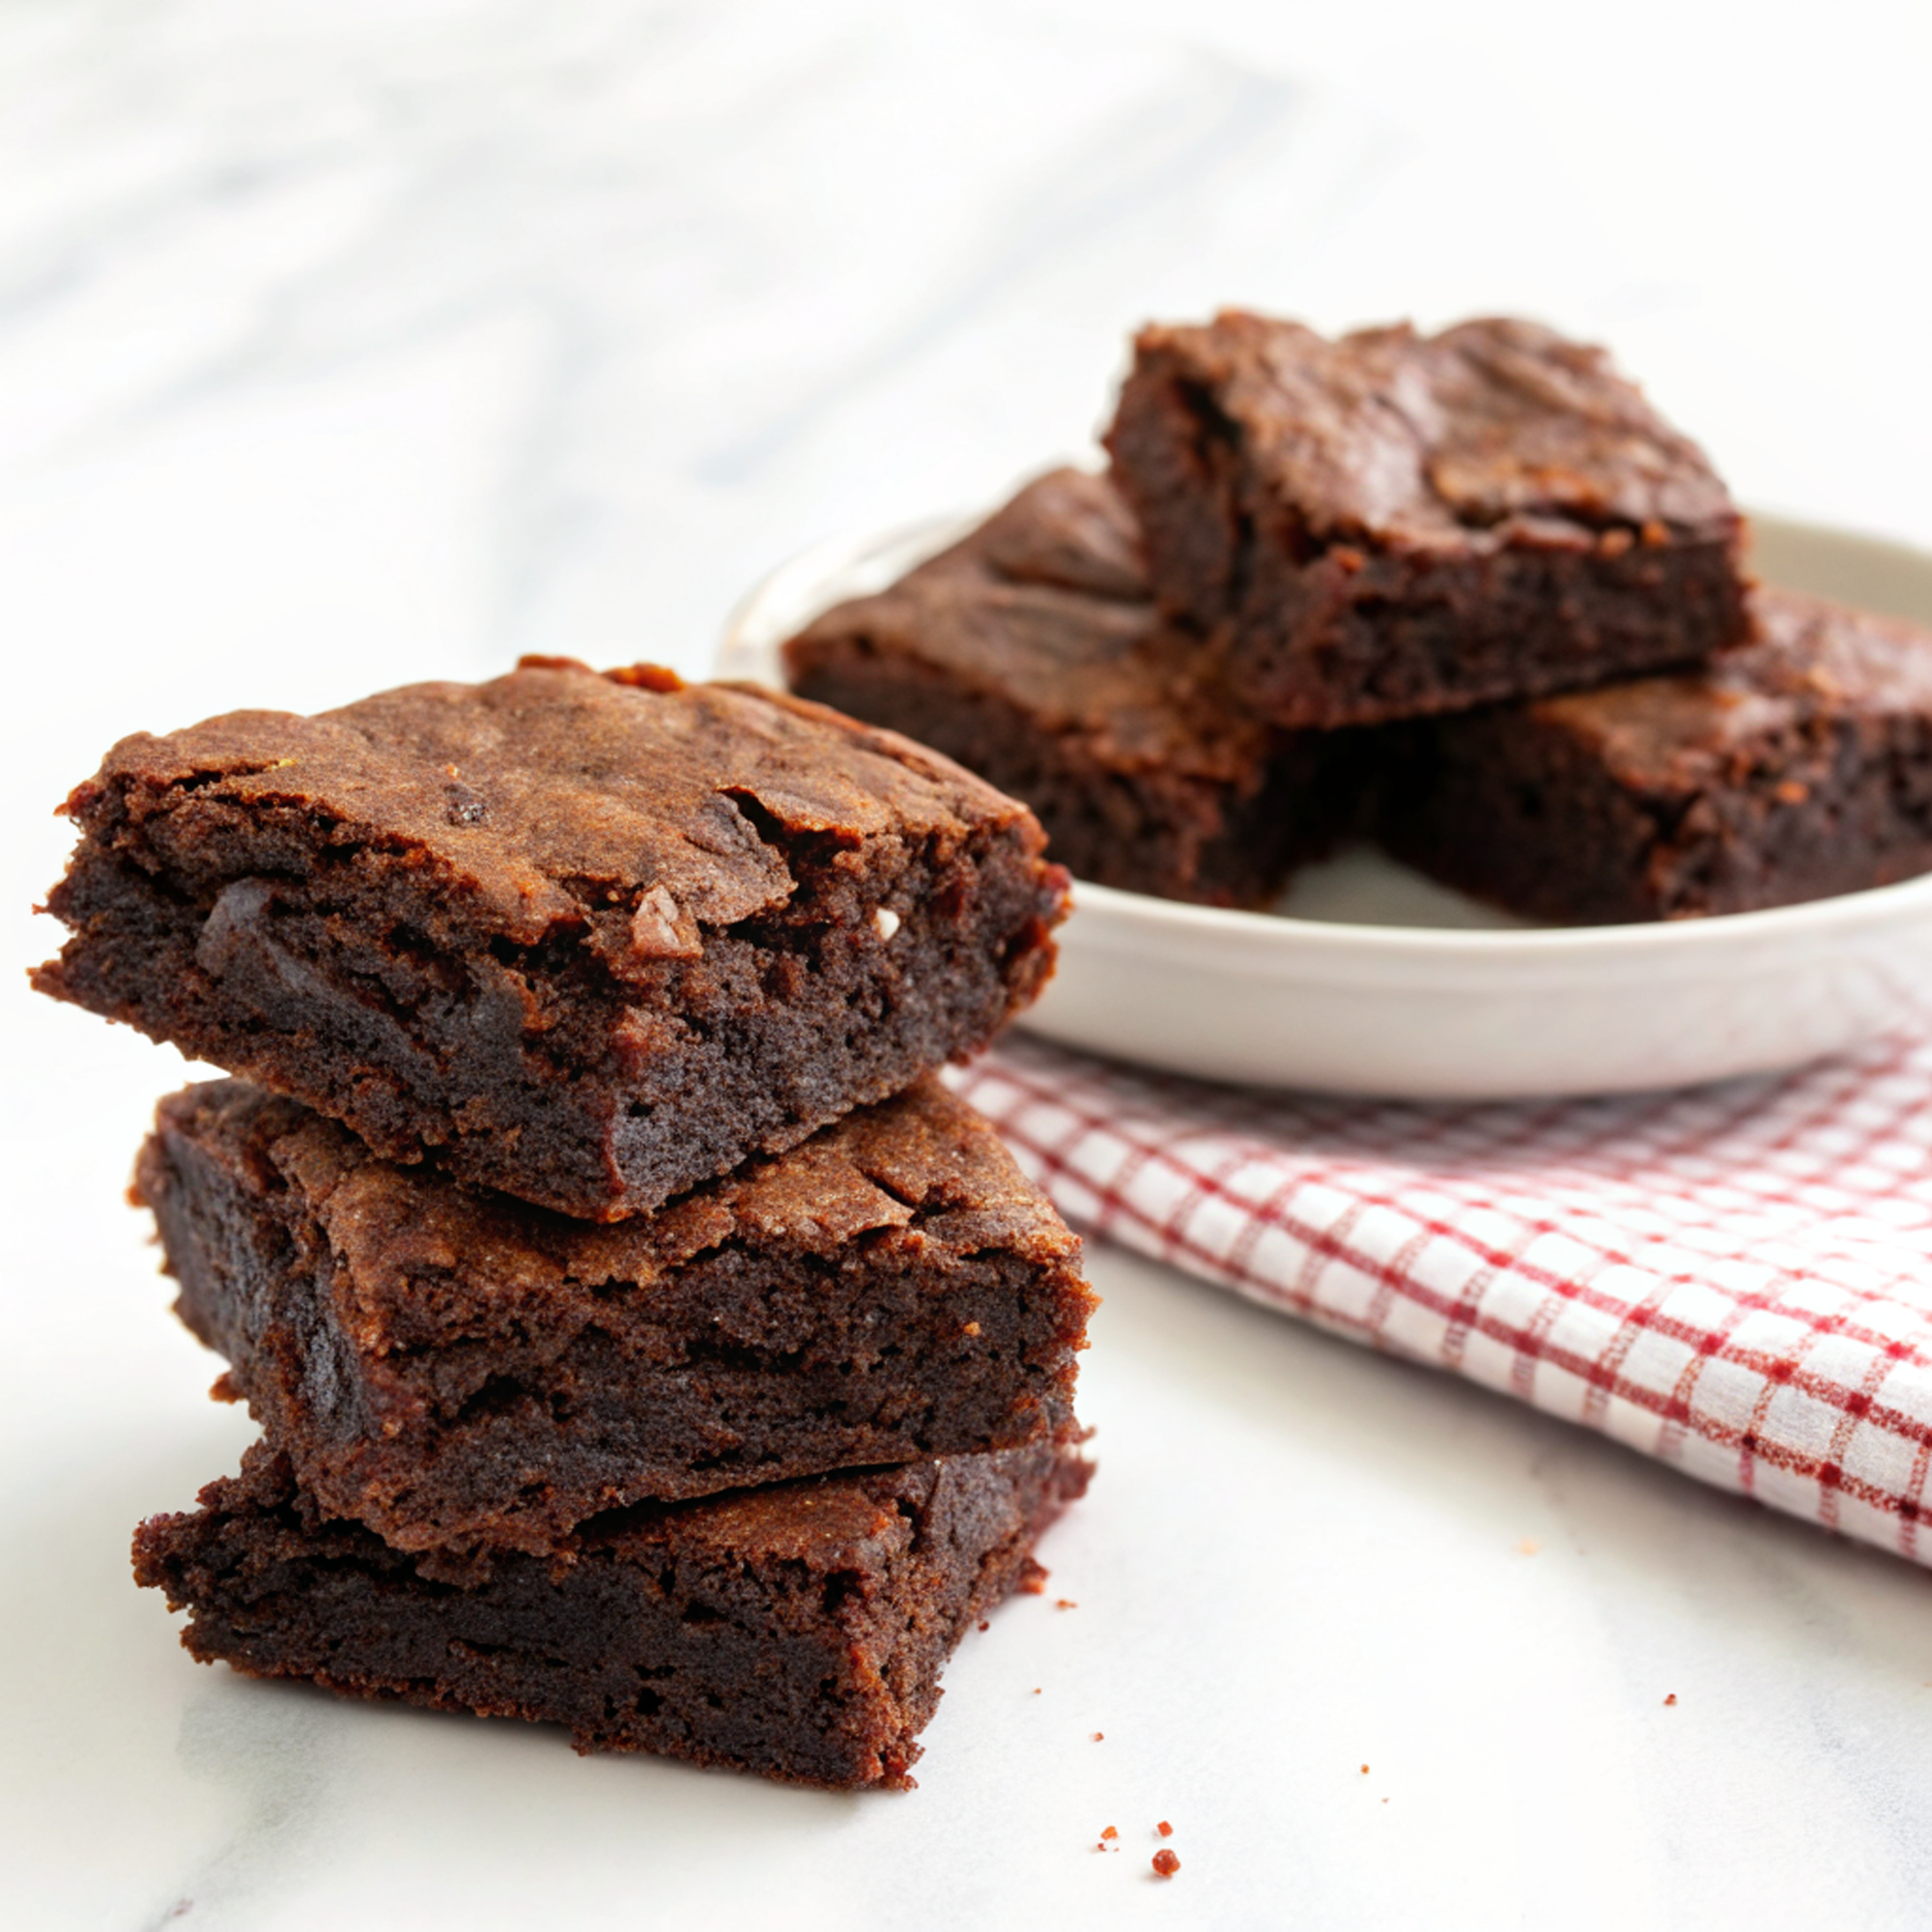
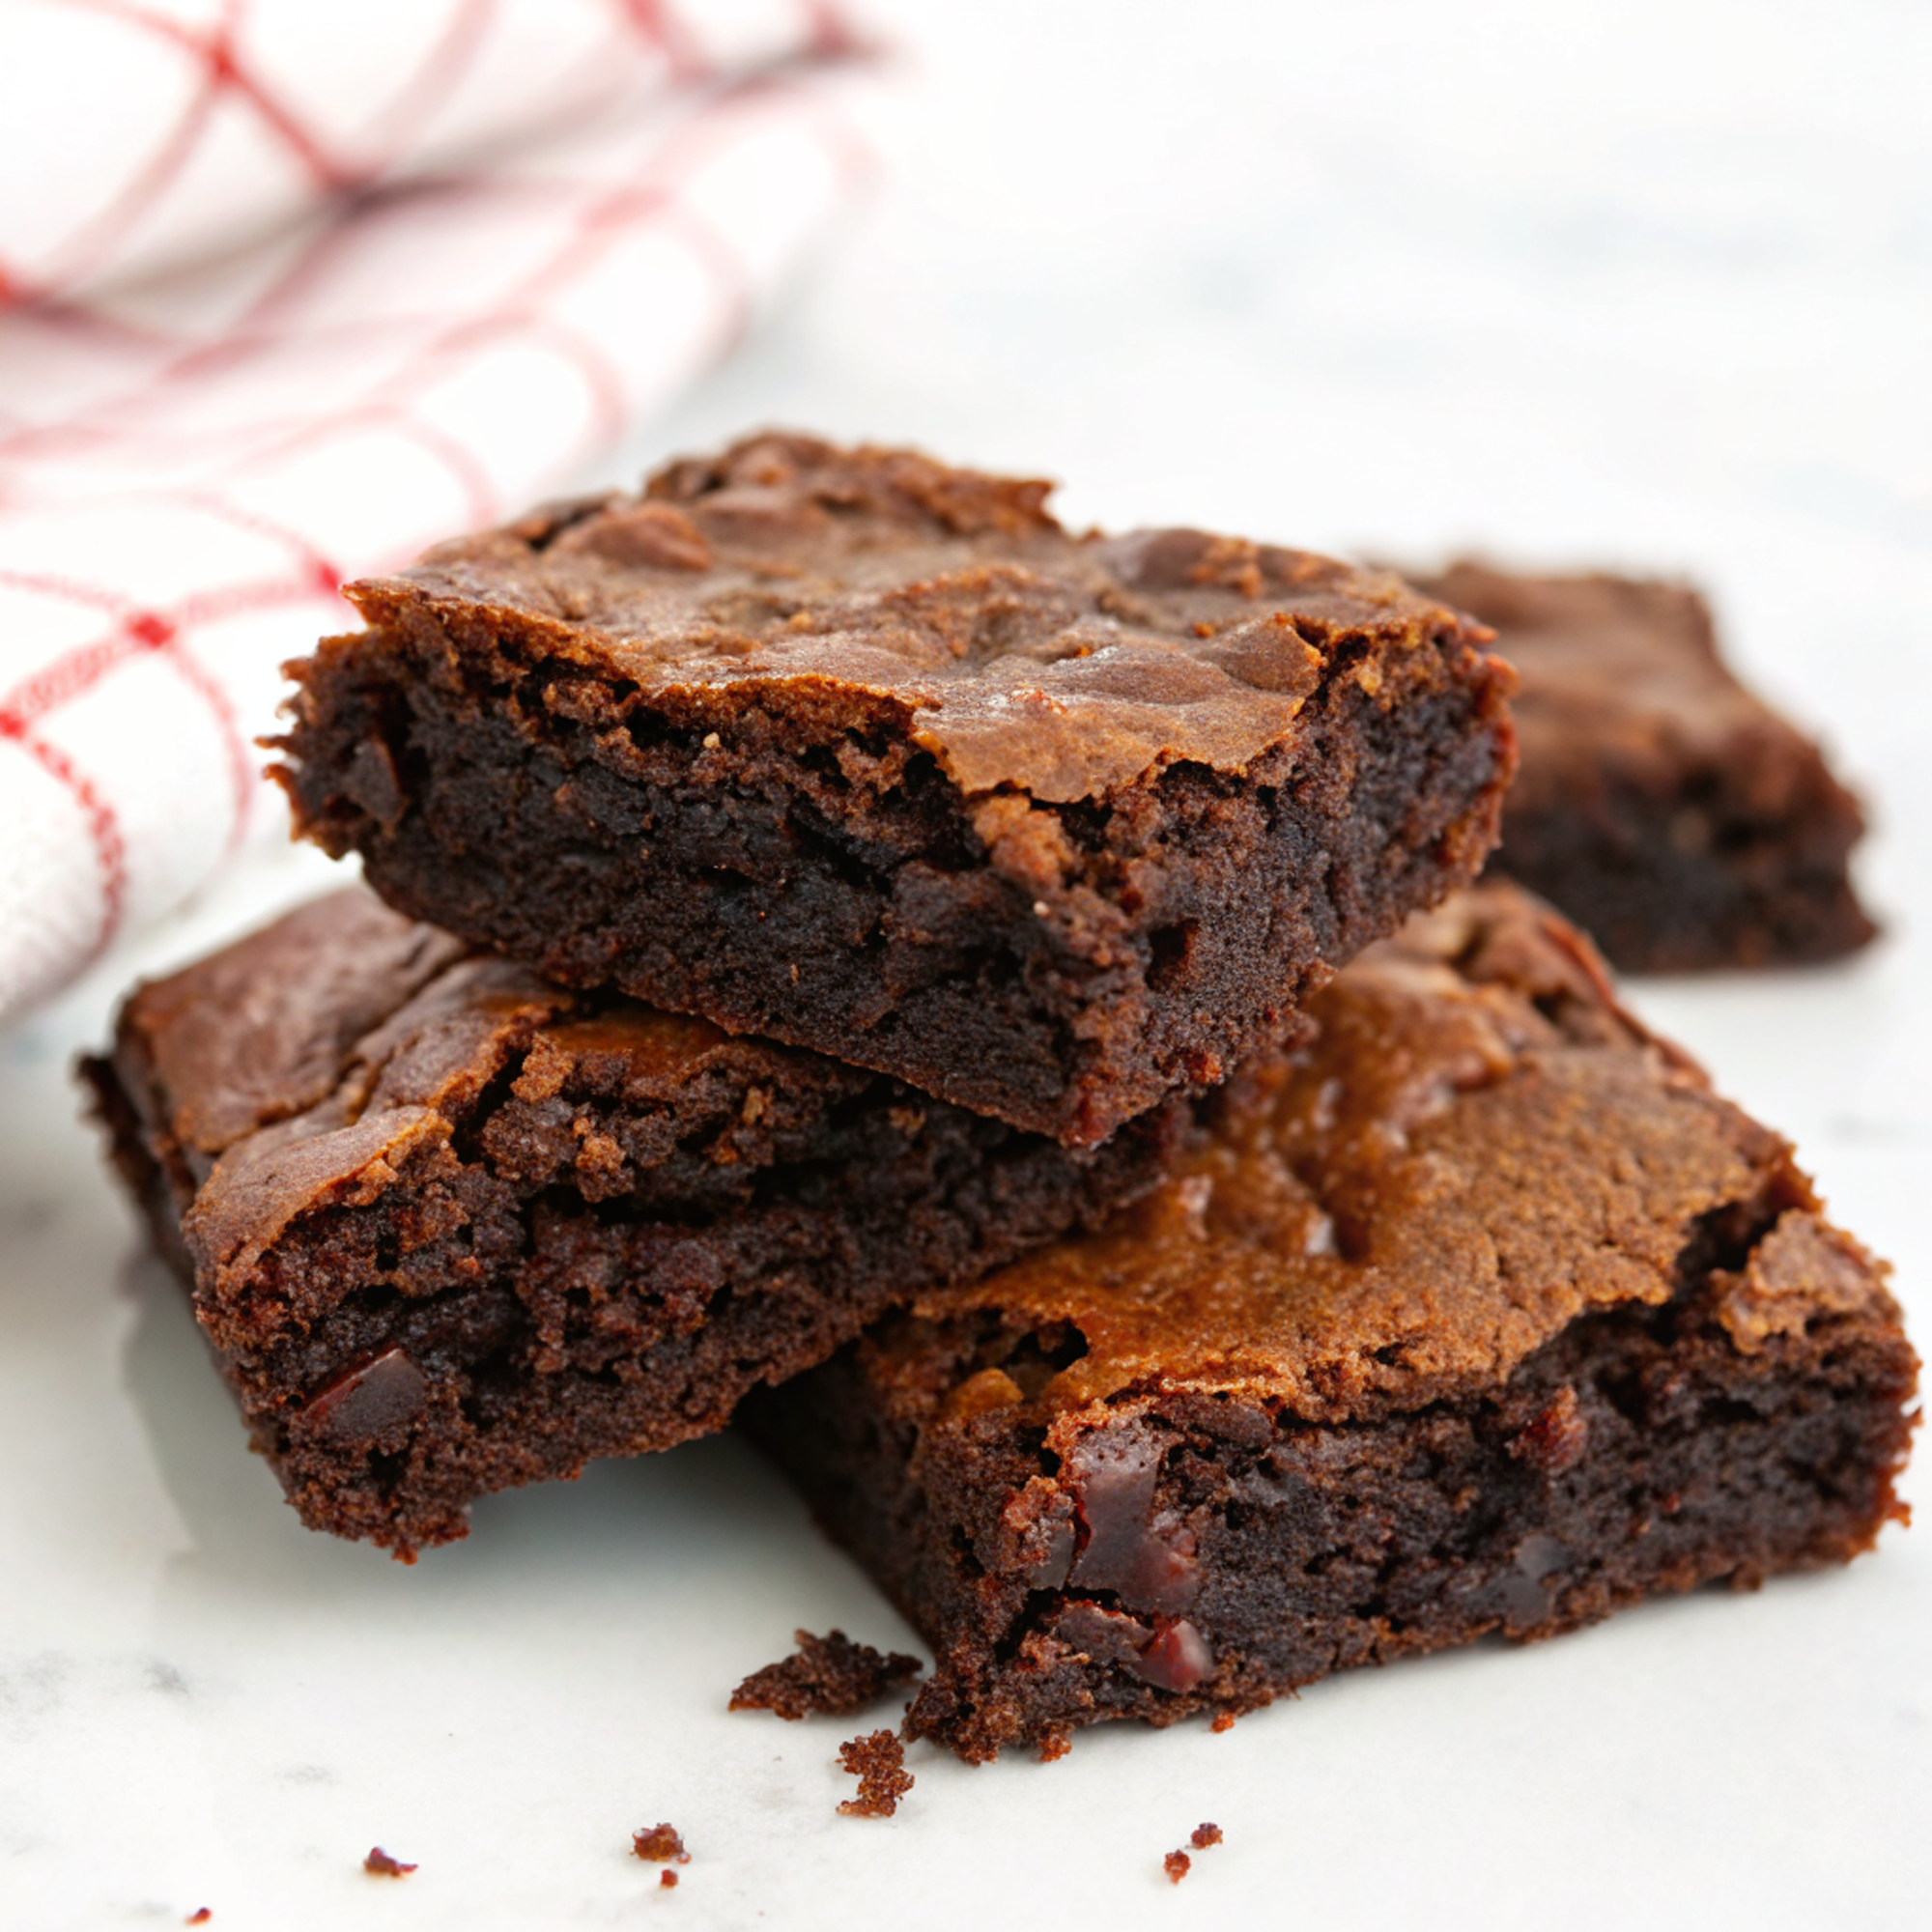
The Baked Brownie
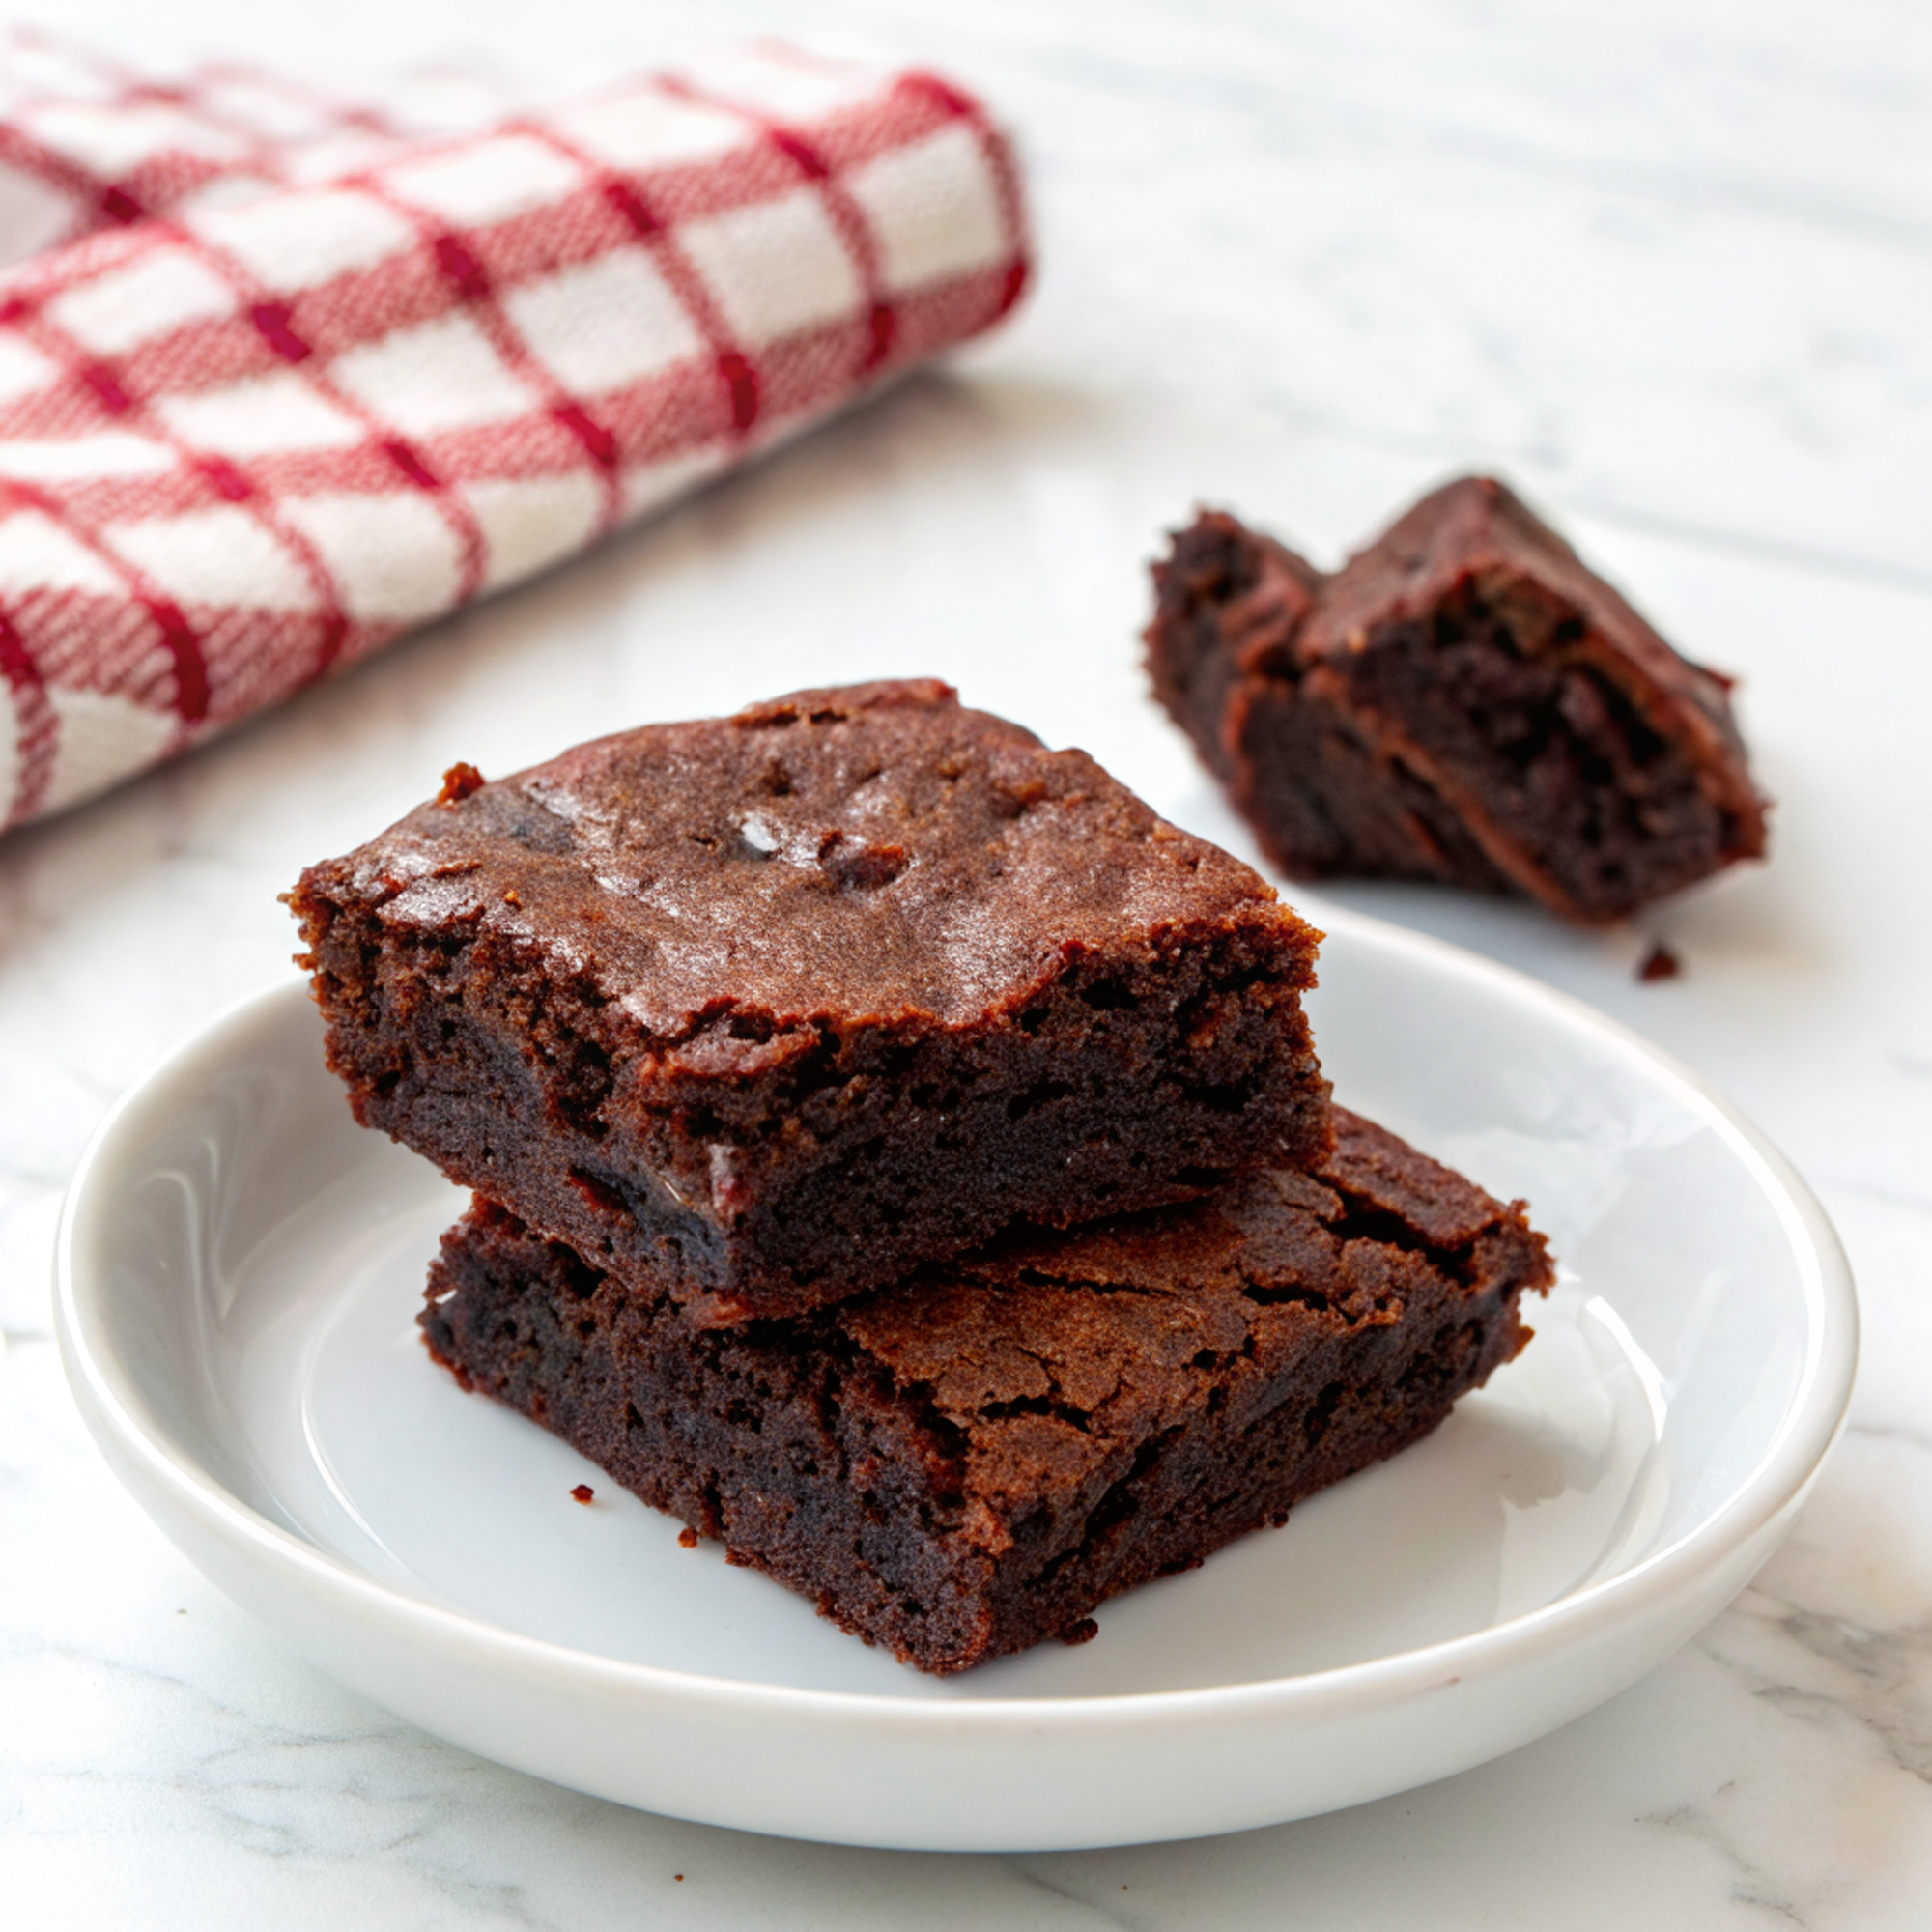
I have a thing for brownies — the kind that are fudgy in the middle, glossy and crackly on top, and stupidly easy to make with whatever you’ve got in the pantry. This is my go-to Baked Brownie: rich, slightly messy, and endlessly adaptable. It’s the one dessert I make when I need comfort, when guests drop by, or when the kids promise to clean up (they rarely do, but the brownies make up for it).
My husband will tell you this recipe is “dangerous” because he eats three squares in full view of the kids and pretends he’s not trying to hide evidence. Once I brought a pan to a friends’ potluck and came home with half the pan gone and a note taped to the empty dish: “We ate it all, sorry.” It’s become the treat we reach for on rainy Saturdays and the last-minute “I forgot it’s someone’s birthday” save. I’ve burned a batch, overfluffed another, and once swapped in instant coffee on a whim — that one was borderline genius.
Why You’ll Love This The Baked Brownie
– Fudgy in the middle, crackly on top — the best of both textures.
– Pantry-friendly ingredients, so you can usually make it without a store run.
– Flexible: add nuts, swap chocolate types, or go boozy with a splash of rum.
– Kid-approved and secretly sophisticated when you add espresso or sea salt.
Kitchen Talk

I’ve learned more about brownies through mistakes than Instagram reels. Like the time I over-whisked the eggs and ended up with cakey brownies — lesson: whisk for shine, not for air. Or the glorious day I threw in a spoonful of instant espresso and it somehow made the chocolate sing. I usually melt the butter and chocolate together in a small pan — fewer dishes — and I always line the pan with parchment that hangs over the sides. It’s lazy and brilliant when lifting brownies out to cut. Also: don’t skip a pinch of good flaky salt on top; it makes people swoon.
MORE OF OUR FAVORITE…
Shopping Tips
– Chocolate: Use good-quality bittersweet chocolate for depth; chips work in a pinch but chop a bar if you want glossy richness.
– Baking Basics (Flour/Sugar/Leaveners): Plain all-purpose flour is fine; use granulated sugar for that classic crackle and a little brown sugar if you want chew.
– Fats & Oils: Butter gives the best flavor and texture; you can substitute neutral oil, but expect a slightly different crumb.
– Eggs: Fresh medium-to-large eggs help with structure — if they’ve been in the back of the fridge a week, give them a sniff and a shake.
– Nuts & Seeds: Toast walnuts or pecans for extra flavor, or skip them entirely if you don’t want crunch.
Prep Ahead Ideas
– Mix dry ingredients the night before and store them in an airtight container; it saves five minutes and keeps the process calm.
– Melt chocolate and butter together and cool, then refrigerate in a covered jar; bring back to room temp before folding into eggs.
– You can fully bake the brownies and freeze them in a sealed container; thaw at room temp or zap a slice in the microwave for 12–20 seconds for a gooey hit.
– Use a pan lined with parchment and leave the whole baked slab in the fridge overnight for cleaner cuts the next day.
Time-Saving Tricks
– Microwave chocolate and butter in short bursts, stirring between, to speed up melting.
– Use one bowl: melt, whisk, fold in dry ingredients, and pour — fewer dishes, less faffing.
– Preheat the oven while you prep so the bake starts right away.
– When short on time, skip the toast step for nuts and fold them in raw; they’ll toast in the oven as the brownies bake.
Common Mistakes
– Overbaking: I’ve left a pan in too long and ended up with brownies that could double as coasters. Pull them when the edges are set and the center still jiggles a touch.
– Overmixing: beating once the flour goes in develops gluten and makes cakier brownies. Fold gently.
– Not lining the pan: you’ll regret trying to pry sticky squares out. Parchment is a small miracle.
– Skipping the salt: I tried salt-free once. Nobody was fooled — the chocolate tasted flat. Add a pinch and consider flaky sea salt on top.
What to Serve It With
– A scoop of vanilla ice cream + warm salted caramel drizzle.
– A simple mug of black coffee or espresso to cut the richness.
– Fresh berries and whipped cream for a slightly lighter pairing.
– Cold milk, because sometimes nostalgia wins.
Tips & Mistakes
– Use an 8-inch or 9-inch pan depending on how thick you want them; thicker = fudgier.
– Salt at the end: a sprinkle of flaky salt after baking lifts the chocolate.
– Let them cool enough before slicing for cleaner squares; refrigerate to speed this up.
– If they seem underdone, they’ll often set as they cool — resist the urge to bake longer right away.
Storage Tips
Keep brownies in an airtight container at room temp for 2–3 days. Refrigerate for up to a week — they firm up and slice neater, and honestly, cold brownies are delightfully chewy. For longer hugs, freeze in layers separated by parchment; thaw on the counter or nuke a slice for 15 seconds if you want melty chocolate.
Variations and Substitutions
Want to experiment? Swap half the chocolate for cocoa powder for a different texture, or add a handful of chocolate chips for pockets of goo. For dairy-free, try coconut oil and a good dark chocolate labeled dairy-free — results are slightly different but still delicious. Brown sugar will make the brownies chewier; espresso powder amps up the chocolate without tasting like coffee. If you need gluten-free, use a 1:1 gluten-free flour blend, but expect a slightly different crumb. I don’t recommend replacing eggs with too much liquid — brownies rely on eggs for structure; use a tested egg replacer if you must.
Frequently Asked Questions
The Baked Brownie
Ingredients
Brownie Batter
- 12 ounces dark chocolate (65–70% cacao), chopped and divided
- 14 tablespoons unsalted butter, cut into pieces
- 1 tablespoon hot brewed espresso
- 1 1/4 cups granulated sugar
- 3/4 cup light brown sugar, packed
- 4 large eggs, at room temperature
- 1 large egg yolk, at room temperature
- 2 1/2 teaspoons pure vanilla extract
- 1 teaspoon unsulfured molasses
- 1 cup + 2 tablespoons all-purpose flour
- 1/4 cup Dutch-process cocoa powder
- 3/4 teaspoon fine sea salt
Finish
- 1 pinch flaky sea salt, for sprinkling (optional)
Instructions
Preparation Steps
- Line a 9×13-inch metal baking pan with parchment, leaving overhang on two sides for a sling. Lightly butter the parchment and sides. Preheat the oven to 345°F with a rack in the center.
- Place 10 ounces of the chopped chocolate and the butter in a large microwave-safe bowl. Microwave in 30-second bursts, stirring between each, until just melted and smooth, 1½–2 minutes total. Stir in the hot brewed espresso until glossy. Set aside; keep warm but not hot.
- In a separate large bowl, whisk together the granulated sugar, brown sugar, eggs, egg yolk, vanilla, and molasses for about 2 minutes until thickened and slightly lighter. Tip: This brief whisk helps create that shiny, crackly top.
- While whisking the sugar-egg mixture, slowly stream in the warm chocolate-butter mixture until fully combined and smooth.
- In a medium bowl, whisk the flour, cocoa powder, and salt to break up any lumps. Fold this dry mixture into the chocolate base with a spatula just until a few streaks remain. Fold in the remaining 2 ounces of chopped chocolate so some bits stay chunky.
- Scrape the batter into the prepared pan, smooth the surface, and tap the pan firmly on the counter 2–3 times to release any large air bubbles. Let the filled pan rest on the counter for 10 minutes to hydrate the flour and deepen the crackly crust.
- Bake for 24–28 minutes, rotating the pan once halfway through. The edges will be set and the center should yield moist, fudgy crumbs on a toothpick (not wet batter).
- Set the pan on a wire rack and immediately sprinkle with a pinch of flaky sea salt, if using. Cool completely in the pan. For the cleanest slices, chill for 30 minutes, then lift out using the sling and cut into 24 squares with a hot knife wiped clean between cuts.
Notes
Featured Comments
“This hands-off recipe was will make again — the party favorite really stands out. Thanks!”
“Super easy and will make again! My family asked for seconds. Saving this one.”
“Impressed! Clear steps and turned out amazing results. Perfect for busy nights.”
“Impressed! Clear steps and absolutely loved results. Perfect for busy nights.”
“Made this last night and it was will make again. Loved how the simple came together.”
“Impressed! Clear steps and absolutely loved results. Perfect for busy nights.”
“New favorite here — turned out amazing. refreshing was spot on.”
“New favorite here — absolutely loved. juicy patty was spot on.”
“This energizing recipe was turned out amazing — the satisfying really stands out. Thanks!”
“Impressed! Clear steps and will make again results. Perfect for busy nights.”