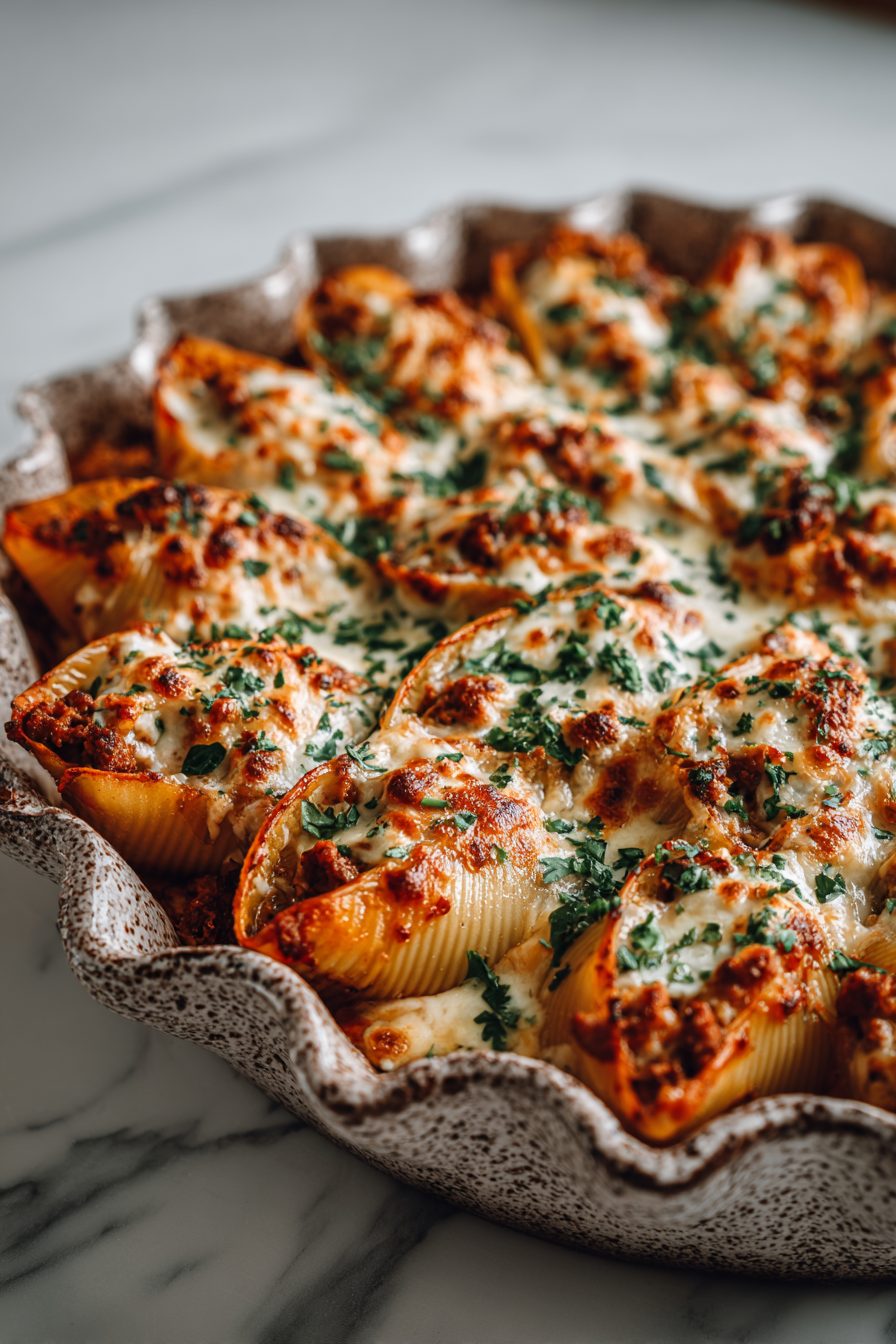
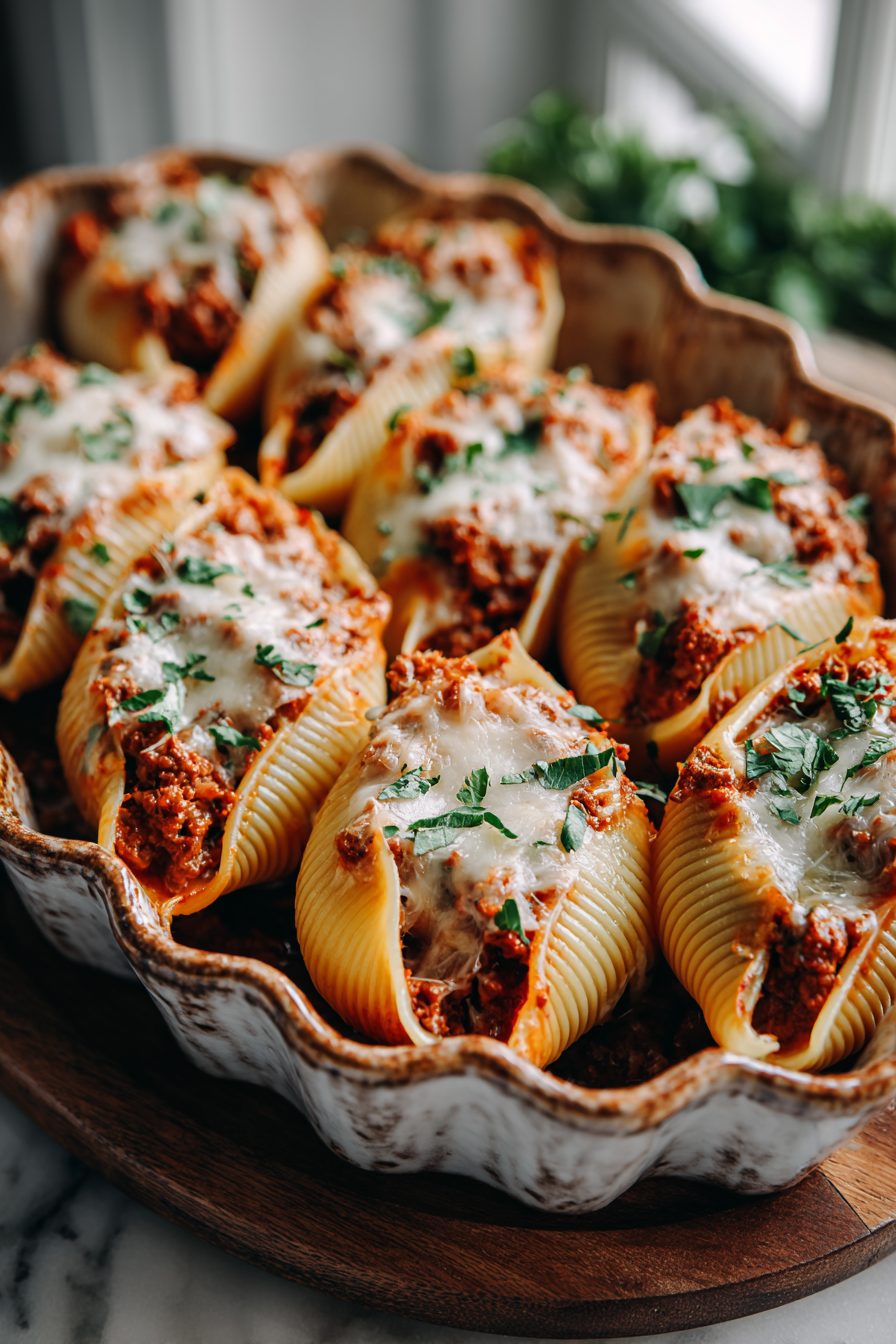
Taco-Stuffed Shells Recipe
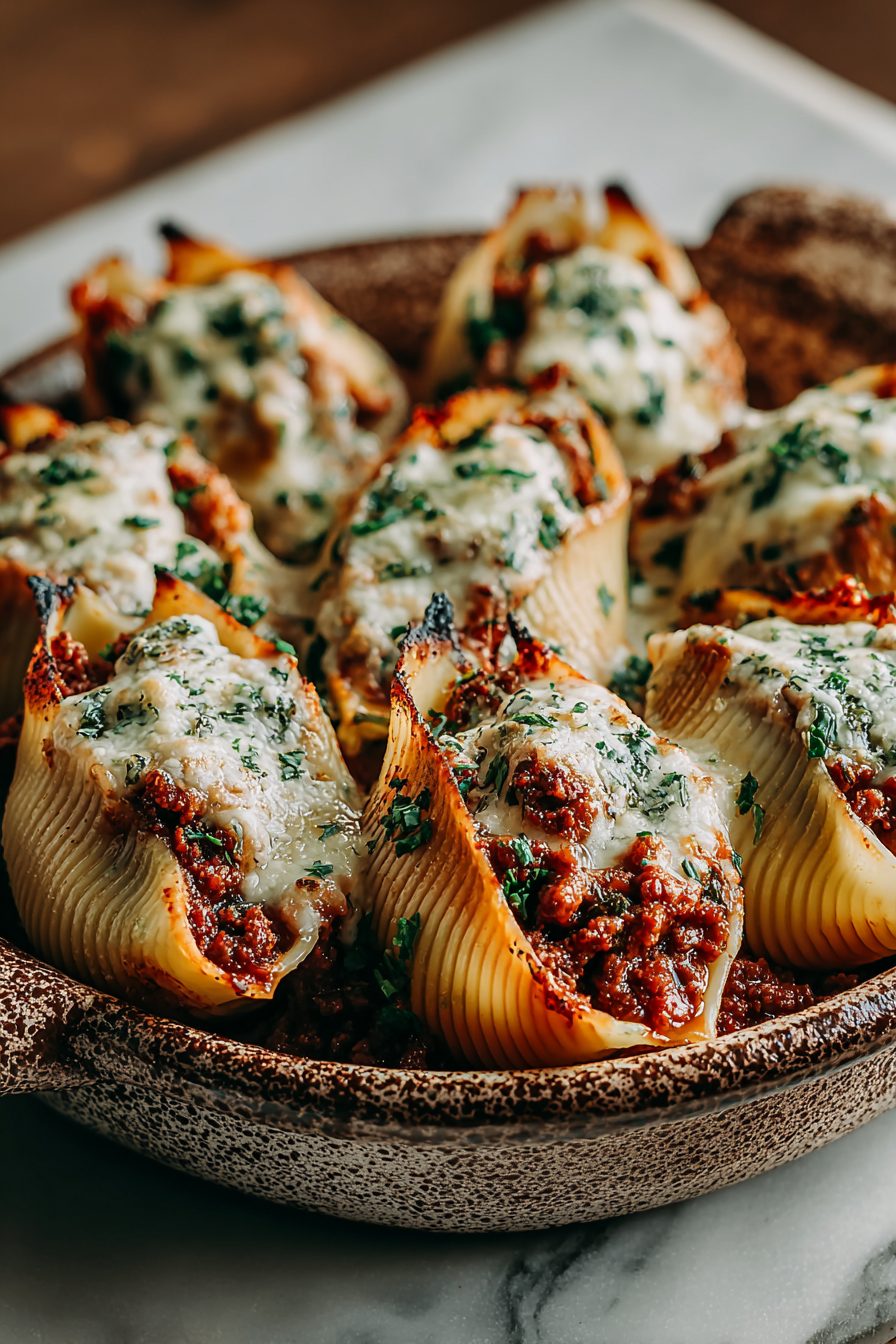
This is one of those ridiculous comfort dinners that makes everyone at the table forgive you for the sink full of dishes. Big pasta shells get filled with a messy, taco-spiced meat (or beans!), smothered in sauce and cheese, then baked until the edges get a little crispy and delicious. It’s a mash-up of two great ideas — tacos and stuffed shells — and somehow the combo works like a tiny, hand-held casserole for every doubtful eater under your roof.
My husband calls these “the cheating taco night” because I don’t have to assemble a parade of toppings and he still gets his crunchy-ish, cheesy fix. My kid will eat literally anything when it’s served in a shell, so these became a Friday staple — easy to parcel out, forgiving when I’ve overcooked the rice or forgotten to defrost the chicken. Once I swapped in black beans for a smoky vegetarian version and nobody complained (well, except for the dog, who judged the cheese-to-bean ratio).
Why You’ll Love This Taco-Stuffed Shells Recipe
– It’s taco flavor without the taco chaos — everything baked in one dish so you can skip the assembly line of toppings.
– Crowd-pleasing and adaptable: make it with ground beef, turkey, chorizo, or keep it meatless with beans and mushrooms.
– Hands-off while it bakes — a win for weeknight cooking and very easy to double for leftovers.
– Comfort food that somehow feels festive when you melt a ridiculous amount of cheese on top.
Kitchen Talk
MORE EASY DINNER RECIPES...

I hate rinsing pasta. There, I said it. But for these shells, a quick rinse after cooking keeps them from getting gummy while you fill them. I once tried using soft taco shells because I was out of shells and, spoiler, it was not the same — floppy, sad tacos. On the upside, I accidentally used smoked paprika instead of chili powder once and it turned into the best happy accident ever: subtle smoke that made everyone ask what sauce I used. Also, don’t overstuff or the shells explode like tiny savory balloons in the oven.
These taco-stuffed shells were an absolute family hit—cheesy, flavorful, and way easier to make than they look, with that cream cheese adding the perfect creamy twist to the taco filling.[1][5] We devoured them on a busy weeknight, and the leftovers were just as good the next day. If you're craving Tex-Mex comfort food, this recipe's a winner!
MORE OF OUR FAVORITE…
Shopping Tips
– Grains/Pasta: Buy jumbo pasta shells for easier stuffing; if you can’t find them, large conchiglie (sea shells) work too.
– Protein: Ground beef or turkey are classic, but browned crumbled chorizo or a quick seared chicken dice are great swaps — buy what’s fresh and on sale.
– Cheese: Use a melty cheese like cheddar, Monterey Jack, or a Mexican blend for the top; a little cotija sprinkled after baking feels fancy.
– Canned Goods: If your recipe calls for diced tomatoes or canned beans, choose low-sodium so you can control salt later.
– Spices: A pre-made taco seasoning is easy, but check for high salt; making your own lets you adjust heat and smokiness.
– Fresh Herbs: Cilantro and lime are optional at the grocery store but highly recommended at home for brightness.
Prep Ahead Ideas
– Brown the meat (or cook the beans and aromatics) a day ahead and refrigerate in an airtight container; the flavors actually marry overnight.
– Cook the shells ahead, toss gently with oil to keep them from sticking, and store in a shallow container layered with parchment.
– Keep shredded cheese in a zip-top bag in the fridge so you can sprinkle and bake in two minutes on busy nights.
Time-Saving Tricks
– Use rotisserie chicken diced with taco seasoning if you’re short on time.
– Swap in frozen corn and a can of drained beans to skip chopping fresh produce.
– Assemble in a baking dish you can cover and toss in the oven straight from the fridge — it takes the stress out of timing everything perfectly.
– Don’t rush the cheese melt if you can; a short rest after baking keeps everything from sliding around when you serve.
Common Mistakes
– Overstuffing shells: they burst and make a messy bake — less is more.
– Watery filling: if your tomato mixture seems runny, simmer it down before stuffing or add a spoonful of tomato paste to thicken.
– Not seasoning in layers: taste the filling before stuffing; the oven will mellow flavors, so be a little brave with spices.
– I once added salsa instead of drained tomatoes and the whole pan turned runny — rescue by stirring in some cooked rice or extra cheese and baking a bit longer.
What to Serve It With
– A crunchy green salad with lime vinaigrette for brightness.
– Cilantro lime rice or simple steamed rice to sop up sauce.
– Warm tortillas or garlic bread if you want extra carbs.
– Quick charred corn salad or a simple slaw with a vinegar punch.
Tips & Mistakes
– Preheat the oven so the cheese gets that golden top instead of just a melt.
– Salt the meat/beans while they cook — underseasoned filling is the most common oops.
– If the edges brown too fast, tent with foil and finish baking gently.
– Want crispier edges? Broil for a minute at the end, but watch it like a hawk.
Storage Tips
Leftovers keep well in the fridge for a few days in an airtight container; reheat covered in the oven or microwave until warmed through. Cold is totally edible (I’ve eaten it straight-from-the-fridge for breakfast), but the texture changes—cheese firms up and the shells can soak sauce. For longer storage, freeze in portions in freezer-safe containers and thaw in the fridge before reheating.

Variations and Substitutions
– Vegetarian: swap the meat for black beans, lentils, or a mix of mushrooms and quinoa. Add smoked paprika for depth.
– Gluten-free: use a gluten-free jumbo shell or use halved sweet potatoes as “boats” instead.
– Dairy-free: use a dairy-free cheese and a flavorful tomato sauce; nutritional yeast stirred into the filling gives a cheesy note.
– Spiciness: add chopped jalapeño or a dash of hot sauce to the filling; for kids, keep the heat separate as a topping.
Frequently Asked Questions
Taco-Stuffed Shells Recipe
Ingredients
Main Ingredients
- 8 oz jumbo pasta shells, uncooked
- 1 tbsp olive oil
- 1 lb lean ground beef
- 0.5 cup yellow onion, finely chopped
- 2 tsp minced garlic
- 2.5 tbsp taco seasoning
- 0.5 cup water
- 5 oz cream cheese, softened
- 1.25 cup black beans, rinsed and drained
- 1 cup corn kernels (thawed if frozen)
- 1.25 cup thick salsa, divided use some for the pan and some on top
- 1.5 cup shredded cheddar cheese
- 0.75 cup shredded Monterey Jack cheese
- 0.75 tsp kosher salt or to taste
- 0.5 tsp black pepper
- 0.25 cup fresh cilantro, chopped for garnish
- 0.25 cup green onions, thinly sliced for garnish
- 0.5 cup sour cream for serving
Instructions
Preparation Steps
- Heat oven to 375°F. Lightly oil a 9x13-inch baking dish.
- Boil shells in salted water until just shy of al dente. Drain and cool on a tray.
- Warm olive oil in a large skillet over medium heat. Brown the beef, breaking it up.
- Stir in onion and cook until softened. Add garlic and cook 30 seconds.
- Sprinkle in taco seasoning and pour in water. Simmer until thick and glossy.
- Take off heat. Mix in cream cheese until melted and creamy. Cool 5 minutes.
- Fold in black beans, corn, 1/2 cup salsa, and half of both cheeses. Season with salt and pepper.
- Spread 3/4 cup salsa over the bottom of the baking dish.
- Stuff each shell with the beef mixture. Arrange stuffed shells snugly in the dish.
- Spoon remaining salsa over shells and scatter with the rest of the cheeses.
- Cover with foil and bake 20 minutes. Uncover and bake 5–7 minutes until bubbly and golden.
- Let rest 5 minutes. Top with cilantro and green onions. Serve with sour cream.
Notes
Featured Comments
“Made this last night and it was will make again. Loved how the tender came together.”
“This crispy recipe was so flavorful — the toasty really stands out. Thanks!”
“Made this last night and it was will make again. Loved how the fruity came together.”
“Super easy and so flavorful! My family asked for seconds. Saving this one.”
“Impressed! Clear steps and so flavorful results. Perfect for busy nights.”
“Impressed! Clear steps and family favorite results. Perfect for busy nights.”
“This nourishing recipe was will make again — the loaded really stands out. Thanks!”
“Impressed! Clear steps and turned out amazing results. Perfect for busy nights.”
“Impressed! Clear steps and so flavorful results. Perfect for busy nights.”
“New favorite here — family favorite. comforting was spot on.”