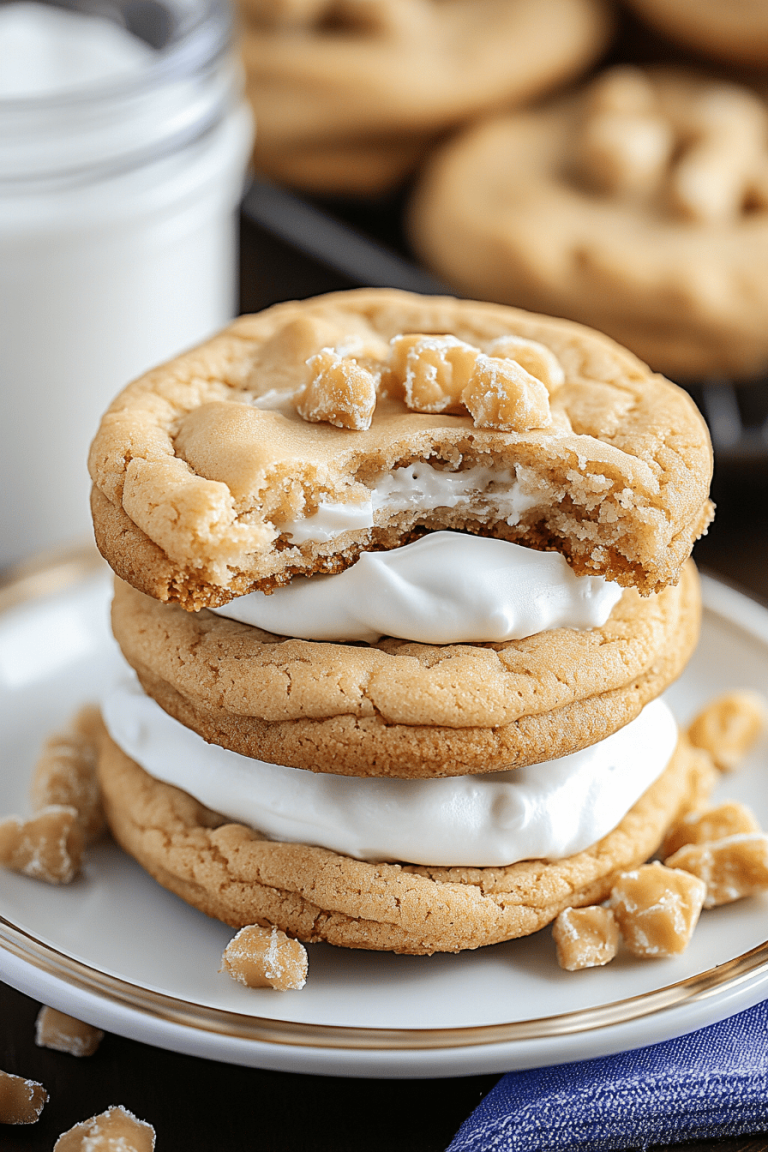
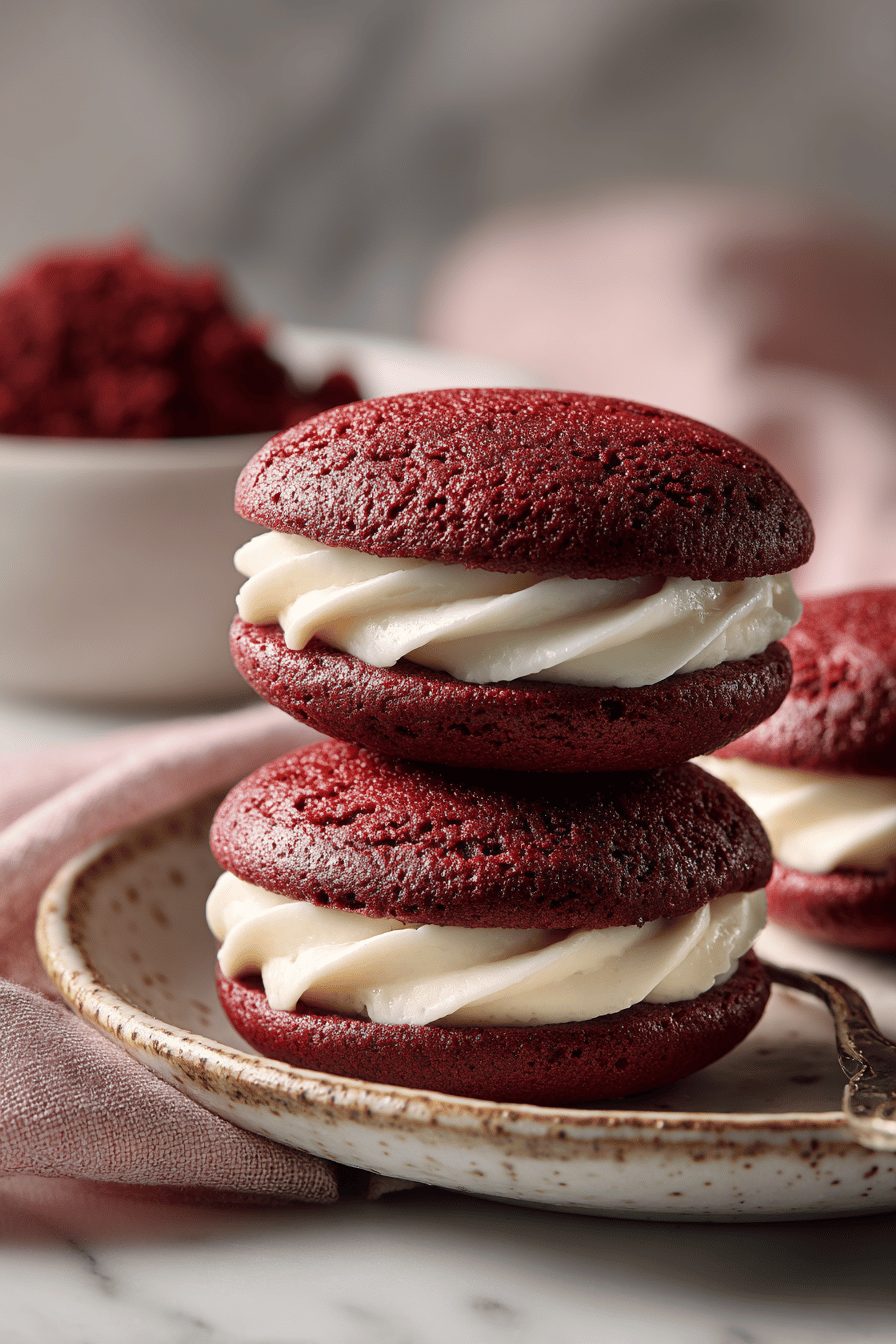
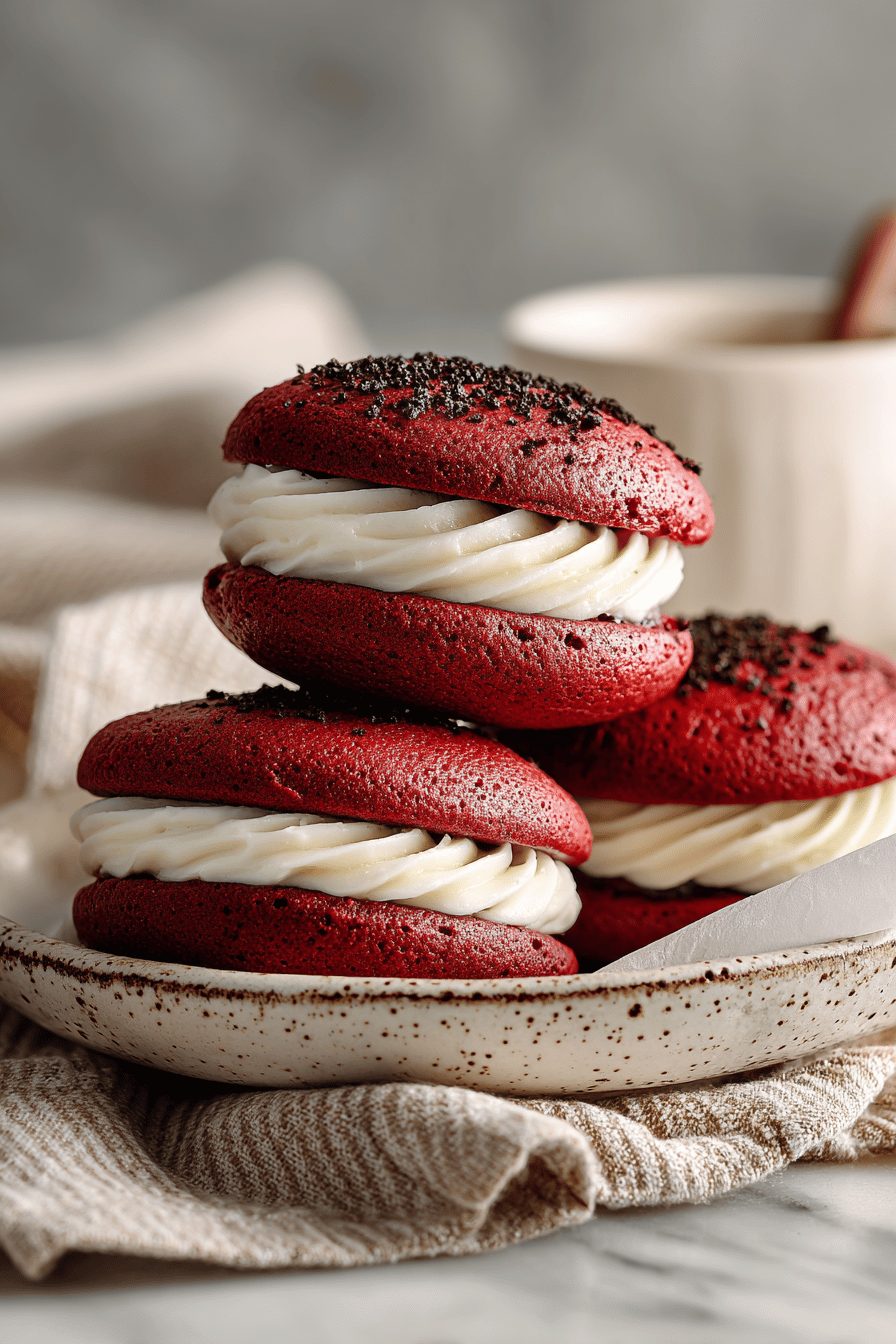
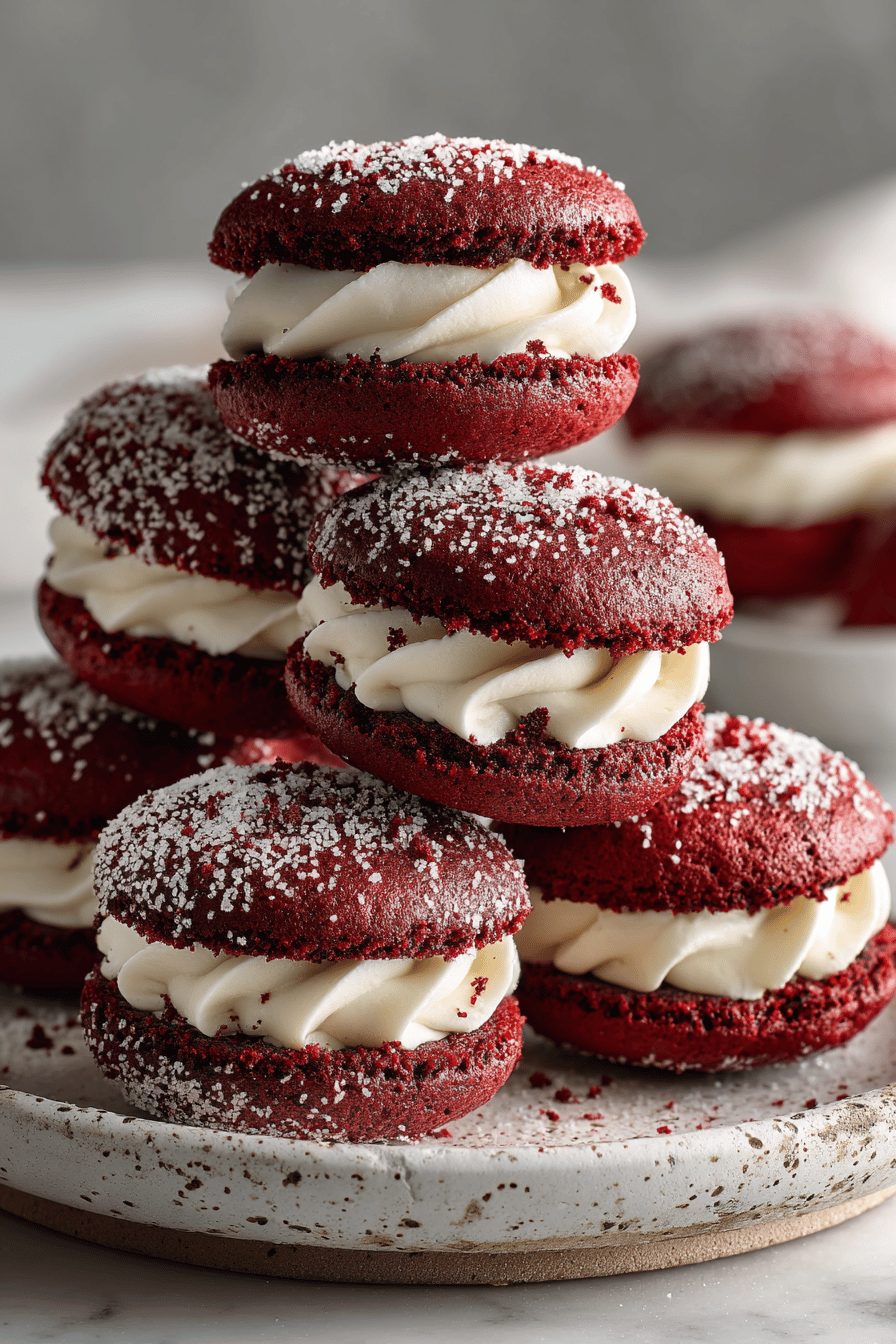
Red Velvet Whoopie Pies Recipe

I’ll be honest — these red velvet whoopie pies are the kind of dessert that makes me feel like a slightly dangerous baker: gooey, cakey, and not trying too hard. Soft red cake rounds sandwich a tangy, billowy cream filling, and they ride that sweet/tangy line perfectly. They’re showy enough for a party but stupid-easy for a Tuesday night when you want something cozy and ridiculous.
My husband calls them “mini wedding cakes” and will steal two before dinner is even plated. The kids think they’re cupcakes with secrets. I started making these when we were newly married because I wanted something fuss-free to impress his family — and then I discovered I didn’t have to impress anyone. Now they’re our weekend baking ritual: one of us mixes, one of us licks the bowl, and someone always hides the last whoopie. Once I accidentally used sour cream instead of buttermilk and the texture was…different, but the family still ate them like it was a culinary plot to win hearts. That’s the important part.
Why You’ll Love This Red Velvet Whoopie Pies Recipe
– Soft, pillowy cake rounds that taste like velvet without being overly sweet.
– Tangy, creamy filling that balances the cocoa and red notes perfectly.
– Totally portable — great for lunchboxes, picnics, or hiding in the freezer.
– Foolproof for bakers who want something impressive but not finicky.
Kitchen Talk
MORE EASY DESSERT RECIPES...


I make these when I need comfort and a little drama. The batter is forgiving — don’t panic if it looks a bit thin at first. I once forgot to add the food coloring and ended up with brown whoopie pies; we still ate them and declared them “classic chocolate.” Also, chill the filling for a few minutes if it’s too soft; it firms up and spreads like a dream. And pro tip: I always reserve a single perfect round as “snack proof” — it disappears before the platter hits the table.
These Red Velvet Whoopie Pies are a delightful treat—soft, moist, and with just the right balance of cocoa and tang from the buttermilk. The filling is wonderfully light and fluffy, making each bite feel indulgent but not too heavy. Definitely a fun recipe to make and share!
MORE OF OUR FAVORITE…
Shopping Tips
– Flour: Use all-purpose flour for the best fluffy-but-structured cake rounds; spoon and level it into the cup so you don’t pack too much.
– Sugar: Regular granulated sugar is fine here — it helps with texture; brown sugar can make the cake denser, so only use it if you like a deeper caramel note.
– Fats & Oils: Butter gives the nicest flavor, but a neutral oil works if you want extra moistness; if subbing oil, reduce any extra milk slightly.
– Leaveners: Check your baking powder/soda dates — old leavening equals flat whoopies, and that’s a sad, flabby situation.
– Flavor Boosts (vanilla/zest): Pure vanilla extract matters here — a splash lifts the cocoa and the cream filling, so don’t use imitation if you can avoid it.
Prep Ahead Ideas
– You can make the cake rounds a day ahead and store them in a single layer in an airtight container; they’ll stay soft.
– The cream filling can be whipped and kept in the fridge for 24 hours; give it a quick whisk before assembling if it settles.
– Bake rounds in the evening and assemble in the morning for an easy dessert before guests arrive or for packed lunches.
Time-Saving Tricks
– Use a cookie scoop to portion rounds quickly and evenly — no piping bag required.
– Double up the batch and freeze assembled whoopies (see storage tips) so you have dessert on demand.
– If you’re short on time, swap the homemade filling for a good-quality store-bought cream cheese frosting and mix in a little lemon zest.
Common Mistakes
– Overmixing the batter: I did this once and got tough whoopie tops — mix until just combined.
– Filling too runny: If your filling is soft, chill it briefly; spreading thin filling is a tragedy but easily fixable.
– Uneven rounds: Use a scoop and space them well on the sheet — crowded rounds merge and make sad giant cakes.
– Baking too long: These are meant to be soft; a few seconds too many changes the texture from plush to dry.
What to Serve It With
– Cold milk or a warm mug of coffee (classic, doesn’t lie).
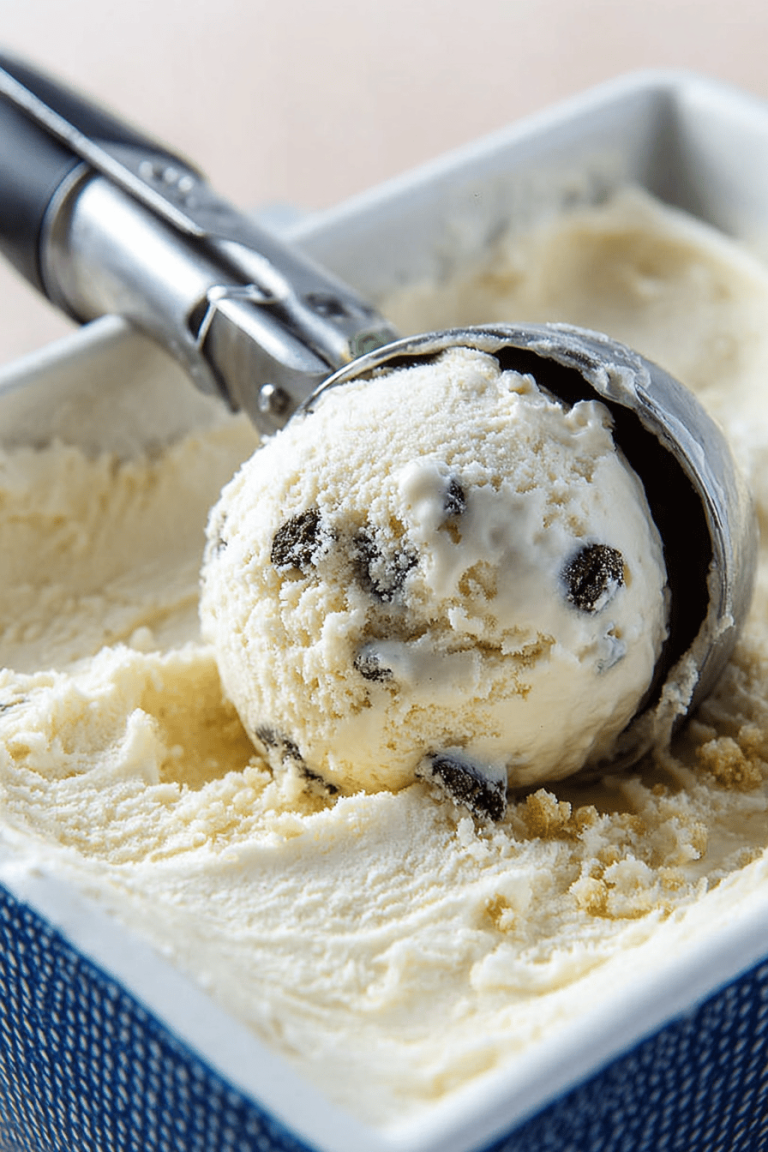
– A scoop of vanilla ice cream for extra decadence.
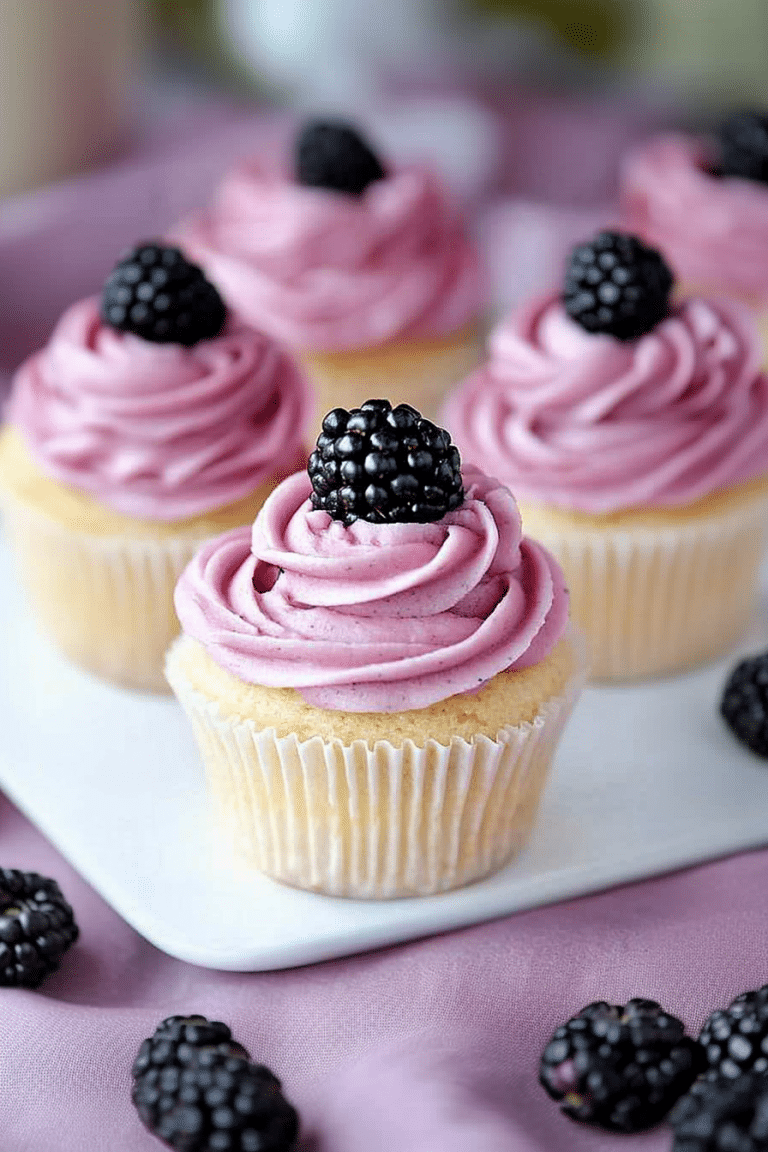
– Fresh berries or a simple fruit salad for brightness.
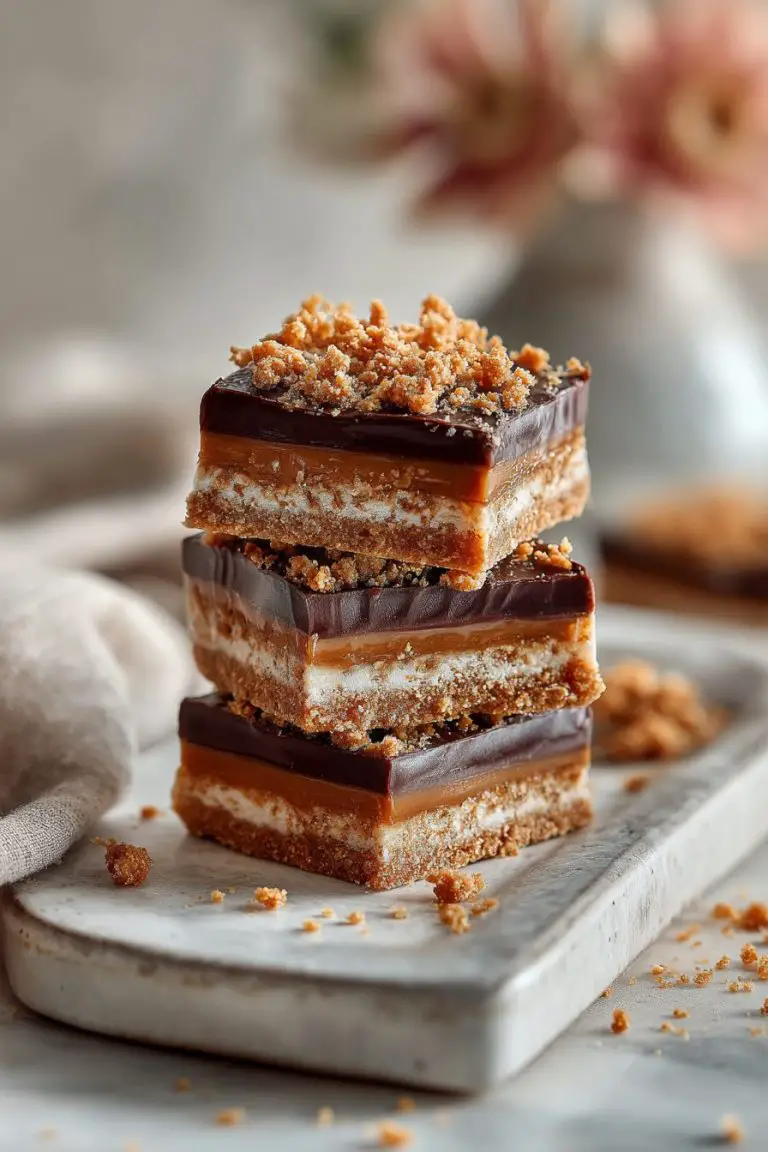
– Quick salted caramel drizzle if you’re feeling extra dramatic.
Tips & Mistakes
– Use room-temperature butter and eggs when the recipe calls for it — they incorporate better and your texture wins.
– If the batter looks too thin, let it rest 5 minutes; sometimes the flour hydrates and the texture improves.
– If the cream turns grainy, it’s usually overwhipped — rescue it with a tablespoon of warm milk and a gentle fold.
Storage Tips
Store assembled whoopie pies in an airtight container in the fridge for up to 3 days; warming one slightly brings them back to life. You can freeze single rounds or assembled pies wrapped tightly for up to 2 months — thaw in the fridge. Eating them cold is totally okay (I do it at 7 a.m. sometimes); they’re just less fluffy than room temp, but still wildly satisfying for breakfast or midnight snack. No judgment.
Variations and Substitutions
– Swap some of the butter for neutral oil for a moister cake. I tried olive oil once (don’t do it) — stick to coconut or vegetable if you must substitute.
– Use less red food coloring if you prefer a subtle pink; natural beet powder is an option but will slightly change flavor.
– For a dairy-free filling, use a coconut cream-based filling and chill it thoroughly. It’s not the same, but it works.
– If you hate the traditional cream, try a mascarpone-honey filling for a savory-sweet twist.
Frequently Asked Questions
Red Velvet Whoopie Pies Recipe
Ingredients
Main Ingredients
- 2.1 cup all-purpose flour cookie batter
- 3.25 tbsp unsweetened cocoa powder cookie batter
- 1.1 tsp baking powder cookie batter
- 0.55 tsp baking soda cookie batter
- 0.45 tsp fine salt cookie batter
- 4.25 oz unsalted butter, softened cookie batter
- 0.95 cup granulated sugar cookie batter
- 0.45 cup light brown sugar, packed cookie batter
- 1.8 oz large egg (beaten) cookie batter
- 1.8 tsp vanilla extract cookie batter
- 1.75 tbsp neutral oil cookie batter
- 0.9 tbsp red liquid food coloring cookie batter
- 0.55 cup buttermilk cookie batter
- 8.5 oz cream cheese, softened filling
- 4.2 oz unsalted butter, softened filling
- 1.9 cup confectioners' sugar filling
- 0.9 tsp vanilla extract filling
- 0.1 tsp fine salt filling
- 1.75 tbsp heavy cream filling
Instructions
Preparation Steps
- Heat oven to 350°F. Line two baking sheets with parchment.
- Whisk flour, cocoa, baking powder, baking soda, and salt in a bowl.
- Cream softened butter with granulated and brown sugars until light and fluffy.
- Beat in egg, vanilla, and oil. Mix in red coloring until evenly tinted.
- Add dry mix in thirds, alternating with buttermilk. Mix just until smooth.
- Scoop heaping tablespoons of batter 2 inches apart. Smooth any peaks.
- Bake 10–12 minutes until set and springy. Rotate pans halfway through.
- Cool on sheets 5 minutes, then transfer cookies to a rack to cool completely.
- Beat cream cheese and butter for the filling until creamy and smooth.
- Gradually mix in confectioners' sugar, vanilla, salt, and cream. Whip until fluffy.
- Pair cookies by size. Pipe or spread filling on half, then cap with the rest.
- Chill assembled whoopie pies 15 minutes to set before serving.
Notes
Featured Comments
“Impressed! Clear steps and will make again results. Perfect for busy nights.”
“Super easy and so flavorful! My family asked for seconds. Saving this one.”
“Impressed! Clear steps and turned out amazing results. Perfect for busy nights.”
“Impressed! Clear steps and family favorite results. Perfect for busy nights.”
“This handheld recipe was turned out amazing — the zesty really stands out. Thanks!”
“New favorite here — turned out amazing. traditional was spot on.”
“Super easy and turned out amazing! My family asked for seconds. Saving this one.”
“Super easy and so flavorful! My family asked for seconds. Saving this one.”
“Made this last night and it was will make again. Loved how the tender came together.”
“New favorite here — turned out amazing. wholesome was spot on.”