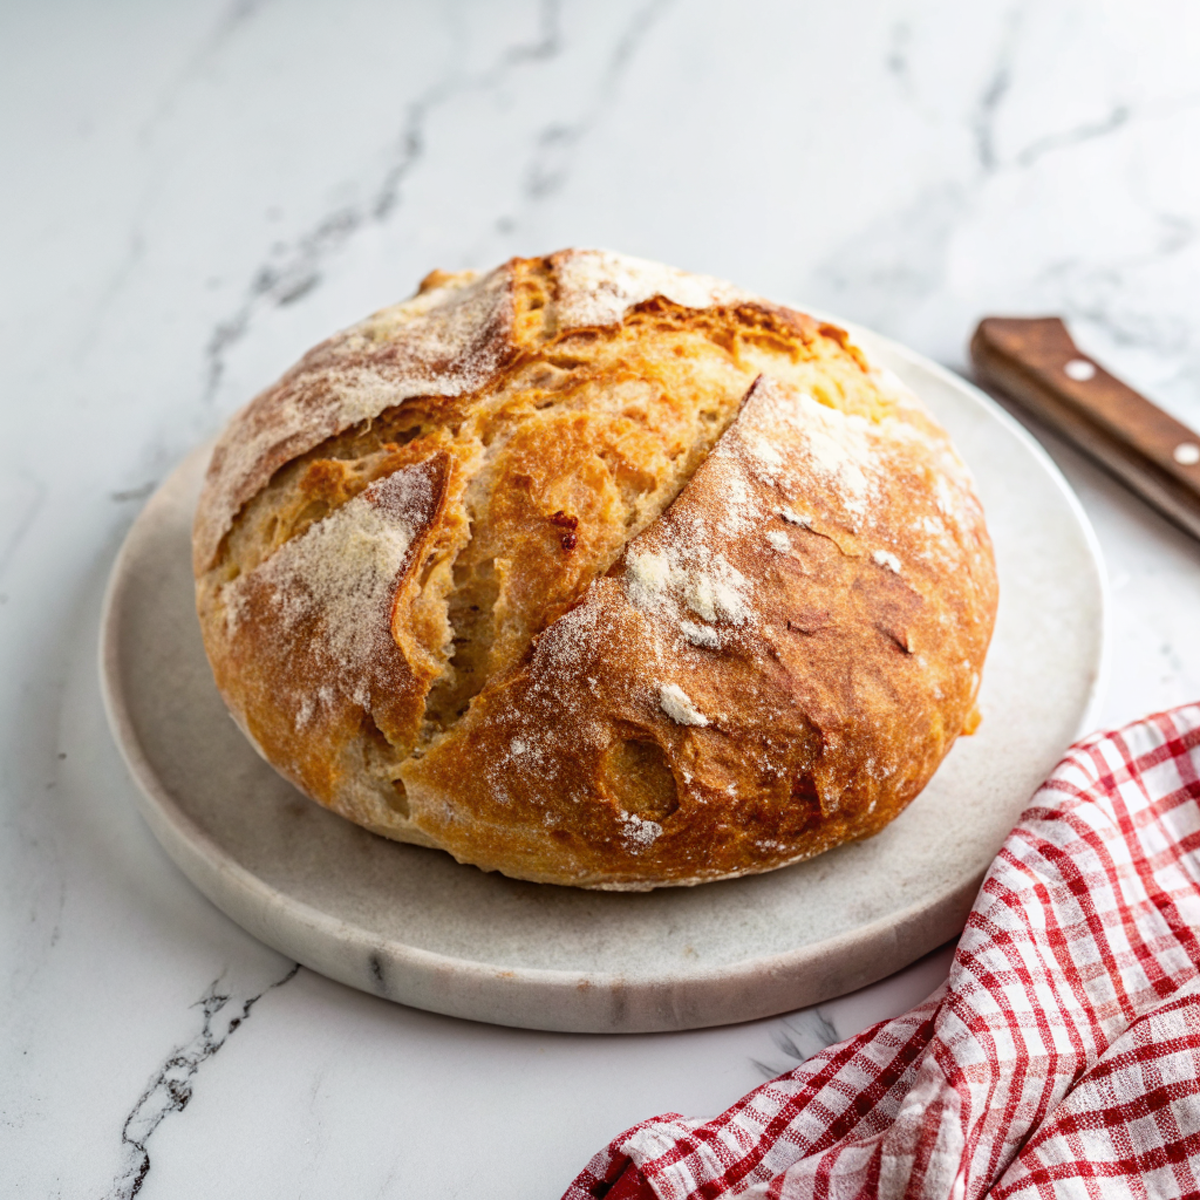
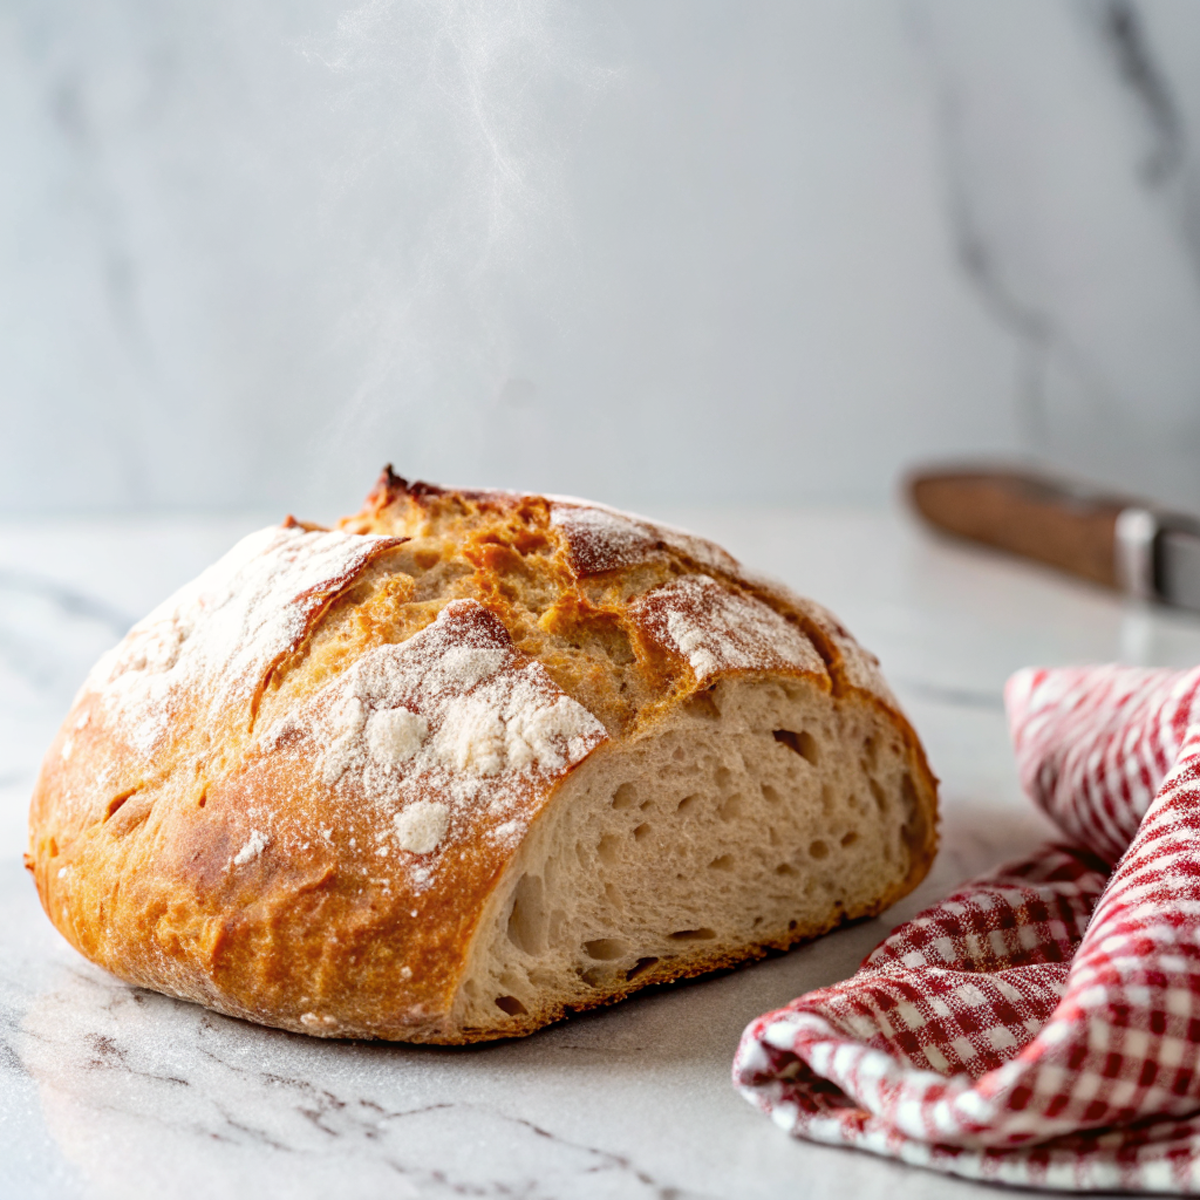
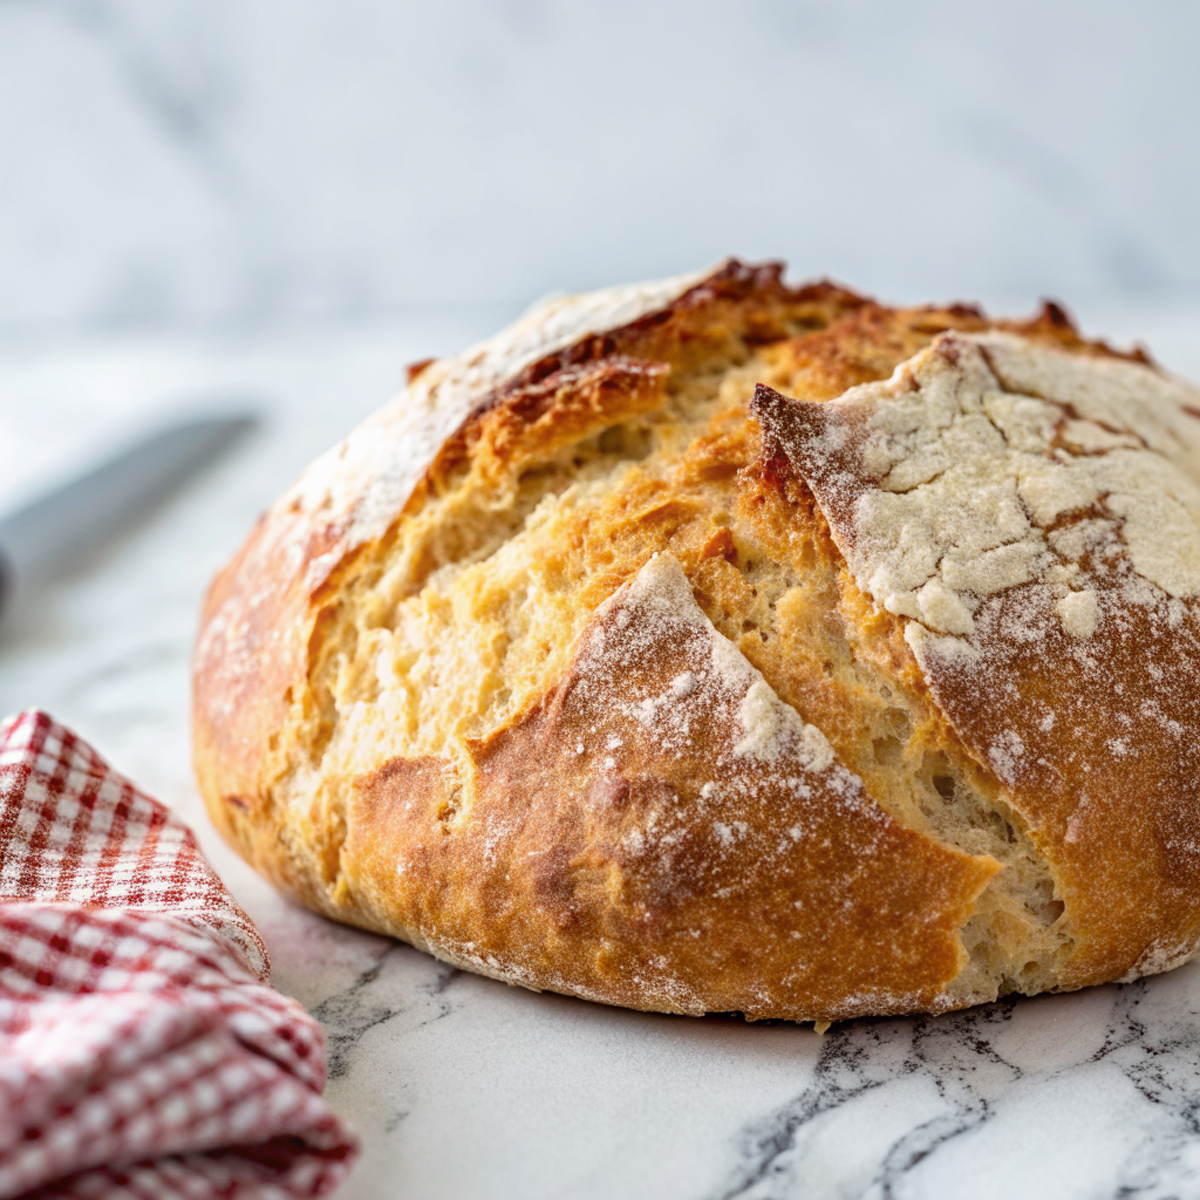
No-Knead Dutch Oven Bread
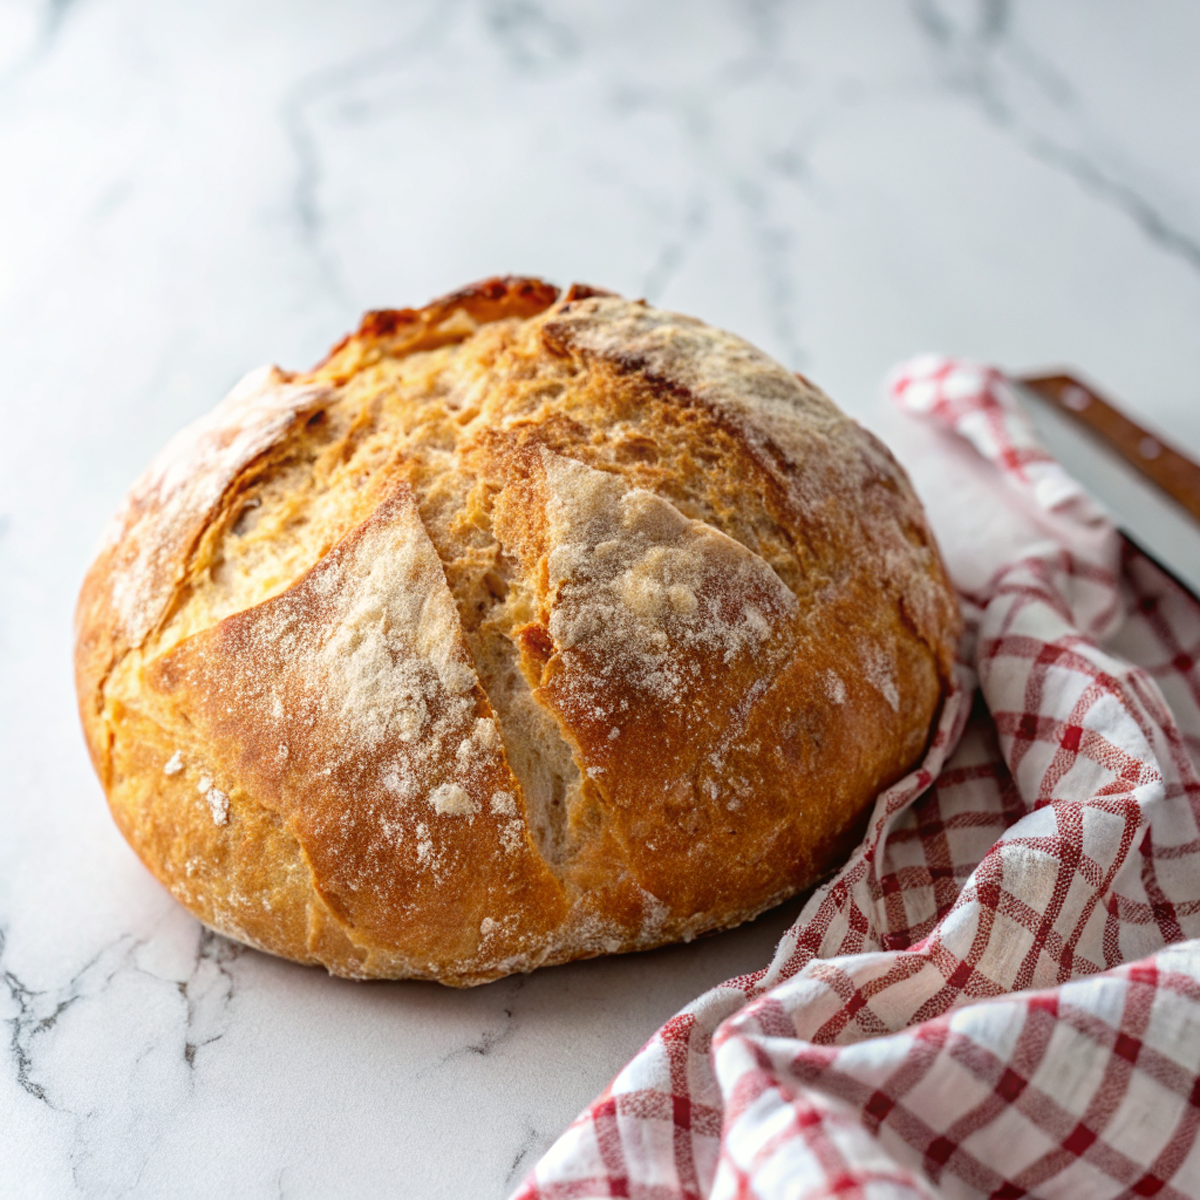
This loaf is the kind of bread that makes the house smell like the good kind of magic — crust that snaps, an interior so pillowy it embarrasses store-bought loaves, and zero kneading drama. You mix, let it chill out, and bake it in a hot, lidded pot so the steam does the hard work. It’s simple, a little rustic, and wildly forgiving.
My husband treats this like my unofficial love language. He’ll wander in from yard work, grab a slice straight from the cooling rack, slap on butter, and suddenly it’s the best thing I’ve ever made that week. Our kid uses it for sandwiches, for dunking in soup, and once for a midnight peanut butter snack that left crumbs on the pillowcases. It’s become our weekend ritual — a loaf in the morning, neighbors knocking by noon asking for the recipe.
Why You’ll Love This No-Knead Dutch Oven Bread
– You get bakery-style crust without kneading or fancy skills.
– The dutch oven creates mini steam-chamber magic so the crust gets blistery and gorgeous.
– It’s forgiving: messy dough is expected; imperfect shaping still bakes into something delicious.
– Great for sandwiches, dunking, or pretending you’re artisanal when really you just wanted toast.
Kitchen Talk
MORE EASY DINNER RECIPES...


This dough is messy and glorious. I’ve learned to embrace sticky fingers and flour-dusted countertops — that’s part of the process. Once I tried to save time by skipping the rest in the fridge and the loaf came out… flatter and more embarrassed-looking than usual. Another time I accidentally used too much whole wheat and the loaf turned out like a dense brick; lesson learned: mix flours gently and don’t panic if the dough feels shaggy. Also, parchment paper is your best friend when you’re wrestling a hot pot and a floppy loaf.
MORE OF OUR FAVORITE…
Shopping Tips
– Baking Basics (Flour/Sugar/Leaveners): Choose bread flour or a high-protein all-purpose flour for better structure; check the yeast is active (fresh packets, not ancient).
– Fats & Oils: You don’t need much, but a little olive oil brushed on the crust after baking gives a lovely sheen and flavor if you like richer crusts.
– Specialty Item: A heavy Dutch oven with a tight-fitting lid is worth it here — it traps steam and gives the best crust; an enameled cast-iron pot works great.
– Spices: If you’re adding herbs or garlic, pick fresh or good-quality dried that you actually enjoy; stale seasonings won’t shine through in a simple loaf.
– Nuts & Seeds: Want texture? Grab sesame, sunflower, or flax to sprinkle on top — they toast beautifully in the hot oven.
Prep Ahead Ideas
– Mix the dough the night before and let it rest in the fridge; it will develop flavor and be much easier on the morning rush.
– Keep the dough in a bowl with a tight lid or covered with plastic — a shallow container is easiest to handle.
– If you want shaped loaves for the next day, do the initial rise in the evening and shape in the morning right before the oven preheats.
– Pre-cut parchment and line it with a dusting of flour or semolina so moving the risen dough into the hot pot is less circus act.
Time-Saving Tricks
– Use a heavy pot you already own rather than hunting for specialty bakeware — it shortens prep time.
– Keep a jar of mixed seeds and coarse salt ready to sprinkle on top so you’re not fiddling while the oven heats.
– If you’re short on time, a hot oven from the start and a quick steam trick (pouring hot water into a tray below) can help, but the pot method is the easiest.
– Don’t rush the cool-down — letting the loaf rest makes slicing cleaner and the crumb set up properly.
Common Mistakes
– Underproofing: I once popped a cold, underproofed ball into the oven — it barely rose and tasted doughy; if it looks dense, give it a little more rest.
– Opening the pot too soon: tempting, but letting that steam escape early can flatten the crust.
– Using too much flour while shaping: you’ll get a dry, tight crumb. Keep hands floured but gentle.
– Rescue move: if the crust gets too dark, tent foil; if the center’s underdone, gently re-bake the loaf out of the pot on a rack until done.
What to Serve It With
– A big bowl of tomato soup or stew — perfect dunking bread.
– Simple olive oil with flaky salt and crushed red pepper for dipping.
– Soft cheese, honey, and thinly sliced apples for a cozy snack.
– Grilled vegetables and roasted garlic for a rustic sandwich.
Tips & Mistakes
– Use high heat in a heavy pot for that signature crust.
– Don’t skip the lid — the steam is doing the heavy lifting.
– If dough sticks to your hands, wet them instead of adding a mountain of flour.
– One time I forgot the parchment and nearly lost a loaf to the pot; always parchment.
Storage Tips
Store leftover slices wrapped in a paper bag or a loose kitchen towel at room temp for a day or two — it keeps the crust from going gummy. For longer storage, slice and freeze; pop slices into the toaster or oven straight from the freezer. Cold bread is fine for sandwiches, and reheating under a broiler or in a hot oven brings the crust back to life. No shame in cold, buttered bread at midnight.
Variations and Substitutions
– Whole wheat swap: I’ve used part whole wheat with success, but too much makes it heavy — try a half-and-half approach.
– Add-ins: olives, herbs, or grated cheese fold in nicely if you press them into the dough during shaping.
– Sourdough: you can use a starter instead of commercial yeast if you want more tang; expect different timing and a more rustic crumb.
– Sweeteners: a touch of honey or sugar can boost browning, but it’s optional — the crust is glorious without it.
Frequently Asked Questions
No-Knead Dutch Oven Bread
Ingredients
Dough
- 1 1/3 cups cool water
- 1 1/2 teaspoons honey
- 3/4 teaspoon instant yeast
- 1/2 teaspoon apple cider vinegar
- 3 cups all-purpose flour
- 2 tablespoons whole wheat flour
- 2 teaspoons kosher salt
- 1 tablespoon cornmeal
Instructions
Preparation Steps
- In a large bowl, whisk water with honey, instant yeast, and apple cider vinegar until dissolved. Let stand 5 minutes.
- Add the all-purpose flour and whole wheat flour. Stir with a sturdy spoon or fork just until no dry patches remain; the dough will look shaggy. Cover and rest 20 minutes (autolyse).
- Sprinkle the salt over the dough. With damp fingers, pinch and fold the dough a few times to distribute the salt evenly. Cover tightly and let rise at cool room temperature 12 to 16 hours, until expanded and dotted with bubbles.
- Scrape the dough onto a lightly floured surface. Perform 8–10 gentle envelope folds to tighten the mass. Let it relax, seam-side down, for 20 minutes, then shape into a taut ball by cupping and turning it against the counter.
- Generously dust a clean kitchen towel or proofing basket with half the cornmeal. Set the shaped dough seam-side up on the towel/basket, cover, and proof 45–60 minutes, until slightly puffy. Meanwhile, place a 4–5 quart Dutch oven with lid in the oven and preheat to 460°F for at least 30 minutes.
- Using oven mitts, carefully remove the hot pot. Sprinkle the remaining cornmeal into the bottom of the pot. Invert the dough into the pot (now seam-side down). Score the top with a shallow 3-inch slash for controlled expansion, then cover with the lid.
- Bake covered for 25 minutes. Remove the lid and continue baking 18 minutes, or until the crust is deep golden and the center registers 208–212°F.
- Transfer the loaf to a rack and cool at least 1 hour before slicing so the crumb sets and stays moist.
Notes
Featured Comments
“New favorite here — family favorite. rich was spot on.”
“Impressed! Clear steps and family favorite results. Perfect for busy nights.”
“Impressed! Clear steps and will make again results. Perfect for busy nights.”
“This baked recipe was family favorite — the handheld really stands out. Thanks!”
“New favorite here — family favorite. bold was spot on.”
“Super easy and so flavorful! My family asked for seconds. Saving this one.”
“Made this last night and it was so flavorful. Loved how the healthy swap came together.”
“Super easy and so flavorful! My family asked for seconds. Saving this one.”
“New favorite here — will make again. fluffy was spot on.”
“This fun recipe was will make again — the pressure-cooked really stands out. Thanks!”