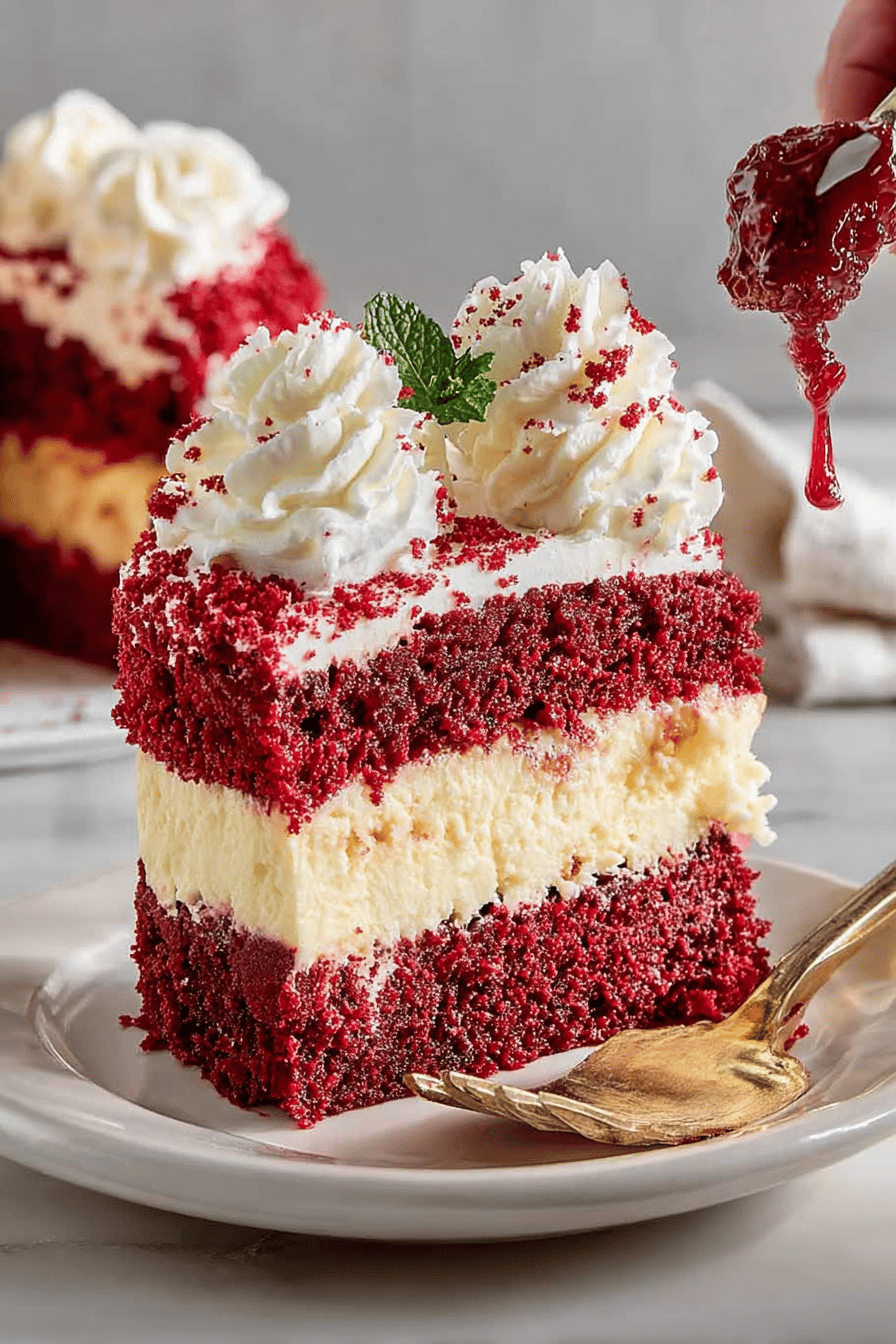
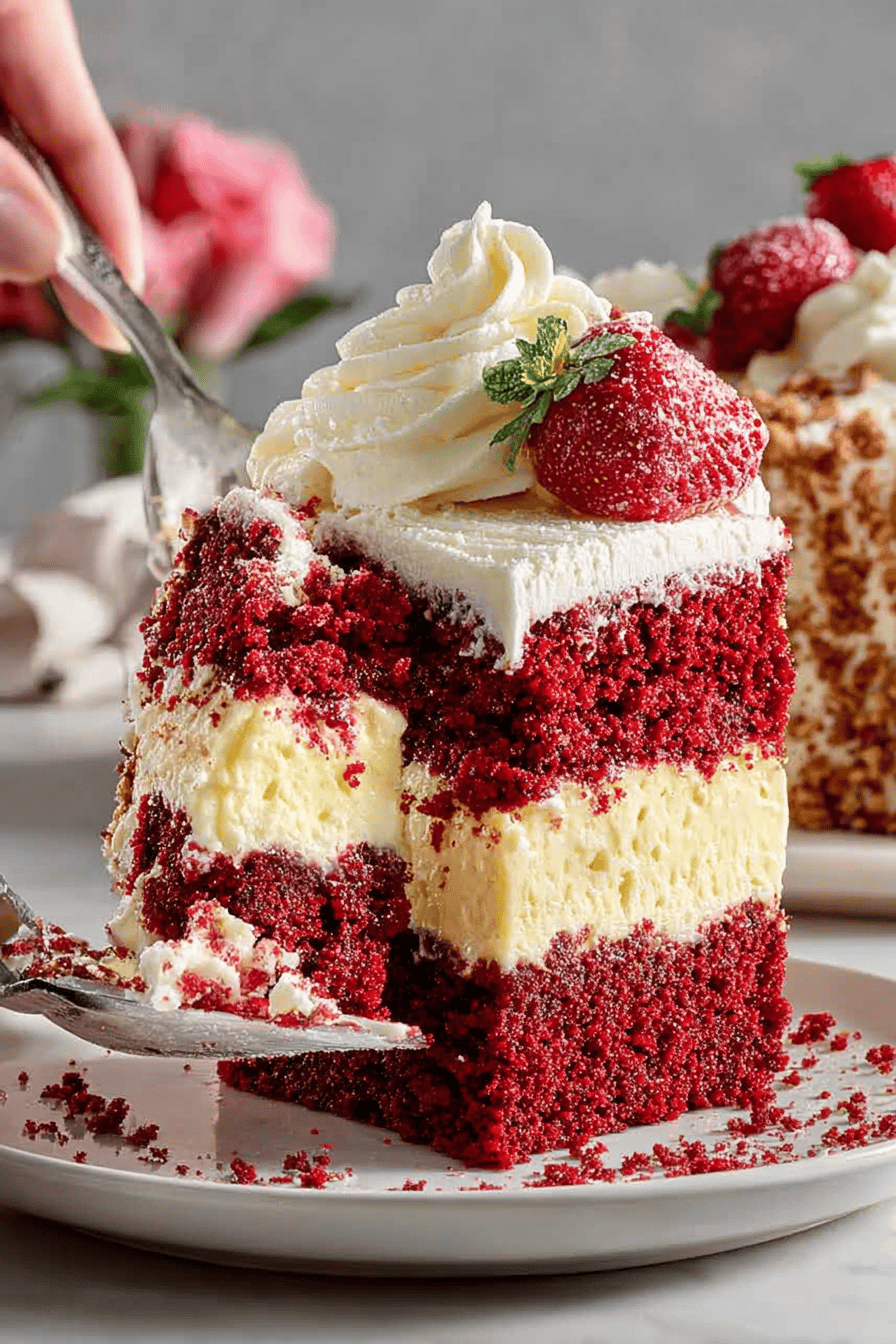
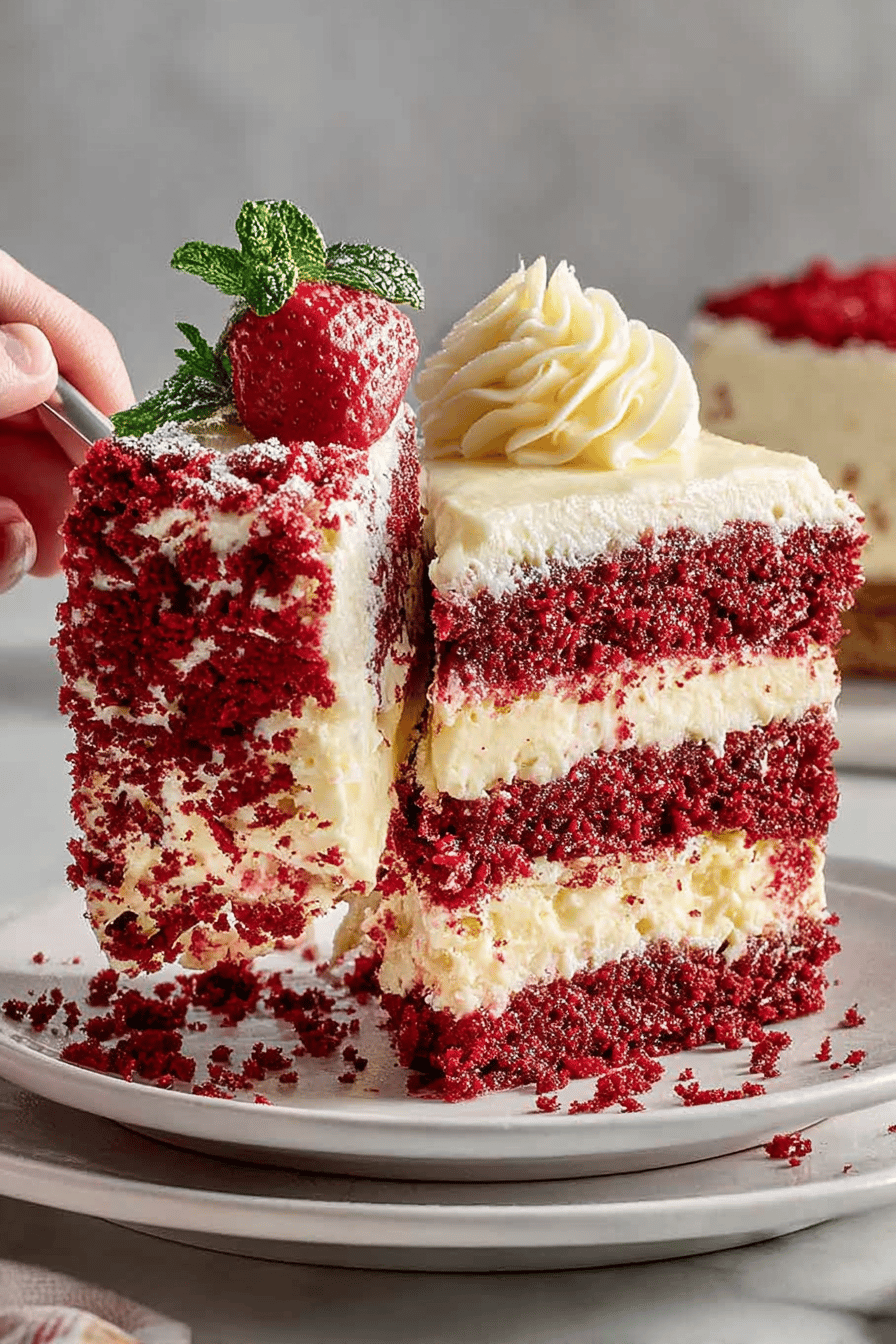
Easy Red Velvet Cheesecake Cake Recipe
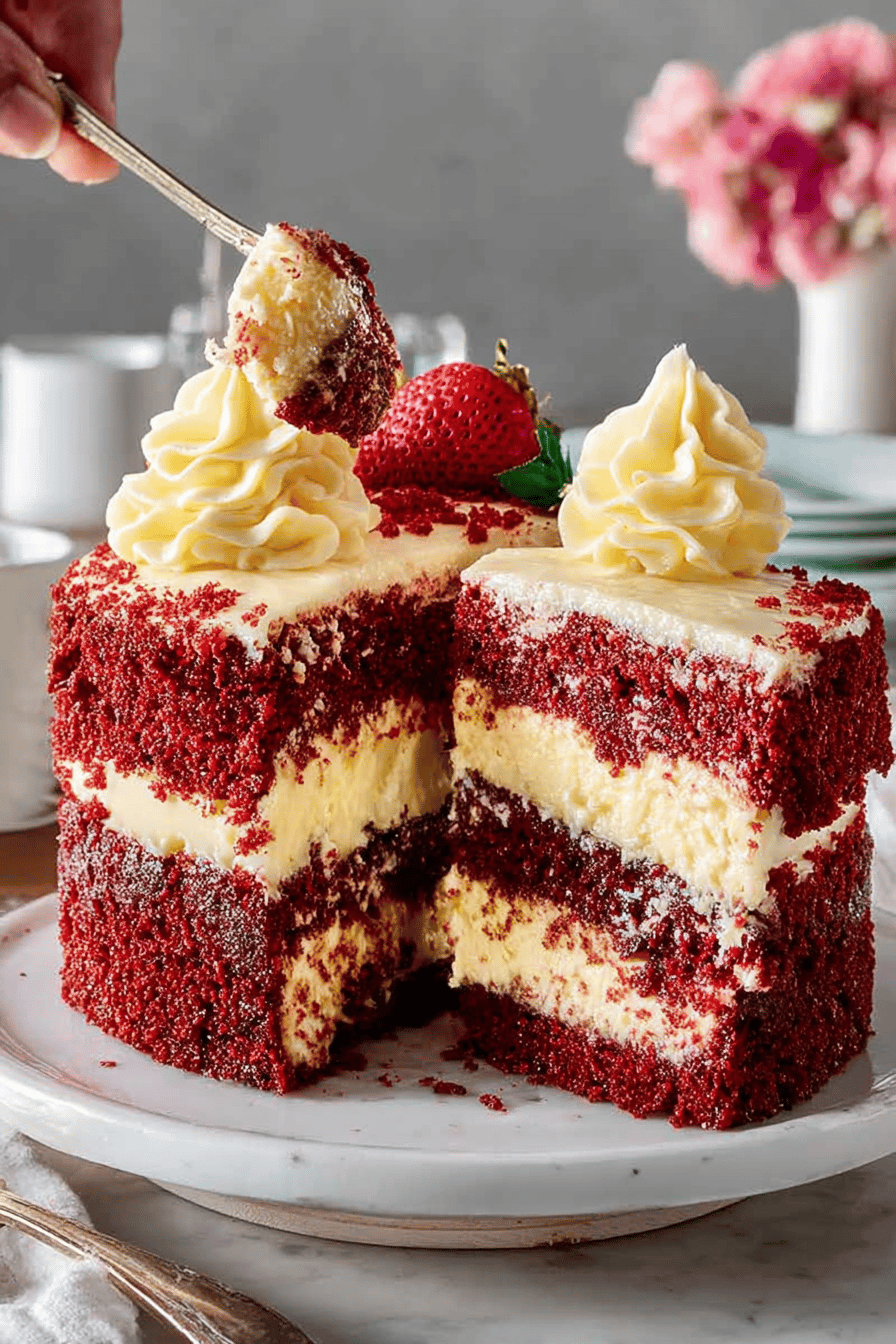
this is my take on a Red Velvet Cheesecake Cake. It’s kinda like when you can’t decide between cake and cheesecake, so you’re like, “Screw it, I’m having both!” It’s moist, tangy, and that red velvet flavor just gets me every time. Trust me, even if you’re a kitchen klutz like yours truly, you can totally nail this.
My husband, bless his heart, is not a huge sweets person. But this? He’ll demolish half the cake in one sitting. One time, I made it for his birthday and he literally woke up at 3 AM and ate a slice straight from the fridge. I caught him red-handed (or red-velvet-faced, ha!). Now it’s the birthday dessert request, no questions asked. The kids love it too – I let them help with the layering and they think they’re professional bakers. It’s a messy, happy affair.
Why You’ll Love This Easy Red Velvet Cheesecake Cake Recipe
- It’s basically two desserts in one! What’s not to love?
- That creamy cheesecake layer? Oh. My. God.
- Even if you accidentally burn the edges a little (I’ve been there), it still tastes amazing. Frosting hides everything, people!
- It’s way easier than it looks, seriously.
- Red velvet anything is just fancy, okay? Even if you’re eating it in your pajamas at midnight.
How to Make It
Okay, so first, we’re making the red velvet cake. It’s a pretty standard deal, you know? Cream butter and sugar until it’s light and fluffy – don’t skimp on this step, it makes a difference! Then, you gotta add the eggs one at a time, mixing after each one. Don’t overmix, though, or you’ll end up with a tough cake, and nobody wants that. Now, in goes the cocoa powder and red food coloring. Don’t be scared of the food coloring! It’s what makes it red velvet, duh. But, you know, maybe don’t go overboard unless you want your cake to look like it’s bleeding.
MORE EASY DESSERT RECIPES...


Next, mix the buttermilk and vinegar in a separate bowl – this is what gives it that tangy flavor. In another bowl, whisk the flour, baking soda, and salt. Now, alternate adding the wet and dry ingredients to the butter mixture, starting and ending with the dry ingredients. Mix until just combined – again, don’t overmix!
MORE OF OUR FAVORITE…
Pour half of the batter into a greased and floured cake pan.
Now for the cheesecake layer! Beat the cream cheese and sugar together until it’s smooth and creamy. Add the egg and vanilla extract and mix until just combined. Pour the cheesecake batter over the red velvet cake batter in the pan. Then, pour the remaining red velvet cake batter over the cheesecake layer.
Bake it for about 30-40 minutes, or until a toothpick inserted into the center comes out clean. Let it cool completely before frosting.
For the frosting, beat the cream cheese, butter, and powdered sugar together until it’s smooth and creamy. Add the vanilla extract and mix until combined. Frost the cake and decorate as desired. I like to use red velvet cake crumbs for decoration, but you can use whatever you want.
Ingredient Notes
- Red Food Coloring: Yeah, it’s artificial, but it’s RED VELVET, people! Gel is better than liquid, in my opinion – more vibrant.
- Buttermilk: Don’t skip it! It’s what gives the cake that awesome tang. If you’re out, you can fake it with milk and vinegar or lemon juice (see instructions below).
- Cream Cheese: Full-fat is the way to go. Don’t even think about using low-fat. Trust me.
- Cocoa Powder: Unsweetened is key. We’re not making hot chocolate here!
- Vanilla Extract: Real vanilla extract, please. Imitation vanilla is… sad.
Recipe Steps:
- Cream butter and sugar until light and fluffy.
- Add eggs one at a time, mixing well after each.
- Mix cocoa powder and red food coloring into the batter.
- Alternate adding wet and dry ingredients until just combined.
- Pour half the cake batter into the prepared pan.
- Prepare cheesecake layer by beating cream cheese, sugar, and egg.
- Pour cheesecake batter over cake batter, then top with remaining cake batter.
- Bake until a toothpick comes out clean.
- Cool completely before frosting.
- Frost with cream cheese frosting and decorate.
What to Serve It With
Honestly, this cake is so rich, it doesn’t need anything. But if you wanna get fancy, a dollop of whipped cream or a scoop of vanilla ice cream never hurts. A cup of coffee or tea is also perfect. Or, you know, just a fork. No judgment here.
Tips & Mistakes
- Don’t overbake the cake! It should be slightly springy to the touch. A toothpick inserted into the center should come out clean, but don’t wait until it’s dry.
- Make sure your cream cheese is at room temperature! Otherwise, you’ll end up with a lumpy cheesecake layer.
- If you don’t have buttermilk, you can make your own by adding 1 tablespoon of vinegar or lemon juice to 1 cup of milk. Let it sit for 5 minutes before using.
- Don’t be afraid to experiment with the frosting. Add a little lemon zest for a citrusy kick, or a pinch of salt to balance the sweetness.
Storage Tips
Store any leftover cake in the fridge, covered, for up to 3 days. It’s even better cold, in my opinion. Eating it for breakfast is a totally acceptable life choice. Just saying.
Variations and Substitutions
Okay, so, sometimes I’m lazy. Here’s what I’ve tried:
- No red food coloring? The cake will be more of a brownish color. It’ll still taste good, promise! You could try beet juice for a more natural option, but it will change the flavor slightly.
- Out of buttermilk? Milk + a splash of vinegar or lemon juice always works in a pinch.
- Frosting fail? Once I accidentally used salted butter for the frosting. It was… interesting. Not terrible, but definitely not the sweet, creamy goodness I was going for.
- Vegan? I haven’t tried it, but I bet you could sub the eggs for flax eggs and use a vegan cream cheese. Let me know if it works!
Frequently Asked Questions
Easy Red Velvet Cheesecake Cake Recipe
Ingredients
Main Ingredients
- 1.5 cups granulated sugar for sweetness
- 2.5 cups all-purpose flour sifted
- 1 teaspoon baking soda
- 1 teaspoon salt
- 1 cup buttermilk room temperature
- 1.5 cups vegetable oil
- 2 large eggs room temperature
- 2 tablespoons red food coloring liquid
- 1 teaspoon vanilla extract
- 1 teaspoon white vinegar
- 8 oz cream cheese softened
- 1 tablespoon cornstarch
- 1 cup heavy whipping cream
- 1.5 cups powdered sugar for frosting
Instructions
Preparation Steps
- Preheat your oven to 350°F (175°C) and grease two 9-inch round cake pans.
- In a mixing bowl, combine the flour, sugar, baking soda, and salt.
- In another bowl, mix together the buttermilk, oil, eggs, red food coloring, vanilla extract, and vinegar.
- Gradually add the wet ingredients to the dry ingredients, stirring until smooth.
- Divide cake batter evenly between the prepared pans and bake for 30-35 minutes.
- In a separate bowl, beat cream cheese until smooth, then add powdered sugar and cornstarch, and mix until combined.
- Gradually add heavy whipping cream to the cream cheese mixture, beating until the frosting is light and fluffy.
- Once cakes are completely cooled, add a layer of cheesecake mixture between them, then frost the top and sides.
Notes
Nutrition
Featured Comments
“New favorite here — absolutely loved. satisfying was spot on.”
“Impressed! Clear steps and absolutely loved results. Perfect for busy nights.”
“Super easy and turned out amazing! My family asked for seconds. Saving this one.”
“Super easy and so flavorful! My family asked for seconds. Saving this one.”
“Super easy and absolutely loved! My family asked for seconds. Saving this one.”
“This picky-eater approved recipe was family favorite — the nourishing really stands out. Thanks!”
“Made this last night and it was turned out amazing. Loved how the salty-sweet came together.”
“Impressed! Clear steps and family favorite results. Perfect for busy nights.”
“Impressed! Clear steps and turned out amazing results. Perfect for busy nights.”
“Super easy and will make again! My family asked for seconds. Saving this one.”