Easy Red Velvet Brownies Recipe
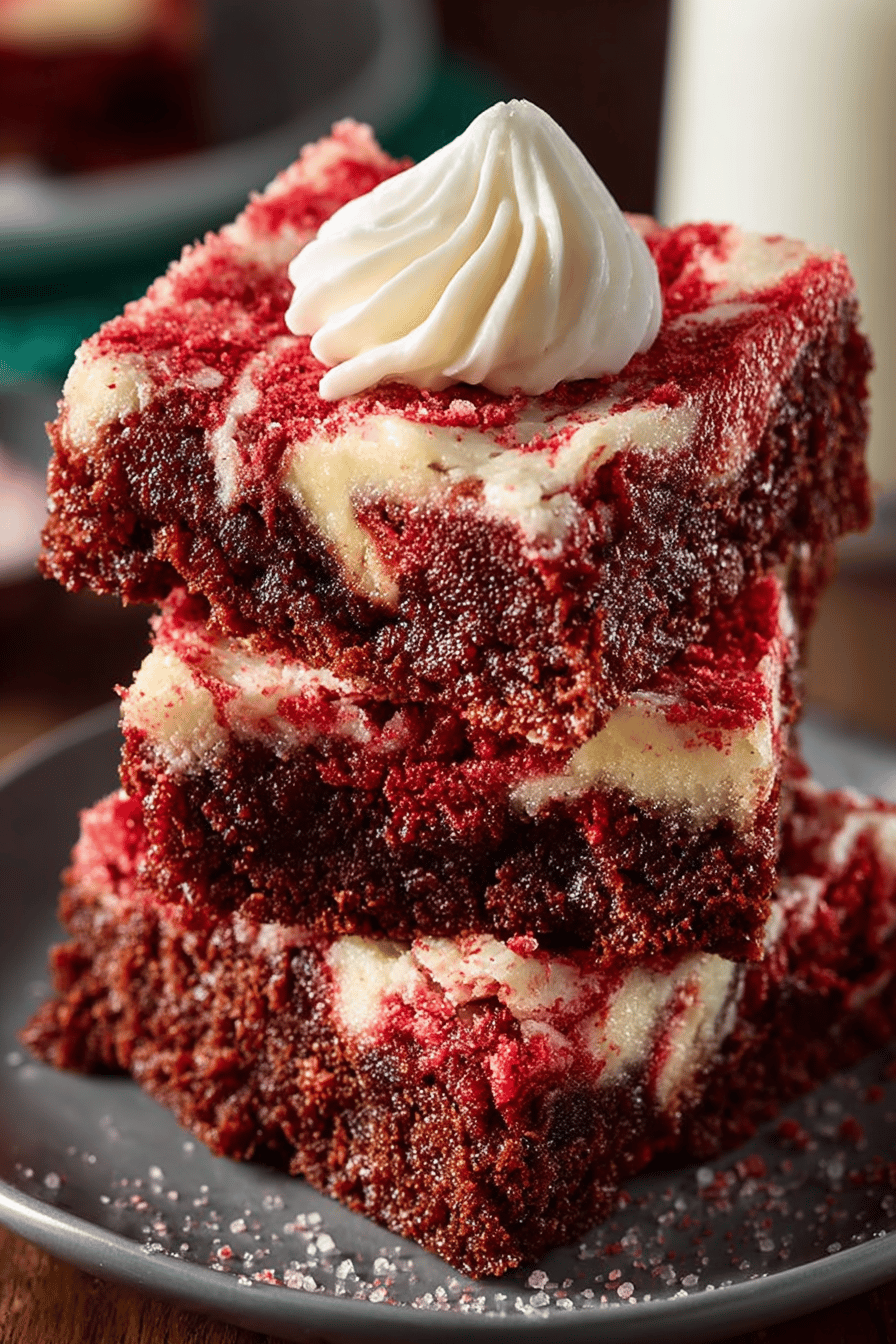
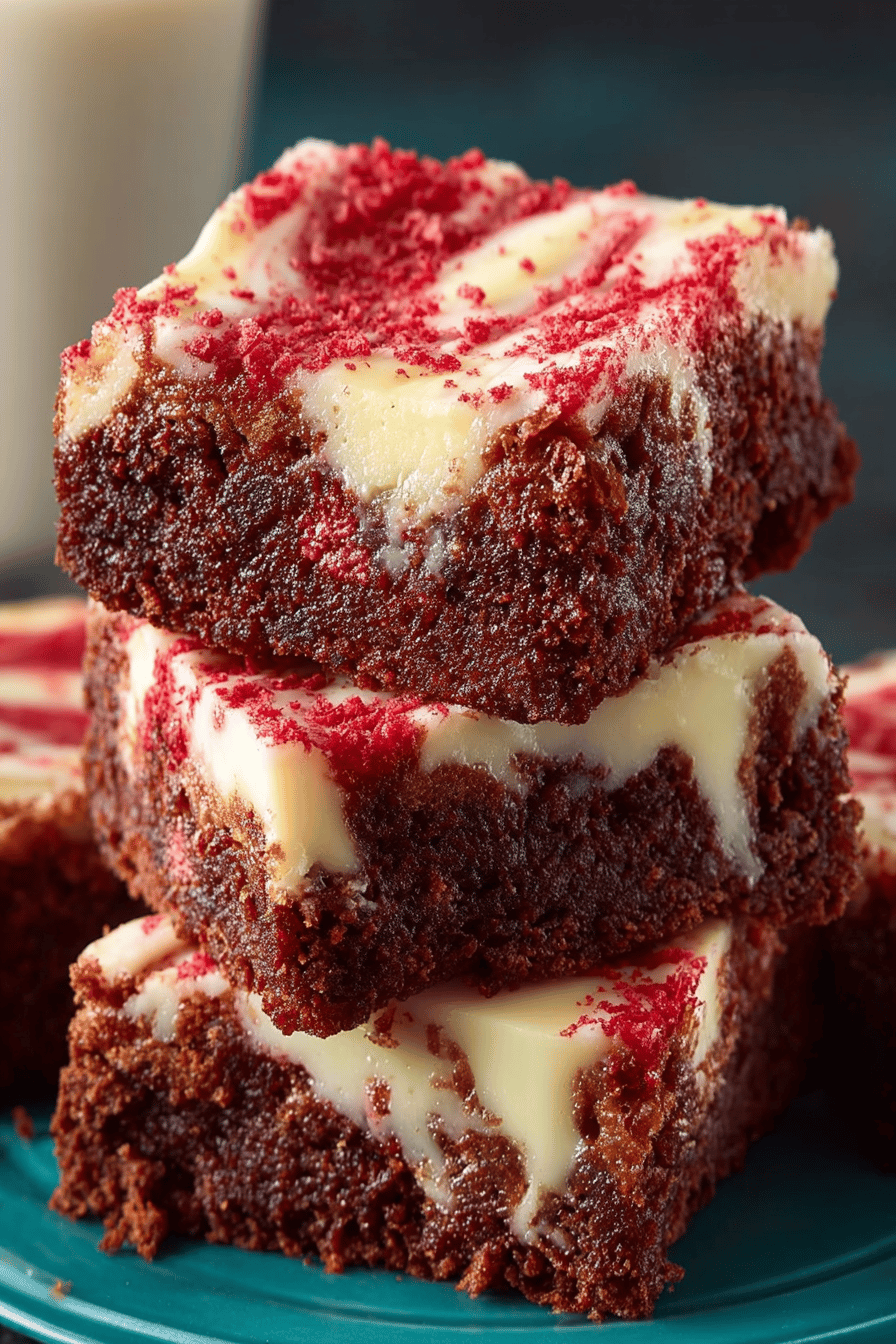
Easy Red Velvet Brownies Recipe — that will become your new go-to dessert. Think rich, chocolatey goodness with that signature red velvet tang. They’re fudgy, chewy, and seriously addictive. Trust me, you NEED these in your life.
My husband, bless his heart, isn’t the biggest dessert guy. But these? He devours them! Last week, I made a batch, and I swear he ate half the pan while “testing” them. My little girl, she likes the brownie with a glass of milk. It’s a tradition with us now! Now, I always make a double batch because, trust me, they disappear FAST. They’re perfect for potlucks, bake sales (if those still exist!), or just a cozy night in. Seriously, you’ve been warned.
Why You’ll Love This Easy Red Velvet Brownies Recipe
Okay, so here’s the deal:
- They’re ridiculously easy. I mean, even I can’t mess them up (and that’s saying something!).
- Red velvet = instant upgrade. It’s just fancy enough to impress people without any extra effort.
- Fudgy. Not cakey. Need I say more?
- They taste like a chocolate hug. Seriously.
- You probably have most of the ingredients already lurking in your pantry. Score!
How to Make It
MORE EASY DESSERT RECIPES...


Alright, let’s do this! First, you’re gonna melt your butter and chocolate together. I usually just chuck it in the microwave because, honestly, who has time for a double boiler? Just watch it closely, so it doesn’t burn. Then, whisk in your sugar, eggs, and vanilla. Don’t overmix! Nobody likes tough brownies.
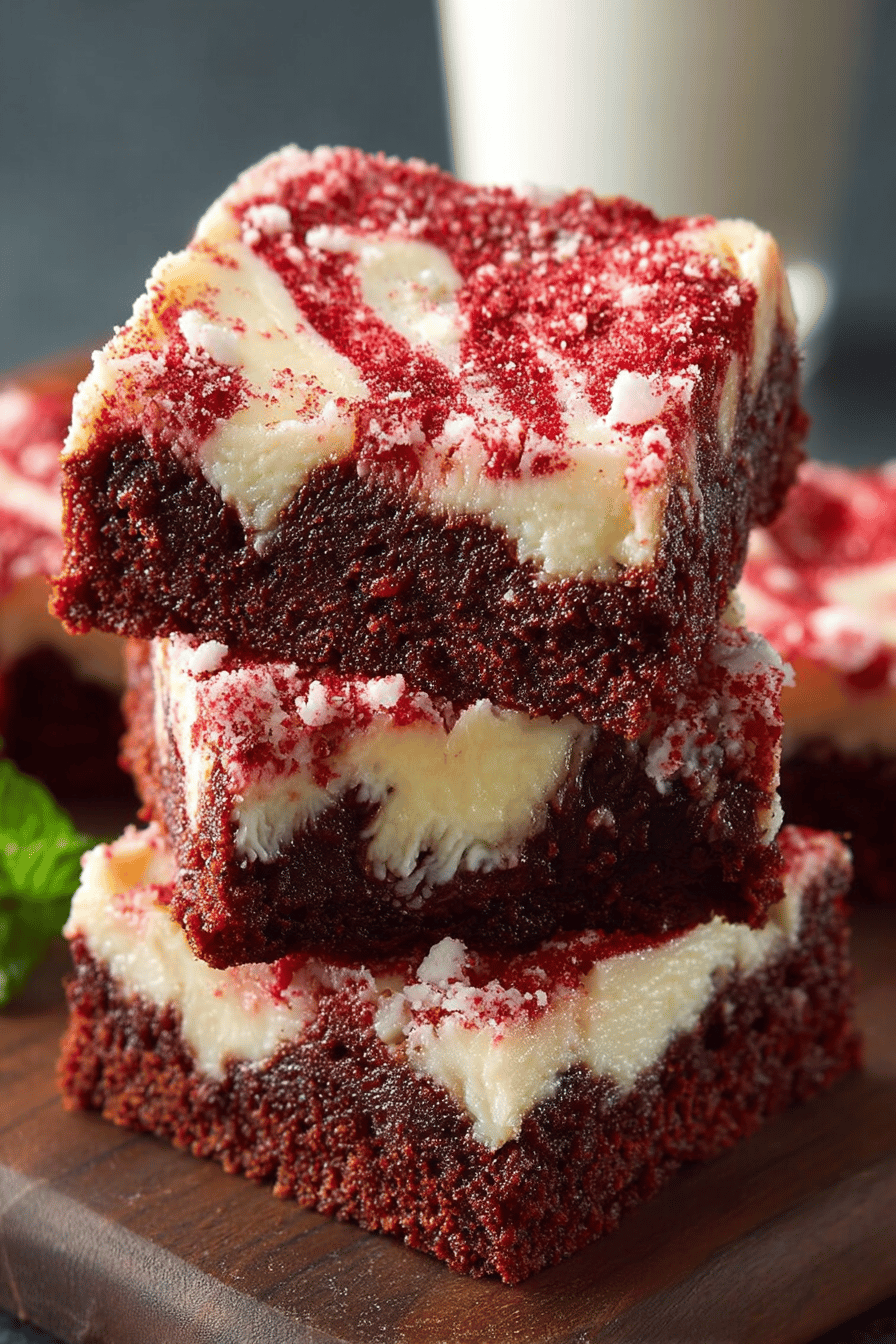
These Easy Red Velvet Brownies were a huge hit with my family! The recipe was simple to follow, and the brownies came out rich, fudgy, and perfectly festive. We'll definitely be making these again for special occasions and sweet cravings alike!
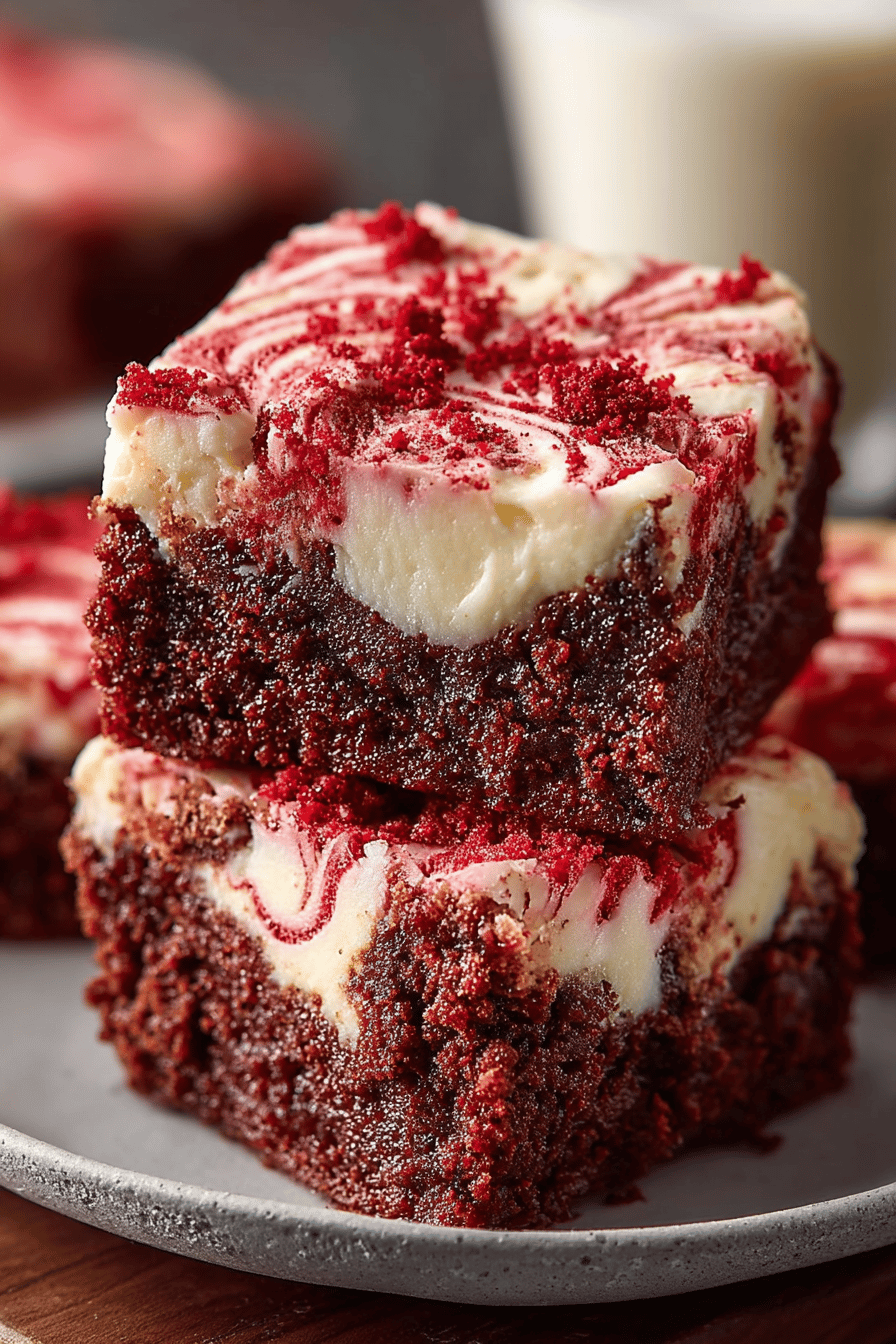
These Easy Red Velvet Brownies were a huge hit with my whole family! They were perfectly chewy with just the right amount of chocolatey goodness, and the color made them extra fun for a weekend treat. I'll definitely be making them again for holidays and bake sales!
MORE OF OUR FAVORITE…
Next, in a separate bowl, whisk together your dry ingredients: flour, cocoa powder, baking soda, and salt. Then, gradually add the dry stuff to the wet stuff. Mix until just combined. I always leave a few flour streaks – it’s fine, I swear!
Now for the fun part: the red food coloring! Add that in and mix until everything is a beautiful red velvet color. Finally, fold in your chocolate chips (or chunks, if you’re feeling fancy).
Pour the batter into a greased and lined baking pan – this is important unless you want to be scraping brownie bits for days. Bake at 350°F (175°C) for about 25-30 minutes. You want the edges to be set, but the center should still be a little gooey. Let them cool COMPLETELY before cutting. I know, it’s torture, but trust me, it’s worth it.
Ingredient Notes
- Butter: Unsalted is best, because we’re adding salt later. But if all you have is salted, just skip a pinch of the added salt. No biggie.
- Semi-Sweet Chocolate: Don’t skimp on this! Good quality chocolate makes all the difference. I like to use the dark stuff, because it adds extra flavor.
- Granulated Sugar: I’ve tried using brown sugar instead, and while it’s good, it gives a different texture. Stick to white sugar for the classic brownie experience.
- Eggs: Make sure they’re at room temperature. It helps them incorporate better. Honestly, though, I usually forget to take them out of the fridge ahead of time, and it’s still fine.
- Vanilla Extract: Don’t even think about skipping this! It adds so much flavor. Pure vanilla extract is best, but imitation will work in a pinch.
- All-Purpose Flour: I haven’t tried this with gluten-free flour, but I bet it would work just fine. Let me know if you try it!
- Cocoa Powder: Use unsweetened cocoa powder. Trust me on this one.
- Baking Soda: This helps the brownies rise. Don’t confuse it with baking powder!
- Salt: A pinch of salt enhances all the other flavors.
- Red Food Coloring: Gel food coloring is best because it’s more concentrated. But liquid food coloring works too, you might just need to add a bit more.
- Chocolate Chips: I like semi-sweet, but you can use milk chocolate, dark chocolate, or even white chocolate chips. Go wild!
Recipe Steps:
- Melt butter and chocolate together until smooth.
- Whisk in sugar, eggs, and vanilla extract.
- In a separate bowl, whisk together flour, cocoa powder, baking soda, and salt.
- Gradually add dry ingredients to wet ingredients, mixing until just combined.
- Stir in red food coloring.
- Fold in chocolate chips.
- Pour batter into greased and lined baking pan.
- Bake at 350°F (175°C) for 25-30 minutes.
- Let cool completely before cutting and serving.
What to Serve It With
Okay, so these brownies are amazing on their own, but if you want to take them to the next level, here are a few ideas:
- A scoop of vanilla ice cream. Classic for a reason!
- A drizzle of chocolate sauce. Because why not?
- A sprinkle of powdered sugar. Makes them look fancy.
- A big glass of cold milk. My personal favorite.
Tips & Mistakes
- Don’t overbake them! Slightly underbaked is better than overbaked. Nobody wants dry brownies.
- Line your baking pan with parchment paper. It makes removing the brownies SO much easier.
- Let them cool completely before cutting. I know, it’s hard to resist, but trust me. They’ll be much easier to cut.
- If you don’t have red food coloring, you can try using beet juice. I’ve never done it, but I’ve heard it works!
- Don’t overmix the batter. It will make the brownies tough.
Storage Tips
Store any leftover brownies in an airtight container at room temperature. They’ll stay good for about 3-4 days. Or, if you’re like me, just eat them straight out of the fridge. Cold brownies are surprisingly delicious. And don’t even pretend you haven’t eaten brownies for breakfast. No judgment here!
Variations and Substitutions
Okay, let’s get real. Sometimes you gotta work with what you got, right?
- No chocolate chips? Use nuts, sprinkles, or even chopped-up candy bars.
- Out of vanilla extract? A little almond extract will work in a pinch.
- Don’t have cocoa powder? Okay, this is a tough one. Honestly, I’d probably just skip it and call them “red brownies.”
- Want to make them healthier? Okay, let’s be honest, these are brownies. But you could try using whole wheat flour or applesauce instead of some of the butter. I haven’t tried it, so don’t blame me if they’re not perfect!
Frequently Asked Questions
Easy Red Velvet Brownies Recipe
Ingredients
Main Ingredients
- 1.5 cups all-purpose flour
- 1 cup granulated sugar
- 0.5 cup unsalted butter melted
- 0.25 cup cocoa powder
- 1 tablespoon red food coloring
- 1 teaspoon vanilla extract
- 2 large eggs room temperature
- 0.5 teaspoon salt
- 0.5 cup buttermilk
- 0.5 teaspoon baking powder
- 0.5 cup chocolate chips optional
Instructions
Preparation Steps
- Preheat your oven to 350°F (175°C) and lightly grease a 9x9 inch baking dish.
- In a large bowl, combine the melted butter and granulated sugar. Beat in eggs one at a time, then stir in the vanilla and red food coloring.
- In a separate bowl, sift together flour, cocoa powder, salt, and baking powder.
- Gradually add the dry ingredients to the wet mixture, alternating with buttermilk, and mix until just combined.
- Fold in chocolate chips, if using, and pour the batter into the prepared baking dish.
- Bake in the preheated oven for 25-30 minutes, or until a toothpick inserted into the center comes out clean.
- Allow to cool in the pan, then cut into squares and serve.
Notes
Nutrition
Featured Comments
“New favorite here — turned out amazing. fluffy was spot on.”
“Super easy and absolutely loved! My family asked for seconds. Saving this one.”
“Impressed! Clear steps and so flavorful results. Perfect for busy nights.”
“Made this last night and it was absolutely loved. Loved how the fizzy came together.”
“Super easy and family favorite! My family asked for seconds. Saving this one.”
“This simple recipe was absolutely loved — the satisfying really stands out. Thanks!”
“This dairy-free recipe was will make again — the satisfying really stands out. Thanks!”
“This healthy swap recipe was will make again — the clean really stands out. Thanks!”
“Impressed! Clear steps and turned out amazing results. Perfect for busy nights.”
“Super easy and absolutely loved! My family asked for seconds. Saving this one.”