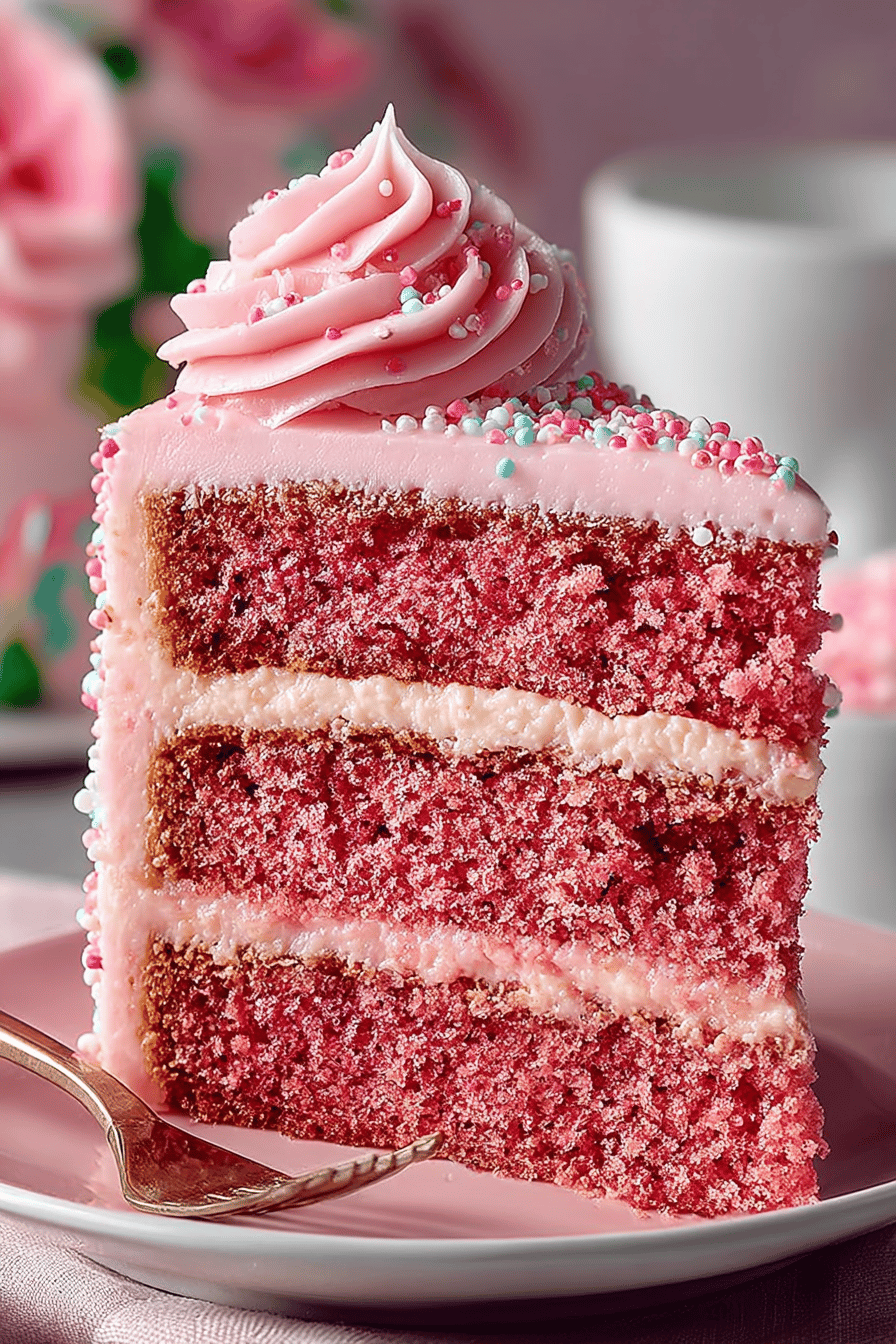
Easy Pink Velvet Cake Recipe
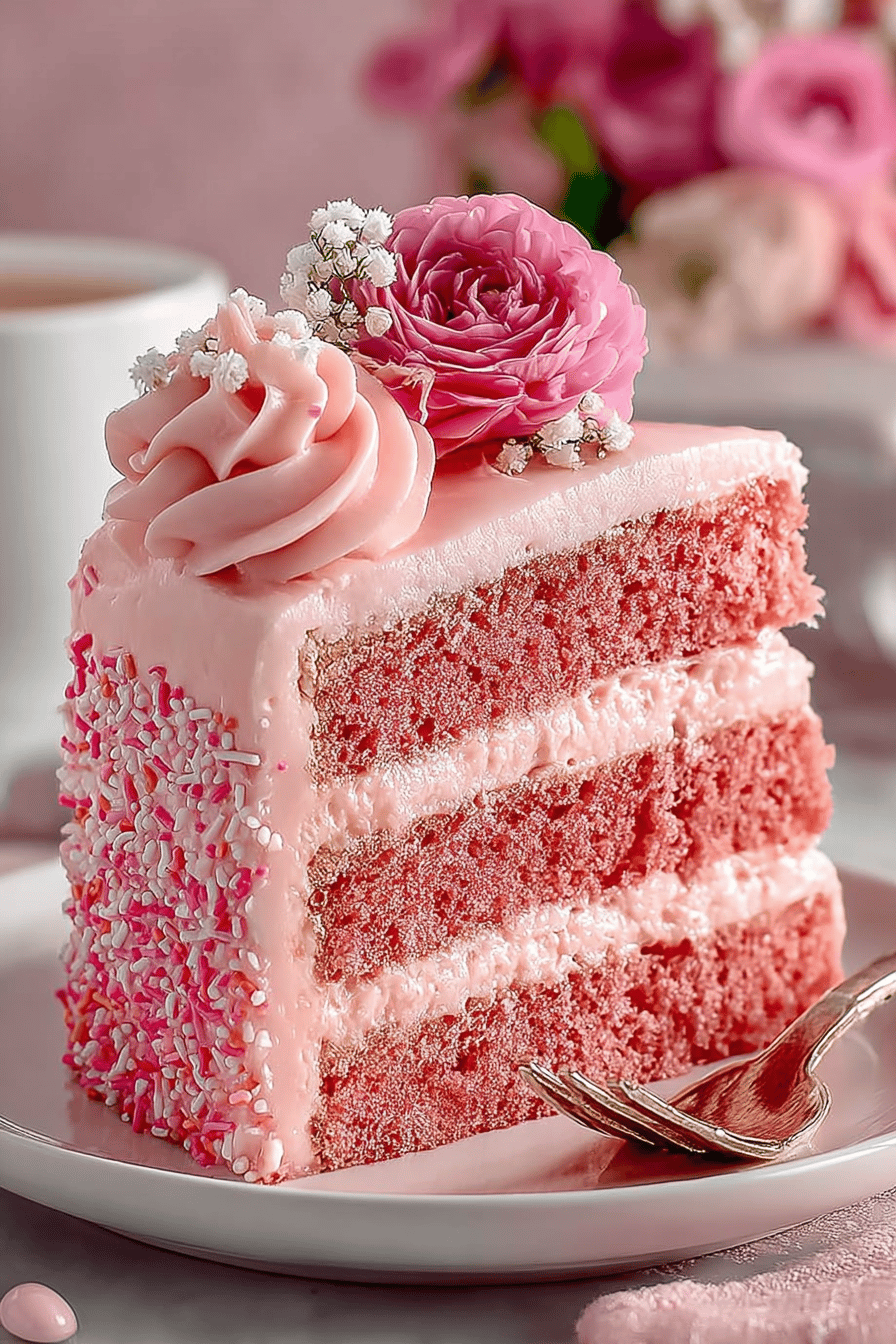
let’s talk cake! Specifically, let’s talk about this Easy Pink Velvet Cake Recipe. It’s not just any cake; it’s that perfectly nostalgic, kinda-retro, makes-everyone-smile kinda cake. And the best part? It’s EASY. Like, seriously, even I can’t mess it up too badly, and that’s saying something. If you want a simple cake that’s also a showstopper? This is it.
So, confession time. My husband? Mr. “I Only Eat Manly Foods”? He’s obsessed with this cake. Like, sneak-slices-at-midnight obsessed. Last time I made it, I caught him trying to eat the leftover frosting STRAIGHT from the bowl with a spoon. He denied it, obviously, but the pink smear on his cheek told a different story. And the kids? They go absolutely bonkers for it! It’s become our go-to for birthdays, celebrations, or just a random Tuesday when we need a little pick-me-up. Plus, it’s pink! Who doesn’t love a pink cake?!
Why You’ll Love This Easy Pink Velvet Cake Recipe
- It’s pink, duh! Instant mood booster.
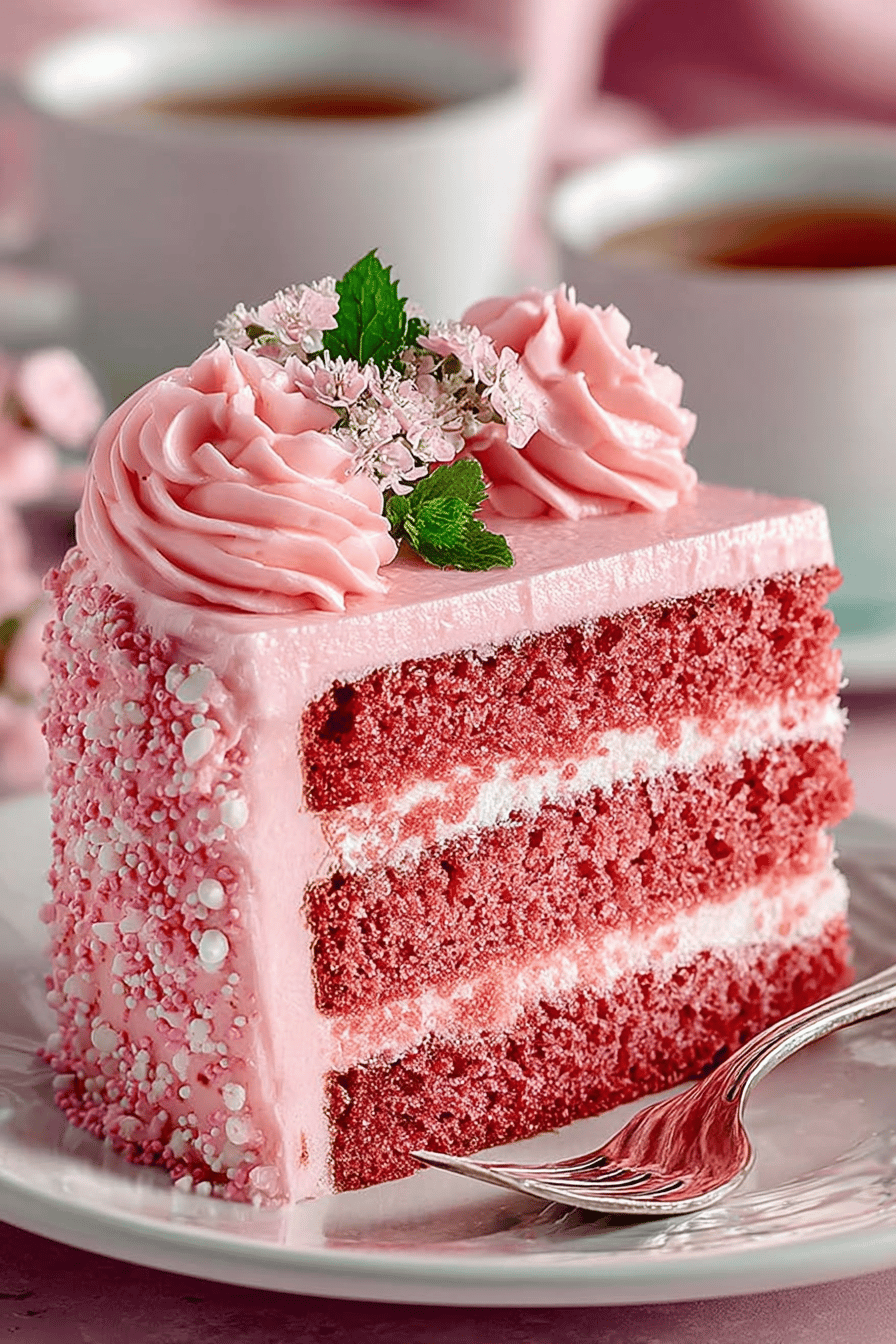
- Velvet-y texture that melts in your mouth. Seriously, SO good.
- Simple enough for a weeknight baking session (yes, those exist!).
- The frosting? To die for. I could (and sometimes do) eat it with a spoon. Don’t judge.
- It just makes people happy. Seriously, try not smiling when you see this cake. I dare you.
How to Make It
Okay, so first things first, preheat that oven! I usually do 350°F (175°C), but my oven is a little wonky, so yours might be different. Keep an eye on it.
MORE EASY DESSERT RECIPES...


Grab a big bowl – the biggest you’ve got. Throw in your butter and sugar and cream them together until they’re nice and fluffy. If you don’t have a fancy mixer, that’s fine! Use a fork and some elbow grease. It works, trust me.
MORE OF OUR FAVORITE…
Next, crack in the eggs, one at a time, and mix them in until everything is smooth. Add in your vanilla extract and the secret ingredient… red food coloring! I usually eyeball it until it looks like the right shade of pink. Don’t be scared to go a little crazy!
In a separate bowl, whisk together your flour, cocoa powder, baking soda, and salt. Then, slowly add the dry ingredients to the wet ingredients, mixing until just combined. Don’t overmix! Nobody wants a tough cake.
In a small bowl, whisk together your buttermilk and vinegar. This is what gives the cake that signature velvet-y texture. Add this mixture to the batter and mix until everything is smooth.
Pour the batter into your prepared cake pans. I usually use two round cake pans, but you can use whatever you have on hand. Just make sure to grease and flour them well, or your cake will stick. Trust me on this one.
Bake for about 30-35 minutes, or until a toothpick inserted into the center comes out clean. Let the cakes cool in the pans for a few minutes before inverting them onto a wire rack to cool completely.
While the cakes are cooling, make the frosting! Cream together your butter and cream cheese until smooth and fluffy. Add in your powdered sugar, a little at a time, and mix until everything is well combined. Add in your vanilla extract and a pinch of salt.
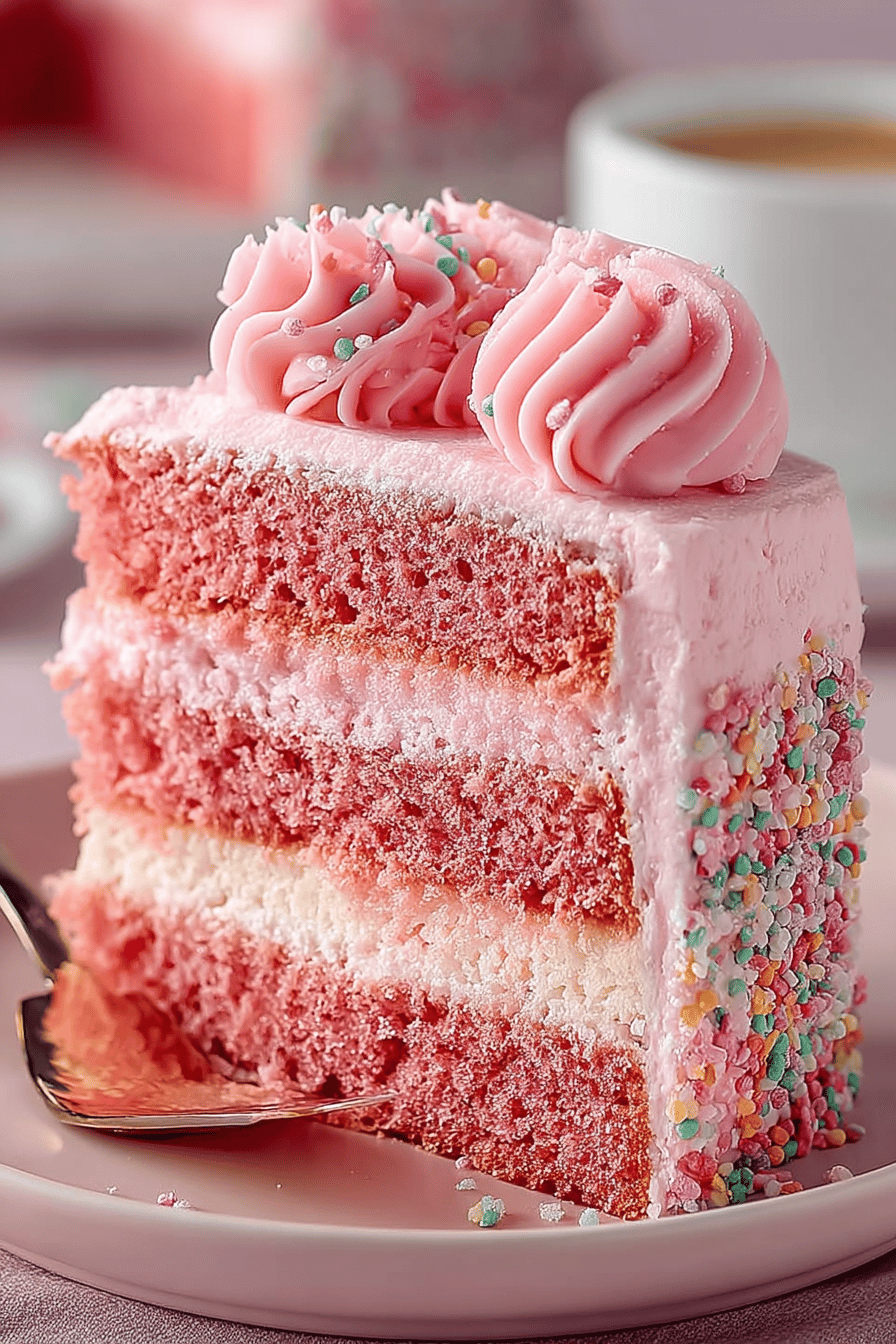
Once the cakes are completely cool, frost them! I like to put a generous layer of frosting between the layers and then frost the entire cake. You can decorate it however you like. I usually just sprinkle on some sprinkles, because sprinkles make everything better.
Ingredient Notes
- Butter: Has to be softened, or you’ll be fighting it the whole time. I once tried using cold butter and almost broke my mixer. Don’t do that.
- Red Food Coloring: Gel is best, but liquid works in a pinch. Just don’t use too much, or your cake will taste like chemicals. I learned that the hard way.
- Buttermilk: This is key for the velvet-y texture. If you don’t have any on hand, you can make your own by adding a tablespoon of vinegar to a cup of milk. Let it sit for a few minutes to curdle.
- Cream Cheese: Full-fat is best for the frosting. Low-fat just doesn’t have the same richness. And don’t even think about using that spreadable stuff in a tub.
Recipe Steps:
- Preheat your oven to 350°F (175°C) and grease and flour your cake pans.
- Cream together softened butter and sugar until light and fluffy.
- Beat in eggs one at a time, then stir in vanilla extract and red food coloring.
- Whisk together flour, cocoa powder, baking soda, and salt in a separate bowl.
- Gradually add the dry ingredients to the wet ingredients, mixing until just combined.
- Combine buttermilk and vinegar in a small bowl.
- Add the buttermilk mixture to the batter and mix until smooth.
- Pour the batter into the prepared cake pans.
- Bake for 30-35 minutes, or until a toothpick comes out clean.
- Cool the cakes in the pans for a few minutes before inverting them onto a wire rack to cool completely.
- Cream together butter and cream cheese for the frosting.
- Gradually add powdered sugar, then vanilla extract and salt.
- Frost the cooled cakes and decorate as desired.
What to Serve It With
Honestly? Nothing. It’s perfect on its own. But if you’re feeling fancy, a scoop of vanilla ice cream or a few fresh berries never hurt anyone. And let’s be real, coffee. Always coffee.
Tips & Mistakes
- Don’t overmix the batter! It will make the cake tough.
- Make sure your cakes are completely cool before frosting them. Otherwise, the frosting will melt and slide right off. I’ve learned that the hard way.
- Don’t be afraid to experiment with the frosting! You can add different extracts, flavors, or even a little bit of liquor. Just don’t go overboard.
- If your frosting is too thick, add a little bit of milk or cream to thin it out. If it’s too thin, add a little bit of powdered sugar to thicken it up.
- Sprinkles. Always sprinkles.
Storage Tips
Okay, so leftover cake? If there IS any? It’s best stored in an airtight container in the fridge. Keeps for about 3-4 days. But honestly, it never lasts that long in my house. And eating it cold straight from the fridge? Don’t judge me, it’s amazing. Especially for breakfast. No shame.
Variations and Substitutions
Okay, so I’m all about making things work with what you’ve got. No buttermilk? Mix vinegar with regular milk, bam! No red food coloring? Okay, it won’t be PINK velvet, but you can use beet juice for a natural (slightly less vibrant) option. I’ve even skipped the cocoa powder once when I was out, and it was still a delicious, slightly less-velvety cake. Don’t be afraid to play around! Just don’t skip the cream cheese in the frosting, okay? That’s non-negotiable.
Frequently Asked Questions
Easy Pink Velvet Cake Recipe
Ingredients
Main Ingredients
- 2.5 cups all-purpose flour sifted
- 1.5 cups granulated sugar
- 1 teaspoon baking soda
- 0.5 teaspoon salt
- 1 teaspoon cocoa powder unsweetened
- 1.5 cups buttermilk room temperature
- 1.5 cups vegetable oil
- 2 large eggs room temperature
- 1 teaspoon vanilla extract pure
- 1 teaspoon white vinegar
- 2 teaspoons pink food coloring or more for desired color
Instructions
Preparation Steps
- Preheat your oven to 350°F (175°C) and prepare two 9-inch round cake pans by greasing them and lining the bottoms with parchment paper.
- In a large mixing bowl, whisk together the flour, sugar, baking soda, salt, and cocoa powder.
- In a separate bowl, combine the buttermilk, oil, eggs, vanilla extract, and vinegar.
- Gradually add the wet ingredients to the dry ingredients, mixing until just combined.
- Add the pink food coloring a little at a time until you reach the desired color. Mix well.
- Divide the batter evenly between the prepared pans and bake for 30-35 minutes, or until a toothpick inserted into the center comes out clean.
- Allow the cakes to cool in the pans for 10 minutes, then turn them out onto a wire rack to cool completely.
Notes
Nutrition
Featured Comments
“This zesty recipe was turned out amazing — the juicy patty really stands out. Thanks!”
“Impressed! Clear steps and family favorite results. Perfect for busy nights.”
“This stacked recipe was family favorite — the nourishing really stands out. Thanks!”
“This fluffy recipe was will make again — the hands-off really stands out. Thanks!”
“Made this last night and it was absolutely loved. Loved how the light came together.”
“New favorite here — so flavorful. baked was spot on.”
“Impressed! Clear steps and absolutely loved results. Perfect for busy nights.”
“Impressed! Clear steps and will make again results. Perfect for busy nights.”
“New favorite here — turned out amazing. tender was spot on.”
“Made this last night and it was so flavorful. Loved how the light came together.”