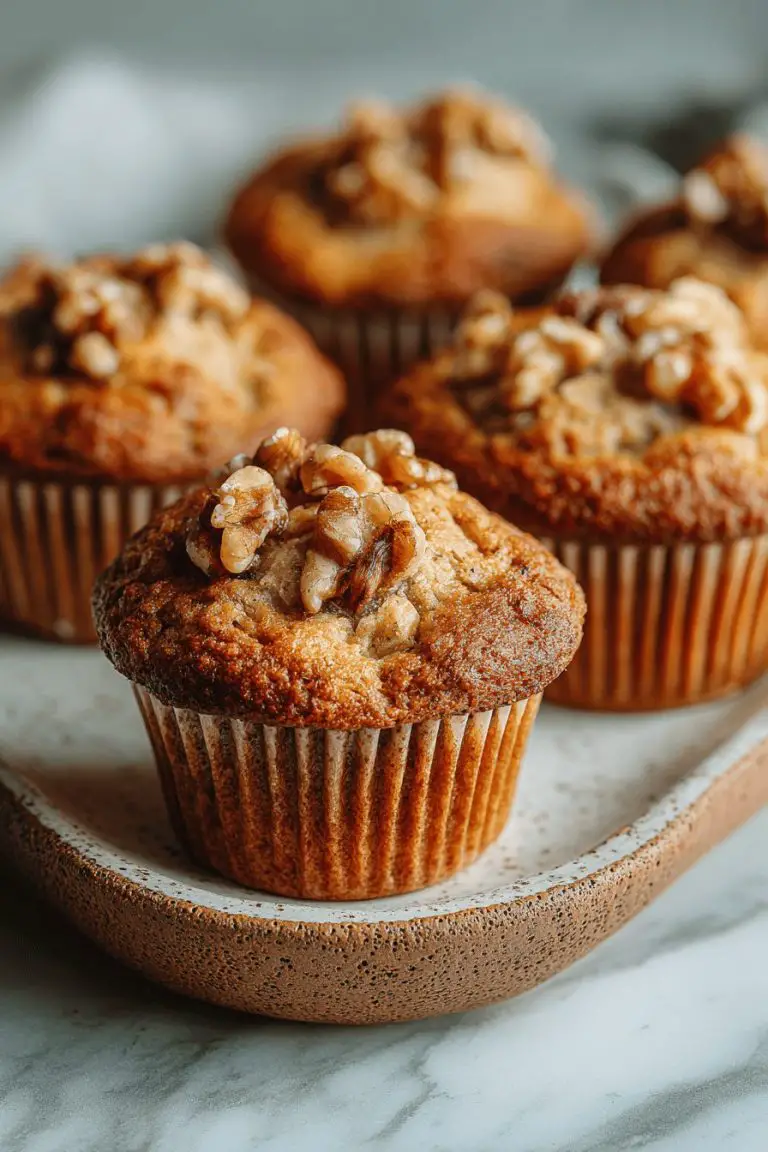
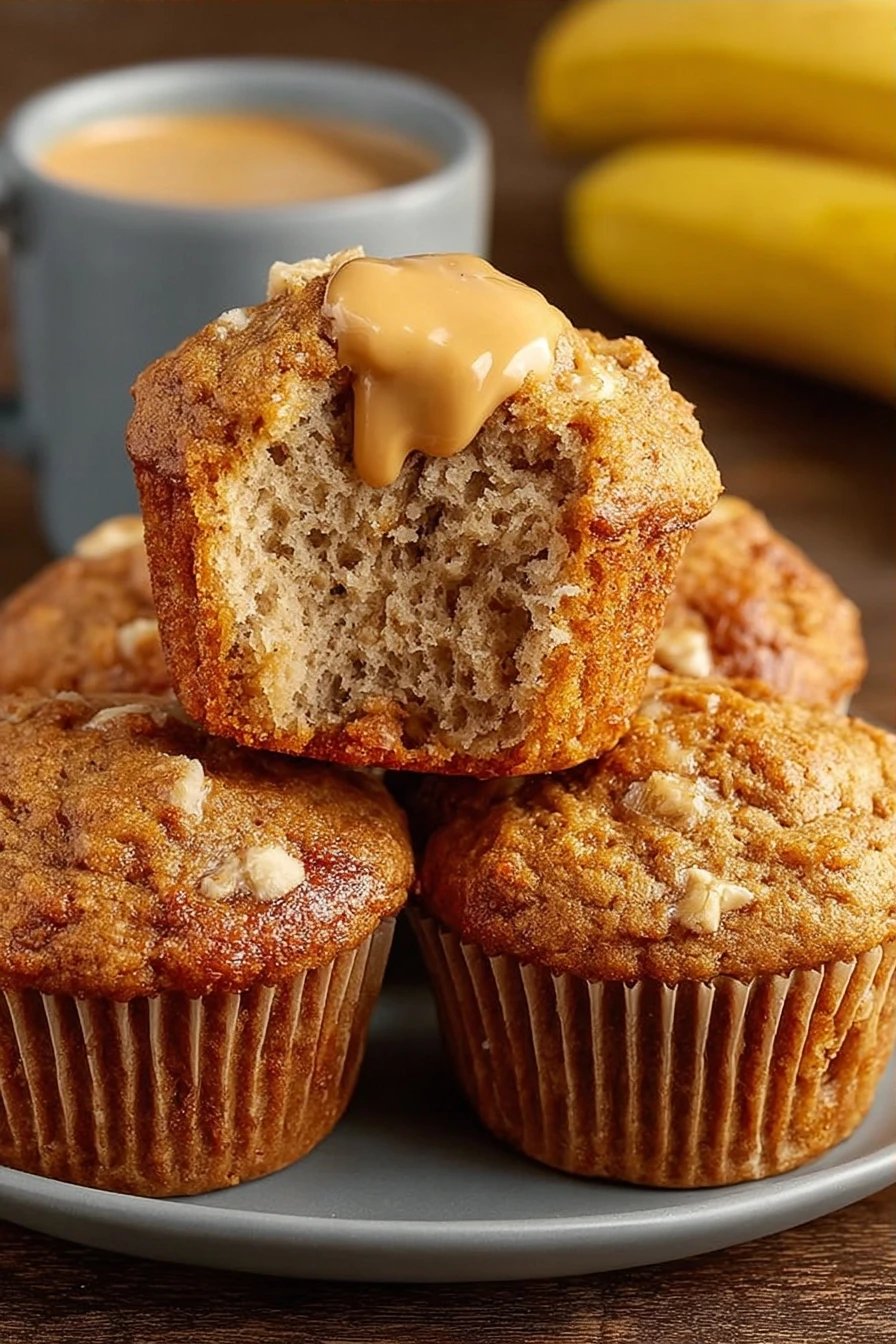
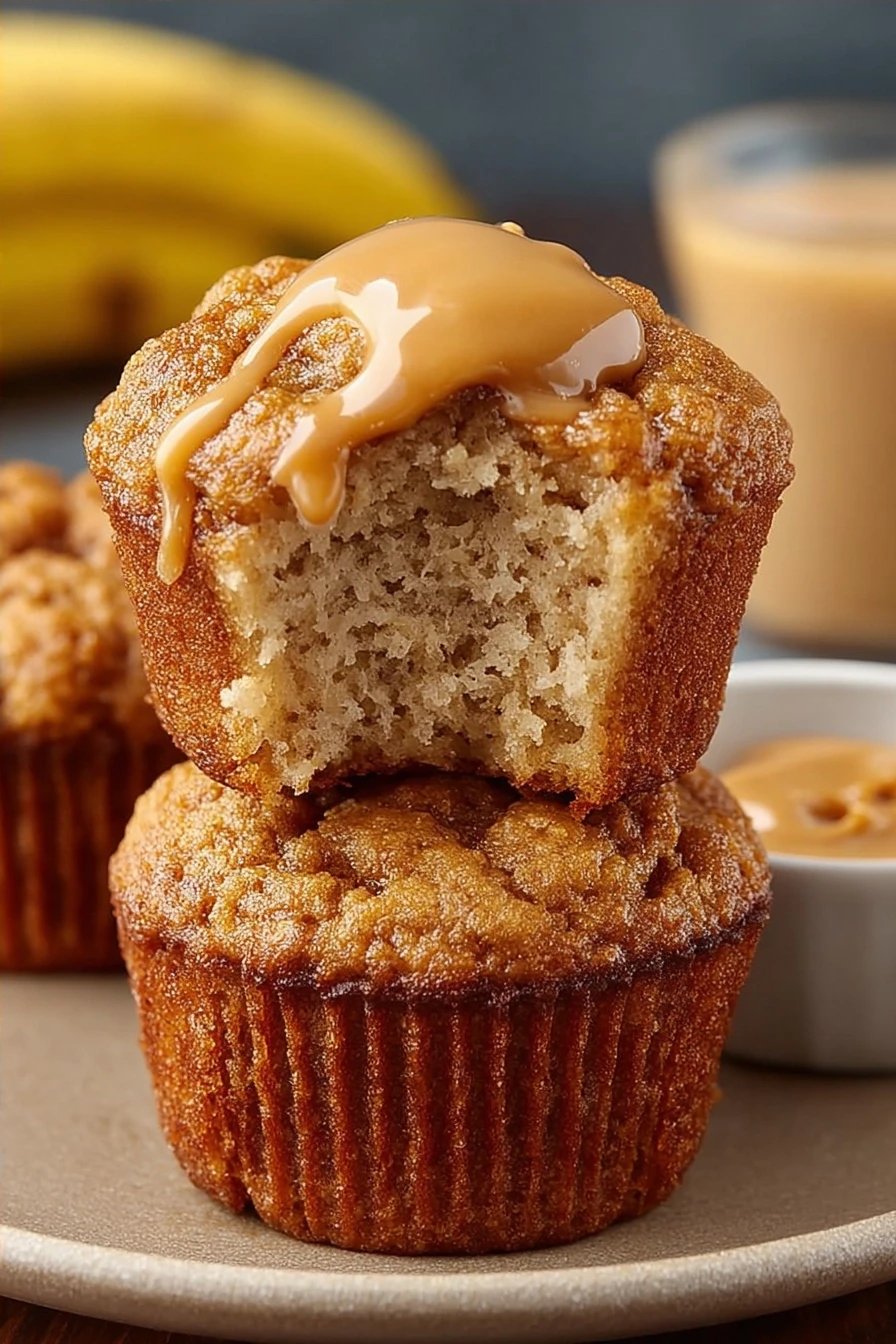
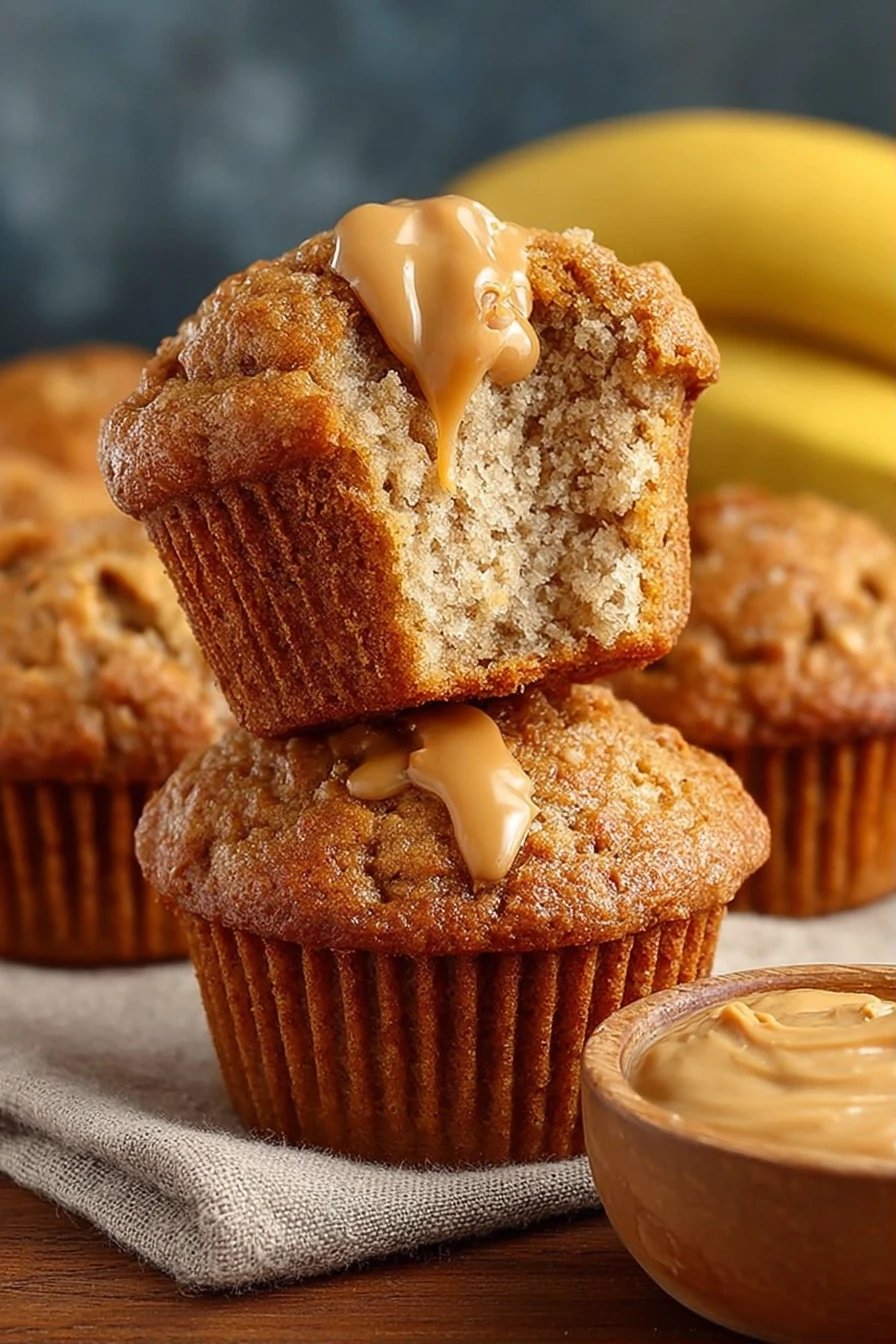
Easy Peanut Butter Banana Muffins
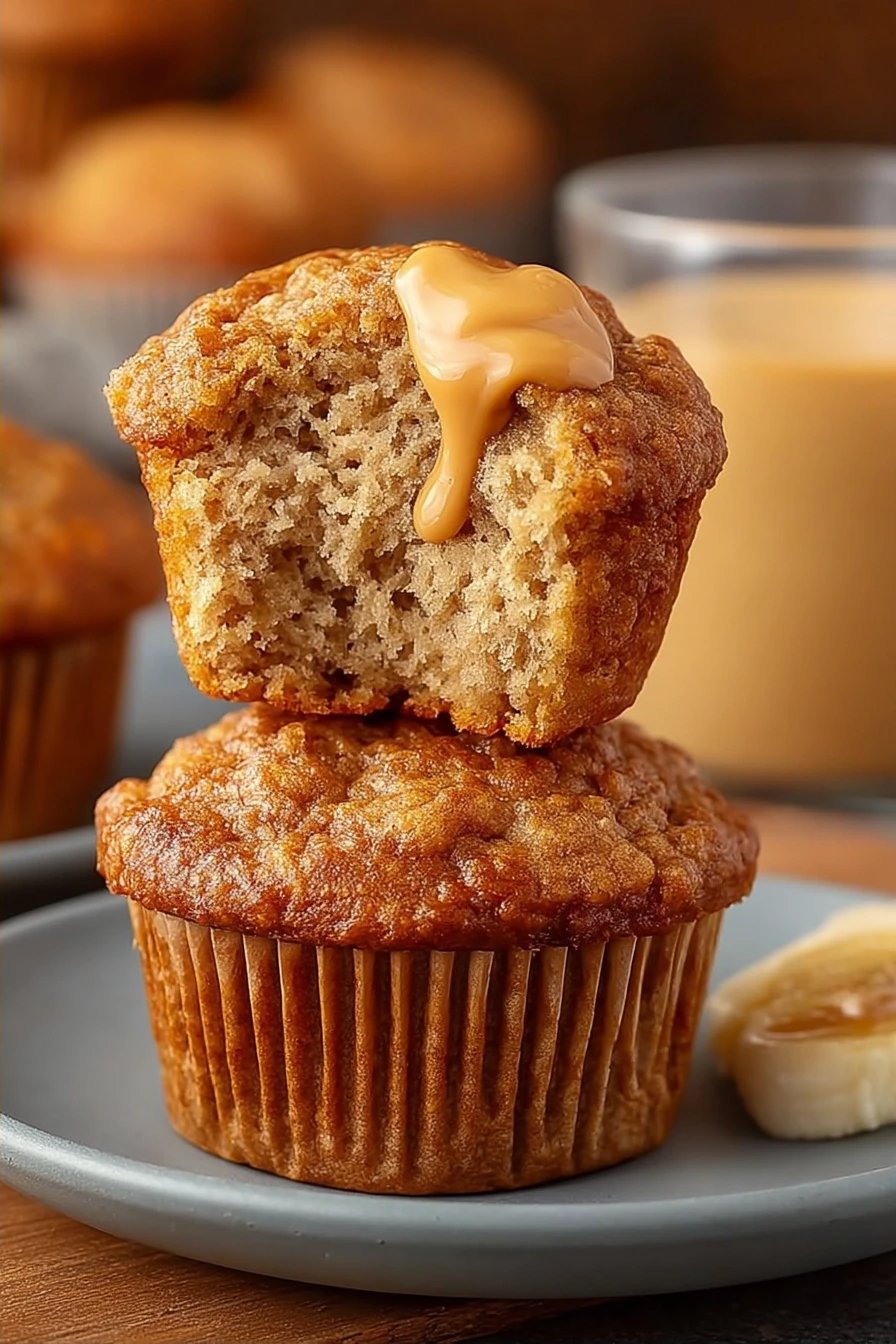
Okay, buckle up buttercups, because I’m about to drop some serious muffin knowledge on ya. We’re talking Easy Peanut Butter Banana Muffins — the kind that are so good, you’ll “accidentally” eat three before you even pour your coffee. They’re fluffy, peanut-buttery, banana-y (duh!), and just the right amount of sweet. Seriously, ditch the store-bought stuff and get ready for some real baking.
My dude is OBSESSED with these muffins! I swear, he sniffs them out of the oven like a cartoon character. And the kiddo? Well, let’s just say these are the only way I can get her to eat a banana without a fight. One time, I made a double batch and hid half in the freezer for emergencies… only to find my husband had raided the stash for a late-night snack. I mean, I can’t even be mad, they’re THAT good. They’re officially part of the family now!
Why You’ll Love This Easy Peanut Butter Banana Muffins
Okay, listen up because you NEED these muffins in your life:
- They’re basically a peanut butter banana sandwich in muffin form. Need I say more?
- Super easy to make, even if you’re a total disaster in the kitchen (like me, sometimes!).
- They make your house smell like a bakery and who doesn’t want that?
- They’re the perfect excuse to eat peanut butter for breakfast. I mean… priorities!
How to Make It


Alright, let’s get down to business. Preheat your oven to 375°F (190°C) – don’t forget! I’ve totally preheated to the wrong temp before. Then, grease or line a muffin tin. I usually use paper liners because who wants to scrub muffin tins?
MORE OF OUR FAVORITE…
In a big bowl (the biggest you got!), mash up those ripe bananas. The riper, the better, trust me. Add in the peanut butter, sugar, eggs, milk, and vanilla extract. Mix it all up until it’s smooth-ish. Don’t worry about a few lumps, nobody’s perfect.
In another bowl, whisk together the flour, baking powder, baking soda, and salt. Now, gradually add the dry ingredients to the wet ingredients, mixing until just combined. Don’t overmix! Overmixing = tough muffins, and nobody wants that.
Fill those muffin cups about 2/3 full. Sprinkle some extra chocolate chips or chopped nuts on top if you’re feeling fancy (or just want extra snacks).
Bake for 18-20 minutes, or until a toothpick inserted into the center comes out clean. Let them cool in the muffin tin for a few minutes before transferring them to a wire rack to cool completely. Or, you know, just eat one warm. I won’t judge.
Ingredient Notes
- Ripe Bananas: The spottier, the better! Seriously, those overripe bananas that you’re about to toss? Those are muffin gold. They add so much moisture and sweetness.
- Peanut Butter: Creamy is my jam, but chunky works too if you’re into that. Just make sure it’s good quality peanut butter, you know? None of that super processed stuff.
- All-Purpose Flour: I usually use all-purpose flour. But sometimes if you want to add a little bit of healthy, you could do half all-purpose, and half wheat flour.
- Baking Soda & Baking Powder: Don’t skip these! They’re the magic behind the fluff. I once forgot the baking powder, and the muffins were flatter than my sense of humor after a long day.
- Milk: Any kind will do! I’ve used everything from regular cow’s milk to almond milk, and they all work great.
Recipe Steps:
- Preheat the oven to 375°F (190°C).
- Grease or line a muffin tin.
- Mash the ripe bananas in a large bowl.
- Add peanut butter, sugar, eggs, milk, and vanilla to the mashed bananas. Mix well.
- Whisk together flour, baking powder, baking soda, and salt in a separate bowl.
- Gradually add dry ingredients to wet ingredients, mixing until just combined.
- Fill muffin cups 2/3 full.
- Sprinkle toppings like chocolate chips or nuts (optional).
- Bake for 18-20 minutes, until a toothpick comes out clean.
- Cool in the tin for a few minutes, then transfer to a wire rack.
What to Serve It With
Honestly, these muffins are pretty perfect on their own. But if you’re feeling extra, here are some ideas:
- A smear of extra peanut butter (duh!).
- A glass of cold milk or almond milk.
- A side of fresh fruit, like berries or sliced bananas.
- A giant cup of coffee. Because, let’s be real, we all need it.
Tips & Mistakes
- Don’t overmix the batter! Seriously, resist the urge. It’ll make your muffins tough.
- Make sure your baking powder and baking soda are fresh. Old stuff won’t give you the rise you’re looking for.
- If your bananas aren’t ripe enough, you can bake them in the oven for a few minutes to soften them up.
- Don’t overbake the muffins! They should be golden brown and spring back when you touch them.
Storage Tips
Store leftover muffins in an airtight container at room temperature for up to 3 days. Or, you can freeze them for longer storage. Just wrap them individually in plastic wrap and then place them in a freezer bag.
Eating them cold? Totally fine! They’re still delicious. I may or may not have eaten a frozen muffin straight from the freezer before. Don’t judge. And they’re amazing for a grab-and-go breakfast. Trust me on this one.
Variations and Substitutions
- Nut-Free: Use sunflower seed butter instead of peanut butter. Works like a charm!
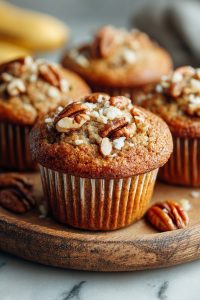
- Chocolate Chip Craze: Add 1/2 cup of chocolate chips to the batter. Because why not?
- Spice It Up: Add a teaspoon of cinnamon or nutmeg to the dry ingredients for a warm, cozy flavor.
- Honey Instead of Sugar: Swap the sugar for honey. I’ve done this when I ran out of sugar and honestly, I think I prefer it!
- Forgot the Eggs: Okay, I haven’t actually tried this (yet), but I’ve heard applesauce can work as an egg substitute. Let me know if you try it!
Frequently Asked Questions
Easy Peanut Butter Banana Muffins
Ingredients
Main Ingredients
- 1.5 cups all-purpose flour
- 0.5 cups granulated sugar
- 0.25 cups brown sugar packed
- 1 teaspoon baking powder
- 0.5 teaspoon baking soda
- 0.25 teaspoon salt
- 0.5 cups creamy peanut butter
- 0.25 cups unsalted butter melted
- 2 large ripe bananas mashed
- 1 large egg room temperature
- 1 teaspoon vanilla extract
- 0.5 cups milk
Instructions
Preparation Steps
- Preheat your oven to 350°F (175°C) and line a 12-cup muffin tin with paper liners.
- In a large bowl, whisk together the flour, granulated sugar, brown sugar, baking powder, baking soda, and salt.
- In another bowl, mix together the peanut butter, melted butter, mashed bananas, egg, vanilla extract, and milk until smooth.
- Add the wet ingredients to the dry ingredients and stir until just combined.
- Divide the batter evenly among the muffin cups.
- Bake for 20-25 minutes or until a toothpick inserted into the center of a muffin comes out clean.
- Allow the muffins to cool in the tin for 5 minutes before transferring to a wire rack to cool completely.
Notes
Nutrition
Featured Comments
“Impressed! Clear steps and will make again results. Perfect for busy nights.”
“Made this last night and it was so flavorful. Loved how the gooey came together.”
“New favorite here — family favorite. satisfying was spot on.”
“New favorite here — so flavorful. homemade was spot on.”
“New favorite here — turned out amazing. nostalgic was spot on.”
“New favorite here — so flavorful. al dente was spot on.”
“Super easy and turned out amazing! My family asked for seconds. Saving this one.”
“New favorite here — so flavorful. speedy was spot on.”
“New favorite here — turned out amazing. bite-sized was spot on.”
“Made this last night and it was turned out amazing. Loved how the savory came together.”