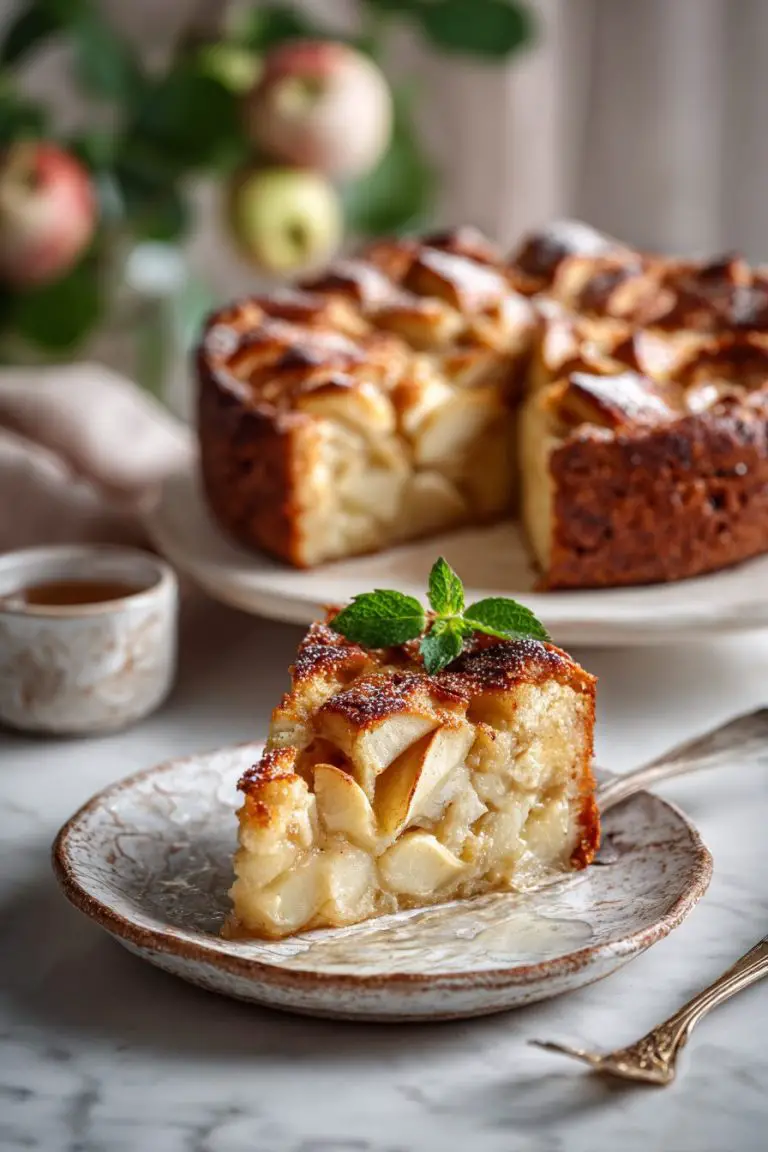
Easy Iron Skillet Apple Pie Recipe
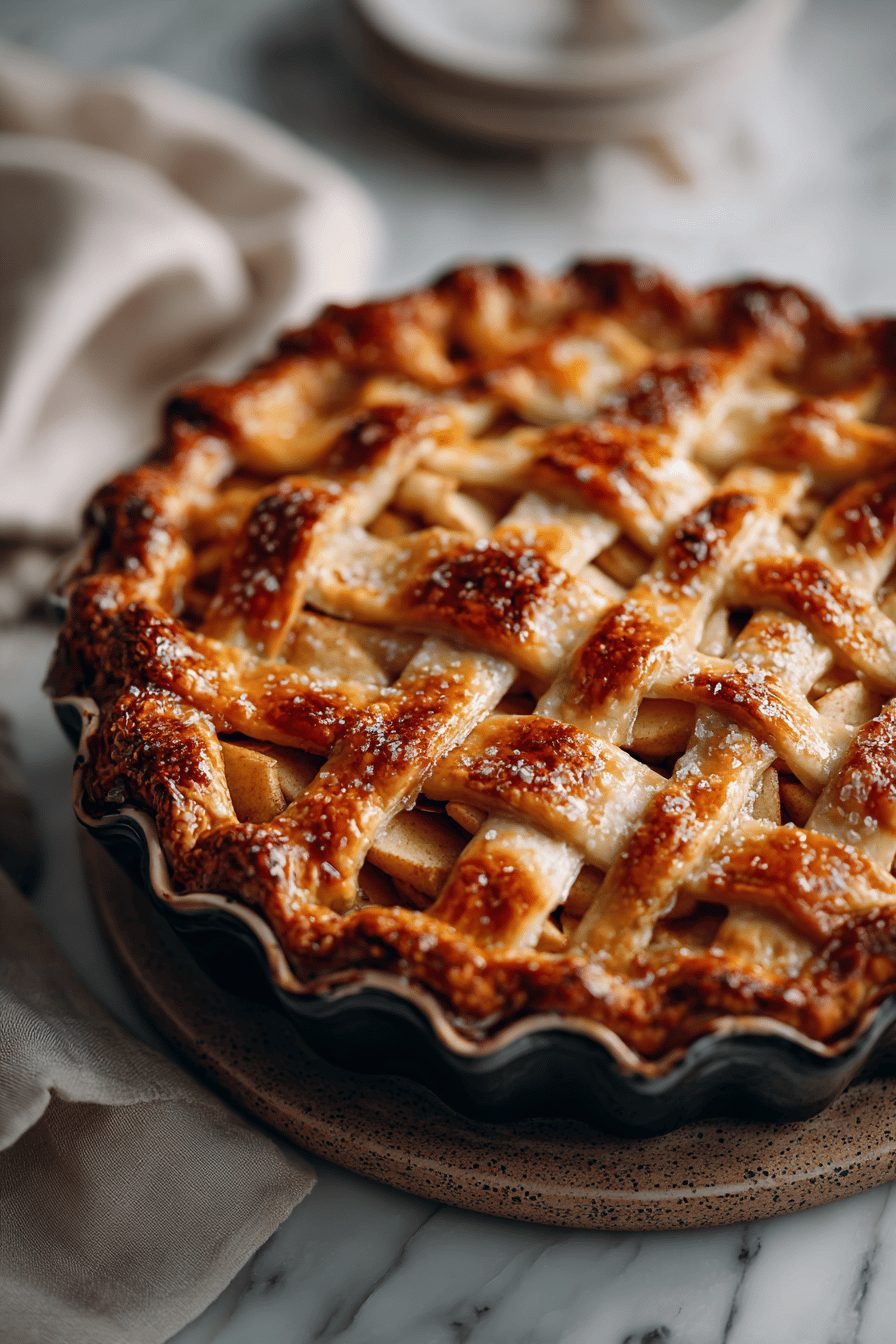
This skillet apple pie is everything I want in an autumn dessert: buttery, flaky crust hugging bubbly, cinnamon-spiked apples, baked right in a hot cast-iron pan so the edges caramelize and get that almost-candy texture. It’s not fussy, it’s a little rustic, and somehow it feels like a hug — but the kind of hug you earn by doing dishes afterward. You should try it because it looks impressive, is forgiving if your crust isn’t perfect, and it feeds a hungry family without drama.
My husband calls it “the pie that makes him forgive me for late bedtime” — high praise, honestly. Our kiddo learned to say “hot” and “more” in the same breath the first time we served this, which is a memory I will absolutely cash in on later when they’re teenagers. It’s become the thing I bring to potlucks and the “let’s have dessert” fallback when dinner was too chaotic to be fancy. Also, I once forgot to add one of the spices and we all decided the pie still tasted like fall, so it’s very forgiving.
Why You’ll Love This Easy Iron Skillet Apple Pie Recipe
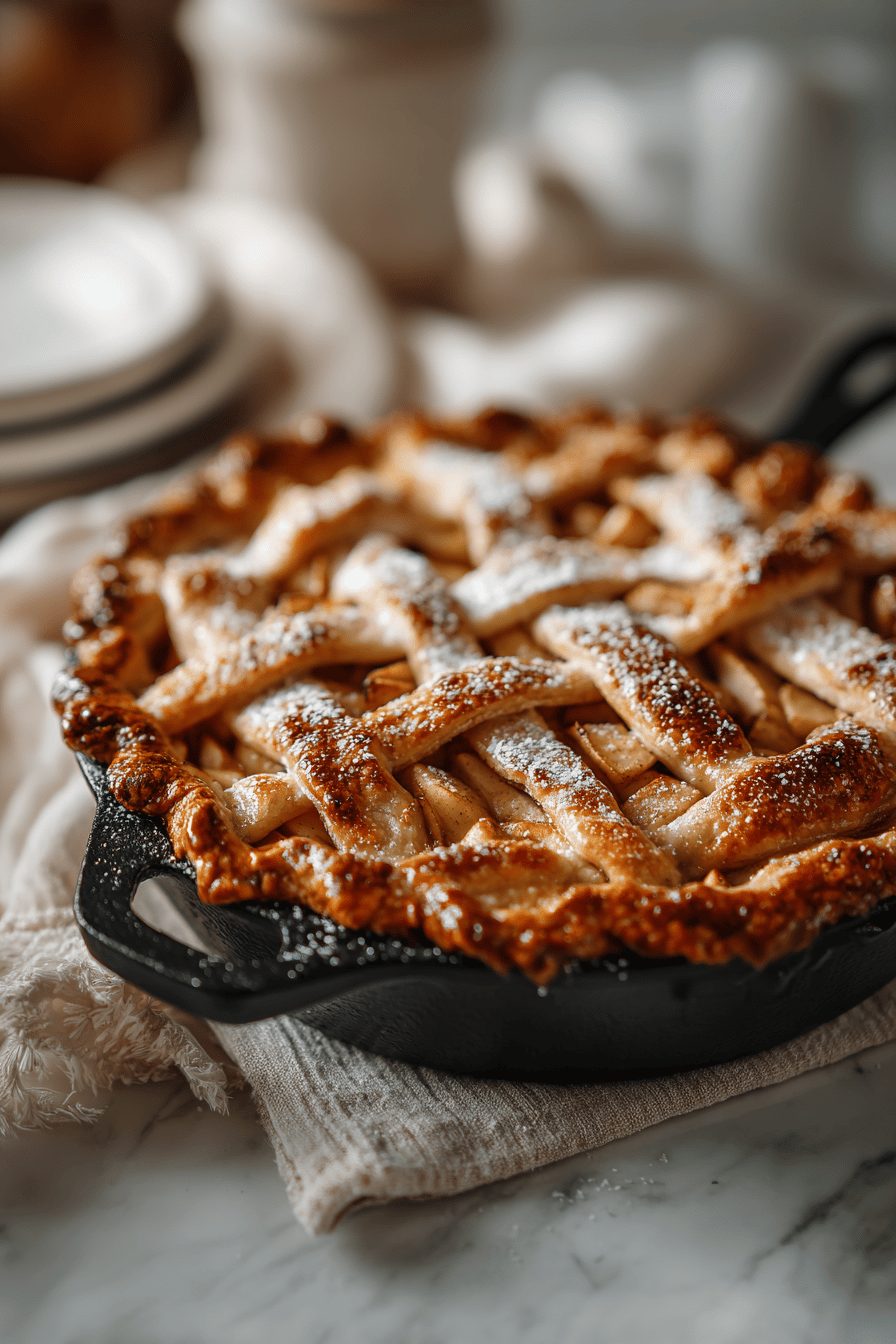
– It browns like crazy: cast iron gives you golden, crackly edges that feel special but require zero pastry finesse.
– No fiddly pie plate drama: the skillet holds everything together, even if your crust has mood swings.
– Make-ahead friendly: you can prep filling or dough in advance and bake when you’re ready.
– Crowd-pleaser with small effort: looks like you spent hours, but really it’s mostly waiting and smelling cinnamon.
Kitchen Talk
MORE EASY DESSERT RECIPES...


This pie taught me how to improvise. One time I only had three apples and half a lemon and a pocket of self-doubt — I added a grated apple for texture and a splash of maple, and everyone ate two slices. I also learned that cold butter chunks make the most flaky crust, but if you forget to chill the dough it still bakes up fine if you pop the skillet in the freezer for 10 minutes before baking. The first time I tried a lattice top it became a sad, tangled braid; now I mostly do a rustic patchwork and call it charming.
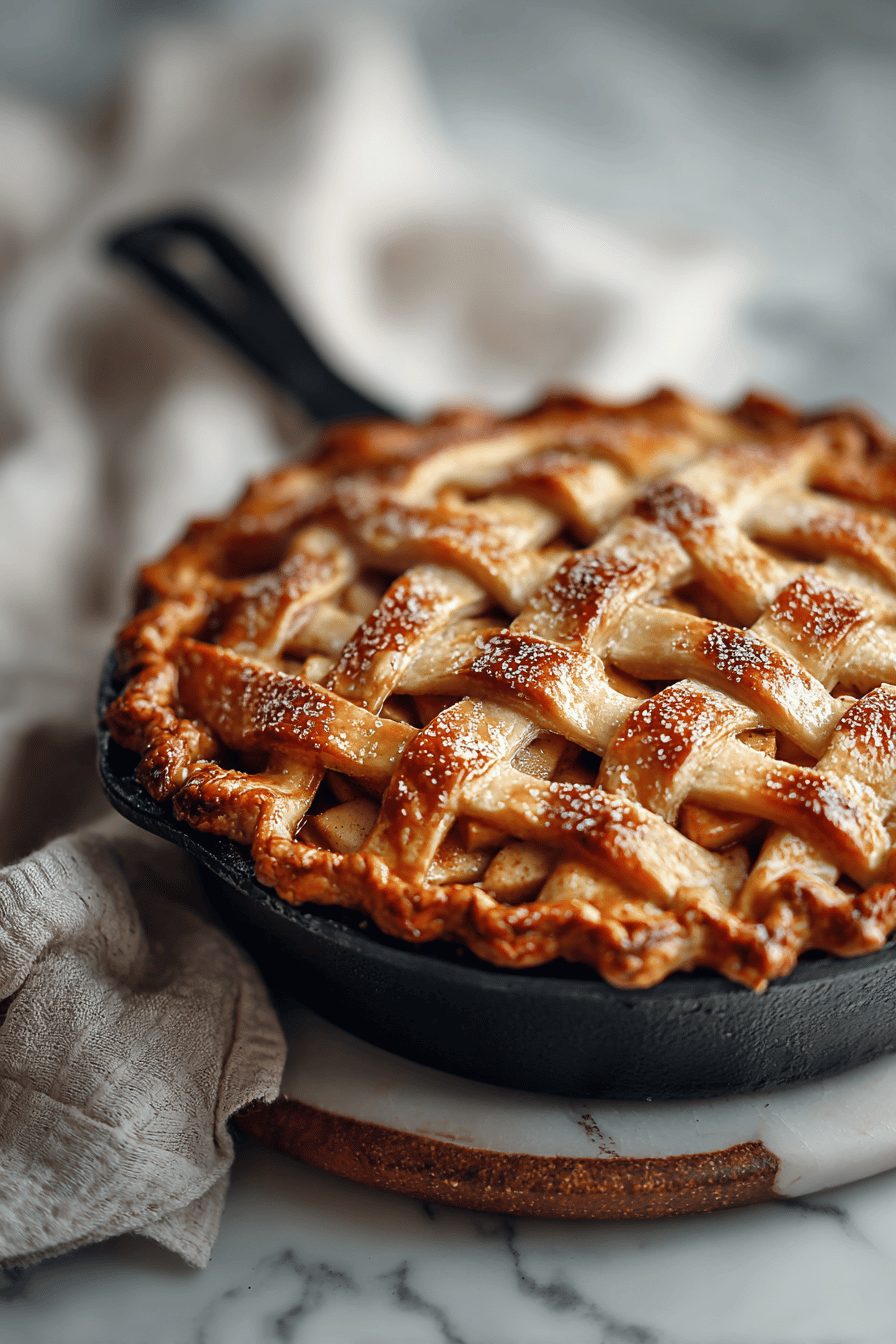
This skillet apple pie is such a cozy, no-fuss treat—perfect for when you want that classic homemade taste without all the stress. I loved how easy it was to throw together, and the crust came out flaky with just the right amount of golden caramel on the edges.
MORE OF OUR FAVORITE…
Shopping Tips
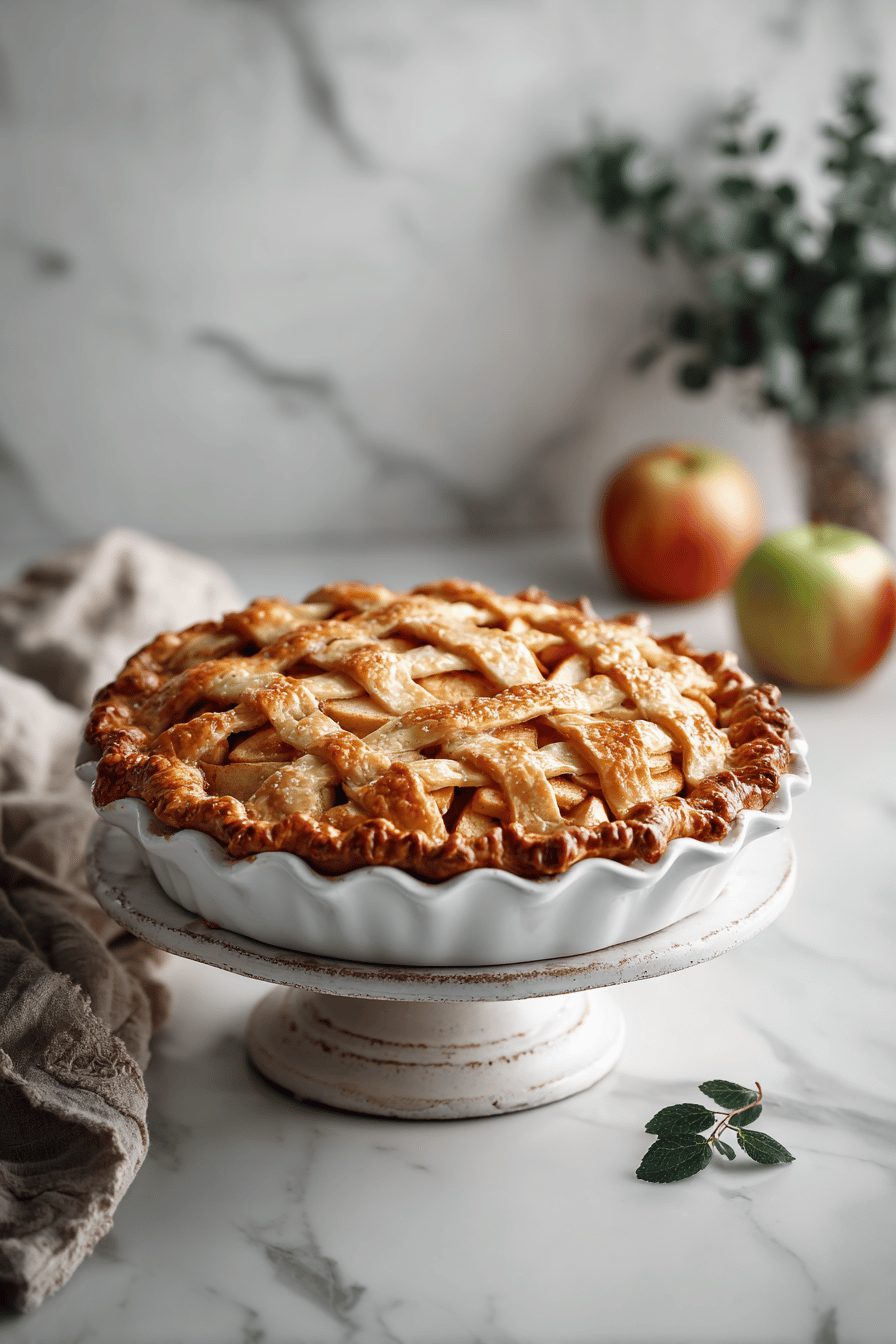
– Fruit: Pick a mix of tart and sweet apples (think Granny Smith + Gala/Golden Delicious) for balanced flavor and texture.
– Baking Basics (Flour/Sugar/Leaveners): Use all-purpose flour for the crust and a mix of granulated and brown sugar in the filling for depth.
– Fats & Oils: Real butter is worth it here — it browns and flavors the crust in a way margarine doesn’t replicate.
– Spices: Fresh ground cinnamon is a small upgrade; if you like warmth, grab a pinch of nutmeg or allspice too.
– Nuts & Seeds: Optional: chopped pecans or walnuts add crunch if you want a textured finish — toss on top before baking.
Prep Ahead Ideas
– Make the dough 1–2 days ahead, wrap tightly in plastic, and keep in the fridge; roll and chill again before assembling.
– Core and slice apples the night before, toss with lemon juice and sugar, and keep in an airtight container to prevent browning.
– Mix the filling (spices, sugar, thickener) in a jar so you can just shake and dump when it’s pie time.
– Store dough or filling in labeled containers in the fridge; if you freeze, thaw overnight in the fridge before using.
– Doing these little steps the day before turns a chaotic evening into a 30–40 minute bake-and-serve situation.
Time-Saving Tricks
– Use a food processor to pulse dough until it just comes together; it’s fast and keeps butter cold.
– Pre-slice apples with a mandoline or sharp knife and toss right into the mixing bowl — fewer dishes.
– Skip fancy crust designs; a rustic top or simple cut-outs save time and still look homey.
– If you’re short on time, bake at a slightly higher temp for a shorter time but watch the edges so they don’t overbrown.
Common Mistakes
– Putting warm filling under cold crust: the crust can get soggy. Let the apples sit to release some liquid, then drain a bit before filling if they’re very juicy.
– Overworking the dough: I used to knead and knead, then got rubbery crusts. Stop when it holds.
– Not shielding the rim: learned this the hard way — edges can burn; cover with foil after the first 20–25 minutes if needed.
– I once used too much thickener and the filling was pasty; tip: add less, bake, and if it’s too runny, cook a few extra minutes uncovered.
What to Serve It With
– A scoop of vanilla ice cream or salted caramel gelato.
– Sharp cheddar slices for the classic opposite-flavor thing (we’re weird, but it rules).
– A quick arugula salad with lemon vinaigrette to cut sweetness.
– A strong cup of coffee or a mug of hot cider for cozy vibes.
Tips & Mistakes
– Use a 10–12 inch cast-iron skillet for even baking and caramelized edges.
– Sprinkle a little coarse sugar on top before baking for crunch.
– If the center looks underdone but edges are perfect, tent with foil and bake a bit longer at lower temp.
– Don’t skip resting time after baking — filling sets and slices cut cleaner.
Storage Tips
Leftovers keep well in the fridge, covered, for 3–4 days. Rewarm slices in a 325°F oven for 10–12 minutes to revive the crust, or microwave a few seconds if you’re impatient (it’ll be soft but still tasty). Cold pie for breakfast? Absolutely no shame — the flavors meld overnight and that second-day slice with coffee is often the best.
Variations and Substitutions
– Swap maple syrup for some sugar for a deeper, woodsy sweetness. I’ve done half maple, half sugar and it’s dreamy.
– Gluten-free? Use a 1:1 GF flour blend and chill the dough well — texture changes but flavor stays.
– Add a handful of dried cranberries or raisins for tart pops, or a sprinkle of chopped pecans for crunch.
– No butter? Butter is best, but cold coconut oil works in a pinch — expect a slightly different flavor and a crumblier crust.
Frequently Asked Questions
Easy Iron Skillet Apple Pie Recipe
Ingredients
Main Ingredients
- 16 oz refrigerated pie crusts two 9-inch rounds
- 6 tbsp unsalted butter divided
- 0.5 cup packed light brown sugar
- 0.5 cup granulated sugar
- 2.25 lb baking apples, sliced peeled, cored, thinly sliced
- 3 tbsp all-purpose flour
- 1.5 tsp ground cinnamon
- 0.25 tsp ground nutmeg
- 1.5 tbsp lemon juice fresh
- 1 tsp vanilla extract
- 0.25 tsp fine sea salt
- 1 tbsp milk for brushing
- 1 tbsp coarse sugar for topping
Instructions
Preparation Steps
- Heat oven to 375°F and set a rack in the center.
- Melt butter in a 10-inch cast-iron skillet over medium heat; spoon 2 tbsp into a large bowl.
- Stir brown sugar into the butter left in the skillet. Cook, stirring, until glossy and bubbling, 2–3 minutes. Remove from heat.
- Toss apples with the reserved melted butter, granulated sugar, flour, cinnamon, nutmeg, lemon juice, vanilla, and salt until coated.
- Lay one pie crust over the caramel in the skillet, gently pressing up the sides without tearing.
- Pile the apple mixture into the lined skillet, mounding slightly in the center.
- Cover with the second crust, trim excess, and crimp the edges to seal. Cut 4–5 steam slits on top.
- Brush the top with milk and sprinkle with coarse sugar.
- Bake 45–50 minutes until the crust is deep golden and the filling bubbles at the edges. Tent with foil if browning too fast.
- Cool 30–45 minutes so the juices thicken. Slice and serve warm.
Notes
Featured Comments
“Made this last night and it was turned out amazing. Loved how the wholesome came together.”
“Impressed! Clear steps and absolutely loved results. Perfect for busy nights.”
“Made this last night and it was so flavorful. Loved how the shareable came together.”
“New favorite here — family favorite. versatile was spot on.”
“This perfect pair recipe was family favorite — the homemade really stands out. Thanks!”
“This al dente recipe was will make again — the light really stands out. Thanks!”
“Made this last night and it was will make again. Loved how the simple came together.”
“This flavor-packed recipe was turned out amazing — the light really stands out. Thanks!”
“Impressed! Clear steps and absolutely loved results. Perfect for busy nights.”
“New favorite here — family favorite. tender was spot on.”