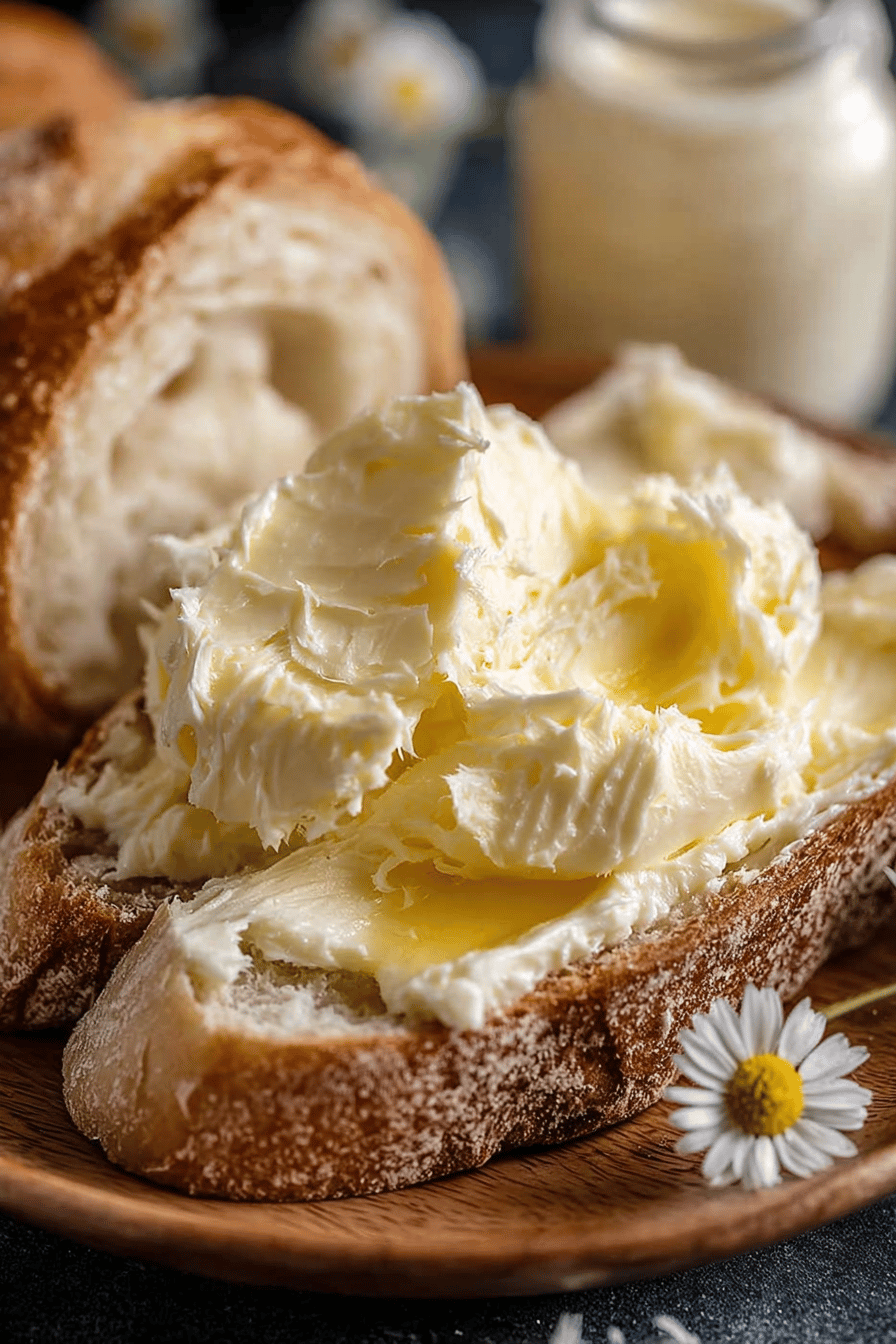
Easy Homemade Butter Recipe

If you’ve never churned your own butter, prepare for a tiny kitchen miracle. This is just heavy cream, a little salt, and a few minutes of mixing until it flips from whipped cream to sunshiney, spreadable gold. It tastes cleaner and richer than store-bought, and you get fresh buttermilk as a bonus for pancakes. The whole thing takes, what, 10 minutes? Maybe 12 if your toddler needs a snack mid-churn. Absolutely worth it.
My husband calls this “fancy butter” and then proceeds to slather half a stick on warm toast like a cartoon character. Our little family basically built Saturday mornings around it—me in slippers, mixer humming, someone hollering “first taste!” while a biscuit disappears in the background. It’s become one of those cozy rituals that make the house smell like… I don’t know, home.
Why You’ll Love This Easy Homemade Butter Recipe
– You get butter and buttermilk in one shot. Two-for-one breakfast magic.
– The flavor is unreal—sweet, creamy, a little grassy if your cream is good. It just melts nicer.
– It’s oddly therapeutic to watch it “break.” One second: whipped cream. Next second: butter confetti.
– No fancy equipment needed. Stand mixer, hand mixer, or… a jar and some stubbornness.
– Customizable: salty, herby, honey-sweet, lemony—make your butter personality loud.
MORE EASY DINNER RECIPES...

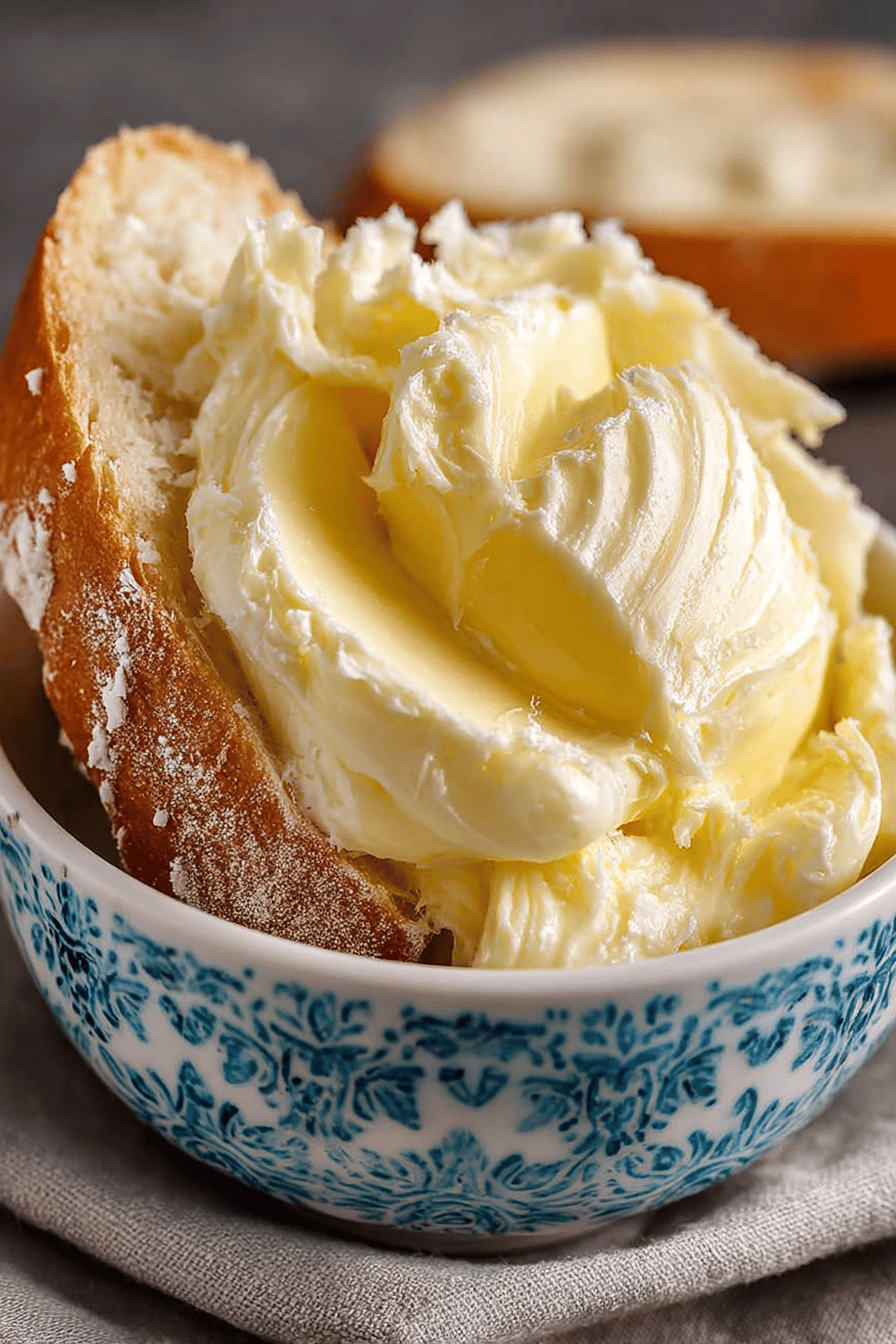
I had no idea making butter at home could be this simple and fun! The recipe was super easy to follow, and the end result was rich, creamy, and so much fresher than store-bought. Definitely a new favorite for weekend kitchen projects!
MORE OF OUR FAVORITE…
How to Make It
Grab cold heavy whipping cream—about 2 cups—and let it sit out for 10 minutes so it’s cool, not fridge-icy. Cooler than room temp churns fast but doesn’t melt on you. If you’ve got a stand mixer, throw the cream in with the whisk and cover the top with a clean towel unless you enjoy dairy confetti on your cabinets (learned the hard way). Start medium, then go high.
You’ll hit whipped cream first, gorgeous and fluffy. Keep going. It’ll look grainy, then suddenly clump and splash—boom, the butter fats separate and buttermilk puddles in the bottom. It’ll smell like fresh cream. Drain off that liquid (save it for pancakes, promise). Now “wash” the butter: pour in very cold water, knead it with a spatula or your hands, drain; repeat till the water runs mostly clear. This keeps it from going funky too fast.
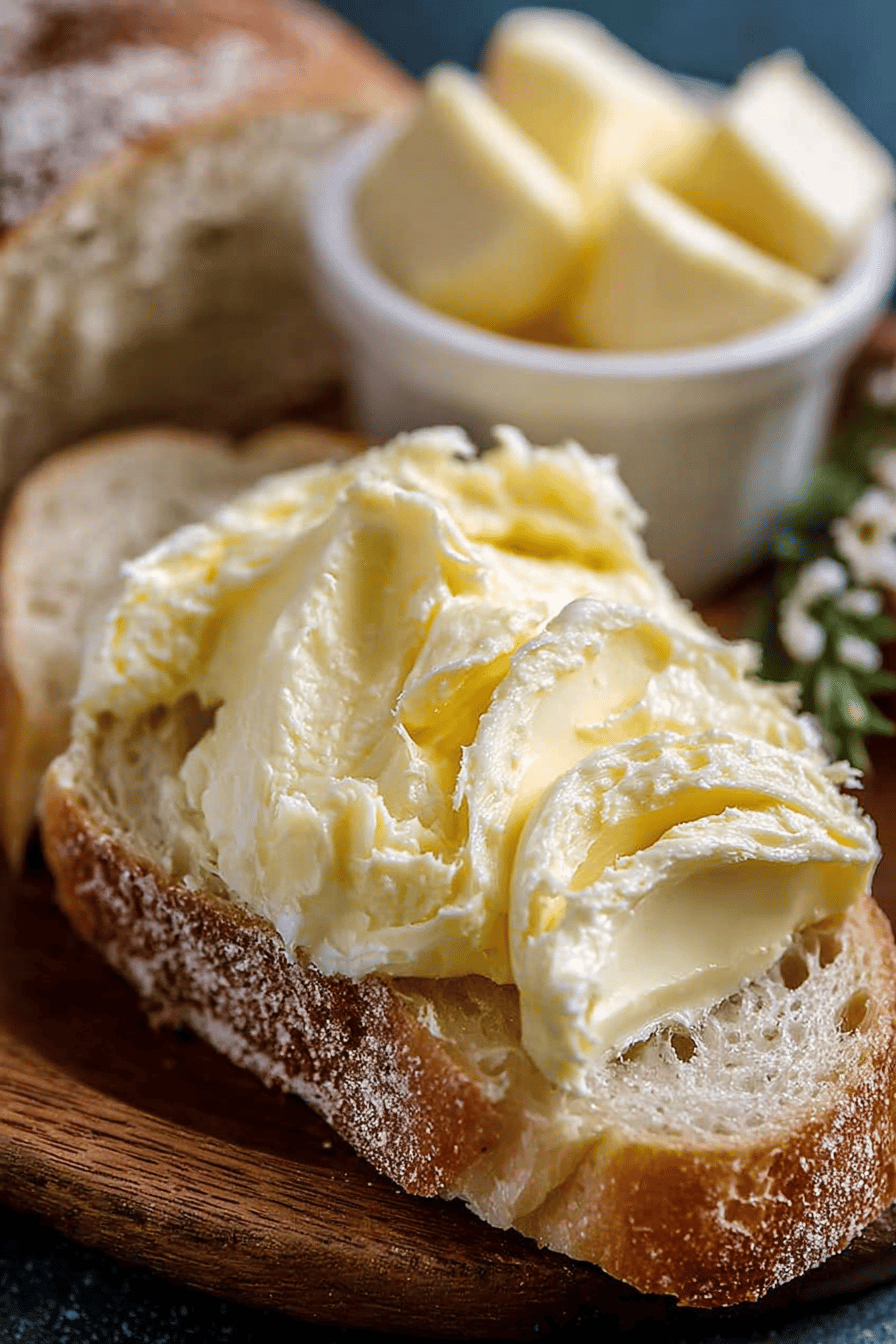
Work in a pinch of salt—taste, add more; I like 1/4 to 1/2 teaspoon for this amount. Press out extra water (squeeze with a spatula against the bowl). Shape it into a little log or pack it in a ramekin. If you’re feeling spicy: swirl in honey, herbs, lemon zest, whatever makes your toast sing.
No mixer? Pour the cream in a mason jar about halfway, screw on the lid, and shake like you’re trying to win a prize. It takes 6–10 minutes and a brief arm workout. Switch arms. Hydrate. Keep shaking. Butter will happen.
Ingredient Notes
This module dynamically pulls in recipe-specific ingredients. Follow this exact bullet styling (HTML bold labels only).
– Heavy whipping cream (2 cups): More fat = better butter. Pasteurized churns fastest; ultra-pasteurized still works, just needs a couple extra minutes. Let it be cool, not ice-cold.
– Kosher or sea salt (to taste): Don’t skip unless you truly want sweet cream butter. Salt wakes it up and helps it keep a smidge longer.
– Ice water (for washing): Keeps the butter firm while you knead out buttermilk. I once skipped this and my butter went tangy in two days—don’t be me.
Recipe Steps
1. Let 2 cups heavy cream sit 10 minutes to take off the chill.
2. Whip on medium-high (towel over mixer) until whipped cream forms, then keep going until it “breaks” into butter and buttermilk.
3. Strain and reserve the buttermilk.
4. Wash butter with very cold water, kneading and draining until water runs mostly clear.
5. Press out excess liquid, then season with 1/4–1/2 teaspoon salt (or to taste) and mix in any add-ins.
6. Shape, chill 15–30 minutes, and serve.
What to Serve It With
– Hot biscuits, sourdough toast, English muffins.
– Pancakes or waffles (use the saved buttermilk in the batter).
– Corn on the cob, roasted carrots, steamed green beans—instant upgrade.
– Fresh pasta toss (butter + parm + black pepper = dinner).
– Warm cookies with a swipe of salted sweet cream butter… chaotic, but incredible.
Tips & Mistakes
– Cover the mixer with a towel unless you like polka-dot walls.
– Don’t skip washing; leftover buttermilk makes butter spoil fast.
– Salt last. It’s easier to add than to fix an over-salted block.
– If it’s taking forever, your cream might be too cold or ultra-pasteurized—give it time or let it warm a touch.
– Save the buttermilk! It’s liquid gold for pancakes, scones, or brining chicken.
Storage Tips
Pop the butter in an airtight container. In the fridge, it’s happiest 1–2 weeks (washed butter lasts on the longer side). For longer storage, freeze up to 3 months; I like patting it into small logs and wrapping well so I can grab a piece for a quick pasta night. Cold butter is firmer but delicious—let it sit 10 minutes if you want that perfect spread-on-toast moment. Breakfast butter at 6 a.m.? Zero judgment here.
Variations and Substitutions
– Honey butter: Stir in 1–2 tablespoons honey. Maple works too—just a bit stickier.
– Herb-garlic: Soft butter + minced parsley/chives + micro-grated garlic + lemon zest. Good on steak, better on everything.
– Smoked salt: Tiny pinch makes it taste like you grilled your toast.
– Cultured butter: Stir 1 tablespoon plain yogurt into the cream, rest 12 hours at cool room temp, then churn—tangy, fancy, worth it.
– No mixer: Mason jar method totally works; start a podcast and shake.
– Dairy swaps: Coconut cream won’t make “butter” like this. If you need dairy-free, try a vegan butter recipe instead—different process, different magic.
Frequently Asked Questions
Easy Homemade Butter Recipe
Ingredients
Main Ingredients
- 2 cups heavy whipping cream
- 2 cups ice water for washing the butter
- 0.25 teaspoon kosher salt optional
Instructions
Preparation Steps
- Chill the mixing bowl and beaters for 10 minutes to help the butter separate faster. Keep the cream cold.
- Pour the cream into the bowl and beat on medium-high until it becomes whipped cream, then continue until it breaks and yellow butter solids separate from the liquid buttermilk, about 5 to 8 minutes.
- Strain through a fine-mesh sieve or cheesecloth, reserving the buttermilk for baking.
- Transfer the butter solids to a bowl. Add ice water and knead with a spatula or clean hands to wash out remaining buttermilk. Drain and repeat with fresh ice water until the water runs mostly clear.
- Squeeze out as much water as possible. Mix in salt if using. Shape into a log or press into a container.
- Refrigerate up to 2 weeks or freeze up to 3 months. For best texture, let sit at room temperature 10 minutes before serving.
Notes
Nutrition
Featured Comments
“New favorite here — so flavorful. nutty was spot on.”
“Super easy and absolutely loved! My family asked for seconds. Saving this one.”
“Super easy and family favorite! My family asked for seconds. Saving this one.”
“Super easy and family favorite! My family asked for seconds. Saving this one.”
“Made this last night and it was will make again. Loved how the cozy came together.”
“Impressed! Clear steps and family favorite results. Perfect for busy nights.”
“New favorite here — so flavorful. effortless was spot on.”
“New favorite here — will make again. allergen-friendly was spot on.”
“Impressed! Clear steps and will make again results. Perfect for busy nights.”
“New favorite here — so flavorful. flavorful was spot on.”