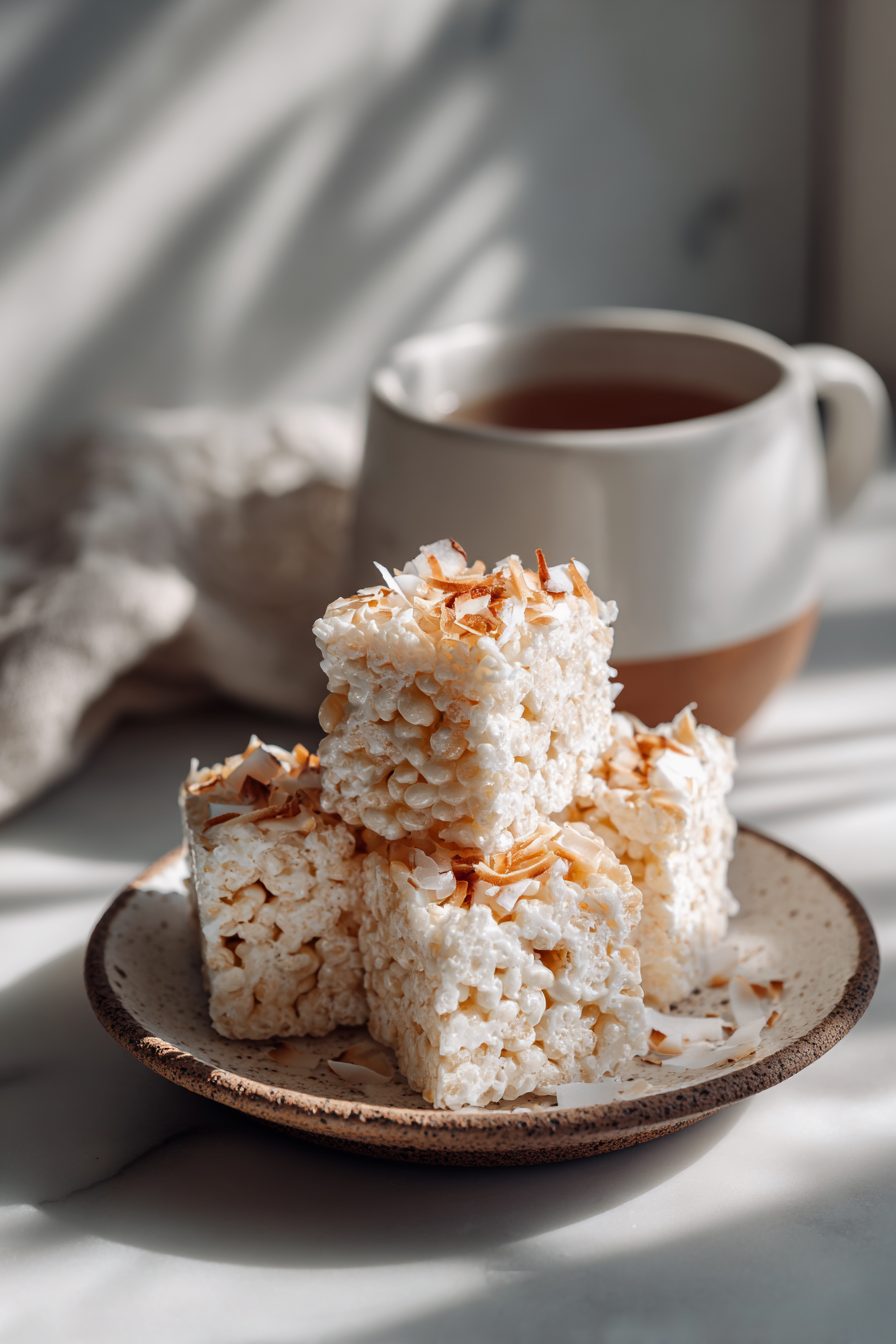
Easy Coconut Rice Krispies Treats
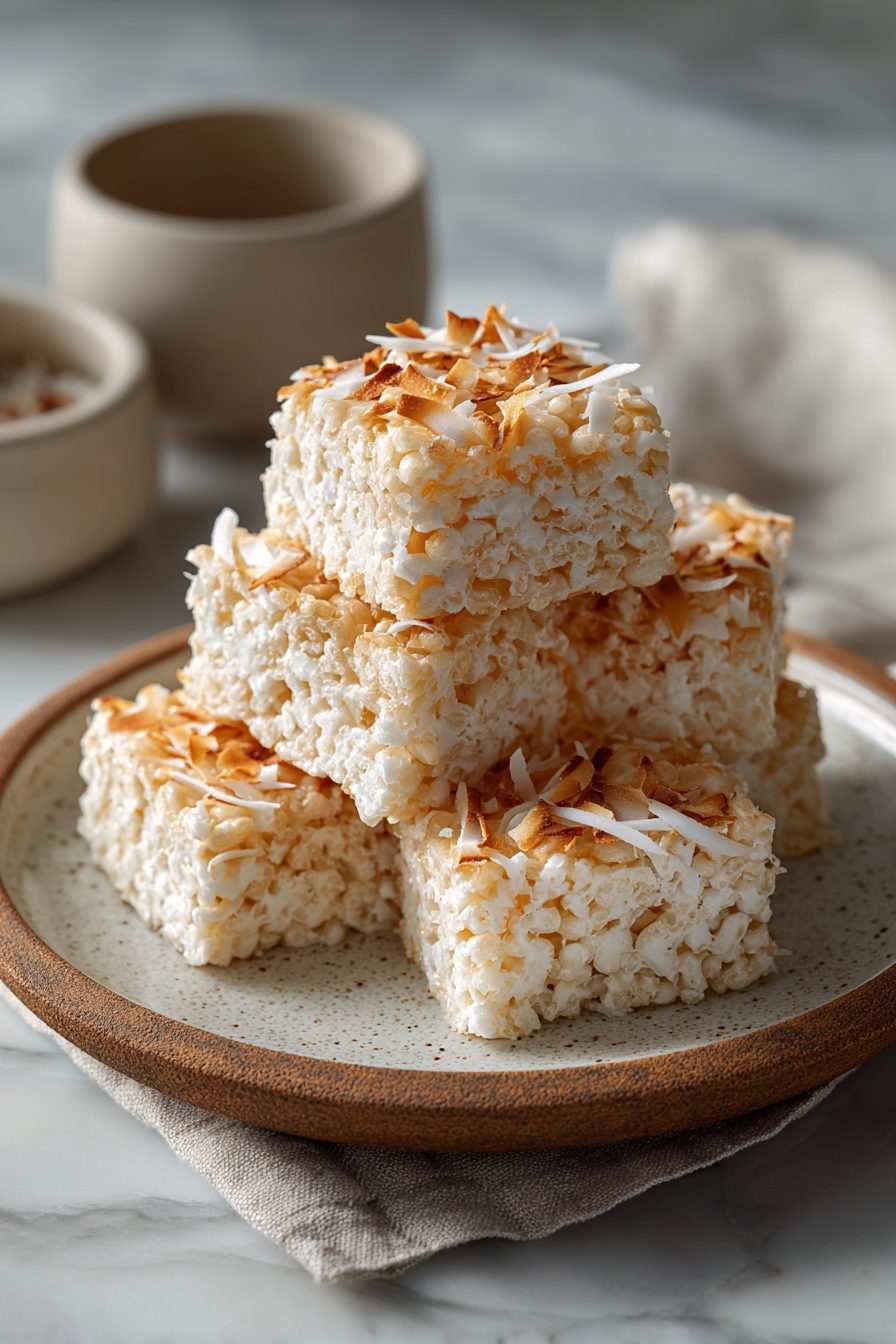
This is that ridiculous, sticky-sweet treat you grew up with but bumped up for grown-up snack hours: crispy rice cereal enveloped in gooey marshmallow, toasted coconut folded through, and a little sprinkle of flaky salt to cut the sugar. It’s fast, totally kid-friendly, and the kind of thing you can pull together with one pan and no judgy measuring if you’re having A Moment.
My husband loses his mind over these. I mean, full-on snack rage: he’ll sneak bites from the pan while I’m trying to press them, and once I hid the last square in the pantry and he found it three hours later like a bloodhound. Our kiddo now tells guests, “Mom makes the coconut cereal bars,” and everyone expects them whenever we have people over. They became my go-to after-school offering and the lazy dessert I bring to potlucks when I forgot to actually plan. They’re shamefully easy and everyone pretends they’re fancy.
Why You’ll Love This Easy Coconut Rice Krispies Treats
– Crunchy, chewy, and coconutty — all in one sticky, handheld package.
– No oven, no cooling racks, no drama: five-ish minutes of actual work and you’re basically done.
– Flexible: make them toastier, throw in chocolate chips, or keep them plain and nostalgic.
– Great for feeding a crowd; they scale up without changing the chemistry.
– Portable, packable, and forgiving — these survive being grabbed mid-chaos.
Kitchen Talk
MORE EASY DESSERT RECIPES...


These are one of those recipes where the marshmallows smell like pure childhood nostalgia and then you burn them if you wander off. I learned the hard way that using a silicone spatula makes life easier — it doesn’t melt into your arm while you scrape melty marshmallow. Also, I once swapped half the butter for coconut oil on a whim and it made them taste like a tropical holiday, not like a mistake. Toast the coconut lightly if you want a nuttier flavor — I like doing that in the same pan after the marshmallows to save dishes, which is peak multitasking chaos.
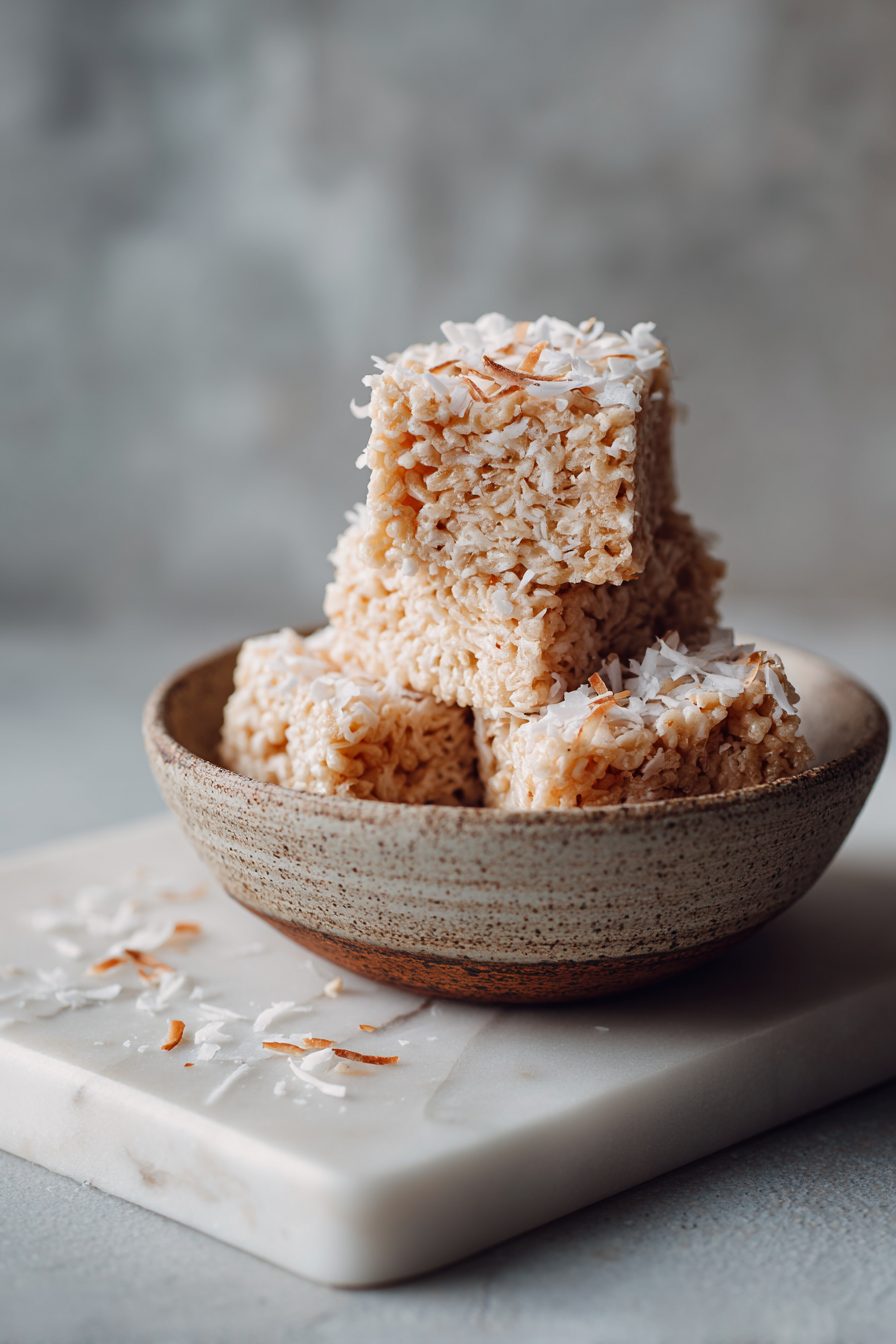
These Easy Coconut Rice Krispies Treats are exactly what they promise—quick, reliably gooey, and pleasantly coconutty; they hit that nostalgic marshmallow-sweet spot with a tropical twist. I loved how simple the method is and how the shredded coconut adds chew and flavor without fuss, though I’d toast a little extra coconut on top next time for a nutty boost.
MORE OF OUR FAVORITE…
Shopping Tips
– Baking Basics: Pick mini marshmallows if you can; they melt faster and more evenly than giant ones.
– Fats & Oils: Unsalted butter gives you control — use salted only if you skip the extra finishing salt.
– Sweeteners: If you want a lightly sweeter bar, use a bit of sweetened shredded coconut; for a cleaner taste, go unsweetened.
– Nuts & Seeds: If adding chopped nuts, choose roasted and cooled to keep texture sharp, and chop roughly for better bites.
– Specialty Item: Look for large-flake toasted coconut or unsweetened coconut flakes, depending on how sweet and chewy you want the final bar.
Prep Ahead Ideas
– You can measure the cereal and coconut into a bowl the day before and keep it covered so everything is ready to go.
– Toast coconut ahead and store in an airtight jar for up to a week; it adds instant crunch and aroma when mixed in.
– Melted marshmallow must be used immediately, but you can warm the butter and set up your pan and spatula so nothing gets missed.
– Pressed bars keep best in a lined pan; lift them by the parchment and slice right before guests arrive.
Time-Saving Tricks
– Use a large pot so the cereal fits without spilling; fewer transfers = fewer dishes.
– Microwave the marshmallows and butter in bursts if you’re scared of stovetop sticky; stir between 20–30 second intervals.
– Skip toasting the coconut if you’re late — it’s still lovely un-toasted and saves a few minutes.
– Press with a buttered spatula or piece of parchment instead of your hands to avoid a marshmallow-coated mess.
Common Mistakes
– Overheating the marshmallows — they’ll scorch and taste bitter; pull off the heat as soon as smooth.
– Not pressing evenly — you’ll get crumble-y edges; use parchment over the top and press gently but firmly.
– Adding wet mix-ins (like fresh fruit) — they make the bars soggy fast. Save fresh fruit for the side.
– I once doubled the marshmallows (because why not) and ended up with gluey bricks — stick close to the ratio for structure.
What to Serve It With
– A big cup of coffee or cold milk for dunking.
– Fresh fruit salad to offset the sweetness.
– Vanilla ice cream for an indulgent dessert bar.
– Simple party platter with store-bought cookies and nuts for variety.
Tips & Mistakes
– Heat low and stir constantly when melting marshmallows to avoid burning.
– Use a buttered spatula and parchment to press — clean cuts, no stick.
– If bars are too sticky, chill briefly before cutting; if too crumbly, press a touch more butter next time.
– Salt is your friend — a sprinkle on top brightens every bite.
Storage Tips
Keep leftovers in an airtight container at room temperature for up to 3 days. If you refrigerate them they’ll firm up and become more candy-like; cold is fine — my kid eats them straight from the fridge at breakfast and we don’t judge. To refresh slightly stale bars, pop them in a warm oven for a minute or microwave briefly to soften.
Variations and Substitutions
– Chocolate lovers: fold in mini chocolate chips or drizzle melted chocolate on top once set.
– Nut-free swap: use toasted sunflower seeds for crunch instead of nuts.
– Coconut-free: skip shredded coconut and add more cereal or mix in puffed quinoa.
– Healthier-ish: use a mix of honey and marshmallow? I tried it — it’s interesting but stickier and not as classic.
– Vegan option: use vegan marshmallows and coconut oil, but texture will be softer and a bit chewier.
Frequently Asked Questions
Easy Coconut Rice Krispies Treats
Ingredients
Main Ingredients
- 3.5 tbsp unsalted butter use salted and skip added salt if preferred
- 11 oz mini marshmallows
- 5.75 cup crisp rice cereal
- 1.25 cup sweetened shredded coconut
- 0.75 tsp coconut extract
- 0.5 tsp pure vanilla extract
- 0.25 tsp fine sea salt a small pinch balances the sweetness
- 0.5 cup toasted coconut flakes optional, for topping
Instructions
Preparation Steps
- Line a 9x13-inch pan with parchment and lightly butter it.
- Toast the topping coconut in a dry skillet over medium heat until golden, 2–3 minutes. Set aside.
- Melt the butter in a large pot over low heat. Stir in the salt.
- Add marshmallows and cook on low, stirring, until fully melted and smooth. Remove from heat.
- Stir in coconut and vanilla extracts until combined.
- Fold in the crisp rice cereal and shredded coconut, mixing gently until evenly coated.
- Scrape the mixture into the prepared pan. Press lightly with a buttered spatula; do not pack hard.
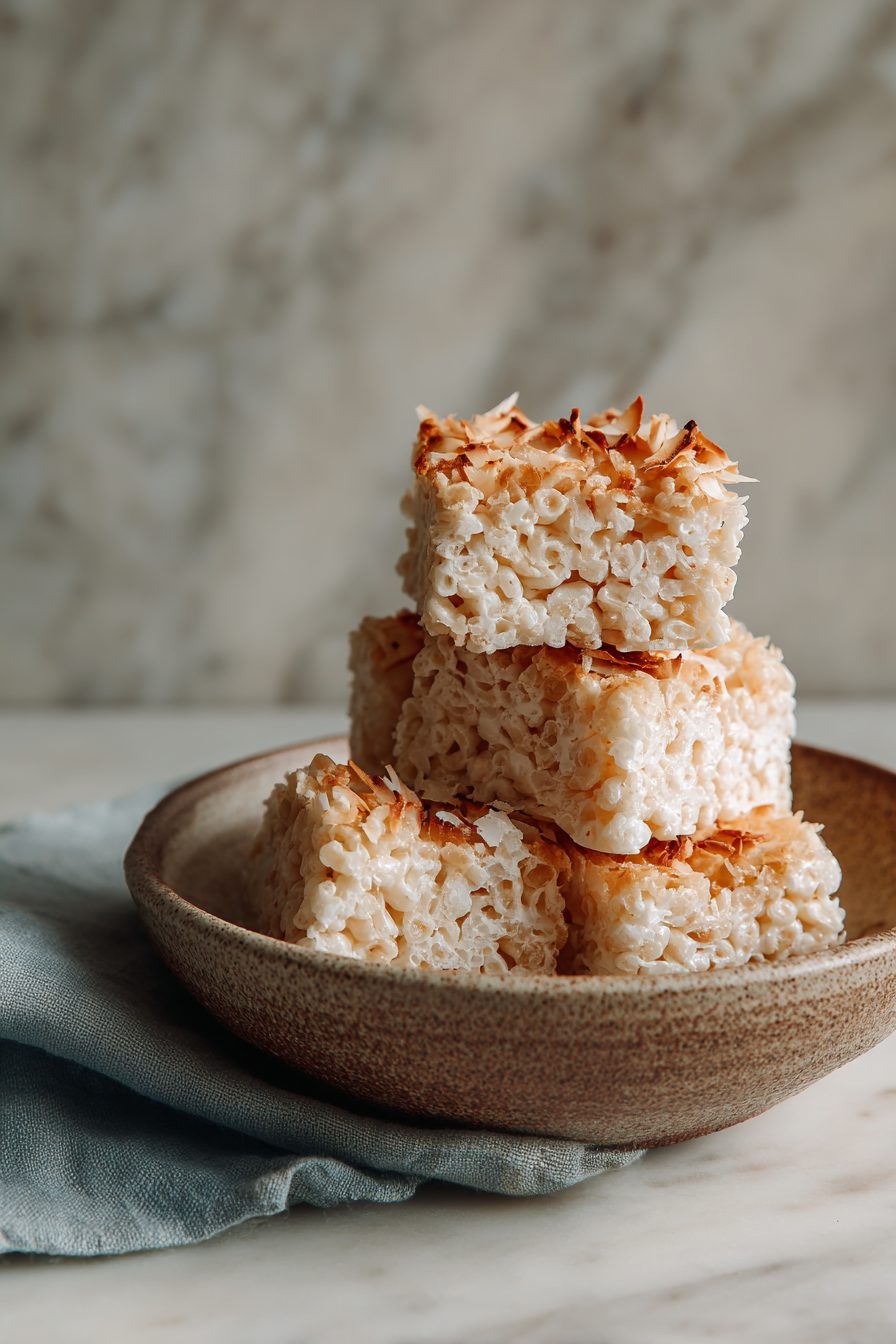
- Sprinkle toasted coconut on top and press gently. Cool 30 minutes, then cut into squares.
Notes
Featured Comments
“Made this last night and it was family favorite. Loved how the healthy swap came together.”
“Super easy and turned out amazing! My family asked for seconds. Saving this one.”
“Impressed! Clear steps and family favorite results. Perfect for busy nights.”
“Made this last night and it was family favorite. Loved how the anytime came together.”
“This crunchy recipe was will make again — the al dente really stands out. Thanks!”
“New favorite here — family favorite. creamy was spot on.”
“Impressed! Clear steps and so flavorful results. Perfect for busy nights.”
“New favorite here — family favorite. foolproof was spot on.”
“Made this last night and it was absolutely loved. Loved how the warm hug came together.”
“This vibrant recipe was turned out amazing — the quick really stands out. Thanks!”