Easy Chocolate Chip Caramel Bars
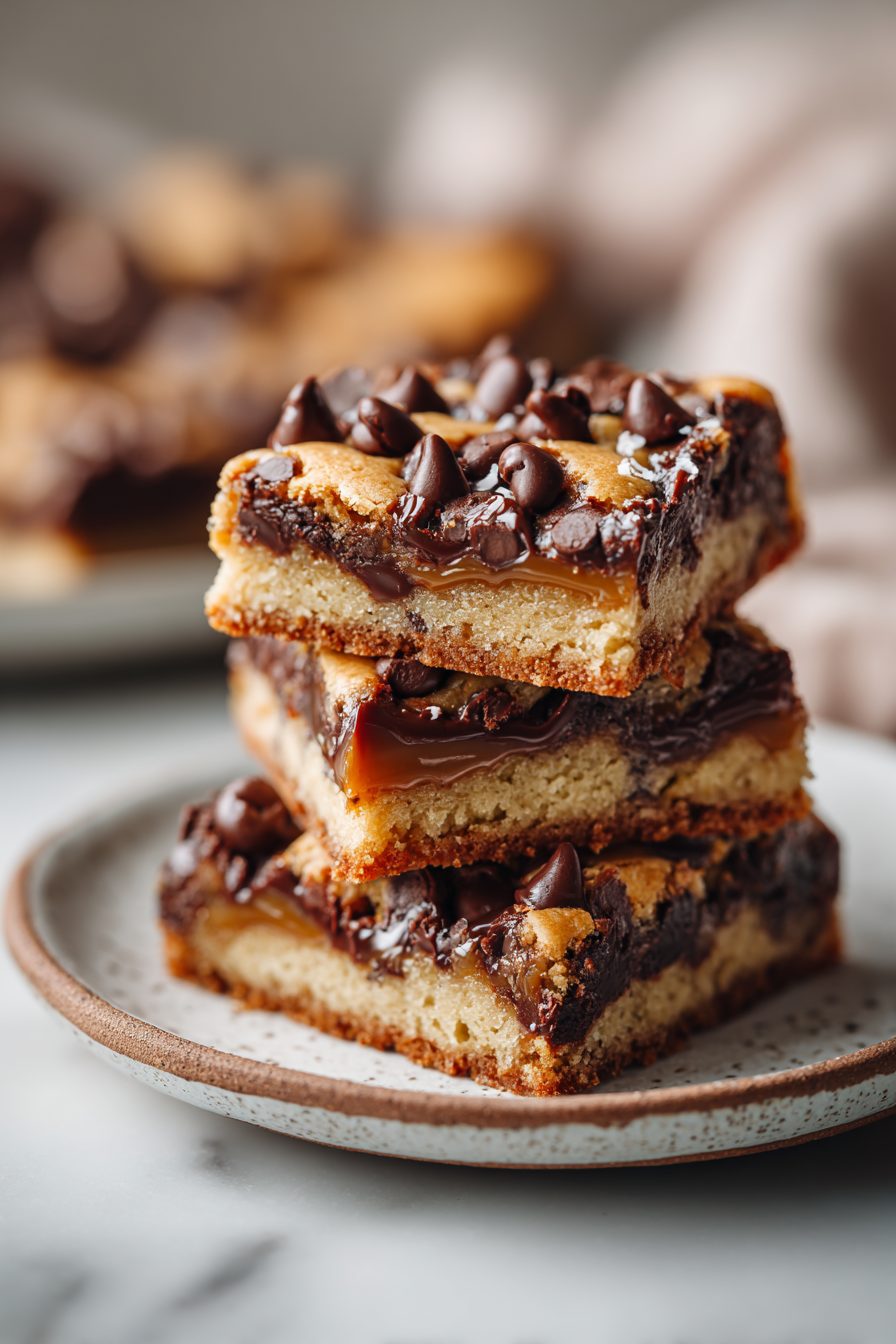
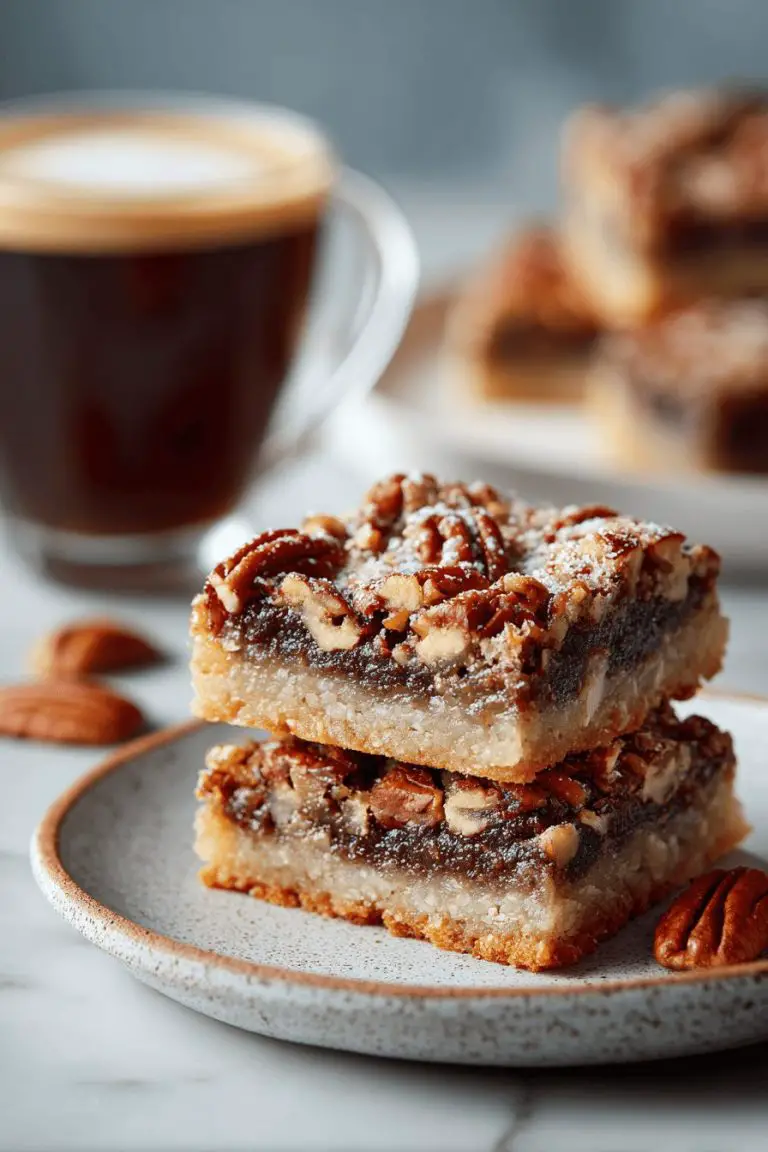
These bars are the kind of sticky, slightly imperfect dessert that makes people stop mid-sentence and ask for a second piece. Think a chewy shortbread-ish base, a gooey layer of caramel, and a hefty sprinkle of chocolate chips on top — baked until edges are golden and the middle still sags a little when you poke it. They’re deceptively easy, comfort-food-level rich, and perfect for when you want something homemade but don’t have the patience for fussy pastry.
My husband has a suspiciously strong relationship with the corner piece of these bars. He calls it “the best part” and gets oddly defensive if anyone dares nibble it — we’ve started slicing them into so many small squares that the corner theory is less dramatic and more like a math problem. This recipe wandered into our life the winter our oven decided to be dramatic, and I ended up making them in a toaster oven on a tray that was definitely too small. They still turned out gorgeous. They’re now my go-to for bake sales, last-minute guests, and the emergency dessert I make when I’ve forgotten it’s someone’s birthday until the party is already in progress.
Why You’ll Love This Easy Chocolate Chip Caramel Bars
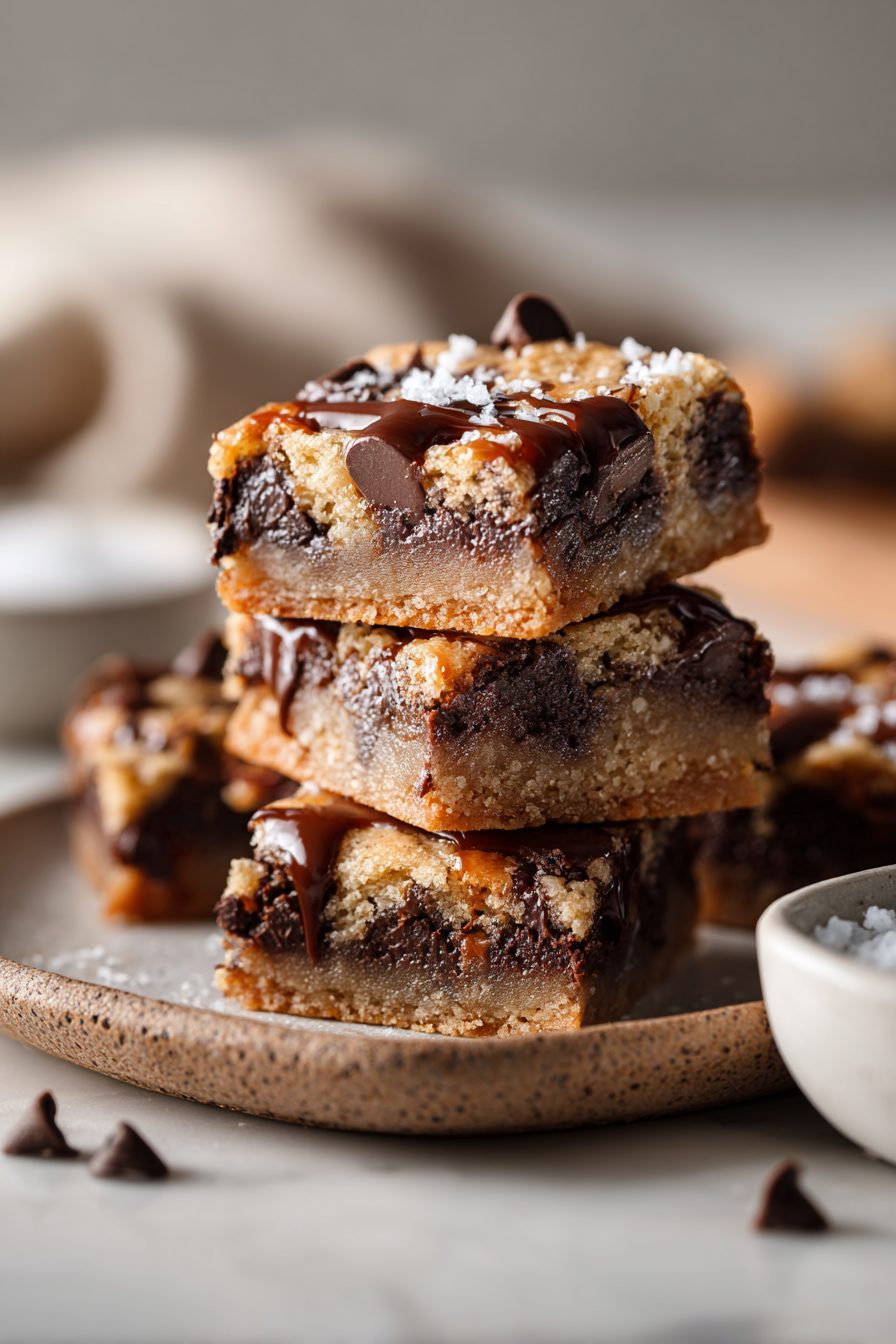
– Gooey and crunchy in the same bite — that buttery crust + molten caramel + melty chocolate? Chef’s kiss without the stress.
– Ridiculously forgiving: swap chocolate chips, toss in nuts, or use store-bought caramel if you’re in a hurry.
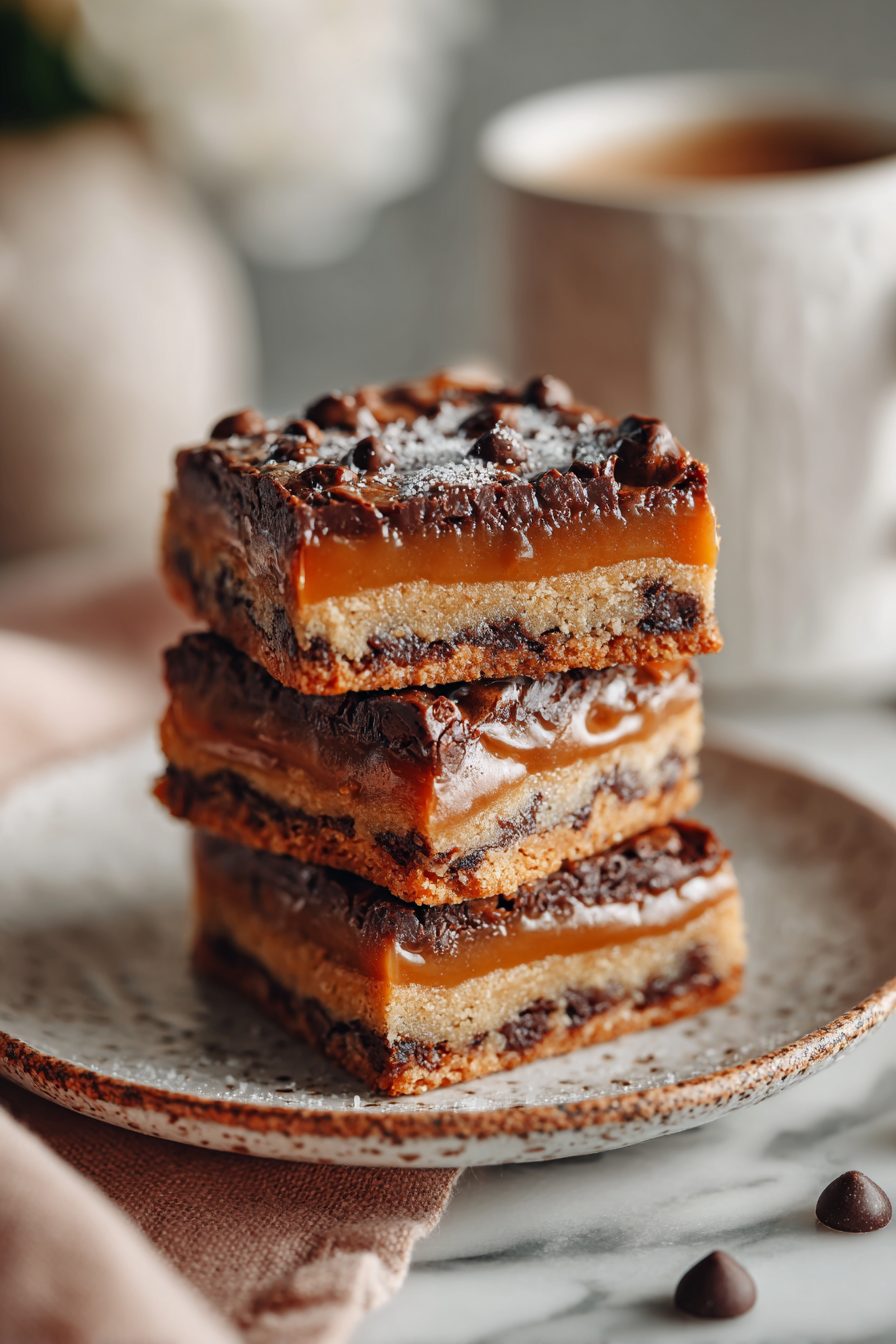
– Crowd-pleaser across ages — kids love the sugar hit, adults love the nostalgia and the fact it pairs well with coffee (or wine, don’t judge).
– Comes together with pantry staples and forgiving timing — not a recipe that will ruin your evening if you overbake by a minute or two.
Kitchen Talk
MORE EASY DESSERT RECIPES...


I have a dangerous half-hour where I put these together and suddenly I’m reminiscing about all the caramel disasters I’ve lived through. Once I tried to make homemade caramel and ignored the thermometer because I was “trusting my instincts” — ended up with a grainy mess that my dog politely inspected and refused. Since then I’ve made peace with milky store-bought caramel sauce for days when I need results fast, and I’ll stir in a pinch of salt and vanilla to fake the depth of a slow-cooked caramel. Also: I use more chocolate chips than the recipe “calls for” because moderation is a mood and I’m not here for small chips.
I made these chocolate chip caramel bars last weekend and honestly, they disappeared faster than I could even photograph them! The combination of that gooey caramel sandwiched between buttery chocolate chip cookie layers is absolutely divine—crispy on the edges but soft and chewy in the middle. Super easy to throw together, and now I'm already planning to make them again for the holidays because my family is already asking when I'll bake them next.
MORE OF OUR FAVORITE…
Shopping Tips
– Baking Basics: Use all-purpose flour and a good granulated sugar — nothing fancy needed here; just avoid clumpy, old sugar.
– Fats & Oils: Unsalted butter gives you control over saltiness; soften it at room temp for easier mixing or microwave briefly in 5-second bursts.
– Chocolate: Pick semi-sweet chips for classic balance, or mix dark and milk chips if you want contrast; roughly chopped chocolate bars also work great.
– Sweeteners: If using caramel sauce, check the label for texture (thicker is better) and avoid ones that list hydrogenated oils if you can.
– Nuts & Seeds: Toasted pecans or walnuts are a lovely add-in — buy shelled and give them a minute in a dry pan to bring out the flavor.
Prep Ahead Ideas
– Make the crust and press it into the pan the night before; wrap tightly in plastic and refrigerate until ready to finish with caramel and chips.
– Warm caramel can be made a day ahead and kept in a jar in the fridge; reheat gently in a double boiler or microwave with 10–15 second bursts, stirring between.
– Store chopped nuts or chocolate in airtight containers so everything’s ready to go; having toppings prepped shaves off frantic stirring time when guests arrive.
Time-Saving Tricks
– Use store-bought soft caramel or dulce de leche if you’re short on time — spoon it on and swirl; nobody’s scoring you on technique.
– Swap the crust for a shortcut: crushed graham crackers or premade shortbread crumbs pressed into the pan cuts mixing time.
– If you want set caramel faster, chill the bars for 30–45 minutes after baking; patience is golden, but a quick chill helps if you’re serving soon.
Common Mistakes
– Don’t overbake — the center should still look a touch underdone because it sets while cooling; I once kept mine in the oven “just a minute more” and ended up with a dry, crumbly mess.
– Using too-thin caramel leads to seepage into the crust; if your caramel looks runny, thicken it gently before pouring or dollop and spread sparingly.
– Placing chocolate on while the bars are piping hot will melt everything into a glossy puddle — wait a few minutes so chips soften but keep their shape if you want texture.
– Cutting too soon = squishy pieces. Let bars cool enough to hold their shape or pop in the fridge for a short chill.
What to Serve It With
– A big scoop of vanilla ice cream or coffee ice cream for decadent dessert vibes.
– Strong coffee or espresso — the bitterness balances the sweetness.
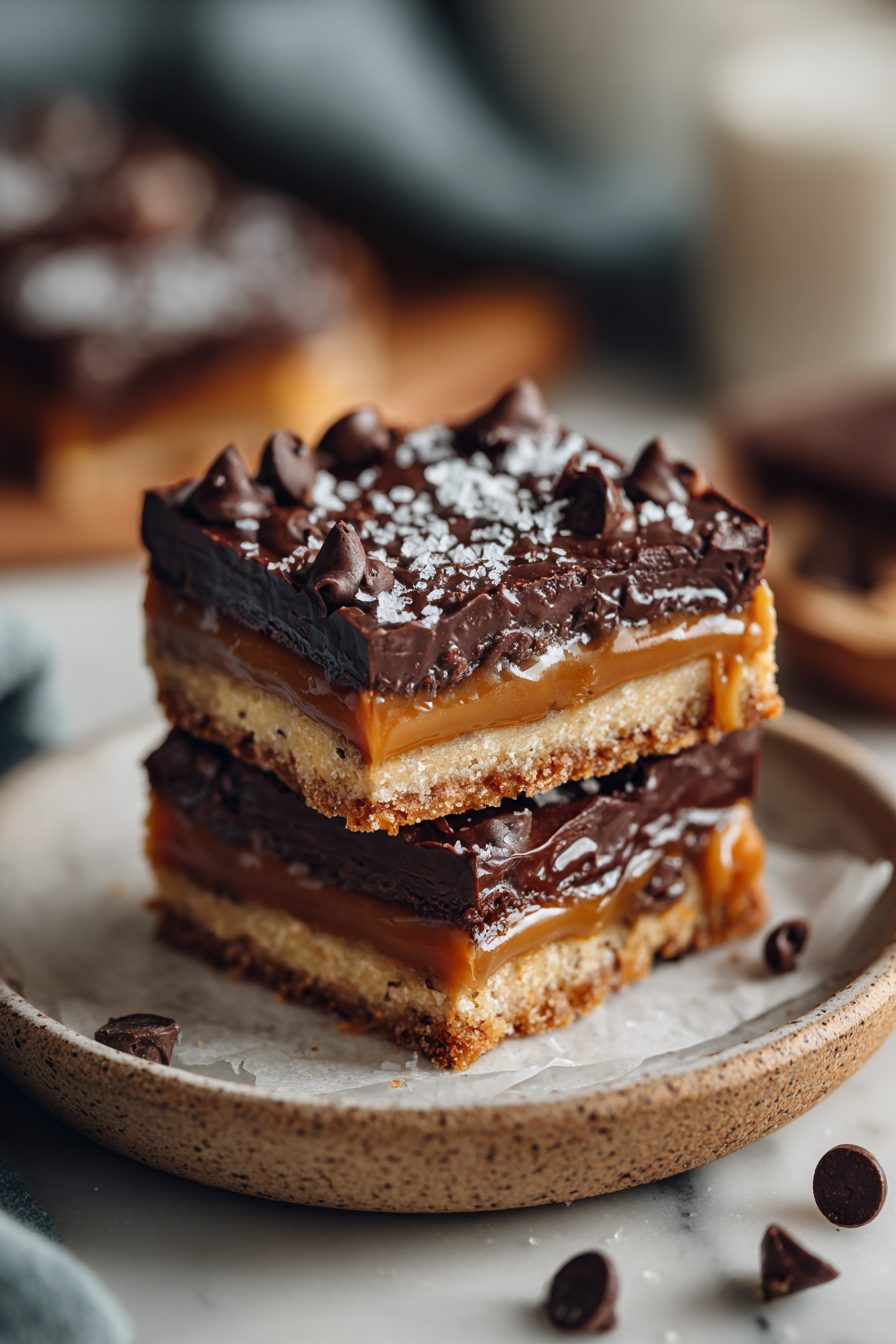
– Simple whipped cream and a sprinkle of flaky sea salt for fancy party flair.
– Fresh berries on the side if you want a bright counterpoint to the caramel.
Tips & Mistakes
– Use a thin layer of flour-dusted parchment to lift bars cleanly from the pan; I learned this the sticky way.
– Salt late — a sprinkle of flaky sea salt right before serving lifts flavors best.
– If your caramel splits when reheating, stir in a teaspoon of cream to bring it back together.
– If edges brown too fast, tent foil over the pan halfway through baking.
Storage Tips
These keep well in an airtight container at room temperature for 2–3 days, longer in the fridge for up to a week. They slice cleaner when chilled, but eating one cold for breakfast is a fully acceptable life choice. To freeze, wrap squares individually in plastic and stow in a zip-top for up to 3 months — thaw on the counter or enjoy slightly frozen for a chewy-cold treat.
Variations and Substitutions
– Gluten-free: swap a 1:1 GF flour blend and add an extra minute to baking time; texture shifts slightly but still delicious.
– Nut-free: omit nuts and add toasted coconut or extra chocolate for crunch.
– Healthier-ish swap: use a darker chocolate, reduce chips by a quarter, or try a drizzle of almond butter instead of nuts.
– Salted caramel lovers: use salted butter in the caramel or finish with flaky sea salt for contrast.
– No caramel on hand: use thick nut butter mixed with a bit of honey and vanilla for a different but tasty layer.
Frequently Asked Questions
Easy Chocolate Chip Caramel Bars
Ingredients
Main Ingredients
- 2.25 cup all-purpose flour
- 1.6 cup old-fashioned rolled oats
- 1.2 cup packed light brown sugar
- 0.75 tsp baking soda
- 0.5 tsp fine salt
- 0.75 cup unsalted butter, melted
- 1.75 tsp vanilla extract
- 1.6 cup semisweet chocolate chips
- 0.45 cup chopped pecans optional
- 12 oz soft caramel candies, unwrapped
- 0.375 cup heavy cream
- 0.25 tsp flaky sea salt for topping, optional
Instructions
Preparation Steps
- Heat oven to 350°F. Line a 9×13-inch pan with parchment, leaving overhang.
- Whisk flour, oats, brown sugar, baking soda, and fine salt in a large bowl.
- Stir in melted butter and vanilla until the mixture turns sandy and clumps when squeezed.
- Press about two-thirds of the crumb mixture firmly into the pan to form an even base.
- Par-bake the crust for 10 minutes until lightly set.
- Melt caramels with heavy cream in a saucepan over low heat, stirring, until smooth and pourable.
- Scatter chocolate chips and pecans over the warm crust.
- Pour the warm caramel evenly over the chocolate layer.
- Crumble the remaining oat mixture over the top, leaving some gaps for caramel to peek through.
- Bake 15–18 minutes, until golden and bubbling at the edges. Cool completely, then chill 30 minutes for neat slices. Sprinkle flaky salt, slice, and serve.
Notes
Featured Comments
“This plant-powered recipe was absolutely loved — the al dente really stands out. Thanks!”
“This shareable recipe was absolutely loved — the crispy crust really stands out. Thanks!”
“Impressed! Clear steps and absolutely loved results. Perfect for busy nights.”
“New favorite here — absolutely loved. festive was spot on.”
“Made this last night and it was so flavorful. Loved how the delicate came together.”
“Super easy and absolutely loved! My family asked for seconds. Saving this one.”
“Impressed! Clear steps and so flavorful results. Perfect for busy nights.”
“New favorite here — turned out amazing. flavor-packed was spot on.”
“Impressed! Clear steps and absolutely loved results. Perfect for busy nights.”
“Made this last night and it was turned out amazing. Loved how the nutty came together.”