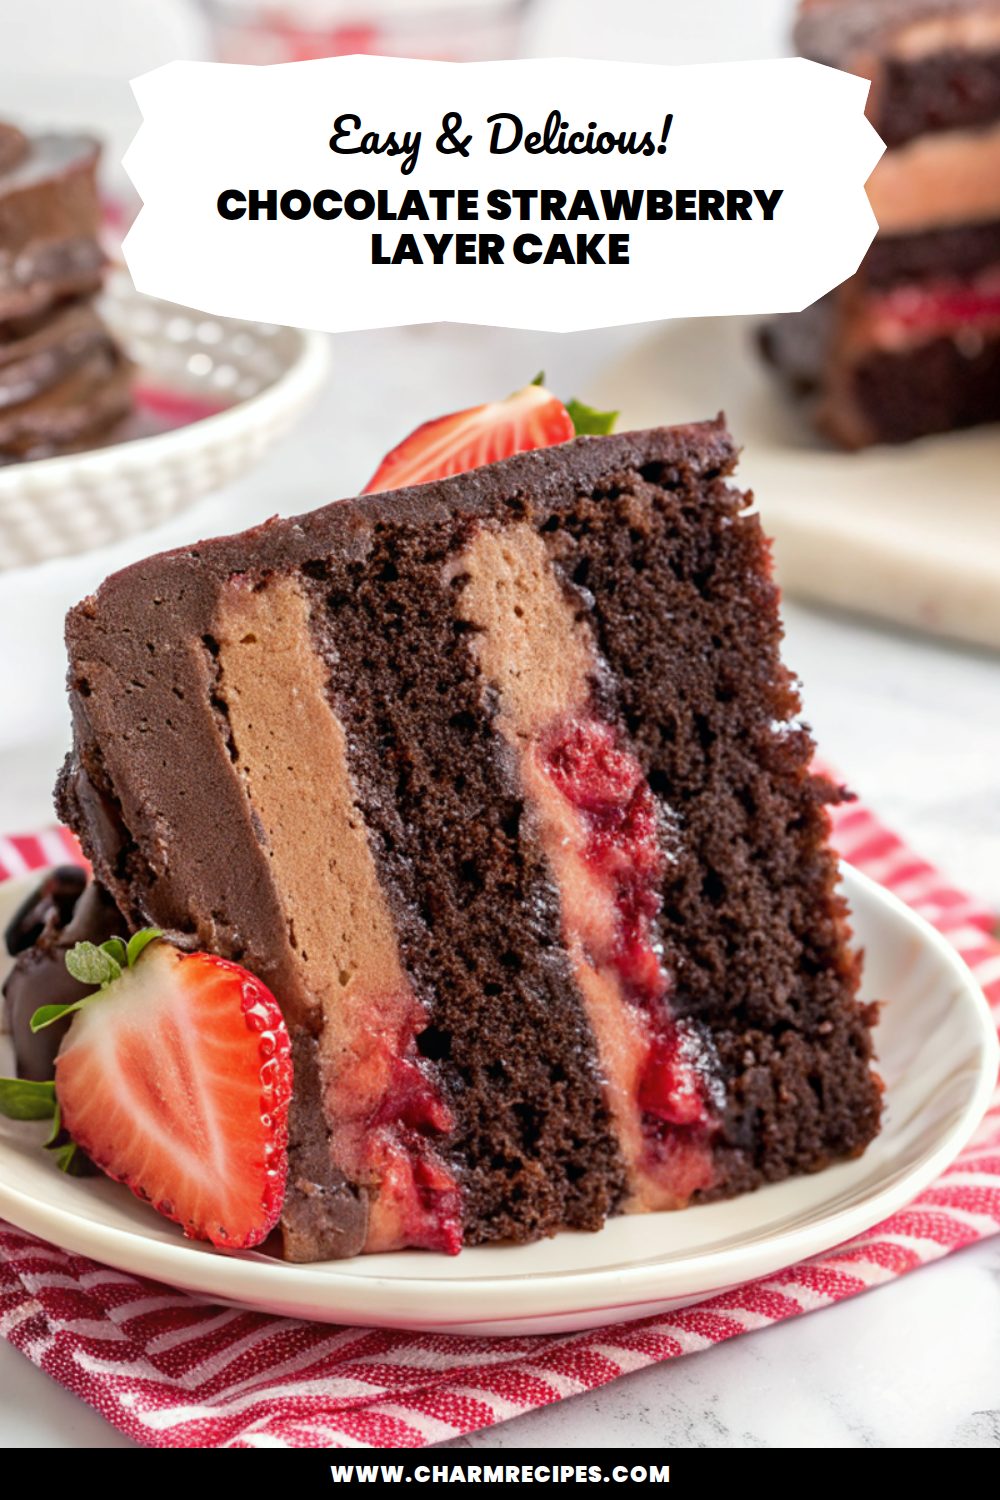
Chocolate Strawberry Layer Cake
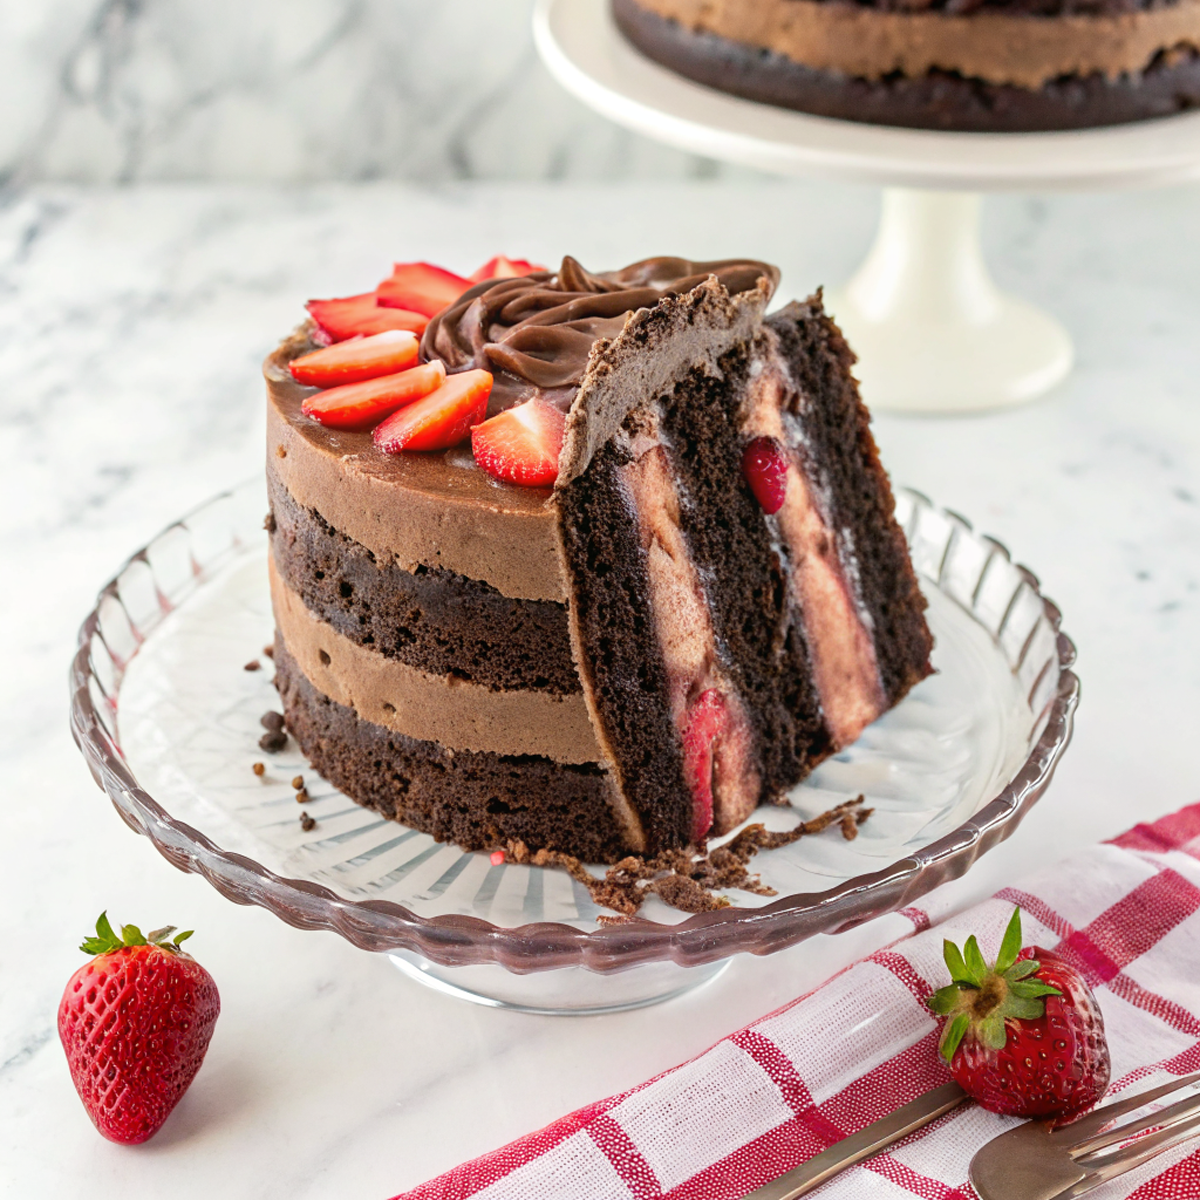
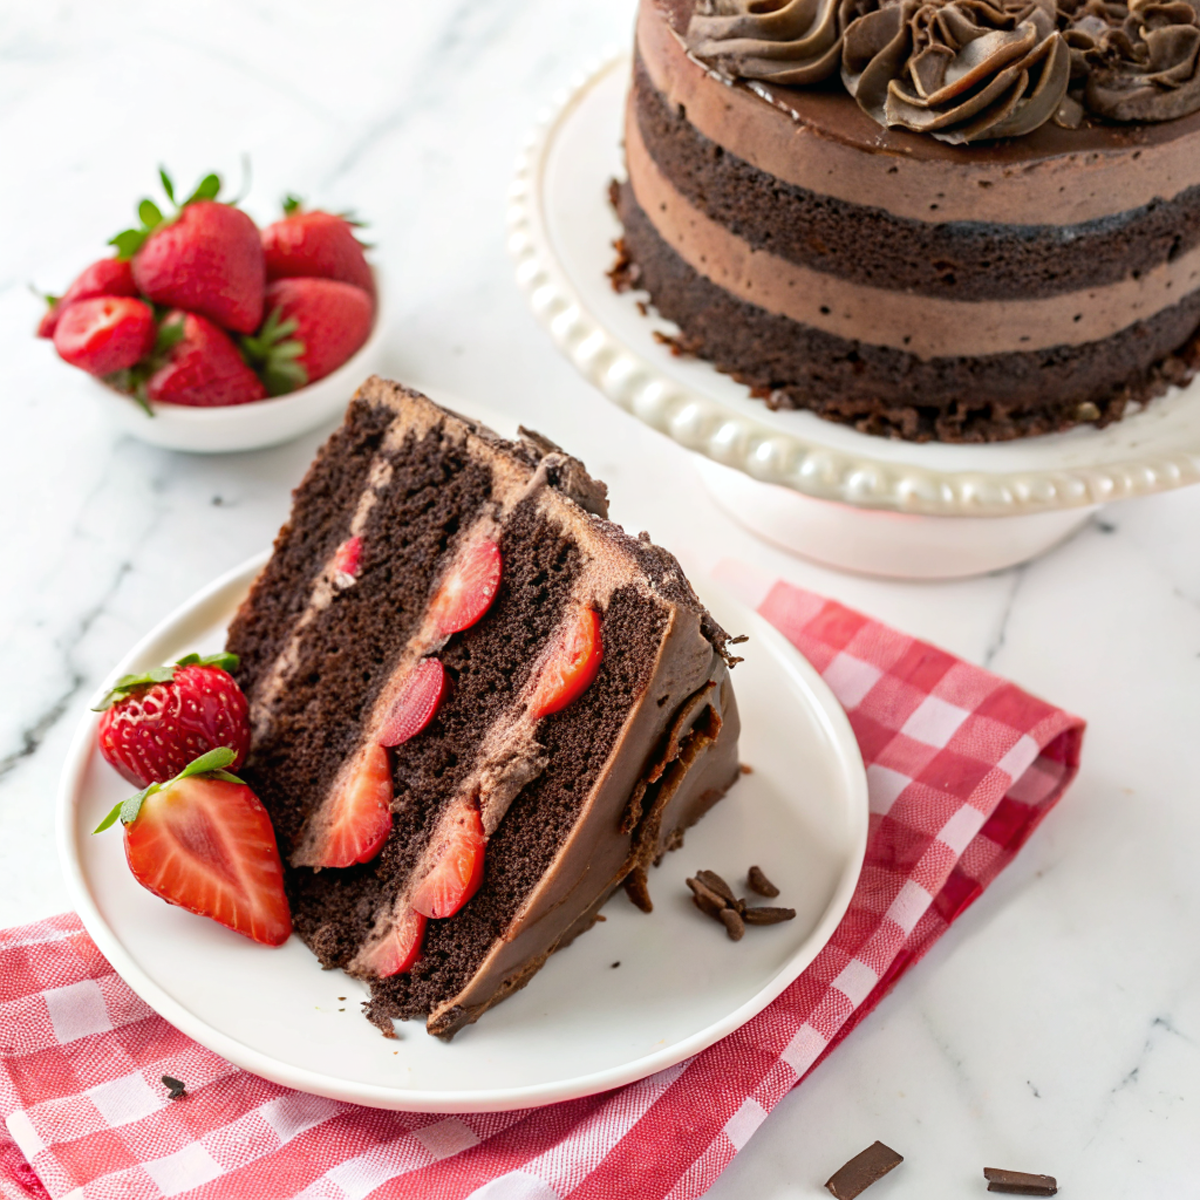
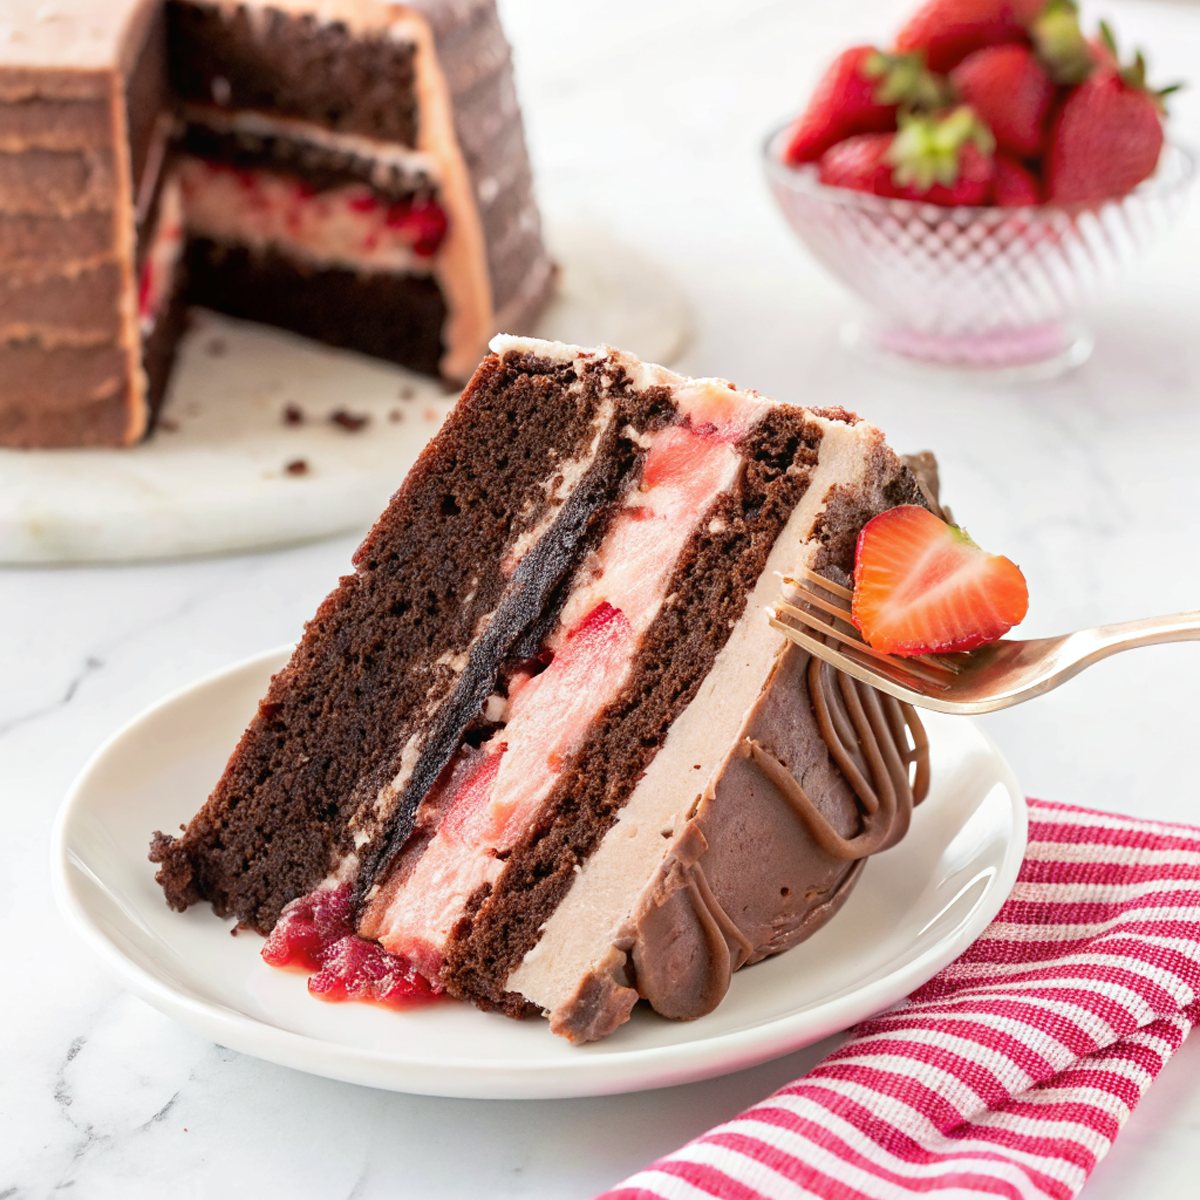
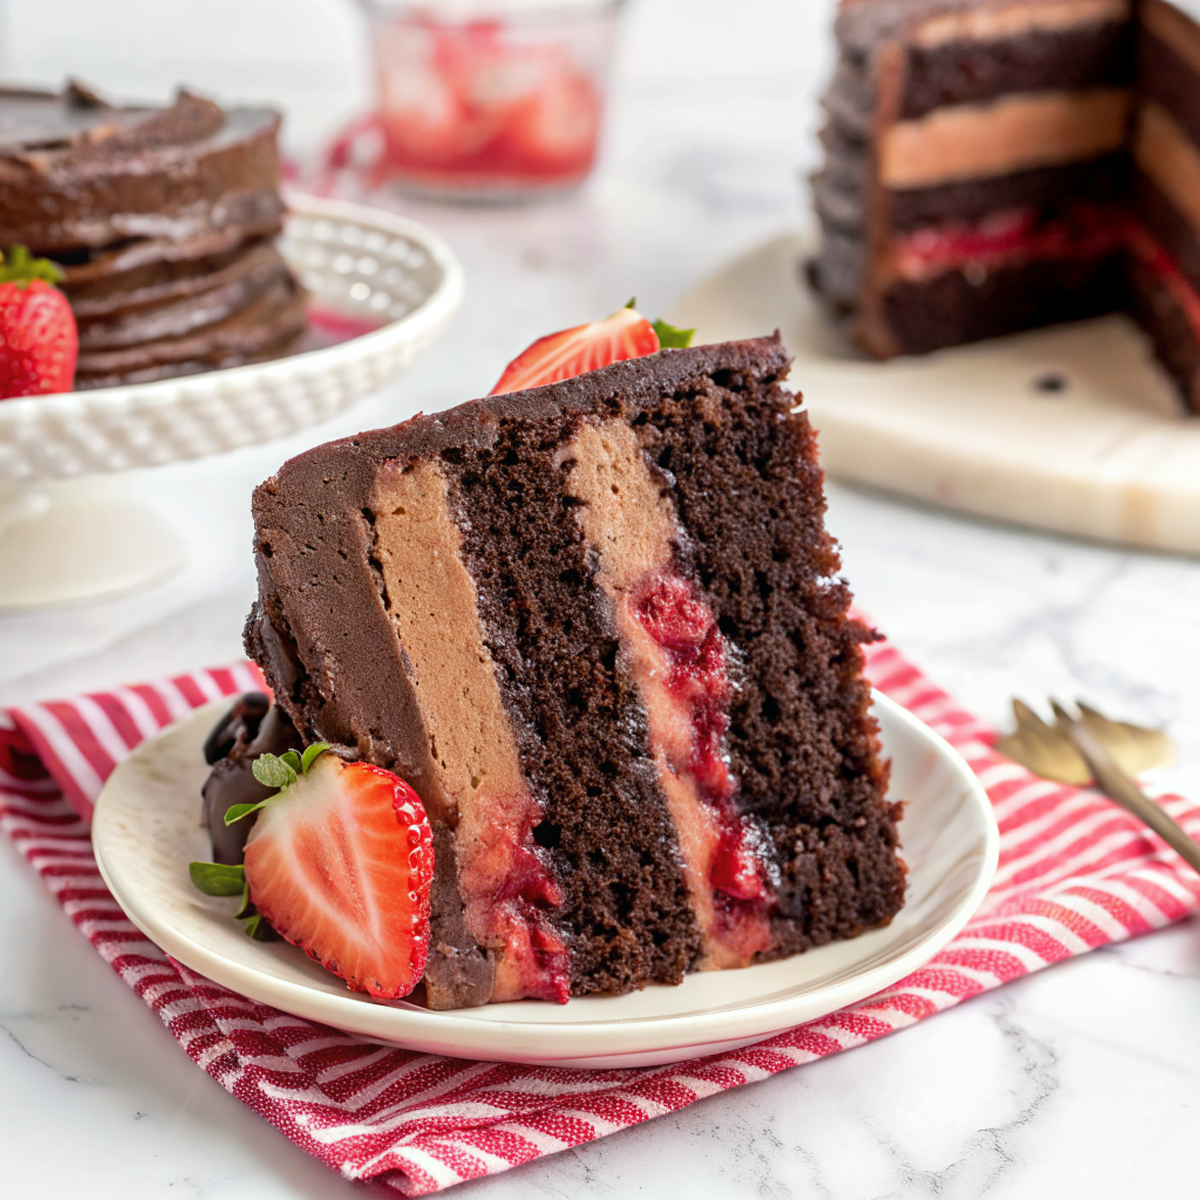
This cake layers a rich, tender chocolate sponge with bright strawberry filling and a smooth chocolate frosting for a balanced, not-too-sweet finish. The crumb is moist from a little buttermilk (or sour cream), the chocolate keeps it substantial, and the strawberries add fresh acidity and color — worth making when you want a dessert that looks special but is straightforward to bake.
I like this recipe because the components are forgiving: the cake batter is simple, the strawberry layer can be a quick compote or jam, and chilling between steps makes assembly easy even for a busy home cook.
Why This Chocolate Strawberry Layer Cake Works
1. The chocolate sponge uses a touch of acid (buttermilk or sour cream) to keep the crumb tender and lift the cocoa flavor.
2. A slightly thickened strawberry compote gives fresh fruit flavor without making the cake soggy.
3. Chocolate frosting (ganache or buttercream) adds richness and helps seal in moisture between layers.
4. Chilling the layers briefly before frosting makes assembly neat and reduces sliding.
Ingredients




Here are the main components to have on hand — each plays a specific role in texture or flavor.
MORE OF OUR FAVORITE…
– All-purpose flour: Provides structure; spoon and level or weigh for best results.
– Cocoa powder: Use unsweetened Dutch-processed for deeper chocolate notes, or natural cocoa if the recipe calls for baking soda.
– Buttermilk or sour cream: Adds moisture and tenderness; buttermilk gives a slightly tangy lift.
– Sugar (granulated): Sweetens and helps with crumb; brown sugar can be used for a touch of caramel depth.
– Eggs: Help with structure and richness; use room temperature for a smoother batter.
– Butter or oil: Butter gives flavor and tender crumb; oil makes an even moister cake.
– Strawberries: Fresh or thawed frozen for the compote/filling; choose ripe but firm berries.
– Chocolate for frosting: Choose good-quality baking chocolate for ganache or cocoa + butter for buttercream.
Substitutions and Variations
– Use Greek yogurt instead of buttermilk or sour cream for a slightly tangier, denser crumb.
– Swap melted chocolate ganache for chocolate buttercream — ganache is smoother, buttercream is sweeter and easier to pipe.
– Replace the strawberry compote with raspberry jam for a brighter tartness and thinner texture.
– Make a single 9-inch layer or cupcakes instead of multiple layers; baking time will change.
– Use gluten-free 1:1 flour blend — cake may be slightly crumblier but still flavorful.
– For a lighter filling, fold chopped strawberries into whipped cream instead of a cooked compote; this yields less moisture and a softer mouthfeel.
How to Make Chocolate Strawberry Layer Cake
This is a summary — the full recipe card has exact amounts, oven temps, and timings.
1. Preheat the oven, prepare two 8-inch pans (or three 6-inch), and sift dry ingredients together.
2. Cream butter and sugar (or mix oil and sugar), add eggs one at a time, then alternate adding dry ingredients and buttermilk until just combined.
3. Divide batter into pans and bake until a toothpick comes out with a few moist crumbs; cool in pans 10 minutes then transfer to a rack.
4. Make the strawberry compote by cooking chopped strawberries with a bit of sugar and a squeeze of lemon until syrupy; thicken with a little cornstarch if needed, then cool.
5. Prepare the frosting — melt chocolate for ganache or beat butter with cocoa and powdered sugar for buttercream; cool to spreadable consistency.
6. Level the cake layers if needed, brush with simple syrup for extra moisture, spread a thin crumb coat of frosting, chill briefly, then add strawberry compote and top with remaining frosting.
7. Smooth sides, decorate with fresh strawberry slices if desired, and chill to set before slicing.
Tips for the Best Results
1. Check doneness early — start testing 5 minutes before the lower end of the bake time to avoid overbaking.
2. Cool layers on a rack and wrap once fully cool if making ahead; warm layers are harder to frost.
3. Chill the crumb coat 15–20 minutes before final frosting to trap crumbs and stabilize layers.
4. If your compote is too thin, simmer a bit longer or add 1 tsp cornstarch mixed with water to thicken.
5. Use a serrated knife or cake leveler to trim domes for even stacking and a neater final look.
6. Warm your knife under hot water and dry between slices for clean cuts through chocolate frosting.
Common Mistakes
– Overmixing the batter and getting a dense cake: stop when dry ingredients are just incorporated.
– Filling that bleeds into the layers: thicken the compote or use a thin layer of frosting as a barrier (crumb coat).
– Frosting too soft and sliding off layers: chill the layers and the frosting slightly before assembling.
– Cake too dry from overbaking: remove when a few moist crumbs cling to a toothpick and consider brushing layers with simple syrup.
– Uneven layers that topple: level cakes and chill between stacking steps to stabilize.
Storage
Storing: Keep the cake refrigerated in a cake container or wrapped loosely with plastic wrap to protect decorations; it will stay good 2–3 days and the strawberries stay fresher when chilled.
Freezing: You can freeze unfrosted baked layers tightly wrapped for up to 3 months; thaw in the refrigerator overnight before assembling. Whole frosted cakes don’t freeze as well because strawberry filling can become watery on thawing, but individual slices can be frozen short-term if well wrapped.
Reheating or serving later: Bring slices to room temperature for 30–60 minutes before serving to improve flavor and texture. If sliced straight from the fridge, a minute at room temp makes the frosting softer and the cake more tender.
How to Serve Chocolate Strawberry Layer Cake
– Serve with a scoop of vanilla or strawberry ice cream for a classic pairing.
– Top each slice with a few fresh sliced strawberries and a light dusting of powdered sugar.
– Add a dollop of lightly sweetened whipped cream for extra creaminess.
– Pair with strong coffee or a simple black tea to balance the sweetness.
More Helpful Notes
– Measure flour by weight for consistent results, especially with layered cakes.
– Make the compote a day ahead and refrigerate to reduce moisture issues during assembly.
– If using frozen strawberries, thaw and drain excess liquid before cooking into compote.
– Keep frosting at spreadable consistency; if it firms too much, beat briefly or warm gently.
Frequently Asked Questions
Chocolate Strawberry Layer Cake
Ingredients
Strawberry Filling
- 2 1/2 cups fresh strawberries, hulled and finely chopped about 360 g
- 3 tablespoons granulated sugar
- 1 tablespoon fresh lemon juice
- 1 tablespoon strawberry jam intensifies strawberry flavor
- 1 1/2 teaspoons cornstarch mixed with 2 teaspoons cold water
- 1 pinch fine sea salt
Chocolate Cake Layers
- 2 cups all-purpose flour, sifted
- 1 1/3 cups granulated sugar
- 1/2 cup natural unsweetened cocoa powder sifted
- 2 teaspoons espresso powder optional, boosts chocolate flavor
- 2 teaspoons baking powder
- 3/4 teaspoon baking soda
- 3/4 teaspoon fine sea salt
- 3 large eggs, at room temperature
- 2 teaspoons pure vanilla extract
- 2/3 cup full-fat sour cream, at room temperature
- 1/2 cup vegetable oil
- 1 cup very hot brewed coffee
Chocolate Swiss Meringue Buttercream
- 8 large egg whites
- 2 cups granulated sugar
- 2 1/2 cups unsalted butter, at cool room temperature about 565 g, cut into tablespoons
- 10 ounces dark chocolate (60–70%), finely chopped
- 2 teaspoons pure vanilla extract
To Finish
- 1 pint fresh strawberries, for garnish optional
Instructions
Preparation Steps
- Make the strawberry filling first: In a small saucepan, combine strawberries, sugar, lemon juice, jam, and a pinch of salt. Let stand 10 minutes to draw out juices, then set over medium heat and cook, stirring, until the berries are juicy and just starting to break down, 6–8 minutes. Stir the cornstarch with 2 teaspoons cold water, add to the pan, and simmer 1–2 minutes until thick and glossy. Scrape into a shallow bowl and chill completely.
- Prepare pans and oven: Heat the oven to 340°F (170°C). Grease three 8-inch round cake pans, line bottoms with parchment, and lightly dust the sides with cocoa powder. If you have cake strips, soak and wrap the pans for flatter layers.
- Bloom the cocoa: In a heatproof cup, whisk the cocoa and espresso powder into the hot coffee until smooth; set aside to cool slightly while you mix the batter.
- Mix the cake batter: In a large bowl, whisk the flour, sugar, baking powder, baking soda, and salt. In a separate bowl, whisk the eggs, vanilla, sour cream, and oil until smooth. Whisk the cocoa-coffee mixture into the wet ingredients. Pour the wet mixture over the dry and whisk just until evenly combined and glossy. Let the batter rest 5 minutes, then give it a final stir to bring up any settled bits.
- Bake: Divide batter evenly among the pans, tap each pan firmly on the counter to release large bubbles, and bake 23–27 minutes, rotating once, until a toothpick comes out with a few moist crumbs. Cool in pans 10 minutes, then invert onto racks, peel parchment, and cool completely. For tidier assembly, chill the layers 20 minutes to firm up.
- Start the buttercream: Place the chopped chocolate in a microwave-safe bowl and melt at 50% power in 20–30 second bursts, stirring between each, until smooth. Aim for 90–95°F (lukewarm), then set aside. In the bowl of a stand mixer, whisk the egg whites and sugar to combine. Set the bowl over a pot with 1–2 inches of barely simmering water and cook, whisking constantly, until the mixture reaches 160°F and no sugar grains remain, 6–8 minutes.
- Whip and finish the frosting: Move the bowl to the mixer fitted with the whisk and whip on medium-high until the meringue is glossy, voluminous, and the bowl is cool to the touch, 8–10 minutes. Switch to the paddle and add butter a tablespoon at a time on medium speed until thick and silky; it may briefly look curdled before coming together. Mix in the vanilla, then stream in the melted chocolate on low. Beat 2–3 minutes more until fluffy and smooth.
- Assemble: Level cakes if needed. Place the first layer on a board and add a very thin smear of buttercream to anchor the filling. Using a spoon or piping bag, build a 1/2-inch rim of buttercream around the edge. Spread half of the chilled strawberry filling inside the rim. Top with the second layer and repeat with the remaining filling. Set the final cake layer on top and chill the stacked cake for 15 minutes.
- Finish and decorate: Apply a thin crumb coat of buttercream and chill 10 minutes. Add a final coat, smoothing the sides and creating soft swoops on top. Garnish with fresh strawberries just before serving. For the cleanest slices, warm a knife under hot water, wipe dry, and cut, wiping between slices.
Notes
Featured Comments
“New favorite here — absolutely loved. healthy swap was spot on.”
“Impressed! Clear steps and family favorite results. Perfect for busy nights.”
“Impressed! Clear steps and so flavorful results. Perfect for busy nights.”
“New favorite here — family favorite. flavorful was spot on.”
“Super easy and so flavorful! My family asked for seconds. Saving this one.”
“Made this last night and it was will make again. Loved how the homemade came together.”
“New favorite here — turned out amazing. tender was spot on.”
“Super easy and family favorite! My family asked for seconds. Saving this one.”
“Impressed! Clear steps and turned out amazing results. Perfect for busy nights.”
“Impressed! Clear steps and absolutely loved results. Perfect for busy nights.”