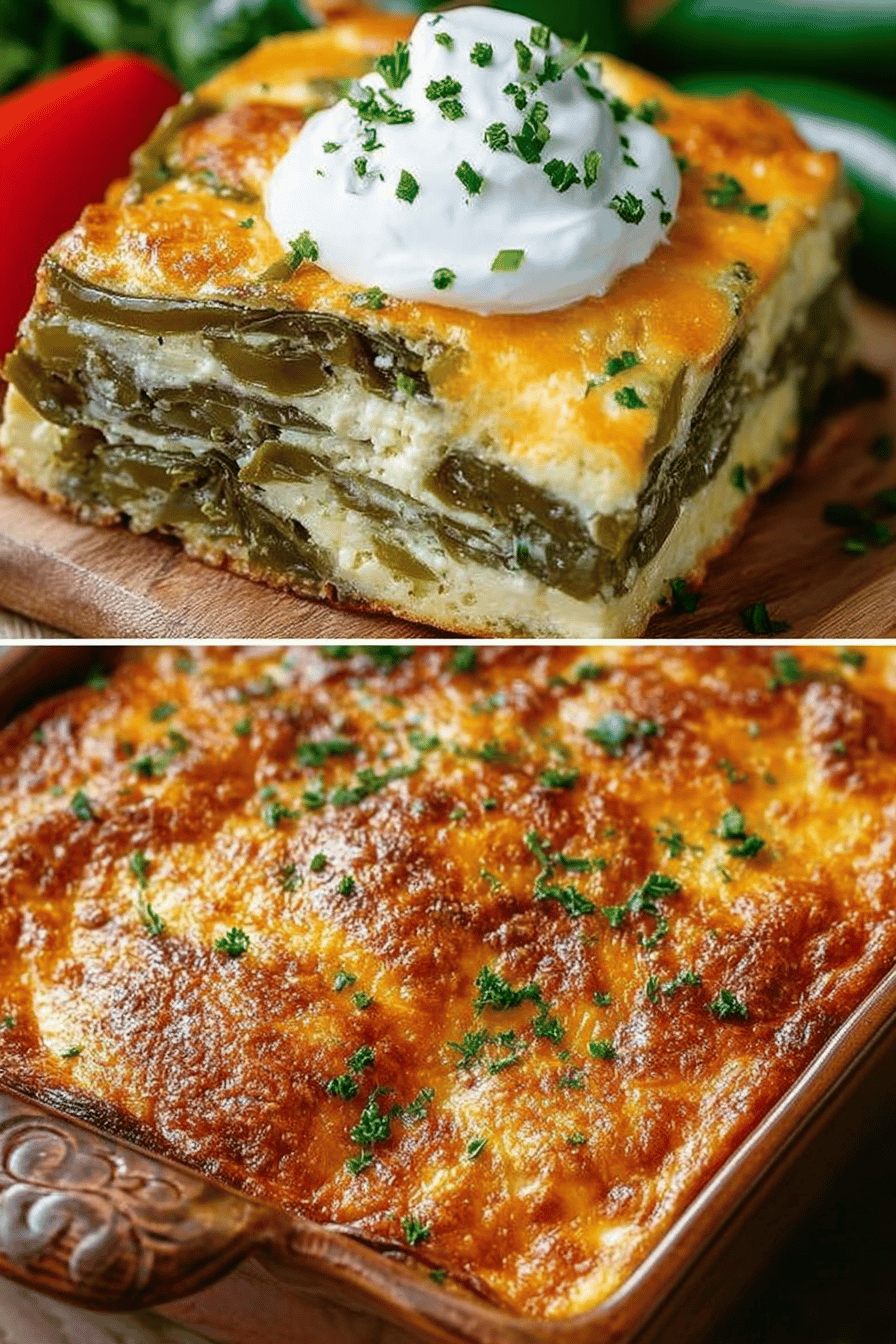
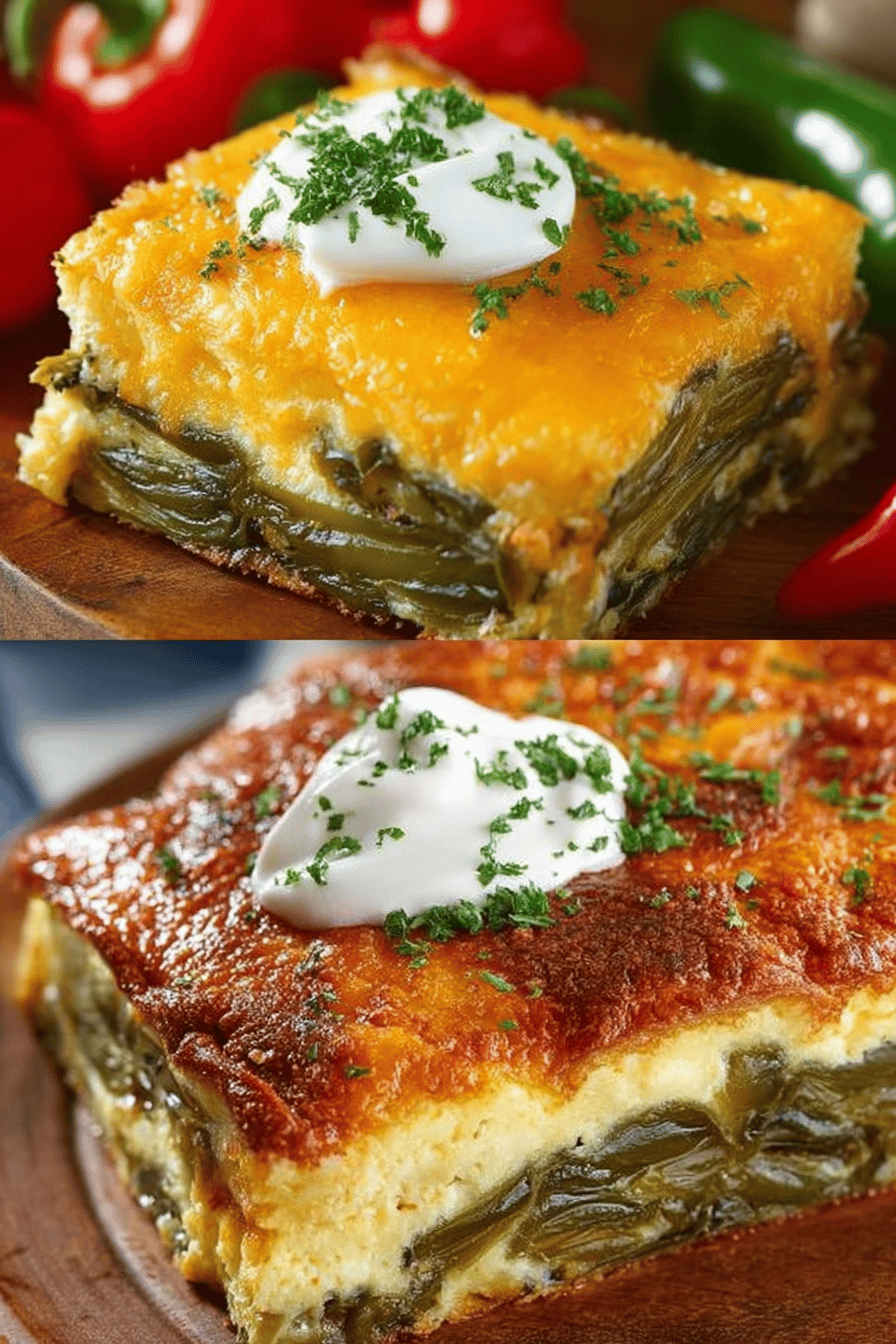
Chile Relleno Casserole Recipe
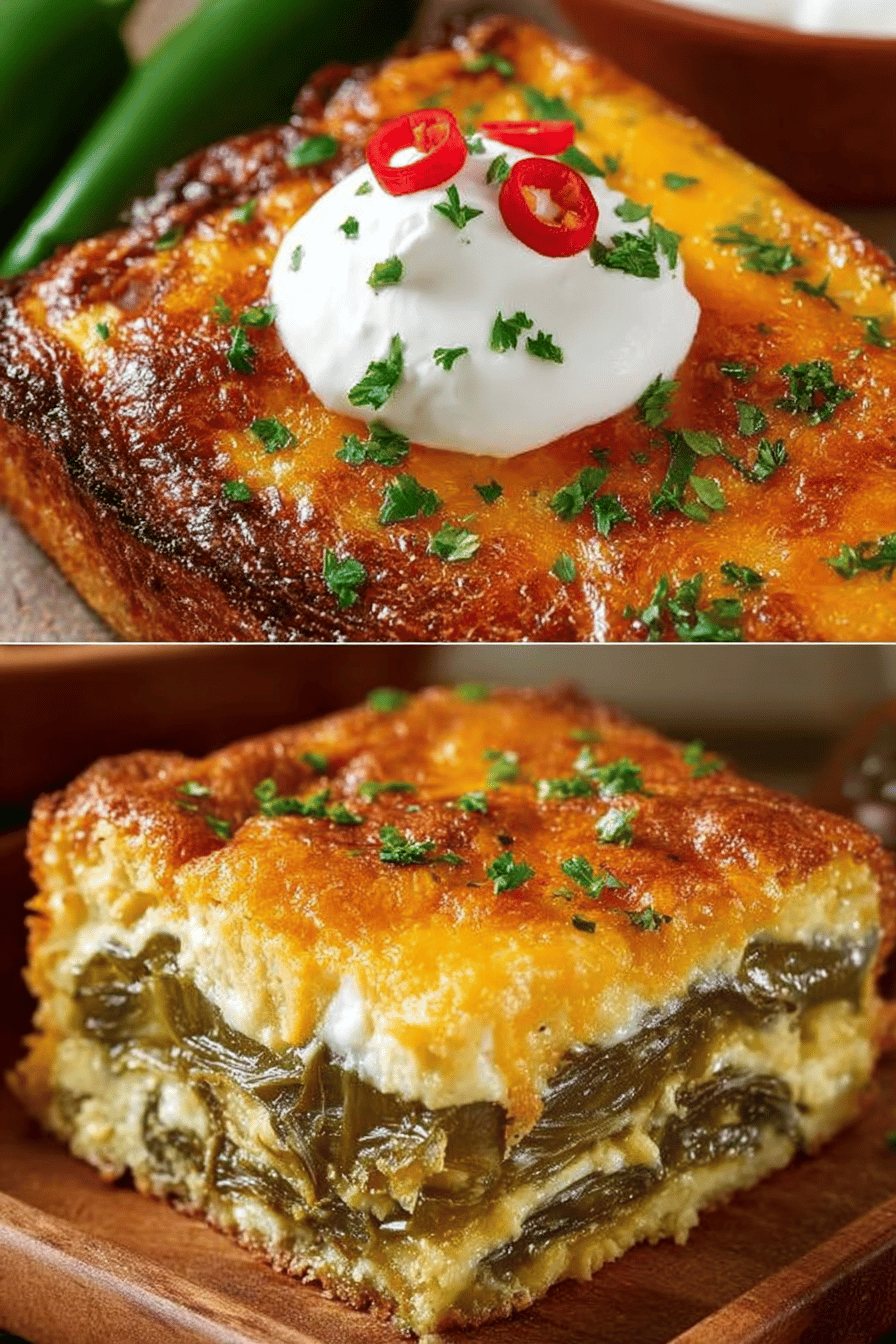
Chile relleno casserole Recipe It’s basically all the deliciousness of chile rellenos, but without all that fussy deep-frying business. Cheesy, a little spicy, and so much easier than making individual rellenos. Trust me, you NEED this in your life.
My husband? Total sucker for this. He’s the kind of guy who thinks anything with cheese is gourmet. I swear, the first time I made this, he ate half the pan himself. I found him later, spoon in hand, contemplating going back for more. The kids love it too – even the picky one who usually only eats air and chicken nuggets. It’s become a weekly request, and honestly, I’m not complaining. It’s so easy to throw together!
Why You’ll Love This Chile Relleno casserole recipe
- It’s cheesy, obviously. Like, REALLY cheesy.
- You get that chile relleno flavor without the hassle of frying (and the inevitable oil splatters on your stove).
- It’s a crowd-pleaser. Even your weird Uncle Gary will like it.
- It’s ridiculously easy to make, even if you’re kitchen-challenged. Seriously, I can make it, so you definitely can.
- Leftovers? HAH! What leftovers? But seriously, if there are any, they’re amazing the next day.
How to Make It
Okay, so first things first, get your oven preheating. I usually do 350°F (175°C), but honestly, my oven runs a little hot, so maybe check yours.
MORE EASY DINNER RECIPES...

Then, in a bowl – a big one, because nobody likes overflowing bowls, right? – whisk together your eggs, milk (I use whole milk, but whatever you’ve got is probably fine), and flour. Don’t stress too much about the lumps, they’ll mostly disappear when it bakes. Add your cheese, the Monterey Jack and the cheddar. (I’ve been known to throw in some pepper jack for a kick, just sayin’.)
MORE OF OUR FAVORITE…
Now, the chiles. If you’re roasting your own, good for you! But I usually just grab a can of Ortega chiles because… life. Chop them up a bit, just so they’re not huge and awkward. Stir them into the cheesy egg mixture.
Grease a baking dish – I use a 9×13 inch, but close enough is fine. Pour the mixture in. Sprinkle a little extra cheese on top, because why not?
Bake it for about 30-40 minutes, or until it’s all golden brown and bubbly. Stick a knife in it – if it comes out clean, you’re good to go. Let it cool for a few minutes before you try to cut into it, or you’ll just make a mess. I usually can’t wait, though, and end up burning my tongue. Don’t be like me.
Ingredient Notes
- Canned Green Chiles: Okay, these are the heart of the whole deal. I usually use mild because my kids are wimps, but you can totally use hot ones if you’re feeling brave.
- Monterey jack cheese: Melts like a dream. Don’t skimp.
- cheddar cheese: For that classic cheesy flavor. I like sharp cheddar, but mild works too.
- Eggs: Hold everything together. Don’t try to use those weird egg substitutes. Just… don’t.
- Flour: This helps thicken the casserole. All-purpose is fine, but I’ve used gluten-free blends and it works pretty well, too.
- Milk: Any kind will do, really. I’ve used almond milk in a pinch and it was surprisingly good.
Recipe Steps:
- Preheat your oven to 350°F (175°C).
- Whisk together eggs, milk, and flour in a large bowl.
- Add Monterey Jack and cheddar cheese to the egg mixture.
- Chop canned green chiles and stir them into the cheese mixture.
- Grease a baking dish and pour the mixture in.
- Sprinkle extra cheese on top.
- Bake for 30-40 minutes, or until golden brown and bubbly.
- Cool slightly before serving.
What to Serve It With
Honestly, this is good on its own. But if you’re feeling fancy, try it with:
- Salsa and sour cream (duh).
- A side of refried beans.
- A simple green salad.
- A margarita. Because, why not?
Tips & Mistakes
- Don’t overbake it! It’ll get dry and sad.
- If you’re using fresh chiles, roast them first to soften them up. I’ve tried skipping this step and it wasn’t pretty.
- Don’t be afraid to experiment with different cheeses. I’ve used pepper jack, Oaxaca, and even a little bit of goat cheese (don’t judge).
- If you’re short on time, you can assemble the casserole ahead of time and bake it later. Just keep it in the fridge until you’re ready to go.
Storage Tips
Store any leftovers (if there ARE any) in an airtight container in the fridge. It’ll keep for about 3 days. You can reheat it in the microwave, but it’s also surprisingly good cold. I’ve been known to eat it straight from the fridge for breakfast. Don’t judge me.
Variations and Substitutions
- Spice it up: Add some diced jalapeños or a pinch of cayenne pepper to the mixture.
- Make it vegetarian: Skip the meat altogether!
- Add some protein: Ground beef or shredded chicken would be delicious in this casserole.
- Out of milk?: Use sour cream or plain yogurt instead. The texture will be a little different, but it’ll still be good.
Frequently Asked Questions
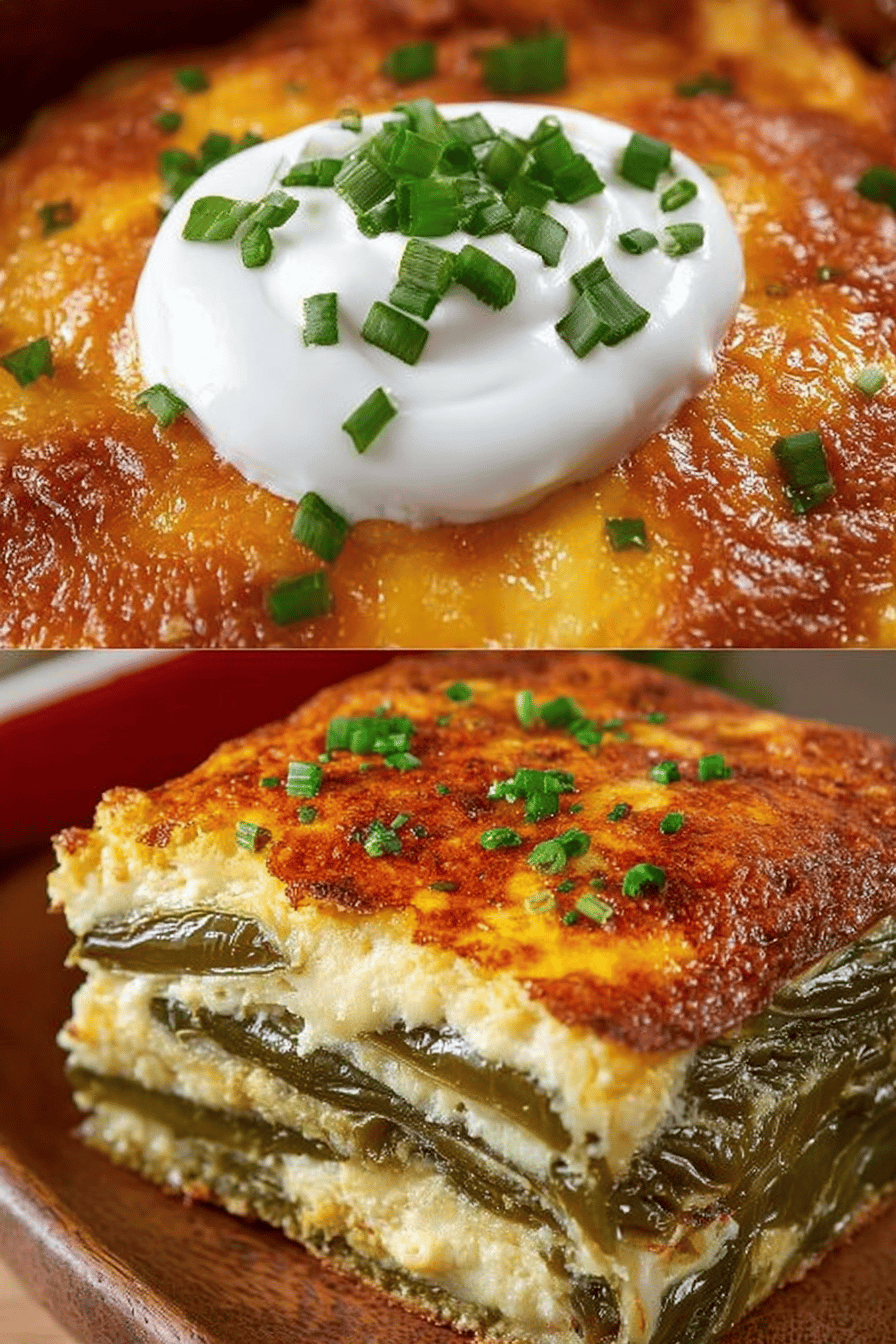
Chile Relleno Casserole Recipe
Ingredients
Main Ingredients
- 8 whole poblano peppers roasted and peeled
- 1.5 cups cheddar cheese shredded
- 1.5 cups Monterey Jack cheese shredded
- 6 large eggs
- 1 cup milk whole or 2%
- 1 cup all-purpose flour sifted
- 1 teaspoon baking powder
- 0.5 teaspoon salt
- 0.25 teaspoon black pepper freshly ground
Instructions
Preparation Steps
- Preheat your oven to 375°F (190°C).
- Layer the roasted poblano peppers in the bottom of a greased 9x13-inch baking dish.8 whole poblano peppers
- Evenly sprinkle the cheddar and Monterey Jack cheese over the peppers.8 whole poblano peppers
- In a large mixing bowl, whisk together eggs, milk, flour, baking powder, salt, and black pepper until smooth.8 whole poblano peppers
- Pour the egg mixture over the cheese and peppers in the baking dish.
- Bake in preheated oven for 40 minutes, or until the top is golden brown and a knife inserted in the center comes out clean.
- Allow to cool for 10 minutes before slicing and serving.
Notes
Nutrition
Featured Comments
“Super easy and so flavorful! My family asked for seconds. Saving this one.”
“Super easy and will make again! My family asked for seconds. Saving this one.”
“New favorite here — so flavorful. salty-sweet was spot on.”
“This perfect pair recipe was absolutely loved — the fluffy really stands out. Thanks!”
“Made this last night and it was will make again. Loved how the juicy came together.”
“New favorite here — so flavorful. traditional was spot on.”
“This crusty recipe was absolutely loved — the balanced really stands out. Thanks!”
“Impressed! Clear steps and family favorite results. Perfect for busy nights.”
“This chilled recipe was absolutely loved — the family-style really stands out. Thanks!”
“This balanced recipe was absolutely loved — the weeknight saver really stands out. Thanks!”