Cherry Hand Pies Made Easy
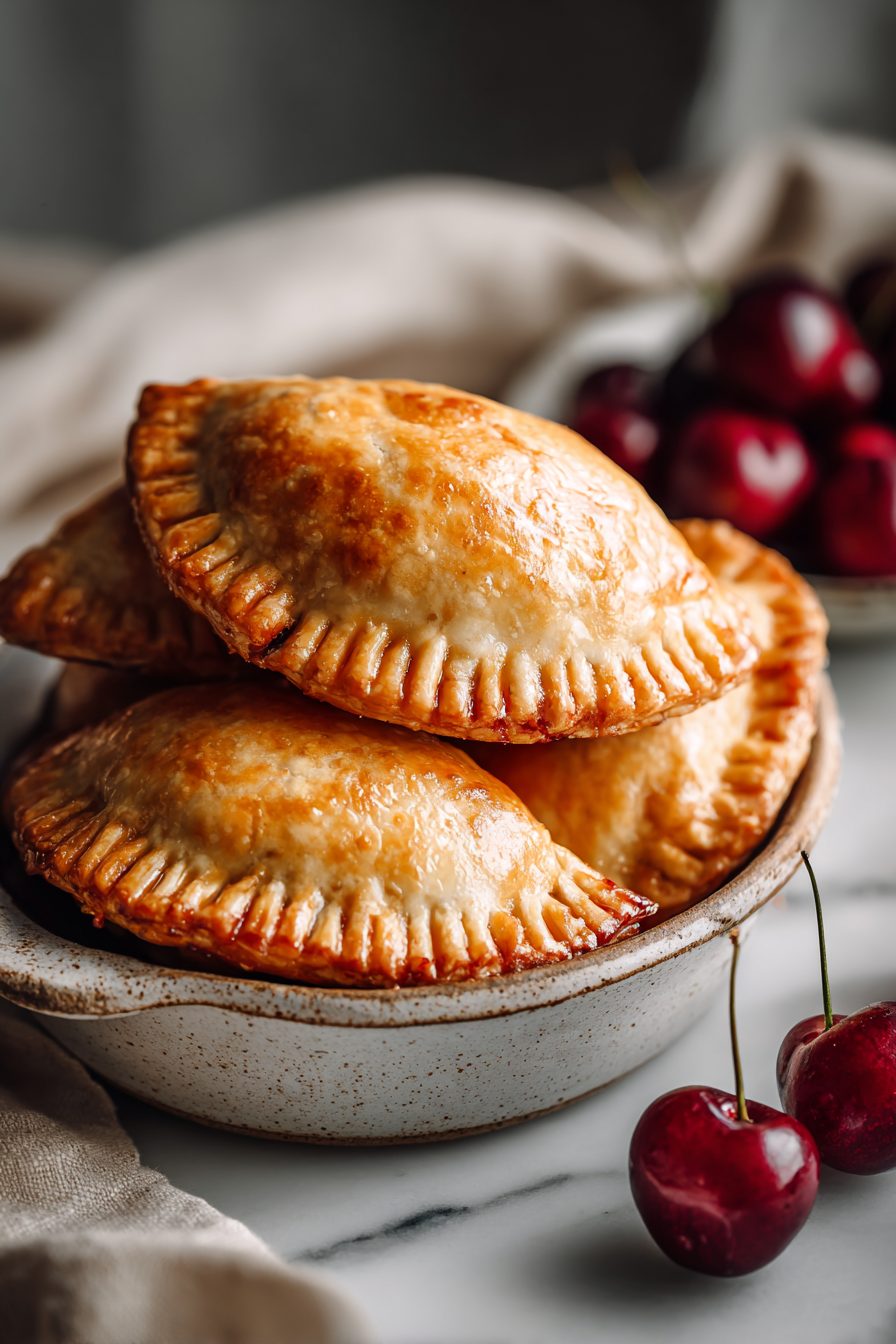
I make these cherry hand pies on the regular when I need something that feels like a hug but is also portable and a little badass — flaky crust, jammy cherry pockets, a sprinkle of sugar that crunches like tiny confetti. They’re cozy, a little messy, and somehow both nostalgic and slightly grown-up. Try them for a weekend brunch, a picnic, or when you want to impress someone without sweating for hours.
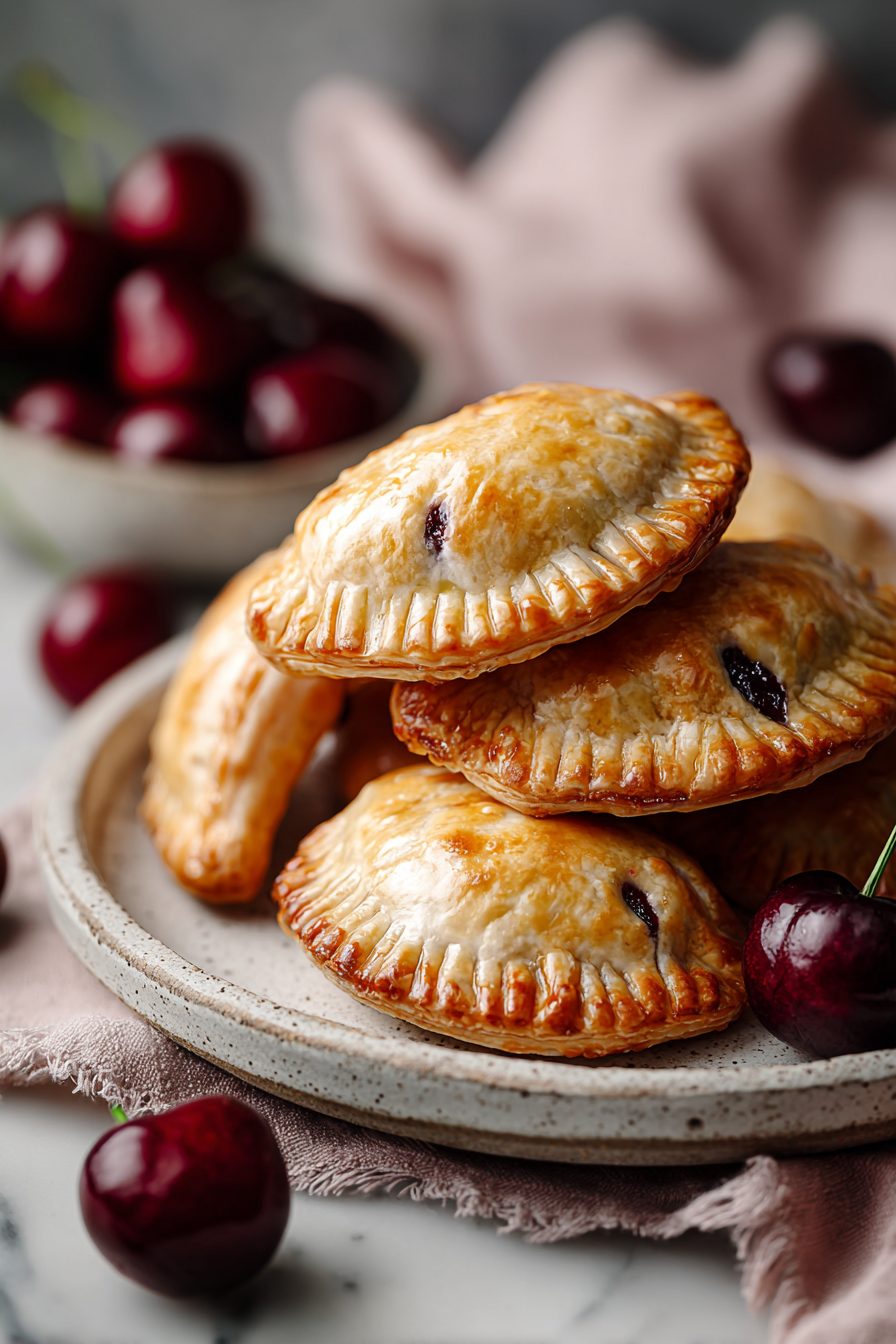
My husband eats the first one before I can even glaze the last batch. Not kidding — he’ll wander in from mowing the lawn, see the pan, and suddenly he’s “helping” by standing very close and taking the still-warm one. Our kid calls them cherry pop-tarts and insists they’re breakfast, lunch, and dinner when school’s out. This recipe became our go-to because it’s forgiving: crust that tolerates my lazy rolling, filling that’s forgiving if you’re heavy-handed with sugar, and a quick oven bake that makes the house smell like festival-level goodness.
Why You’ll Love This Cherry Hand Pies Made Easy
List a few fun, honest, and very human reasons someone will fall for this recipe. Be quirky if needed.
Kitchen Talk
MORE EASY DESSERT RECIPES...


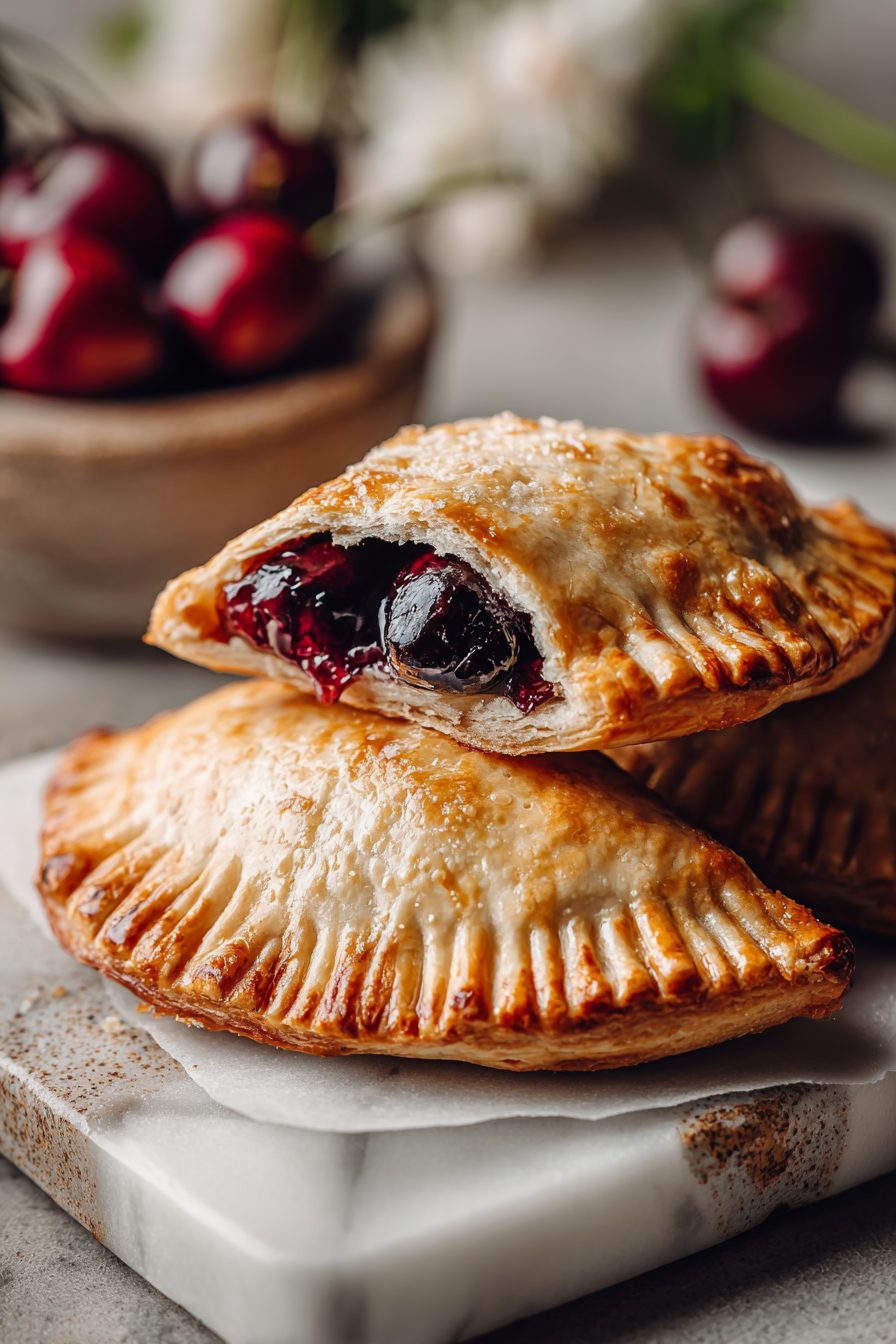
I learned early on that cherry filling will try to escape through the seams if you don’t give it a little job to do — vent holes, crimped edges, and a calm hand with sealing egg wash help. Also: flouring the counter like you mean it prevents the crust from sticking, but don’t overdo it or the dough gets dry. One time I used frozen cherries straight from the bag and the filling was too watery; lesson learned — thaw and drain or cook it down first. And I once swapped half the sugar for maple syrup on a whim and wow — warm maple-cherry is a quiet revolution.
Warm, flaky, and exactly the kind of cozy treat you want on a weekend — these hand pies were effortless to assemble and the cherry filling was bright without being too sweet. I loved how portable they are and would happily make them again for a casual gathering or an afternoon snack.
MORE OF OUR FAVORITE…
Shopping Tips
– Fruit: Fresh cherries are dreamy but frozen works fine — pick dark, sweet varieties if possible and pit them before cooking to save time.
– Baking Basics (Flour/Sugar/Leaveners): All-purpose flour is the workhorse here; use granulated sugar for the filling and a touch of powdered sugar on top if you like.
– Fats & Oils: Unsalted butter is your friend—cold and cubed for the crust gives that flaky texture; don’t substitute margarine if you can avoid it.
– Eggs: One egg for wash will seal and glaze; check size (large) so your wash is the right thickness.
– Flavor Boosts: Vanilla extract and a little lemon zest brighten the cherries—don’t skip the small stuff; it makes a big difference.
Prep Ahead Ideas
– Make the cherry filling a day ahead and chill it — that stops the pies from getting soggy and concentrates the flavor.
– You can roll and cut the dough the night before, stack the rounds with parchment between them, and refrigerate in a tight container.
– Par-bake or assemble and freeze unbaked pies on a tray; transfer to a freezer bag once firm, then bake straight from frozen (add a few minutes).
– Label containers with dates and use airtight boxes to avoid fridge odors seeping into the dough.

Time-Saving Tricks
– Use frozen pitted cherries when fresh aren’t available — thaw, drain, and simmer down quickly to remove excess liquid.
– Buy pre-made pie crust if you’re in a pinch; you’ll still get flavor but save 20–30 minutes.
– Make a double batch of filling and freeze half; thaw and use for pancakes, yogurt, or a quick second round of pies.
– Use a biscuit cutter or cup to cut uniform rounds fast — less fiddling, more assembly-line baking.
Common Mistakes
– Not draining thawed cherries: I did this once and my pies were soggy puddles — simmer the filling until slightly thick.
– Overfilling: pies that explode are sad; leave a border so you can crimp properly. If one bursts, scoop filling back in and pop it back in the oven for a few minutes.
– Rolling too thin: thin crusts tear and leak; aim for even thickness so they hold up.
– Skimping on egg wash: without it, pies won’t seal or color well — brush generously.
What to Serve It With
– a scoop of vanilla ice cream or frozen yogurt for a boozy-free dessert.
– a simple green salad with lemon vinaigrette to cut the sweetness.
– morning coffee or a dirty chai for brunch vibes.
– toast and jam if you want to keep the pie party small and cozy.
Tips & Mistakes
– Use cold butter for flakiness; warm butter = sad flat crust.
– Chill dough between rolling if it starts to get sticky.
– If filling seems thin, a teaspoon of cornstarch mixed into the cherries before baking helps.
– Don’t overcrowd the baking sheet — pies need room to breathe and brown.
Storage Tips
Store cooled hand pies in an airtight container at room temperature for up to 2 days, or refrigerate for 4–5 days. Freeze individual pies in a single layer on a tray, then transfer to a freezer bag for up to 2 months; reheat at 350°F until warm. Cold pies are fine for a quick snack — the crust loses some crispness but the filling gets pleasantly jammy; eating one for breakfast is 100% acceptable.
Variations and Substitutions
Swap cherries for blueberries, apple-cinnamon, or a mixed berry combo — adjust sugar to taste. Maple syrup can replace some sugar for a deeper flavor, and almond extract (tiny amount) pairs beautifully with cherries. Nut lovers: fold in chopped toasted almonds or top with sliced almonds before baking for crunch. If you need gluten-free, use a GF all-purpose blend and chill dough a bit longer — results vary but can be very satisfying.
Frequently Asked Questions
Cherry Hand Pies Made Easy
Ingredients
Main Ingredients
- 14 oz refrigerated pie dough, thawed two rolled crusts
- 2.75 cup pitted tart cherries if using frozen, keep unthawed
- 0.5 cup granulated sugar
- 2.5 tbsp cornstarch
- 1 tbsp lemon juice fresh if possible
- 0.5 tsp almond extract
- 0.5 tsp vanilla extract
- 0.13 tsp fine salt a small pinch
- 1 tbsp unsalted butter stirred in at the end
- 2 tbsp milk for brushing
- 1 tbsp coarse sugar for sprinkling
- 1 tbsp all-purpose flour for dusting the counter
Instructions
Preparation Steps
- Preheat oven to 400°F. Line a large baking sheet with parchment paper.
- Cook cherries, sugar, cornstarch, salt, and lemon juice in a saucepan over medium heat, stirring until thick and glossy, 5–7 minutes.
- Stir in almond and vanilla extracts and the butter. Let the filling cool 10 minutes.
- Dust the counter with flour. Unroll dough and gently roll to even thickness.
- Cut 16 rounds with a 4-inch cutter, re-rolling scraps as needed. Transfer half the rounds to the baking sheet.
- Spoon about 1 to 1½ tablespoons filling onto centers. Brush edges with a little milk.
- Top with remaining rounds, press to seal, and crimp edges with a fork. Cut a small vent on each pie.
- Brush tops with remaining milk and sprinkle with coarse sugar. Bake until deep golden, 18–22 minutes.
- Cool on the sheet 5 minutes, then move to a rack to finish cooling before serving.
Notes
Featured Comments
“Impressed! Clear steps and so flavorful results. Perfect for busy nights.”
“This charred recipe was turned out amazing — the baked really stands out. Thanks!”
“This plant-powered recipe was absolutely loved — the nourishing really stands out. Thanks!”
“This light recipe was absolutely loved — the cozy really stands out. Thanks!”
“Made this last night and it was so flavorful. Loved how the perfect pair came together.”
“Made this last night and it was family favorite. Loved how the indulgent came together.”
“Impressed! Clear steps and will make again results. Perfect for busy nights.”
“Super easy and absolutely loved! My family asked for seconds. Saving this one.”
“Made this last night and it was family favorite. Loved how the quick came together.”
“This gooey recipe was so flavorful — the handheld really stands out. Thanks!”