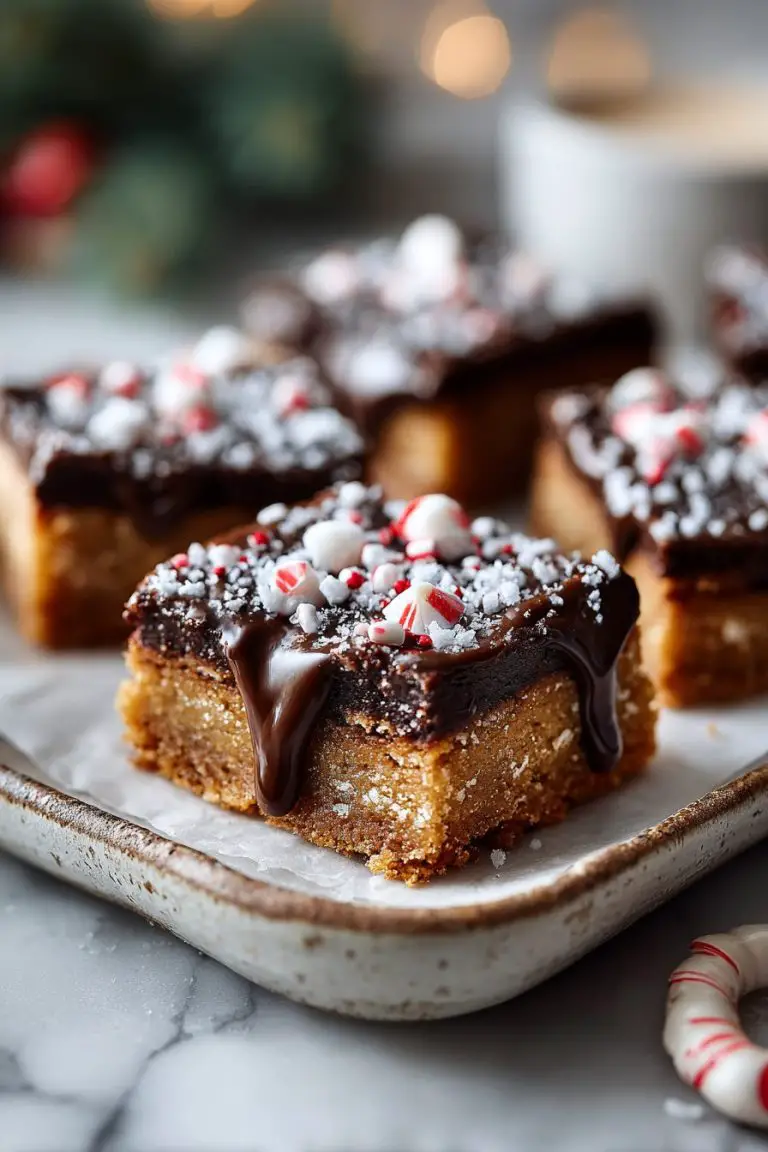
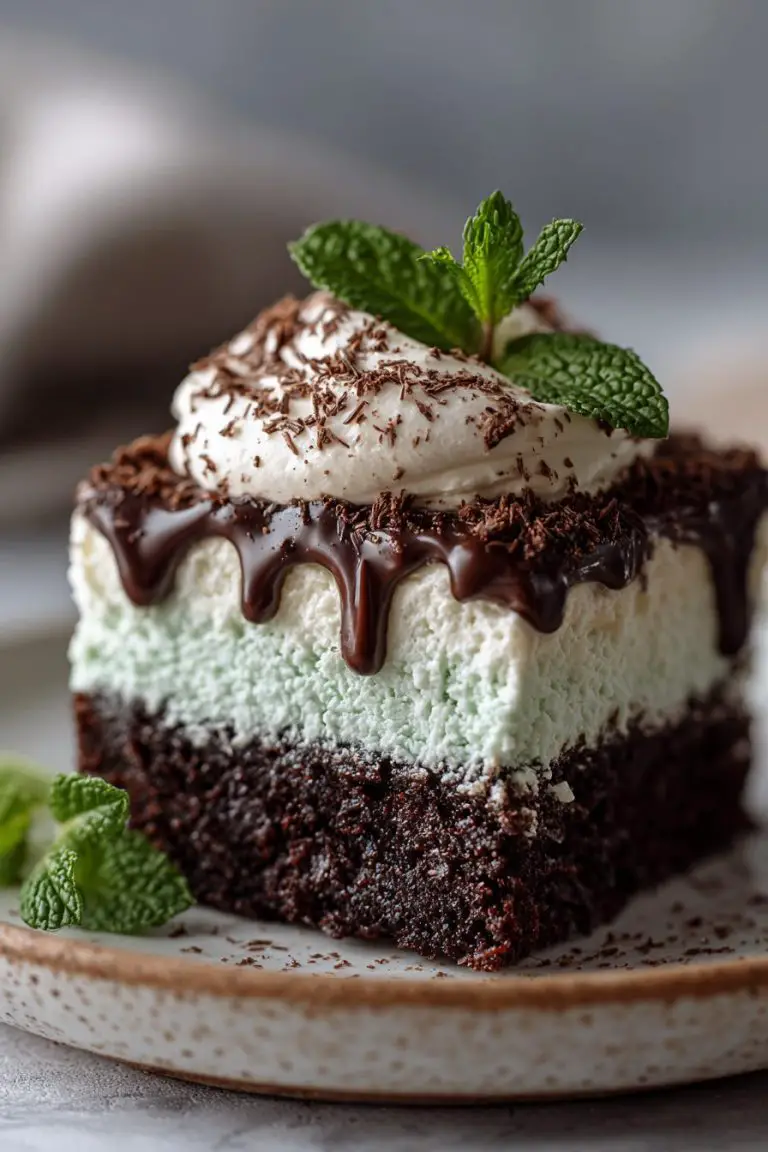
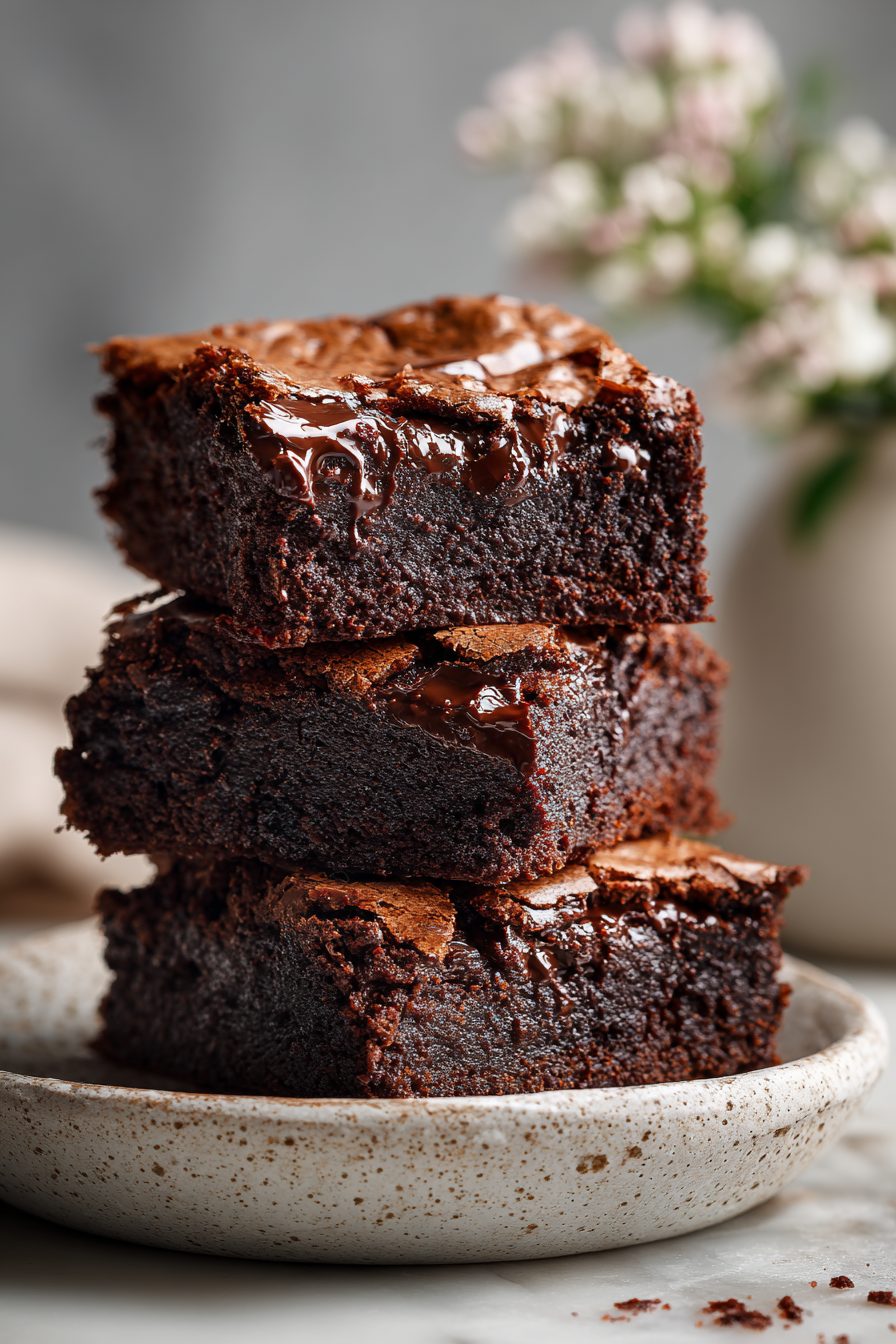
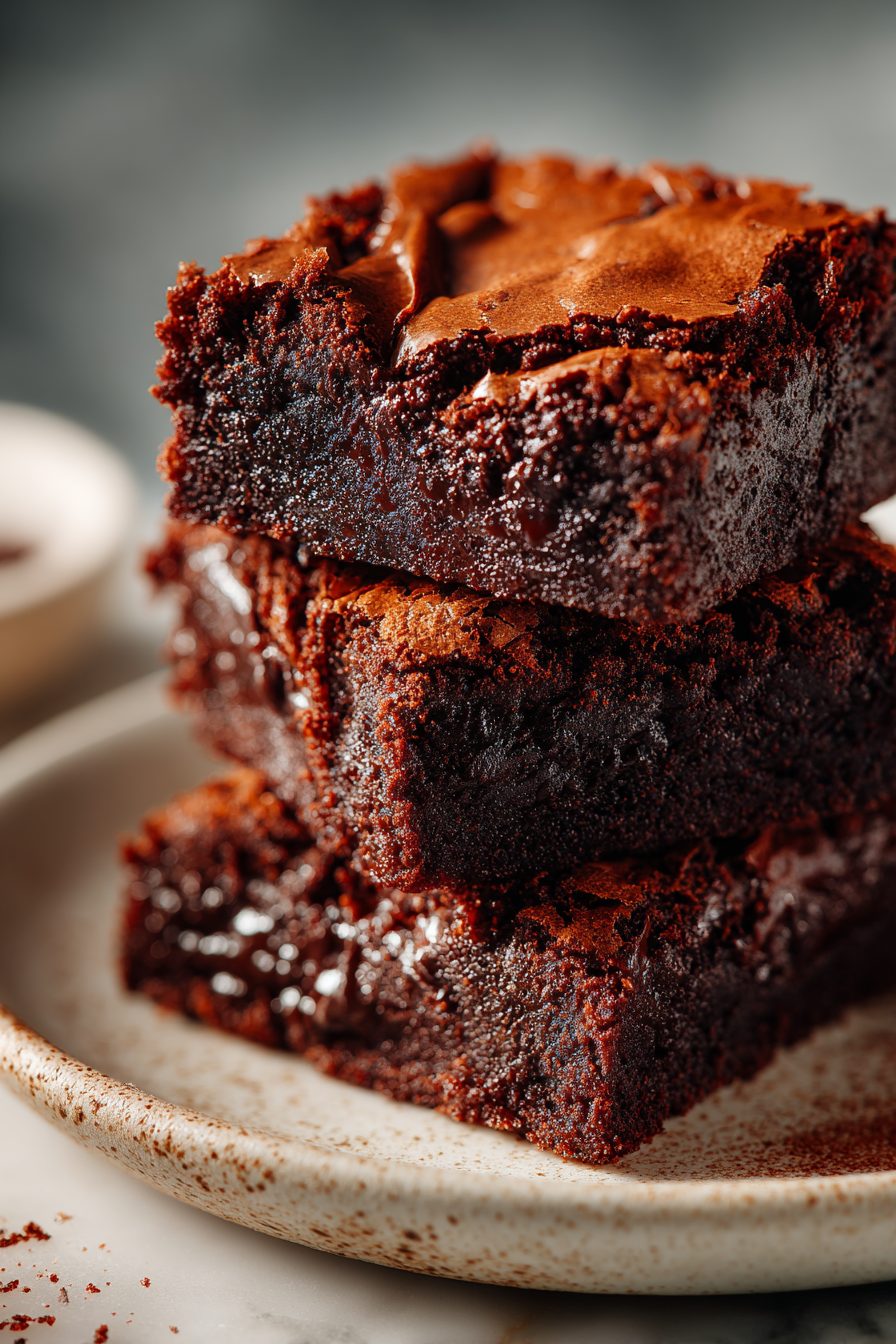
Lava Brownies Made Easy
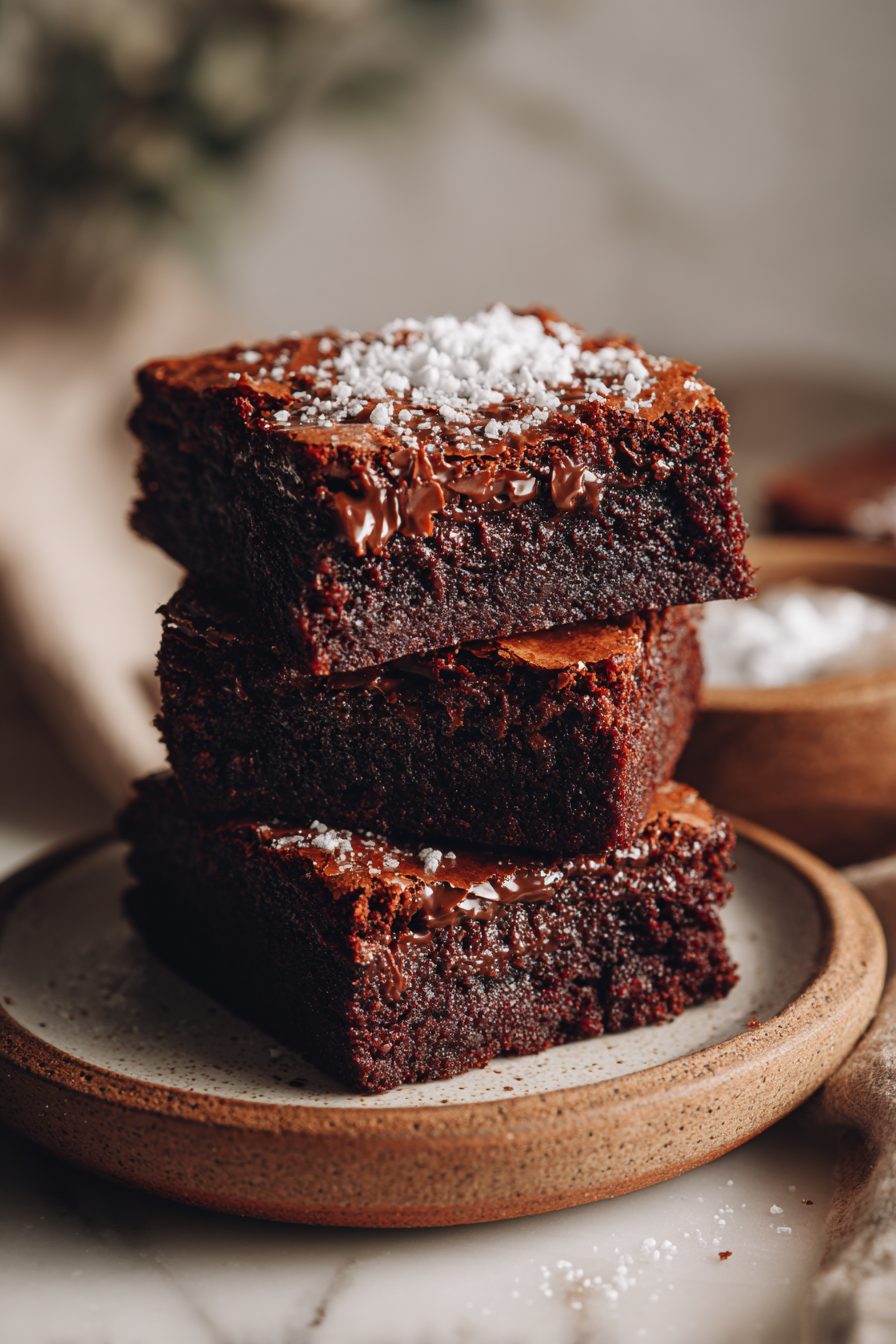
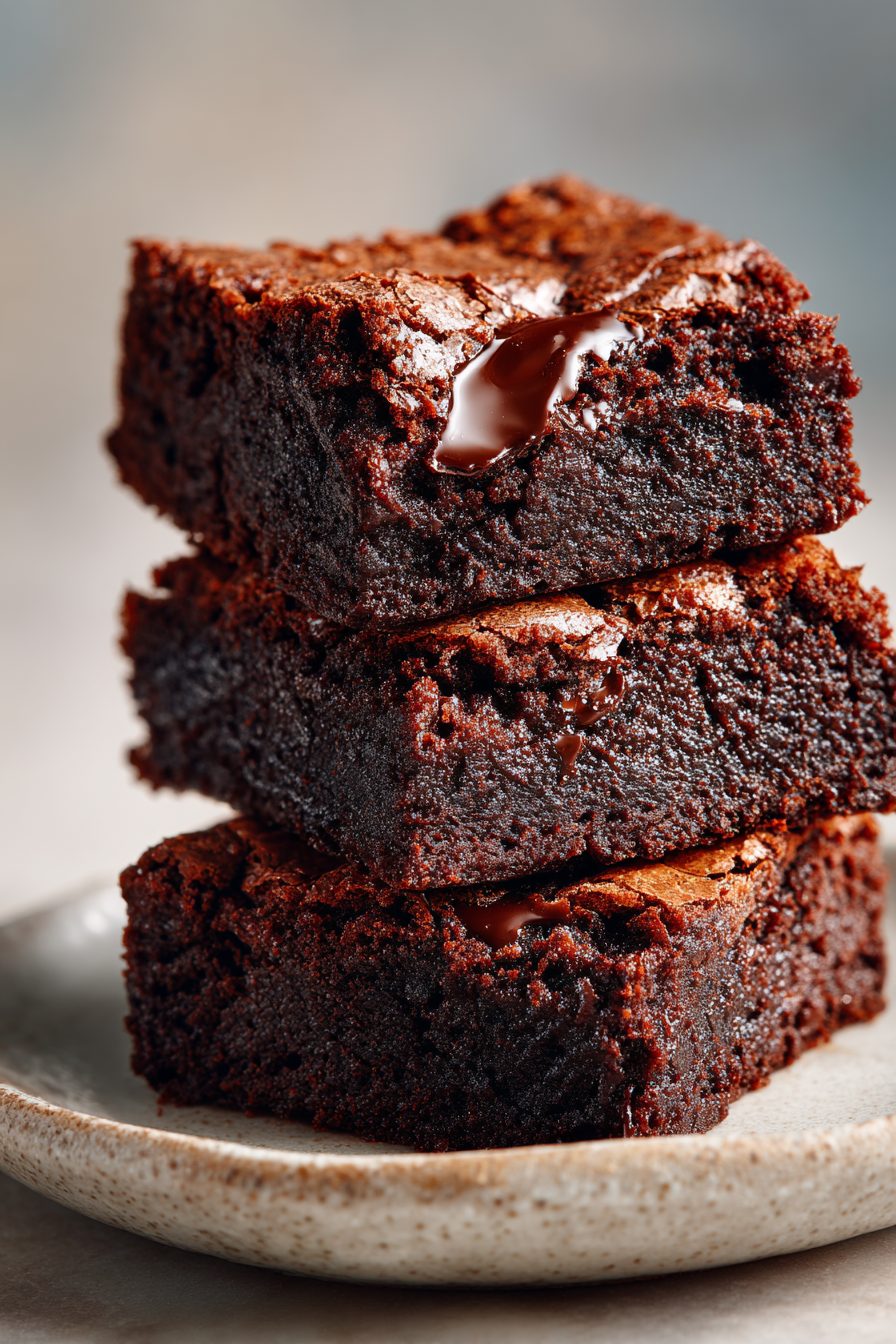
This is the kind of brownie that lies to you—looks like a humble, slightly cracked square on the outside and then, boom, molten chocolate floods your spoon. It’s fudgy, a little sloppy, and ridiculously comforting. I call it Lava Brownies Made Easy because you don’t need fancy tools or temperamental baking skills to get that oozy center; just basic pantry ingredients, a tiny bit of patience, and the willingness to eat more than one (no shame).
My husband eats his with a spoon straight from the ramekin and refuses to share until I’ve had a bite. It started as a midnight panic dessert when I forgot his birthday cake, and now it’s the thing we reach for when the week has been long and the kids are asleep. Once I accidentally doubled the vanilla and it tasted like vanilla-chocolate heaven—my family declared it “the good mistake” and I’ve never measured vanilla the same way since.
Why You’ll Love This Lava Brownies Made Easy
– Designed for folks who want big chocolate payoff with minimal drama.
– Uses mostly pantry staples and easy swaps so you can throw it together after work.
– Fudgy edges, molten center—comfort food with a little theatrical flair (lava = drama).
– Perfect for date nights, last-minute guests, or when you need to justify buying good chocolate.
Kitchen Talk
I bake these in ramekins because they look fancy and make people feel special, but a muffin tin with foil cups works too when ramekins are playing hard to get. Watch the timing like a hawk—oven temperatures and ramekin sizes change everything. Once I baked them the usual time and ended up with fully-set brownies; I salvaged it by microwaving small pieces with a dab of butter and calling it “melted brownie fondue.” Also, if you swap butter for coconut oil, the texture shifts a touch but the molten center is still very real—just expect a hint of coconut.
MORE OF OUR FAVORITE…
Shopping Tips
– Baking Basics: Use all-purpose flour unless you’re intentionally gluten-free; check freshness on your baking powder/soda if the recipe calls for it.
– Fats & Oils: Real butter will give the best flavor and fudginess; use unsalted if you want control over salt levels.
– Chocolate: Pick a chocolate you’d eat—good baking chocolate or a chopped bar yields better results than low-quality chips.
– Eggs: Fresh eggs make the batter silkier and help set the edges while keeping the center gooey.
– Nuts & Seeds: Optional, but if you add walnuts or pecans, buy them fresh (they go rancid fast) or use frozen for longer shelf life.
Prep Ahead Ideas
– Make the brownie batter a day ahead and keep it covered in the fridge; bring it up to room temp before baking.
– Melt the chocolate and butter together and store in a jar in the fridge—reheat gently when you’re ready to finish the batter.
– Portion batter into ramekins and refrigerate or freeze (see FAQ) so you can bake single servings whenever cravings strike.
– Use airtight containers for prepped batter or cooled baked brownies; label with date so you don’t forget you hid dessert in the back of the fridge.
Time-Saving Tricks
– Use a microwave to melt chocolate + butter in 20–30 second bursts—stir between bursts to prevent burning.
– Make mini lava brownies in a muffin tin for faster bake time and easy portioning.
– Warm ramekins in the oven for a couple of minutes before serving to keep the center melty longer.
– Store pre-measured dry ingredients in a jar for “dump-and-go” baking on busy nights.
Common Mistakes
– Overbaking: I left one in too long once and it was basically brownie cake—fix by heating a slice with a spoonful of cream to recreate a molten center.
– Undermixing: If the batter is lumpy with unmixed flour, you’ll get pockets of flour in the final bake; stir until smooth but don’t overwhip.
– Using low-quality chocolate: It tastes flat and grainy; you’ll notice the difference in the center.
– Wrong ramekin size: Too big and the center sets; too small and it spikes over—use consistent sizes or adjust bake time.
What to Serve It With
– Vanilla ice cream or a scoop of coffee ice cream for a grown-up pairing.
– Fresh berries or a quick macerated berry spoon to cut through the richness.
– A dusting of powdered sugar and a small dollop of whipped cream if you want to look like you tried.
– Toasted nuts or sea salt flakes for texture and a salty-sweet finish.
Tips & Mistakes
– Use room-temp eggs for a smoother batter.
– Don’t open the oven in the final minute—carryover heat is a friend.
– If the top cracks wildly, it’s usually still okay—focus on the center doneness.
– If it’s too runny after cooling, bake a little longer next time and note your oven temp.
Storage Tips
Store leftover brownies in an airtight container at room temp for a day, then move to the fridge for up to 4 days. Freeze baked pieces wrapped tightly for up to 2 months. Eating these cold is fine—honestly, sometimes I eat them straight from the fridge for breakfast and don’t regret it. To reheat, microwave 10–20 seconds (depending on size) or warm in a low oven until the center softens.
Variations and Substitutions
– Gluten-free: Swap in 1:1 gluten-free flour and expect a slightly denser texture.
– Dairy-free: Use coconut oil or vegan butter and a dairy-free chocolate bar; flavor changes but molten magic remains.
– Nutty version: Fold in chopped toasted pecans or walnuts for crunch.
– Boozy twist: Stir a tablespoon of espresso or your favorite liqueur (Kahlúa, bourbon) into the melted chocolate.
– Healthier-ish: Replace half the sugar with maple syrup or honey—texture will shift and the top may brown differently.
Frequently Asked Questions
Lava Brownies Made Easy
Ingredients
Main Ingredients
- 0.75 cup unsalted butter, melted and slightly cooled
- 1.25 cup granulated sugar
- 0.25 cup light brown sugar, packed
- 3.5 fl oz liquid egg (well-shaken) about 2 large eggs
- 2 tsp vanilla extract
- 0.75 cup all-purpose flour
- 0.5 cup unsweetened cocoa powder
- 0.5 tsp fine salt
- 0.5 tsp instant espresso powder optional, enhances chocolate flavor
- 1 cup semisweet chocolate chips
- 4 oz dark chocolate chunks or baking squares for lava centers
- 1 tsp neutral oil for greasing the pan
Instructions
Preparation Steps
- Heat oven to 350°F. Lightly grease an 8-inch square pan and line with parchment, leaving overhang.
- Stir melted butter, granulated sugar, and brown sugar in a bowl until glossy and combined.
- Whisk in liquid egg and vanilla until the mixture looks thick and shiny.
- Combine flour, cocoa, salt, and espresso powder. Sift or whisk, then fold into the wet mix just until no dry spots remain.
- Fold in about half of the chocolate chips. Spread the batter evenly in the prepared pan.
- Nestle dark chocolate chunks into nine evenly spaced spots. Lightly cover with a smear of batter. Sprinkle on remaining chips.
- Bake 22–26 minutes until edges are set and centers are slightly soft. A toothpick should pick up moist crumbs, not wet batter.
- Cool in the pan 10–15 minutes. Lift out, slice into 9 squares, and serve warm for a molten center.
Notes
Featured Comments
“Impressed! Clear steps and family favorite results. Perfect for busy nights.”
“This speedy recipe was will make again — the simple really stands out. Thanks!”
“Super easy and absolutely loved! My family asked for seconds. Saving this one.”
“New favorite here — so flavorful. handheld was spot on.”
“Made this last night and it was so flavorful. Loved how the warming came together.”
“This al dente recipe was will make again — the delicate really stands out. Thanks!”
“New favorite here — family favorite. crusty was spot on.”
“This perfect pair recipe was family favorite — the homemade really stands out. Thanks!”
“Made this last night and it was family favorite. Loved how the filling came together.”
“Super easy and family favorite! My family asked for seconds. Saving this one.”