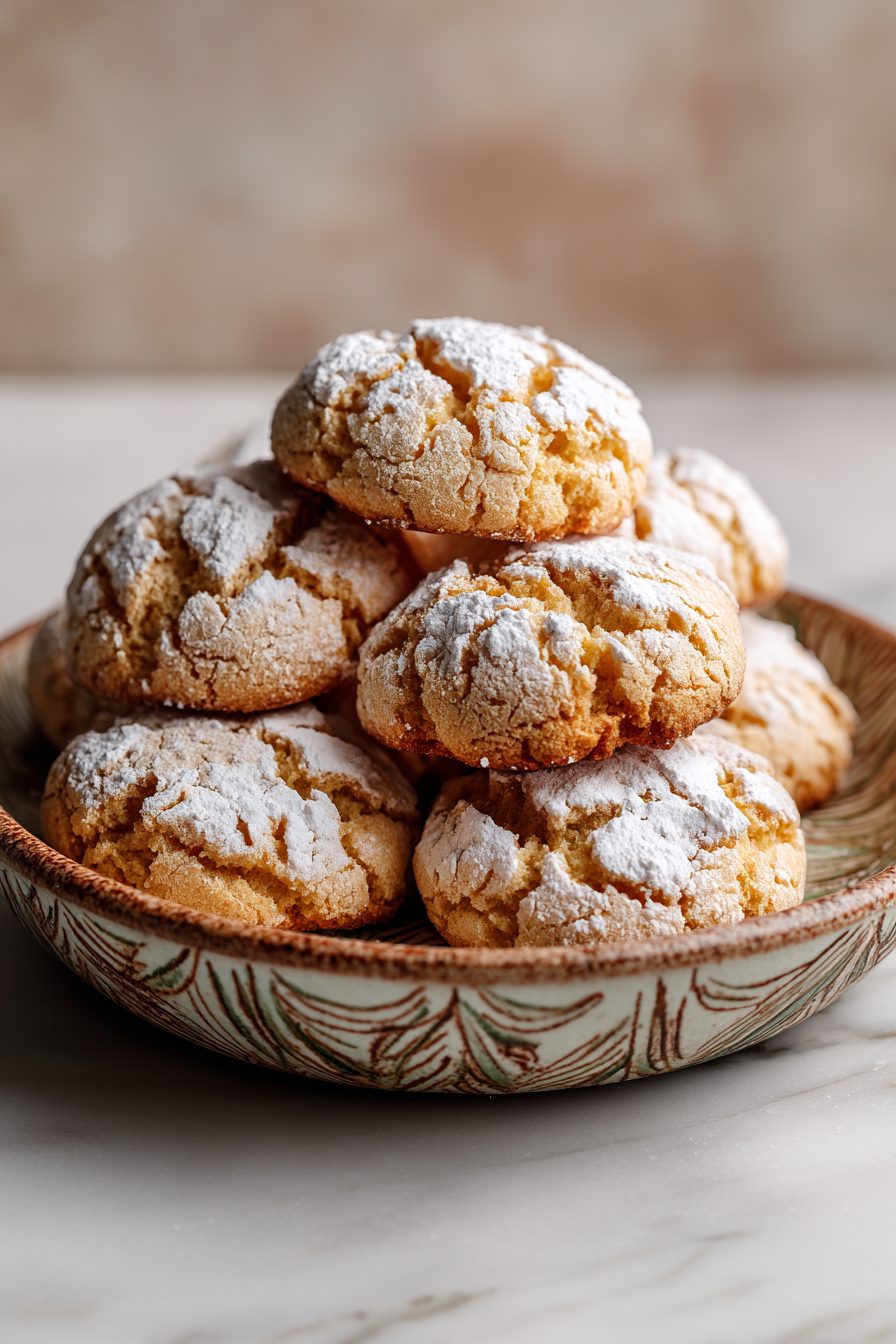
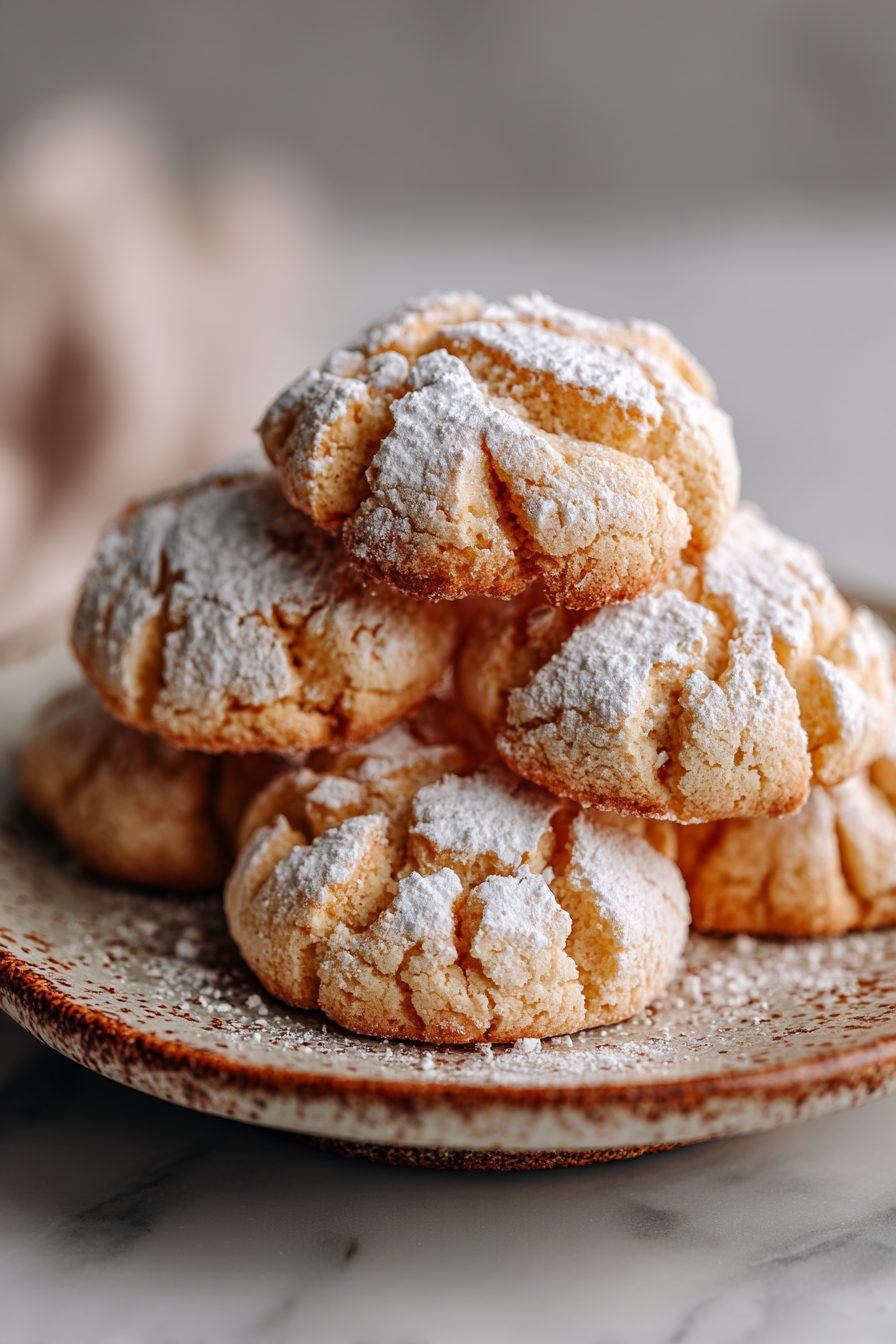
Melting Moments Made Easy
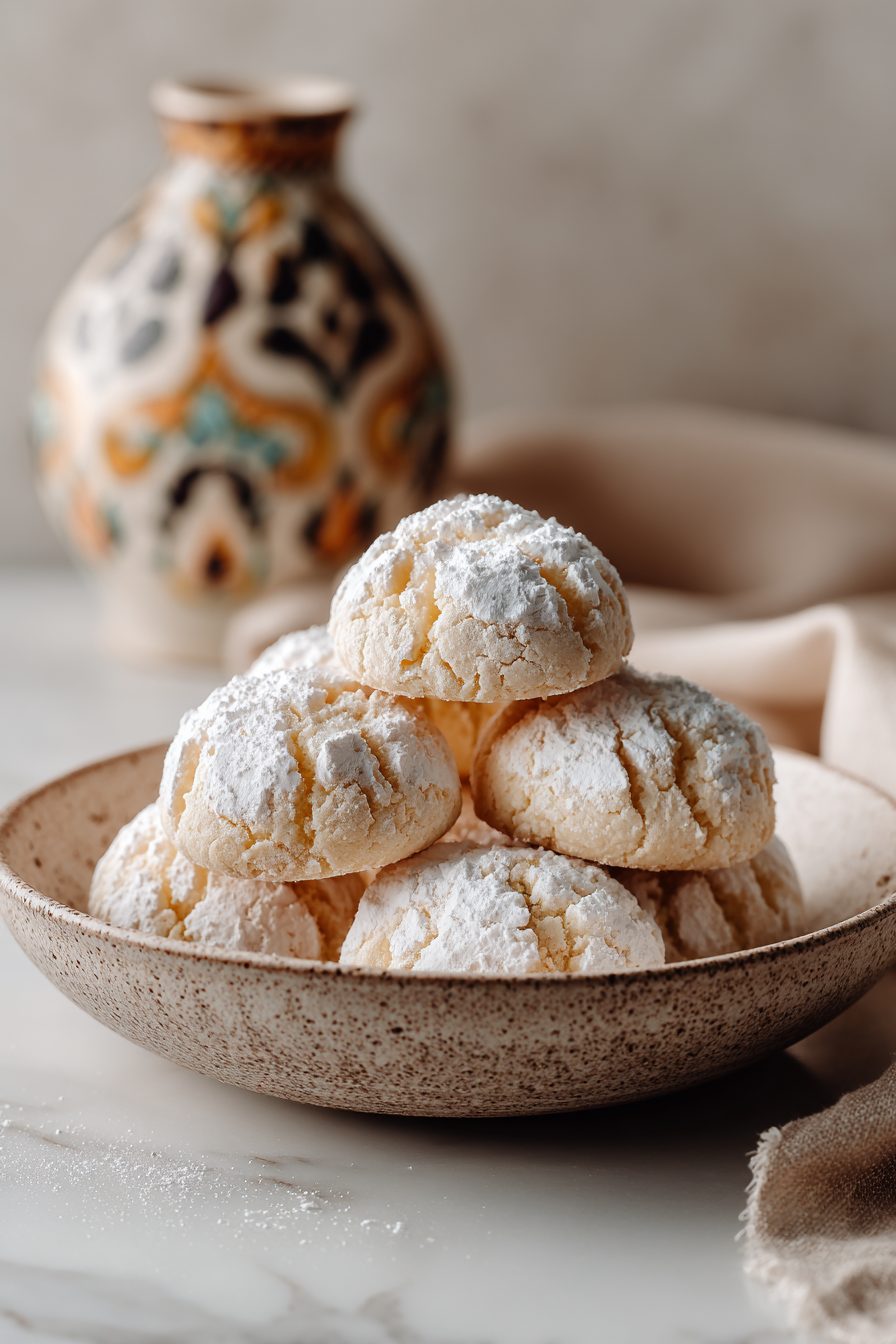
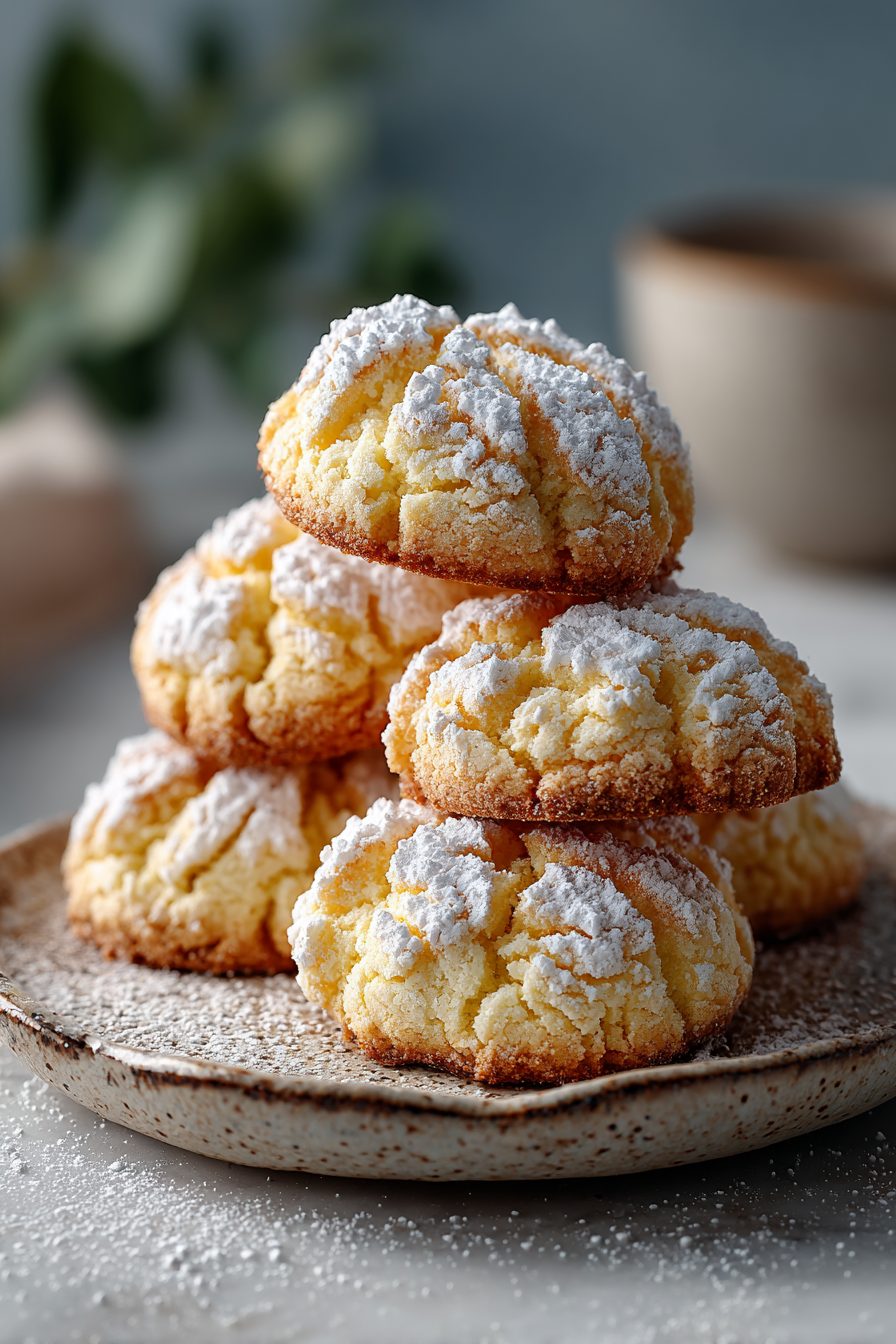
These little clouds of buttery, crumbly cookie sandwich with a dollop of jam (and a halo of desiccated coconut if you’re feeling nostalgic) are my go-to comfort bake when I want something fancy-ish with zero fuss. Melting Moments are basically shortbread that gave up being stiff and decided to collapse into buttery happiness the second you bite them. They’re special because they actually live up to the name—seriously delicate, never dry, and shockingly easy to pull off once you know the tricks.
My husband has an embarrassing relationship with these cookies. He’ll call out from the couch, “Are there any melting moments left?” like I’m hoarding treasure, and then he’ll eat three in a row and act like he discovered them. The kids dunk them in milk and then lecture me on dunking technique as if they invented gravity. I started making them because I needed a portable dessert for summer picnics, and now they’re a weekend ritual—sometimes I bake them at 1 a.m. because I can’t stop thinking about the next batch. Once I baked a tray without chilling the dough and they turned into sad little pancakes, so now I always respect the chill time like it’s sacred.
Why You’ll Love This Melting Moments Made Easy
– Tiny, tender shortbread sandwiches that feel fancy but take almost no brain power.
– Flexible—jam, buttercream, lemon curd, or just dusted with powdered sugar. All winners.
– Perfect for busy days: dough freezes, cookies keep, and they travel like champs.
– Kid-approved dunkability. Adults, too. No shame.
Kitchen Talk

I learned the hard way that overworking this dough is a mood killer—treat it gently and don’t overmix. Once I swapped half the sugar for caster sugar and the texture got silkier; another time I tried cream cheese in the filling and it was a tangy revelation (but more perishable). If you forget to chill, these will spread into flat sad biscuits—so plan for a little downtime, or pop the trays into the freezer for 10 minutes if you’re impatient. I usually bake two trays at once and pretend I’m efficient.
MORE OF OUR FAVORITE…
Shopping Tips
– Baking Basics (Flour/Sugar/Leaveners): Use all-purpose flour and a fine sugar (caster or superfine if you can) for the cleanest texture; plain baking powder isn’t usually needed for classic melting moments.
– Fats & Oils: Buy good-quality unsalted butter—this is mostly butter and flavor shows. Salted can work if you adjust, but unsalted gives you control.
– Nuts & Seeds: Optional—add finely ground almonds or hazelnuts for a richer, more tender crumb, but skip them if you want the classic melt.
– Flavor Boosts: Keep a good vanilla extract and a lemon on hand; a little vanilla or zest brightens the whole cookie.
– Chocolate: Optional for drizzling—buy a small bar of dark chocolate you like, it melts beautifully over the sandwich cookies for an adult twist.
Prep Ahead Ideas
– Make the dough one day ahead and keep it wrapped in the fridge; slice-and-bake or scoop and chill for easy morning baking.
– Pre-portion cookie rounds on a baking tray and freeze until firm, then transfer to a bag—bake straight from frozen with an extra minute or two.
– Keep jam or buttercream in a small airtight container in the fridge; assemble cookies a few hours before serving so the filling settles but doesn’t get soggy.
– Use shallow airtight tins or zip bags for storing unfilled cookies; add a sheet of parchment between layers.
Time-Saving Tricks
– Use a stand mixer or food processor for the butter + sugar step to speed things up—don’t overbeat though.
– Scoop equal balls with a small cookie scoop for even baking; fewer shape oddities, fewer rescue missions.
– Buy a good jar of jam instead of making your own unless you want to. Save that energy for eating.
– Freeze dough balls to bake off small batches whenever the craving hits.
Common Mistakes
– Overbaking—they go from soft to dry quick. Pull them when edges are just set, they’ll firm up while cooling.
– Not chilling the dough—results in thin, spread-out cookies. I made a whole tray of cookie pancakes once; we laughed and ate them anyway.
– Using cold butter—makes the dough harder to cream. Let it soften, but don’t melt it.
– Sloppy filling—too much jam and you’ll get a sticky mess; pipe or spoon a modest dollop and press gently.
What to Serve It With
– A big pot of loose-leaf tea or strong coffee—classic pairing.
– Cold milk or chocolate milk for kids (and unapologetic adults).
– Fresh berries or a simple fruit salad to cut through the butteriness.
– Toasted slices or a light lemon curd if you want a fruited spread on the side.
Tips & Mistakes
– Use room-temp butter for easy creaming; if it’s too soft, the cookies spread.
– Chill that dough—10–30 minutes can change everything.
– If cookies come out too pale but still soft, give them another 1–2 minutes; watch closely.
– If the filling oozes, scrape the excess and let them rest on a rack to set.
Storage Tips
Store assembled melting moments in an airtight container at room temp for 2–3 days. If you used cream-cheese or whipped buttercream, keep them in the fridge and bring to room temp before serving for best texture. Unfilled cookies freeze great—layer with parchment and thaw on the counter. Cold? Totally edible and oddly satisfying for breakfast. No judgments here.
Variations and Substitutions
– Jam swap: raspberry, apricot, or lemon curd are all lovely; seedless jams make neater sandwiches.
– Filling swap: stabilized whipped buttercream or cream-cheese frosting for a richer bite; keep refrigerated.
– Flour swap: try a 1:1 gluten-free blend if needed, but texture may be slightly different—more crumbly.
– Vegan: use a firm vegan butter and a plant-based cream filling; coconut coating helps disguise texture differences.
– Add-ins: fold in 2 tbsp finely ground nuts or a tablespoon of cocoa powder for chocolate melting moments.
Frequently Asked Questions
Melting Moments Made Easy
Ingredients
Main Ingredients
- 1 cup unsalted butter, softened room temperature
- 0.75 cup powdered sugar sift if lumpy
- 1.5 tsp vanilla extract
- 0.25 tsp fine salt
- 1.75 cup all-purpose flour spooned and leveled
- 0.75 cup cornstarch
- 0.25 cup powdered sugar, for dusting optional
Instructions
Preparation Steps
- Heat oven to 325°F. Line two baking sheets with parchment.
- Beat butter and powdered sugar until pale and creamy, about 2–3 minutes.
- Mix in vanilla and salt just until combined.
- Whisk flour and cornstarch together in a separate bowl.
- Add dry ingredients to the butter mixture. Mix on low until a soft dough forms.
- Chill the dough for 15 minutes to firm slightly for easier shaping.
- Scoop 1-tbsp portions, roll into balls, and set 2 inches apart on sheets.
- Gently flatten each ball with a fork or the bottom of a glass.
- Bake 12–14 minutes, until tops look dry and edges are just set without browning.
- Cool 5 minutes on the pan, transfer to a rack, then dust with extra powdered sugar.
Notes
Featured Comments
“New favorite here — absolutely loved. effortless was spot on.”
“This messy-good recipe was will make again — the crunchy really stands out. Thanks!”
“Super easy and turned out amazing! My family asked for seconds. Saving this one.”
“Super easy and absolutely loved! My family asked for seconds. Saving this one.”
“This delicate recipe was turned out amazing — the satisfying really stands out. Thanks!”
“New favorite here — turned out amazing. summer-ready was spot on.”
“New favorite here — will make again. indulgent was spot on.”
“This nourishing recipe was absolutely loved — the quick really stands out. Thanks!”
“This fluffy recipe was so flavorful — the clean really stands out. Thanks!”
“New favorite here — absolutely loved. vibrant was spot on.”