Chocolate Butterfinger Fudge Recipe
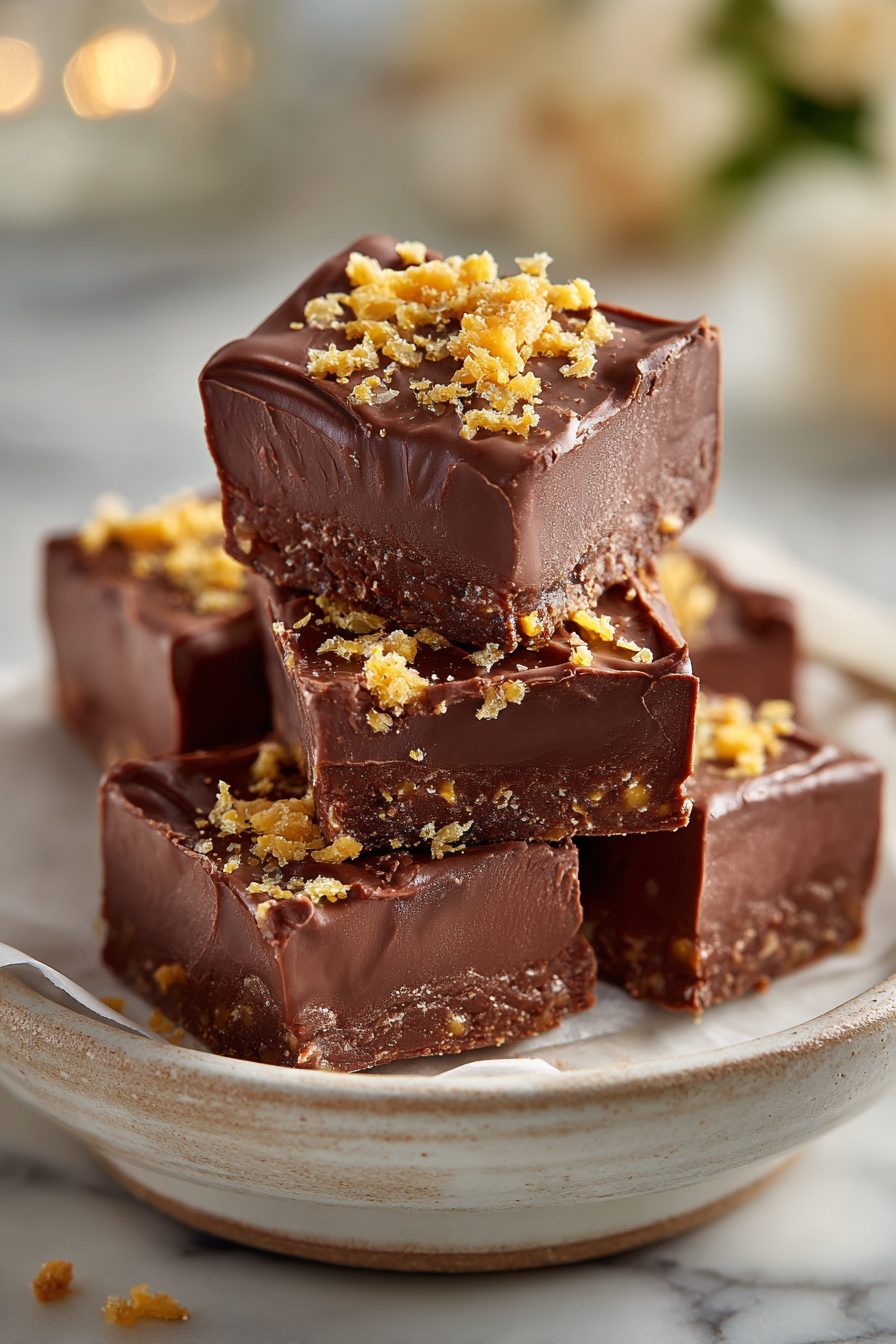
I am not kidding—this fudge is the kind of sticky, crunchy, chocolatey thing you hide in the back of the fridge and then somehow eat half of it standing over the counter at midnight. It’s basically dense chocolate fudge swirled with chopped Butterfinger pieces so you get that peanut-buttery crunch in every bite. It’s quick-ish, very giftable, and oddly comforting in a nostalgic-candy-bar way.
My little family absolutely loses it over this. My husband says it “tastes like childhood but richer,” which is his way of giving me a compliment. The kids ask for it after every soccer practice and once tried to ration the pieces with a pencil-and-paper tally that lasted approximately five minutes. I brought this to a holiday cookie exchange years ago and a neighbor actually came back to the table twice because she “needed just one more piece.” Now it’s our go-to when we need a fast treat for guests or when we need to feel like life hasn’t totally fallen apart.
Why You’ll Love This Chocolate Butterfinger Fudge Recipe
– Nostalgia hit: it’s like a Butterfinger bar met fudge and decided to live together forever.
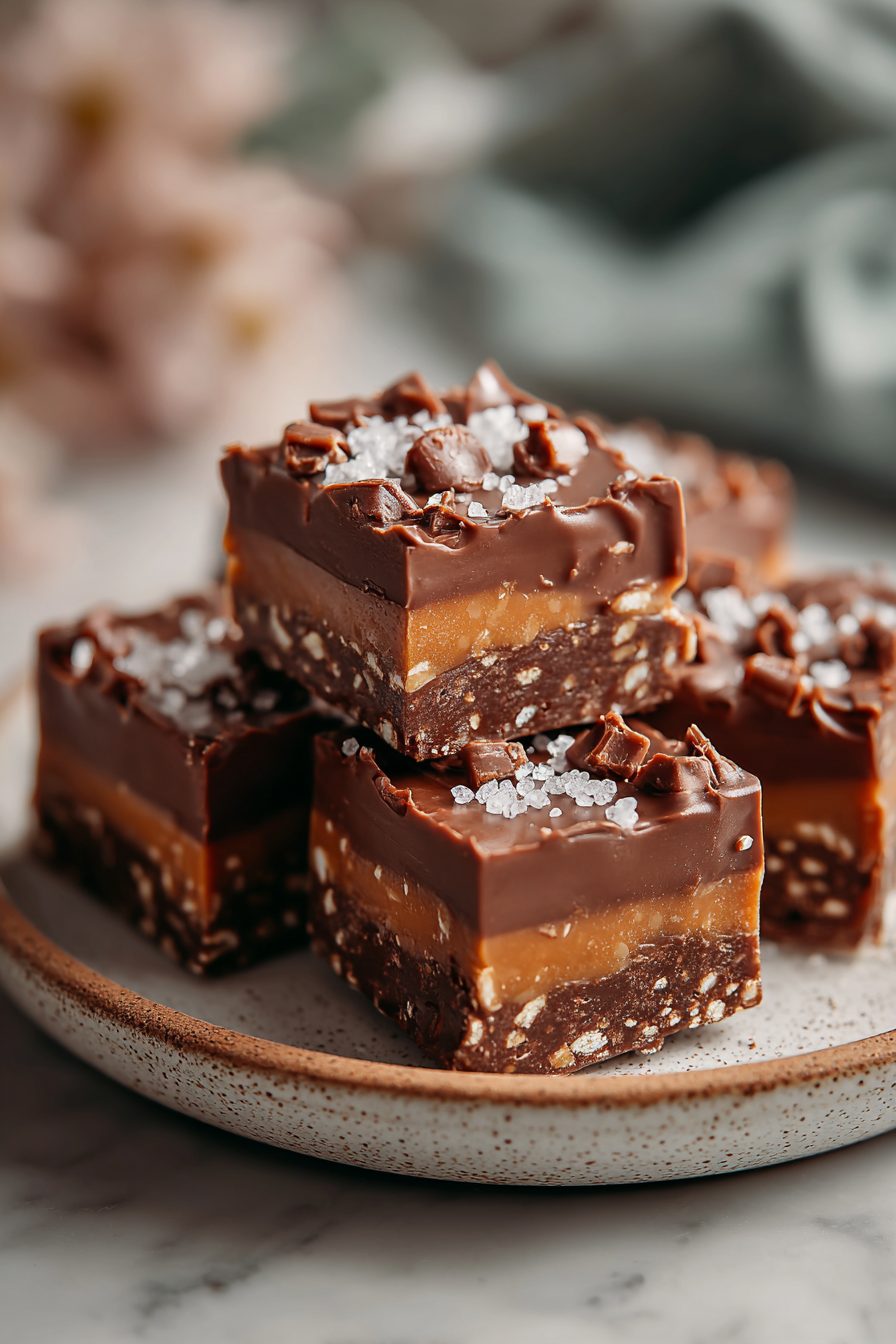
– Textural heaven: silky, dense fudge + crunchy candy = perfect contrast.
– No fancy equipment: you don’t need a candy thermometer or professional skill—just a little patience.
– Totally giftable: slice, stack, wrap—this keeps well and travels okay.
Kitchen Talk
This is one of those recipes where the kitchen gets messy and you don’t mind, because the payoff is worth the paper towel mountain. I learned early on not to pulverize the Butterfingers into dust—leave some chunky bits so you get that satisfying crunch. Also, if you microwave the chocolate too aggressively you’ll seize it; low and slow is the vibe here.
I made this Butterfinger fudge last weekend and it was such a breeze—no baking required and it came together in about 10 minutes with ingredients I already had on hand. The combination of candy corn, peanut butter, and white chocolate creates that perfect Butterfinger flavor, and my family loved the creamy texture with just the right amount of crunch. I'll definitely be making this again for holiday gifts because it's foolproof and tastes way better than store-bought!
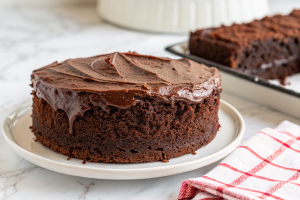
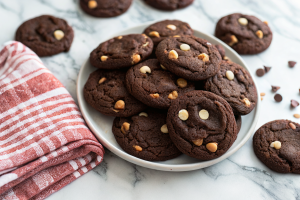
MORE OF OUR FAVORITE…
One time I swapped crushed pretzels for the Butterfingers (because I was out) and it was shockingly good—salty-sweet crunch—but it wasn’t the same, obviously. Pro tip: line your pan with parchment with big overhangs so you can yank the whole slab out in one move. It makes the whole slicing drama much easier.
Shopping Tips
– Baking Basics: Pick up sweetened condensed milk and good-quality cocoa or chocolate chips; the milk is the backbone, don’t skip it.
– Fats & Oils: Use unsalted butter so you control salt levels; if a recipe calls for “melted butter,” measure first and then melt.
– Chocolate: Semi-sweet chips or chopped dark chocolate both work—chop a bar if you want a silkier melt.
– Crunch Extras: Buy fresh Butterfinger bars and chop them yourself; pre-crushed candy or old bars can be stale and mealy.
– Specialty Item: If you want a nut-free treat, check Butterfinger labels or buy a similar chocolate crunch that’s allergy-safe.
Prep Ahead Ideas
– Chop the Butterfingers and store them airtight a day ahead so the candy is ready to fold in.
– You can make the fudge 2–3 days in advance and keep it chilled wrapped in plastic for easy gifting.
– Line your pan and measure out chocolate and condensed milk the night before to shave minutes off the actual make time.
Time-Saving Tricks
– Use pre-chopped candy or toss the bars into a zip-top and bash with a rolling pin if you don’t want to finely chop.
– Melt chocolate gently in short bursts in the microwave, stirring in between, or use a double boiler if you have one.
– Don’t rush the cooling: quick chilling can set the top weirdly—room-temp for a bit, then fridge to finish.
Common Mistakes
– Overheating the chocolate: been there, had a grainy mess. Solution: scrap it, add a little cream or start fresh with lower heat.
– Folding in crushed candy while the fudge is too hot: it can melt and go soggy—cool a touch first.
– Not lining the pan: I once tried to pry fudge from a metal pan with a spatula and it cried; use parchment and let it lift out cleanly.
What to Serve It With
– Hot coffee or espresso—cuts the richness and somehow makes it indulgent.
– A scoop of plain vanilla ice cream for a dessert plate that feels fancy without work.
– Salted nuts on the side or a small fruit bowl to add a fresh counterpoint.
– Afternoon tea or milk—classic choices that people actually appreciate.
Tips & Mistakes
– Low, gentle heat when melting chocolate; patience pays.
– Fold candy in off the heat so it stays crunchy.
– If fudge is grainy, a splash of cream and gentle stirring can sometimes smooth it out.
– Slice with a warm, clean knife for prettier edges.
Storage Tips
Keep leftover fudge in an airtight container. Room temp is fine for a couple of days, then move to the fridge to extend life to about 1–2 weeks. Cold fudge is firmer and snackable—no shame eating it for breakfast. If it’s too hard straight from the fridge, sit it at room temp 10–20 minutes before serving.

Variations and Substitutions
– Swap Butterfinger for Heath, Skor, or crushed peanut butter cups for a different crunch profile.
– For a nut-free version, confirm your candy is made in a nut-free facility or use pretzel pieces for crunch.
– Want extra peanut butter notes? Fold in a few tablespoons of creamy peanut butter to the chocolate mixture.
– Dairy-free option: try canned coconut condensed milk and a dairy-free chocolate—texture will be slightly different but still tasty.
Frequently Asked Questions
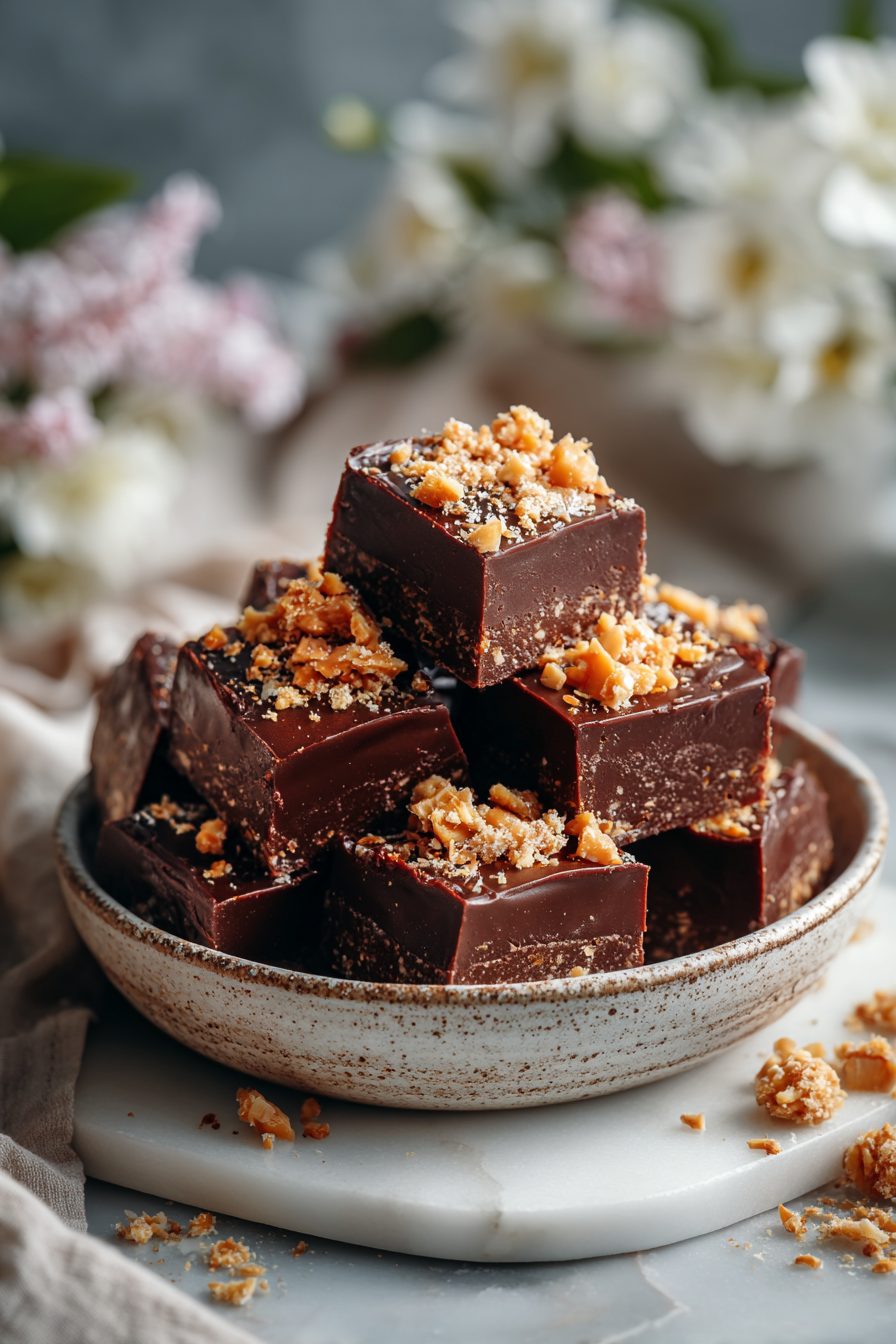
Chocolate Butterfinger Fudge Recipe
Ingredients
Main Ingredients
- 2.75 cup semi-sweet chocolate chips use good quality
- 14 oz sweetened condensed milk
- 3 tbsp unsalted butter
- 0.25 tsp fine sea salt
- 1 tsp vanilla extract
- 1.5 cup crisp peanut butter candy bars, chopped divided
Instructions
Preparation Steps
- Line an 8-inch square pan with parchment, leaving overhang; lightly grease.
- Warm a medium saucepan over low heat. Add chocolate chips, condensed milk, and butter.
- Stir constantly until smooth and glossy, 5–7 minutes. Remove from heat.
- Stir in salt and vanilla. Fold in about half the chopped candy bars.
- Spread the fudge into the pan. Sprinkle on remaining candy and gently press to adhere.
- Chill until firm, at least 2 hours. Lift out, slice into small squares, and serve.
Notes
Featured Comments
“This filling recipe was will make again — the effortless really stands out. Thanks!”
“New favorite here — so flavorful. fluffy was spot on.”
“This festive recipe was turned out amazing — the cheesy really stands out. Thanks!”
“Super easy and so flavorful! My family asked for seconds. Saving this one.”
“New favorite here — turned out amazing. satisfying was spot on.”
“This versatile recipe was absolutely loved — the rich really stands out. Thanks!”
“This bold recipe was turned out amazing — the saucy really stands out. Thanks!”
“Impressed! Clear steps and family favorite results. Perfect for busy nights.”
“Made this last night and it was so flavorful. Loved how the tender came together.”
“Impressed! Clear steps and so flavorful results. Perfect for busy nights.”