Red Velvet Cheesecake Bites
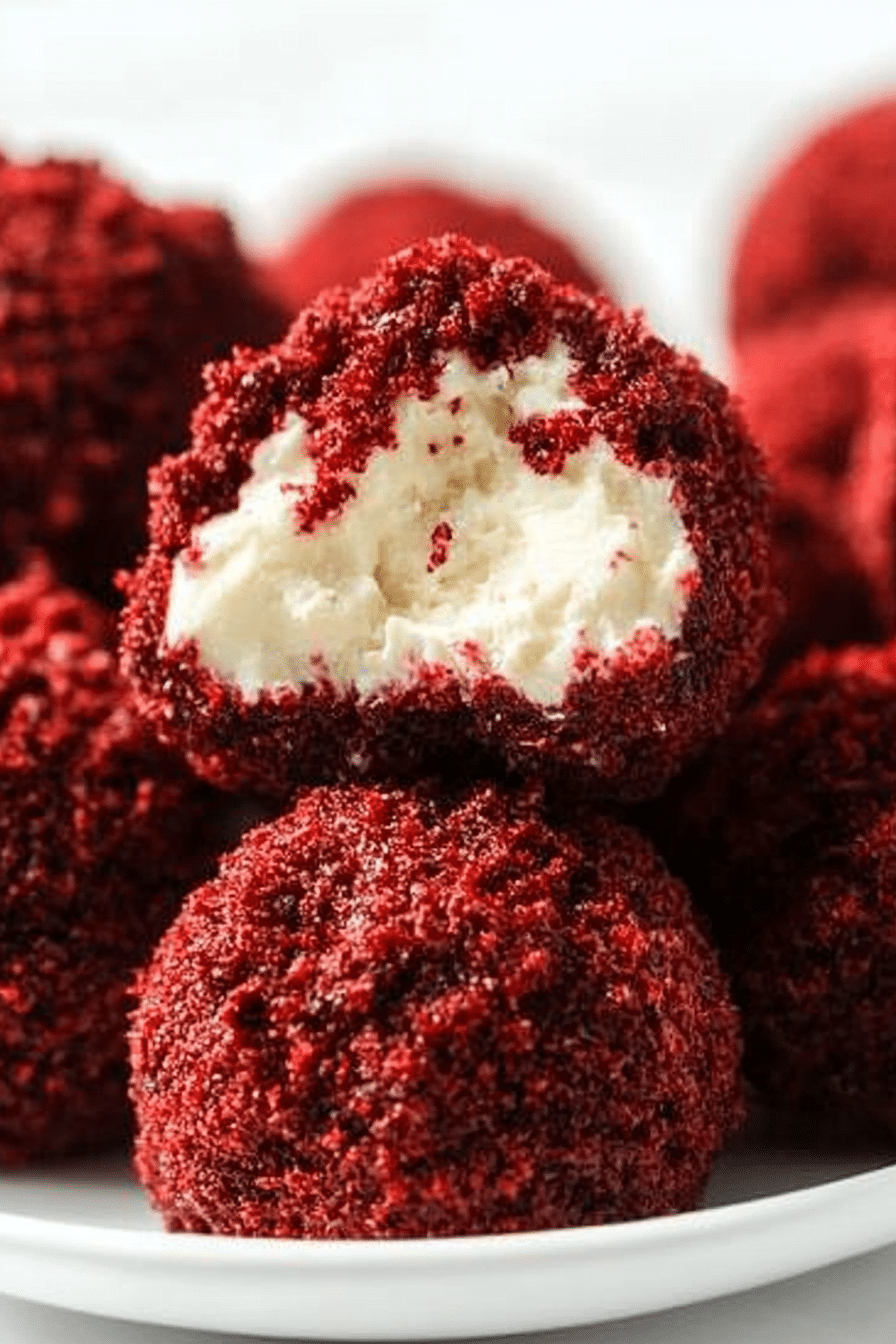
Red Velvet Cheesecake Bites combine the rich, velvety flavor of red velvet cake with the creamy decadence of cheesecake in one delightful bite-sized treat. Perfect for parties, holidays, or simply indulging your sweet tooth, these no-fuss bites are as delicious as they are beautiful.
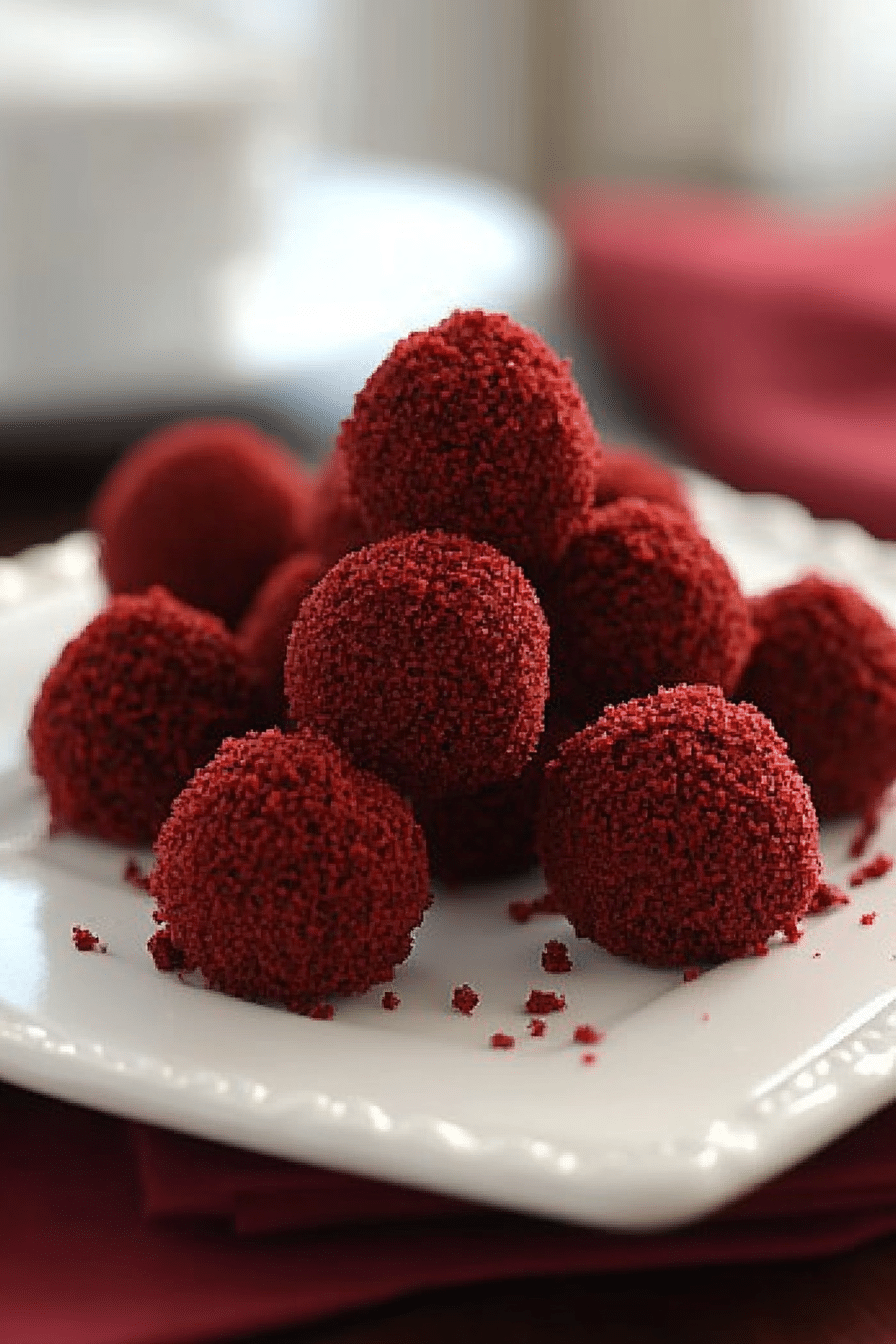
One holiday season, I decided to experiment with bite-sized desserts, something that could be enjoyed without a plate or fork. My husband loves red velvet cake, and cheesecake is my weakness, so merging the two felt like the ultimate dessert dream. When I served these at a family gathering, they disappeared before dinner even started. Now, they’re a must-make treat that my family requests for every celebration!
Why You’ll Love Red Velvet Cheesecake Bites
•Perfectly Portion-Controlled: Bite-sized for easy snacking and serving.
MORE OF OUR FAVORITE…
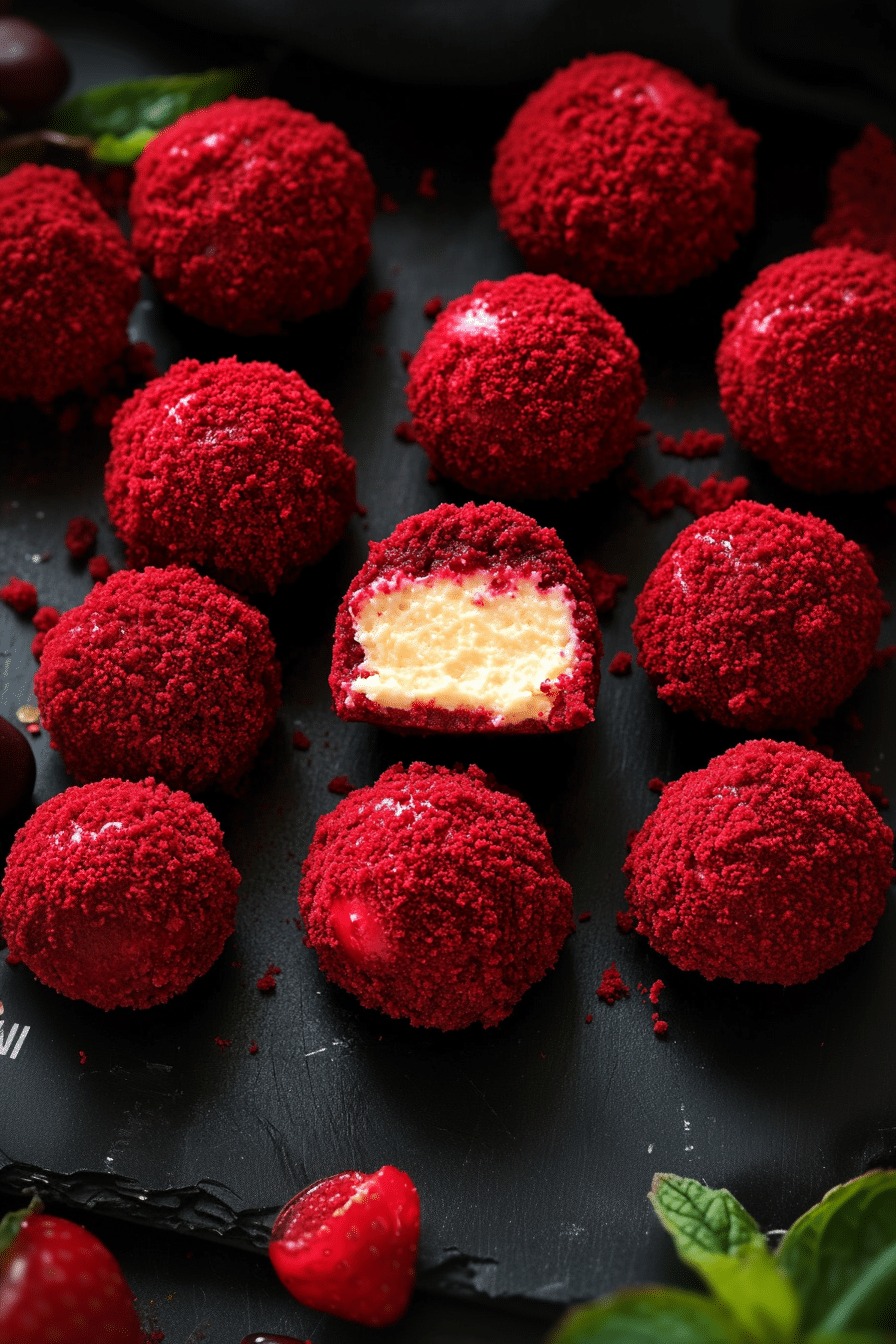
•Stunning Appearance: The vibrant red velvet base with creamy cheesecake filling is eye-catching and festive.
•Easy to Make Ahead: Great for prepping ahead of time for parties or events.
•Crowd-Pleaser: Combines two classic desserts that everyone loves.
Ingredients Notes For Red Velvet Cheesecake Bites
•Red Velvet Cake Mix: A convenient base for creating the red velvet shell.
•Cream Cheese: The star of the creamy cheesecake filling.
•Powdered Sugar: Sweetens the filling and gives it a smooth texture.
•Butter: Adds richness and helps bind the mixture.
•Vanilla Extract: Enhances the flavor of the cheesecake filling.
•White Chocolate (Optional): For drizzling or dipping the bites for added indulgence.
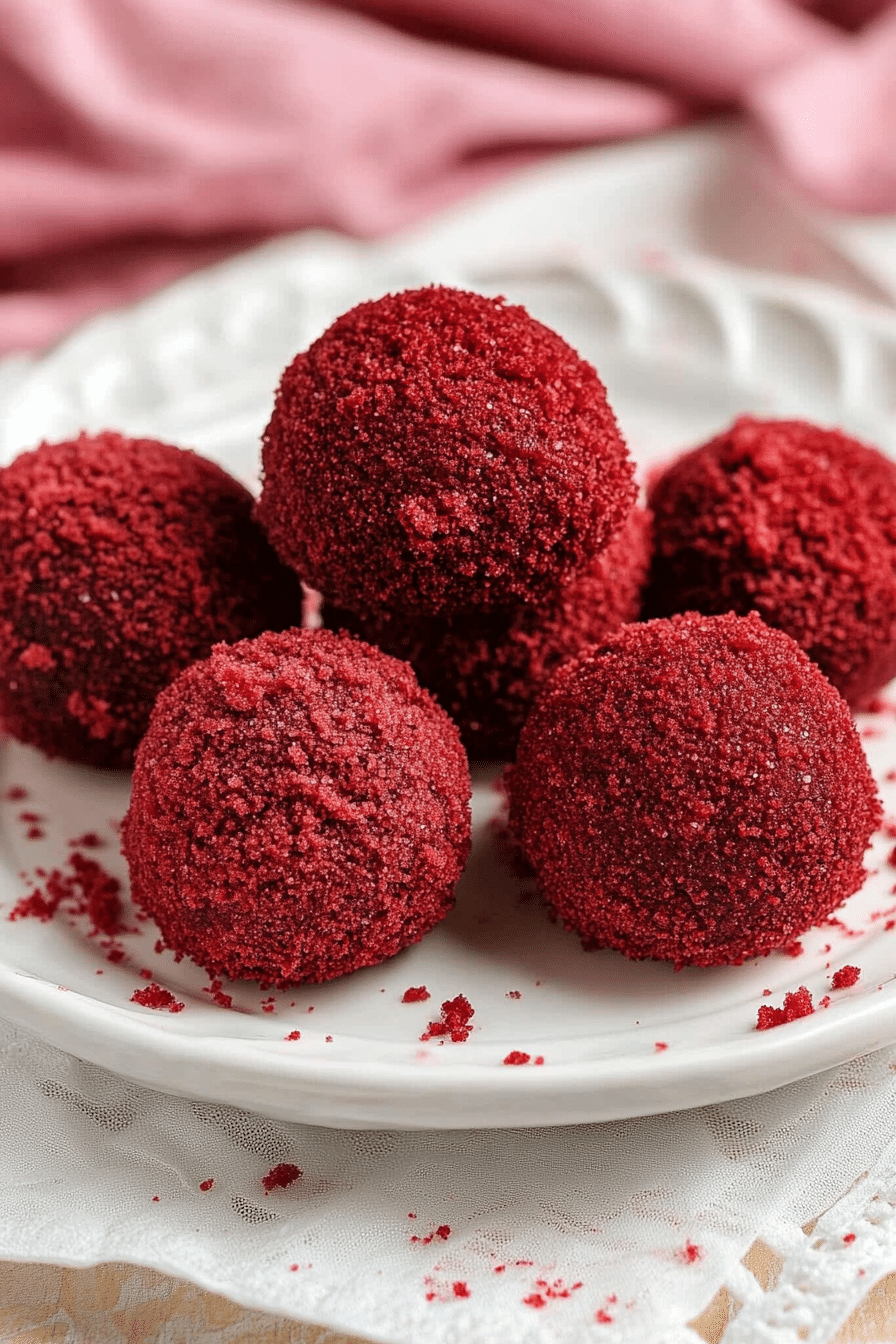
Recipe Steps
1.Prepare the Red Velvet Base:
•Mix the red velvet cake mix, butter, and eggs according to package instructions. Roll into small balls and bake until firm. Cool completely.
2.Make the Cheesecake Filling:
•Beat cream cheese, powdered sugar, and vanilla extract until smooth and creamy.
3.Assemble the Bites:
•Hollow out the center of each red velvet ball. Fill with the cheesecake mixture using a piping bag or spoon.
4.Optional Drizzle or Dip:
•Dip each bite in melted white chocolate or drizzle it over the top for an extra touch of sweetness.
5.Chill and Serve:
•Refrigerate the bites for at least 30 minutes before serving to set the filling.
Storage Options
•Refrigerator: Store in an airtight container for up to 5 days.
•Freezer: Freeze for up to 2 months. Thaw in the refrigerator before serving.
Variations & Substitutions
•Chocolate Lovers: Use chocolate cake mix instead of red velvet for a new twist.
•Decorative Touch: Top with sprinkles, crushed cookies, or a dusting of cocoa powder.
•No-Bake Option: Use pre-made red velvet cookies or brownies as the base.
Frequently Asked Questions
Q: Can I make these gluten-free?
Yes! Use a gluten-free red velvet cake mix for a delicious gluten-free option.
Q: Can I skip the white chocolate drizzle?
Absolutely! The bites are just as delicious without the extra chocolate.
Q: How far in advance can I make these?
You can prepare these bites up to 2 days ahead for the best flavor and texture.
With their luxurious flavor and elegant presentation, Red Velvet Cheesecake Bites are sure to be the highlight of any dessert table. They’re small enough to indulge in one (or two… or three) without guilt but packed with all the flavors you love. 🎂❤️🧀
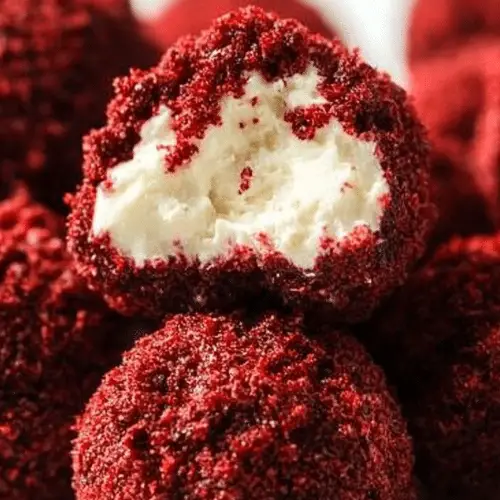
Red Velvet Cheesecake Bites
Rate This Yum Pin This Recipe For Later! Share The Yum On Facebook PrintIngredients
- For the Cheesecake Filling:
- 8 oz cream cheese softened
- 1/4 cup powdered sugar
- 1/2 teaspoon vanilla extract
- For the Red Velvet Cake:
- 1 box 15.25 oz red velvet cake mix
- 1/3 cup vegetable oil
- 2 large eggs
- For the Coating:
- 2 cups semi-sweet chocolate chips or melting wafers
- 1 tablespoon coconut oil or vegetable oil optional, for smooth melting
Instructions
- Prepare the Cheesecake Filling:
- Mix the Filling:
- In a bowl, beat the cream cheese, powdered sugar, and vanilla extract until smooth and creamy. Cover and refrigerate for 30 minutes.
- Prepare the Red Velvet Cake:
- Preheat Oven:
- Preheat your oven to 350°F (175°C). Line a 9x13-inch baking pan with parchment paper or grease it lightly.
- Mix the Cake Batter:
- In a large bowl, combine the red velvet cake mix, vegetable oil, and eggs. Stir until a dough forms.
- Bake:
- Spread the dough evenly into the prepared pan and bake for 20-25 minutes, or until a toothpick inserted into the center comes out clean. Allow the cake to cool completely.
- Assemble the Bites:
- Form the Bites:
- Crumble the cooled red velvet cake into fine crumbs in a large bowl. Add the chilled cheesecake filling and mix until fully combined and the mixture holds together.
- Shape:
- Roll the mixture into 1-inch balls and place them on a parchment-lined baking sheet. Refrigerate for 30 minutes.
- Coat the Bites:
- Melt the Chocolate:
- In a microwave-safe bowl, melt the chocolate chips and coconut oil in 20-second intervals, stirring until smooth.
- Dip the Bites:
- Using a fork or dipping tool, coat each cheesecake bite in melted chocolate. Place them back on the parchment-lined sheet and let the chocolate set.
- Decorate (Optional):
- Drizzle additional melted white chocolate or sprinkle with red velvet crumbs for a decorative touch.
- Chill and Serve:
- Chill:
- Refrigerate for at least 15 minutes to set the chocolate fully. Serve chilled or at room temperature.
Featured Comments
“Super easy and absolutely loved! My family asked for seconds. Saving this one.”
“Made this last night and it was so flavorful. Loved how the zesty came together.”
“Super easy and absolutely loved! My family asked for seconds. Saving this one.”
“This perfectly seasoned recipe was turned out amazing — the guilt-free really stands out. Thanks!”
“This delicate recipe was turned out amazing — the crunchy really stands out. Thanks!”
“New favorite here — turned out amazing. comforting was spot on.”
“Super easy and so flavorful! My family asked for seconds. Saving this one.”
“Impressed! Clear steps and family favorite results. Perfect for busy nights.”
“This crunchy recipe was will make again — the clean really stands out. Thanks!”
“Made this last night and it was family favorite. Loved how the creamy came together.”

