Hot Chocolate Bomb Truffles Recipe
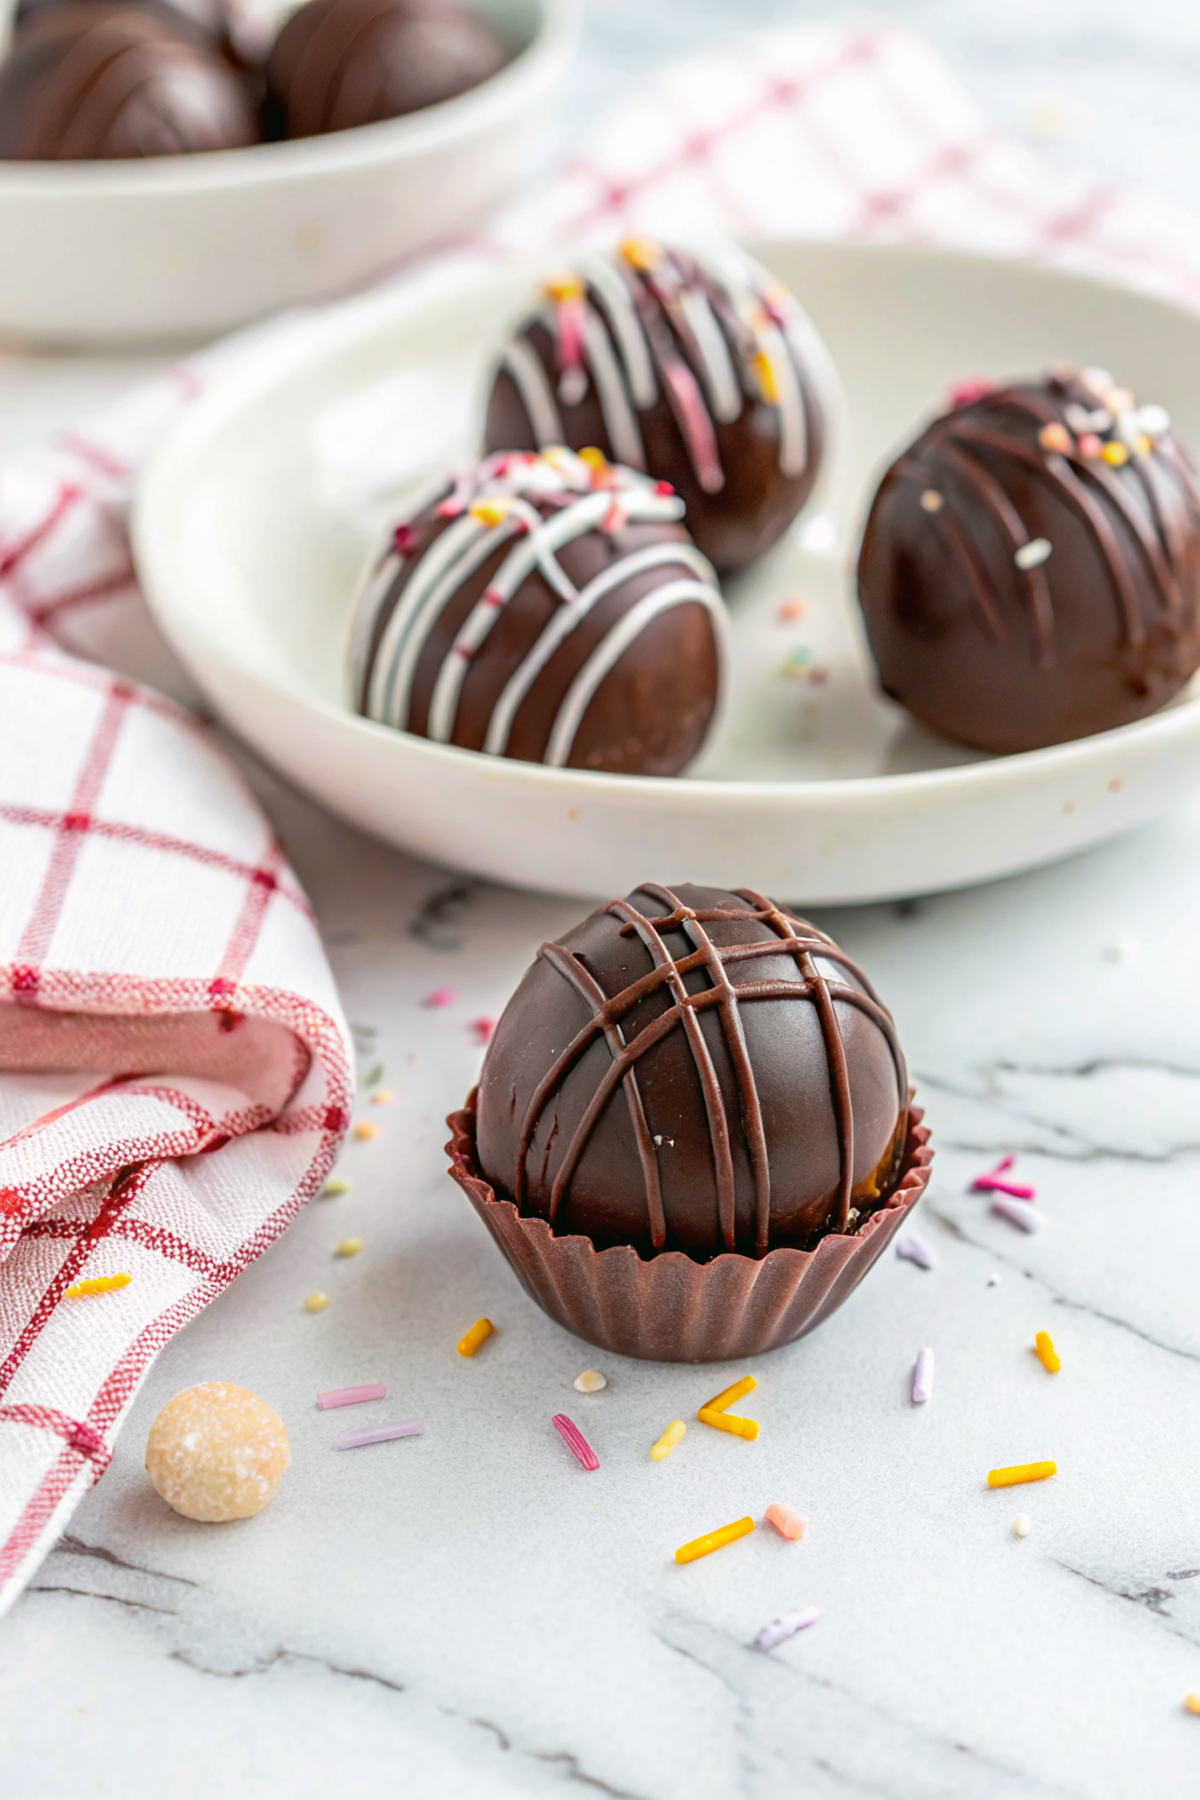
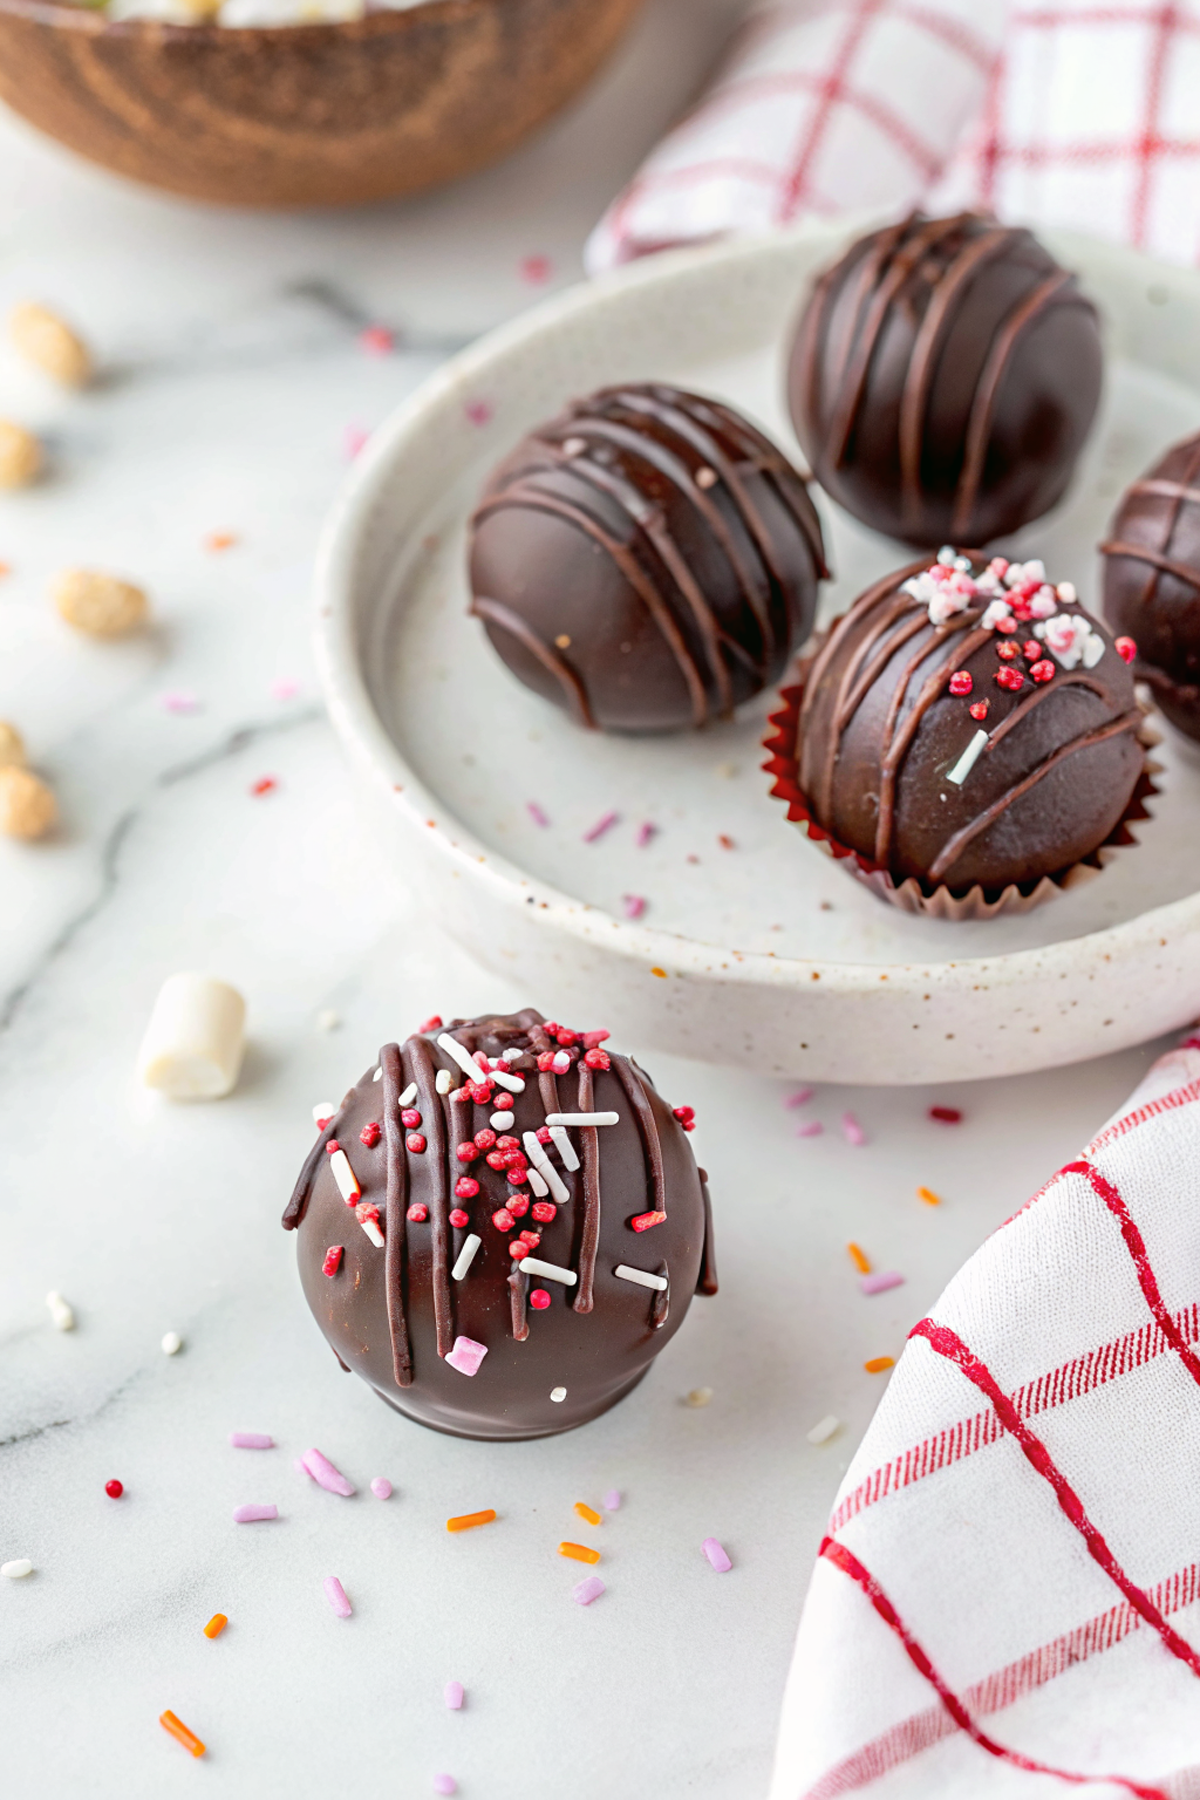
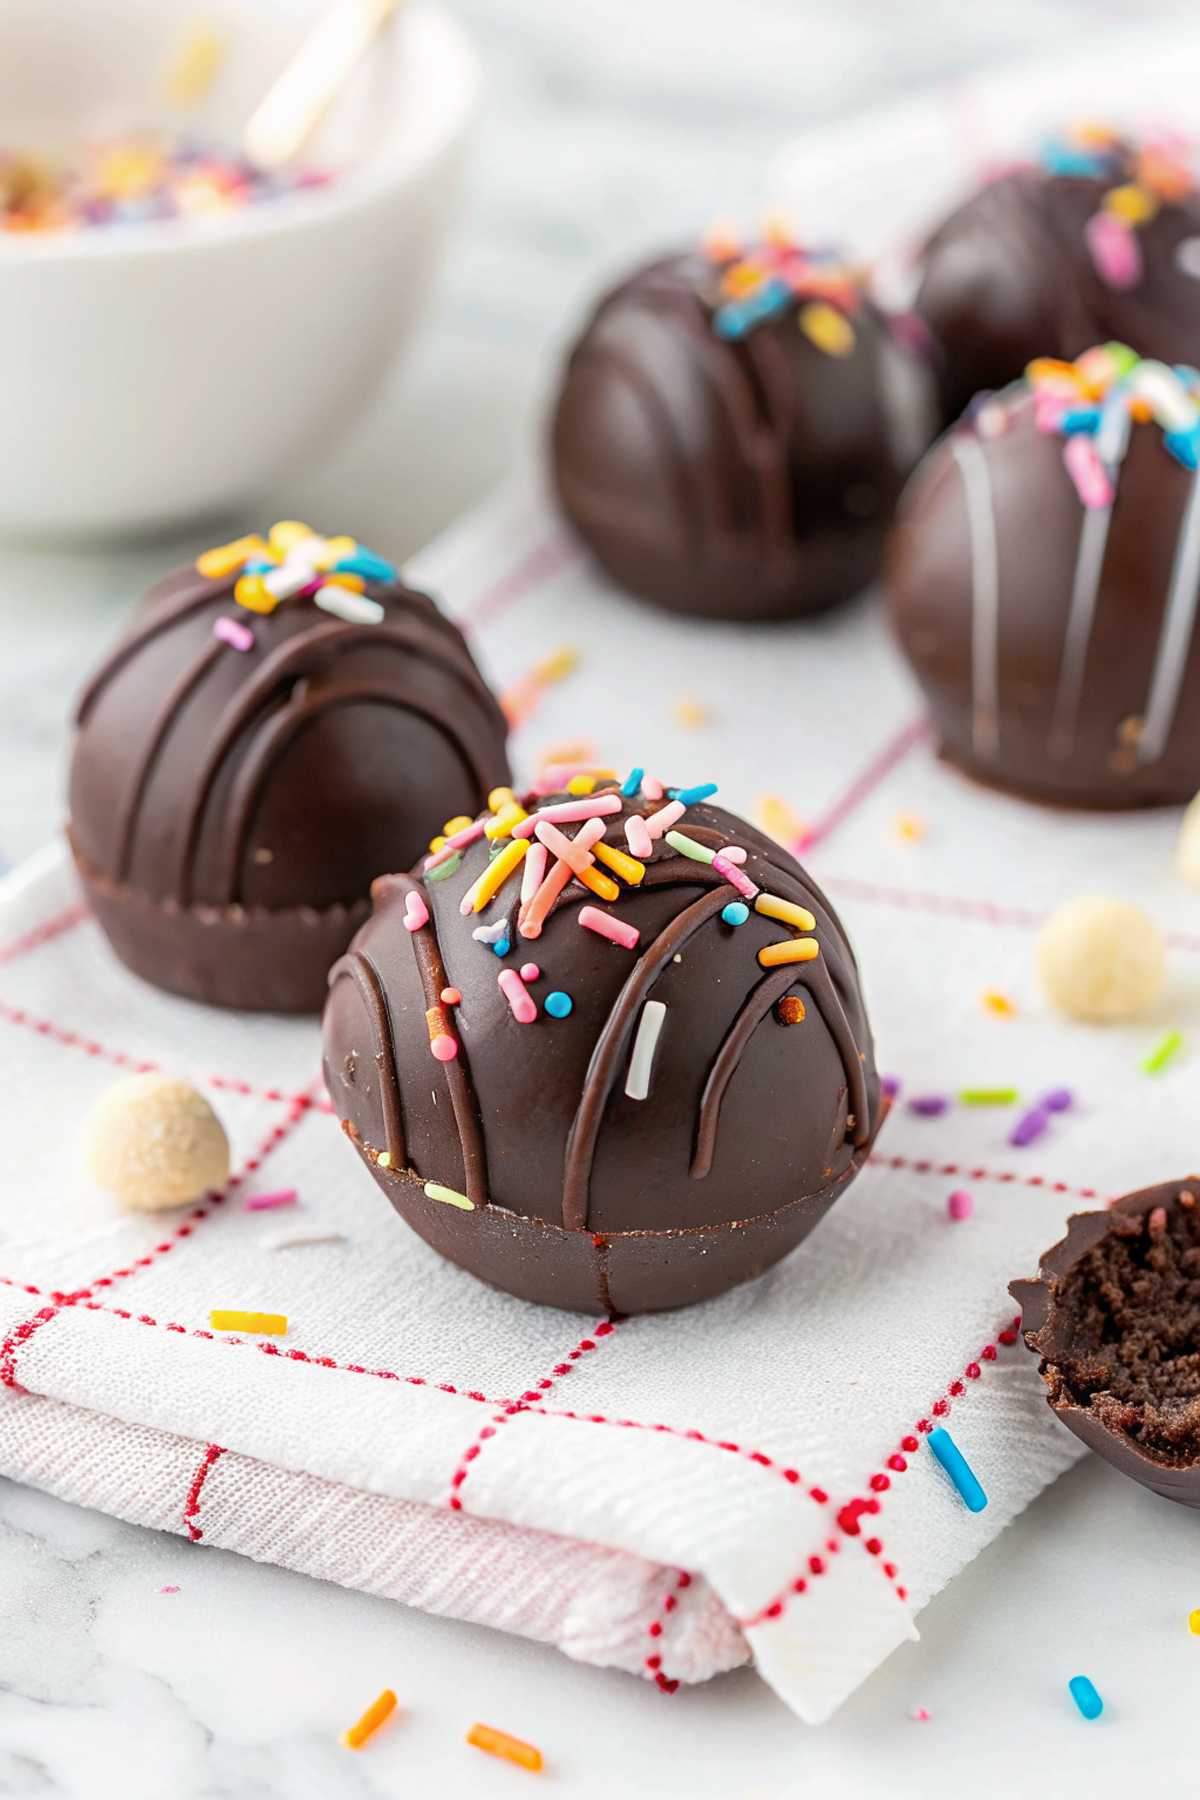
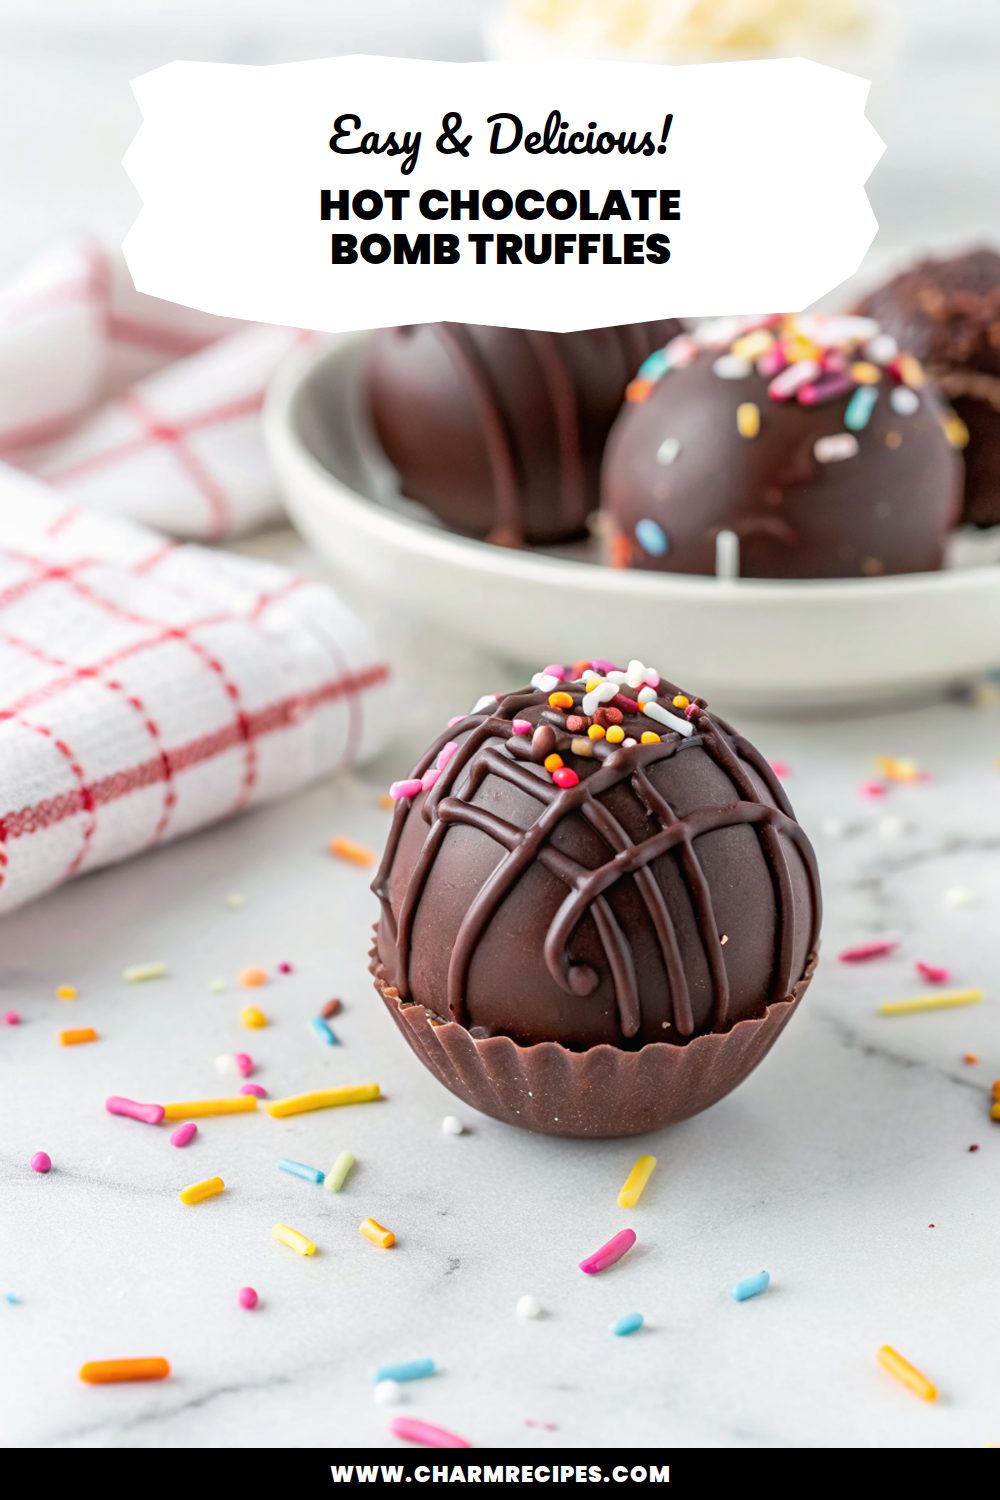
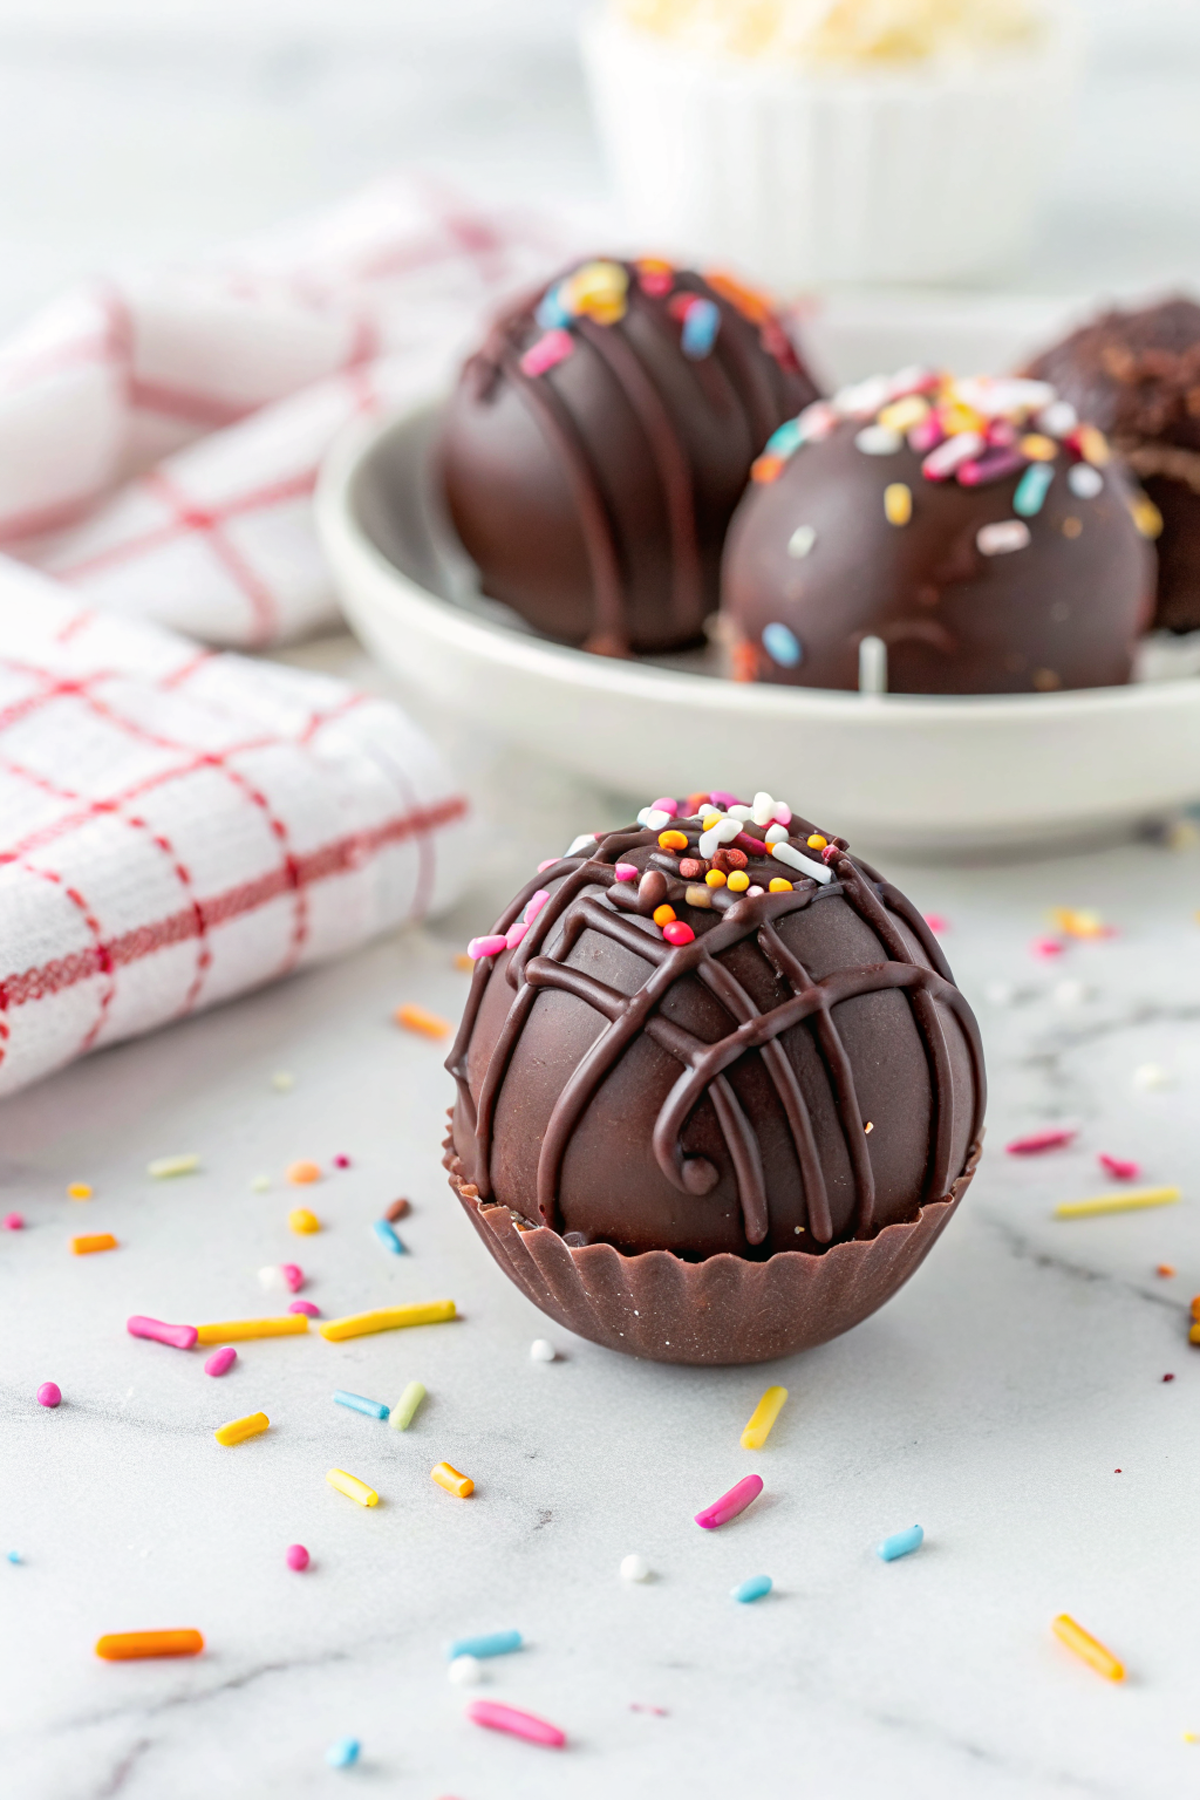
These hot chocolate bomb truffles are little hollow chocolate spheres filled with instant hot cocoa mix and mini marshmallows that melt into a rich, comforting cup when you pour hot milk over them. They have a crisp chocolate shell, a quick burst of gooey marshmallow, and a creamy, instant-hot-cocoa center—perfect for gifting or a cozy night in.
They’re surprisingly easy to make at home with only a few tools: chocolate, a sphere mold (or silicone hemisphere mold), instant cocoa, and mini marshmallows. You don’t need perfect tempering to get good results—just smooth melted chocolate, a steady hand, and short chilling times.
Why This Hot Chocolate Bomb Truffles Recipe Works
1. Thin but sturdy chocolate shells give a crisp snap and melt quickly in hot milk for instant cocoa.
2. Using instant hot cocoa mix keeps flavor consistent and dissolves smoothly without clumping.
3. Mini marshmallows add texture and a melty center that makes each cup feel indulgent.
4. Simple assembly and a short chill time make these doable for a weekend project or small-batch gifts.
Ingredients




A short note: these are the main components; the recipe card has exact amounts and any optional toppings.
MORE OF OUR FAVORITE…
– Good-quality chocolate: Use couverture or chocolate chips (dark, milk, or semi-sweet) for the shells — better flavor and snap; compound chocolate is an easier no-temper option.
– Instant hot cocoa mix: The flavored center that dissolves in milk; choose regular or low-sugar depending on sweetness preference.
– Mini marshmallows: Small marshmallows fit inside the shells and melt nicely; marshmallow bits work too.
– Heavy cream or ganache (optional): If you want truffle-style centers rather than instant-mix bombs, a small dollop of ganache adds richness.
– Toppings (optional): Crushed candy cane, sprinkles, sea salt, or melted contrasting chocolate for decorating and sealing.
– Neutral oil or coconut oil (optional): A teaspoon can smooth melted chocolate and help set a glossy finish if not tempering.
Substitutions and Variations
– Use melting wafers or compound chocolate instead of tempered couverture; you’ll lose a bit of snap but gain ease.
– Swap instant cocoa mix for homemade mix (cocoa powder + sugar + powdered milk); it dissolves just as well but may be less sweet.
– Replace mini marshmallows with marshmallow fluff (a small piped dollop) for fewer air gaps and a gooier melt.
– Add a teaspoon of flavored liqueur (Baileys, Kahlua) to a ganache center for adult truffle bombs — they won’t be shelf-stable.
– Mix in a pinch of cinnamon or instant espresso powder to the cocoa mix for a flavor boost.
How to Make Hot Chocolate Bomb Truffles Recipe
This is a short summary; the full recipe card lists exact amounts, temperatures, and timing.
1. Melt chocolate gently in a microwave (short bursts) or over a double boiler until smooth and slightly cooled.
2. Brush or spoon chocolate into silicone hemisphere molds, making sure the layer is even; chill until set and repeat if you need thicker shells.
3. Remove set hemispheres from molds, fill each with 1–2 teaspoons of instant cocoa mix and a few mini marshmallows (or a small ganache dollop).
4. Warm a rim (or a small plate) and press two hemispheres together to seal; wipe excess and smooth seam with a little melted chocolate.
5. Chill the sealed bombs briefly to set, then dip or drizzle with extra chocolate and add toppings if desired.
6. Let the decorations set fully, then store in an airtight container until ready to use.
7. To serve, place a truffle in a mug and pour 8–10 oz of hot milk over it, stirring until fully melted.
Tips for the Best Results
1. Make the shell 2–3 mm thick for structure without excessive breakage when pouring hot milk.
2. Keep melted chocolate at a steady warm temperature — too hot will thin it too much, too cool makes it clumpy.
3. Chill hemispheres just until set; over-chilling can make them brittle and prone to cracking when joined.
4. Warm the rim briefly (on a warm plate or with a warm spatula) before sealing to ensure a clean bond.
5. If using tempered chocolate, aim for glossy finish and snap; if not, use a neutral oil to add shine.
Common Mistakes
– Shells too thin and they crack when sealed — fix by adding another thin coat of chocolate and chilling again.
– Chocolate seizes from steam or moisture — dry tools and avoid water near melting chocolate; discard and restart if seized.
– Overfilling causes leaking when sealed — use measured spoonfuls and leave a small gap at the rim.
– Poor seal because rims weren’t warmed — lightly warm the rim or use a dab of melted chocolate to glue halves.
– Dull, whitish bloom after storage in warm/cold cycles — store at stable cool temperature; bloom affects appearance only, not safety.
Storage
Storing: Keep finished truffles in an airtight container at cool room temperature away from direct heat or sunlight. They’ll keep well for about 1–2 weeks depending on fillings.
Freezing: You can freeze the bombs for up to 2 months. Pack in a single layer in an airtight container, then thaw slowly in the fridge before bringing to room temperature to avoid condensation.
Reheating or serving later: For serving, pour hot (not boiling) milk over the bomb in a mug and stir until fully dissolved. If the bomb has been refrigerated, let it sit 10–15 minutes at room temperature first.
How to Serve Hot Chocolate Bomb Truffles Recipe
– Place one bomb in a mug and pour 8–10 oz hot milk over it, stir to combine.
– Serve with whipped cream and extra mini marshmallows on top.
– Pair with a simple shortbread or biscotti for dipping.
– Package several in a cellophane bag with a ribbon as a homemade gift.
More Helpful Notes
– Use a silicone hemisphere mold for easiest release; metal molds need careful greasing and more temper control.
– Mini marshmallows expand slightly when heated—don’t overfill the cavity.
– If you want glossy, snap shells without tempering, use compound chocolate specifically made for coating.
– Label any with boozy ganache clearly if giving to others.
Frequently Asked Questions
Hot Chocolate Bomb Truffles Recipe
Ingredients
Main Recipe
- 9 oz dark chocolate bar finely chopped
- 7 tbsp powdered hot chocolate mix
- 1 cup mini marshmallows
- fine sea salt pinch, optional
- 3/4 cup boiled water optional, for warming a plate
- 4 to 6 cups hot milk for serving
- chocolate sprinkles or shaved chocolate for garnish
Instructions
Preparation Steps
- Set up a sealing surface: Warm a small nonstick skillet over low heat for 1 minute, then turn it off. Alternative: Microwave 3/4 cup water in a heatproof measuring cup until steaming and set a plate on top to warm.
- Melt the chocolate using a seed-and-stir method. Place about 6 oz of the chopped chocolate in a microwave-safe bowl and heat at 60% power in 30-second bursts, stirring between each. When smooth, stir in the remaining 3 oz until glossy and fluid.
- First coat: Spoon a little melted chocolate into each mold cavity and use the back of a spoon to paint it up the sides. Tap the mold to release air bubbles. Refrigerate 8–10 minutes until set.
- Second coat: Add more chocolate to reinforce thin spots, especially around the rims. Chill again for 10–12 minutes until fully firm.
- Unmold the shells gently. Level the edges by touching the cut side of each half-sphere to the warm skillet or warmed plate for 1–2 seconds.
- Fill the bottoms: Set 6 shells in cupcake liners. Add about 1 heaping tablespoon hot chocolate mix and a few mini marshmallows to each; add a tiny pinch of sea salt if using. Let the filled shells rest 2 minutes so the chocolate relaxes (reduces cracking).
- Seal: Warm the rim of an unfilled top shell on the skillet or plate for 1–2 seconds and press onto a filled half to close. If needed, swipe a little melted chocolate along the seam. Refrigerate 12–15 minutes to set.
- Finish and garnish: Re-melt a couple tablespoons of leftover chocolate in short bursts until fluid. Drizzle over the bombs and top with sprinkles or shaved chocolate. Let stand 5–10 minutes to firm up.
- To serve: Place one bomb in a mug and pour 8–10 fl oz very hot milk over it. Stir until the shell melts and the cocoa is combined.
Notes
Featured Comments
“Super easy and so flavorful! My family asked for seconds. Saving this one.”
“New favorite here — turned out amazing. buttery was spot on.”
“Super easy and family favorite! My family asked for seconds. Saving this one.”
“This flavorful recipe was absolutely loved — the buttery really stands out. Thanks!”
“Made this last night and it was absolutely loved. Loved how the vibrant came together.”
“Super easy and turned out amazing! My family asked for seconds. Saving this one.”
“Impressed! Clear steps and turned out amazing results. Perfect for busy nights.”
“Impressed! Clear steps and turned out amazing results. Perfect for busy nights.”
“Impressed! Clear steps and family favorite results. Perfect for busy nights.”
“Impressed! Clear steps and turned out amazing results. Perfect for busy nights.”