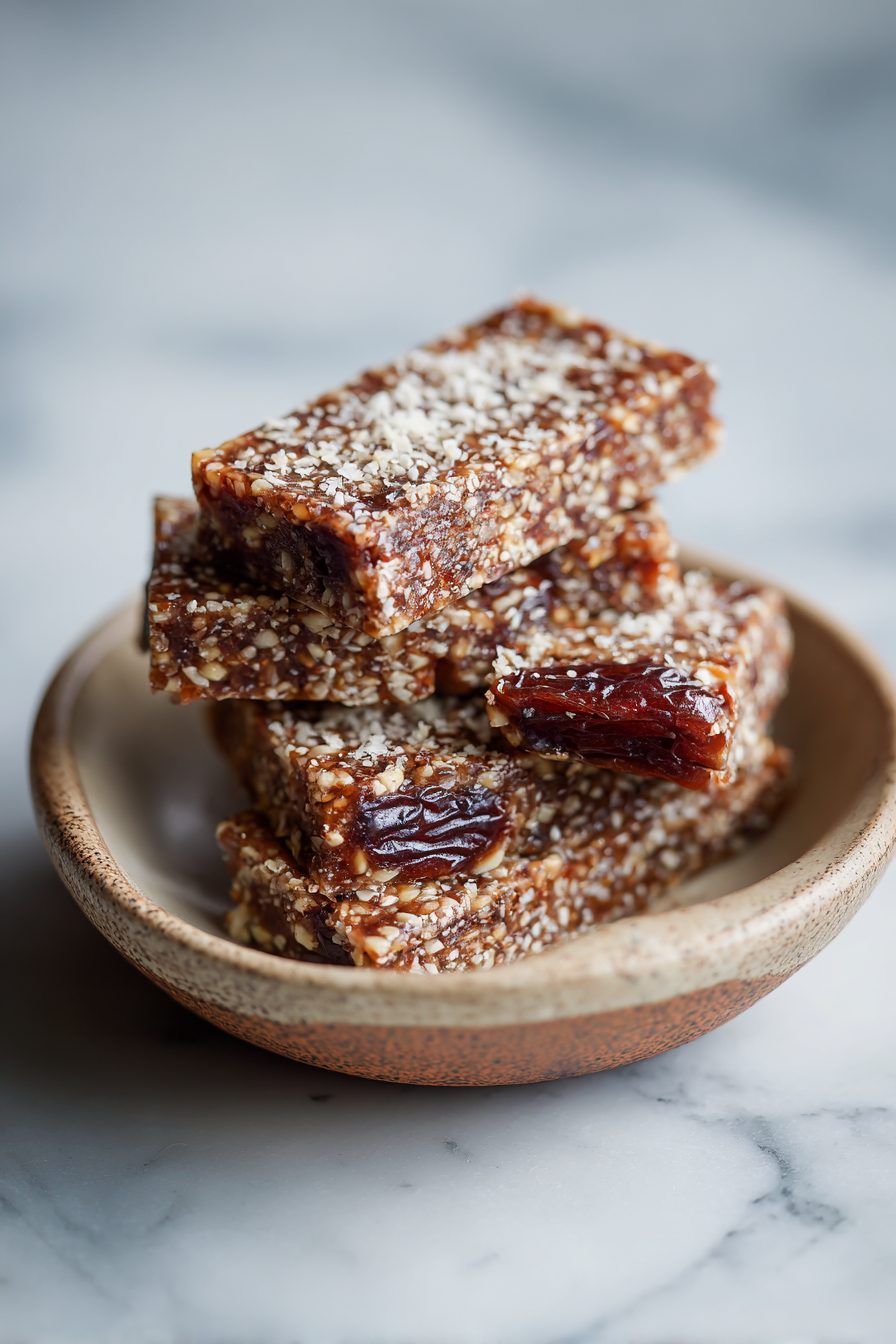
No-Bake Vegan Date Energy Bars
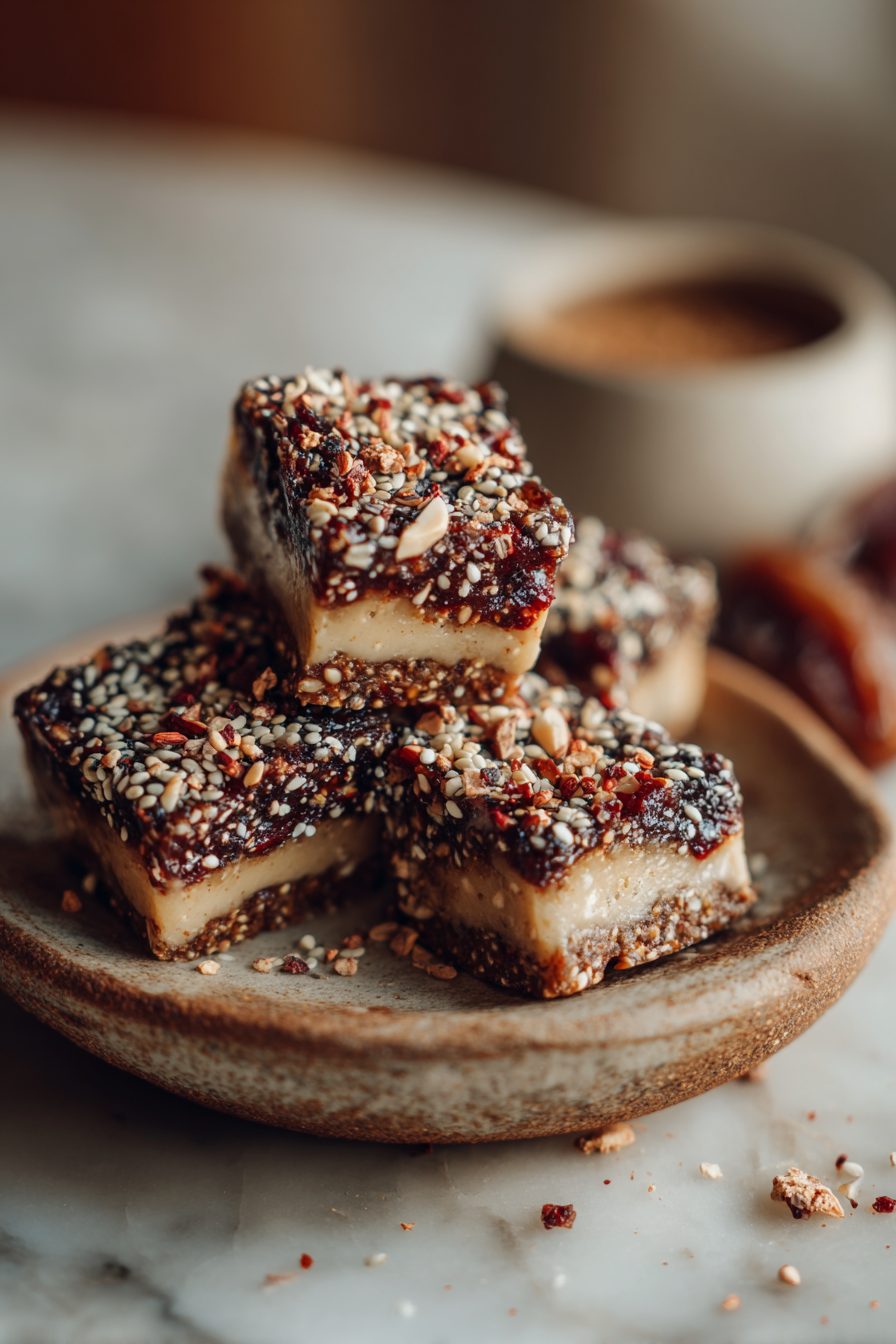
I don’t know about you, but I need snacks that feel like dessert and actually behave like real food. These date-and-nut bars are chewy, slightly sticky, sweet without being cloying, and they travel — which means fewer hanger incidents in my car. No oven, no guilt, just a food processor and a tiny willpower problem.
My husband calls them “the emergency bars” because he disappears into the garage with one whenever a project goes long. The kiddo once traded a Lego for a bar (I didn’t enforce fairness, I admired negotiation skills). They’re one of those recipes that landed in regular rotation after a single test run when I realized I could make a batch and stop buying overpriced energy bars at the gas station.
Why You’ll Love This No-Bake Vegan Date Energy Bars
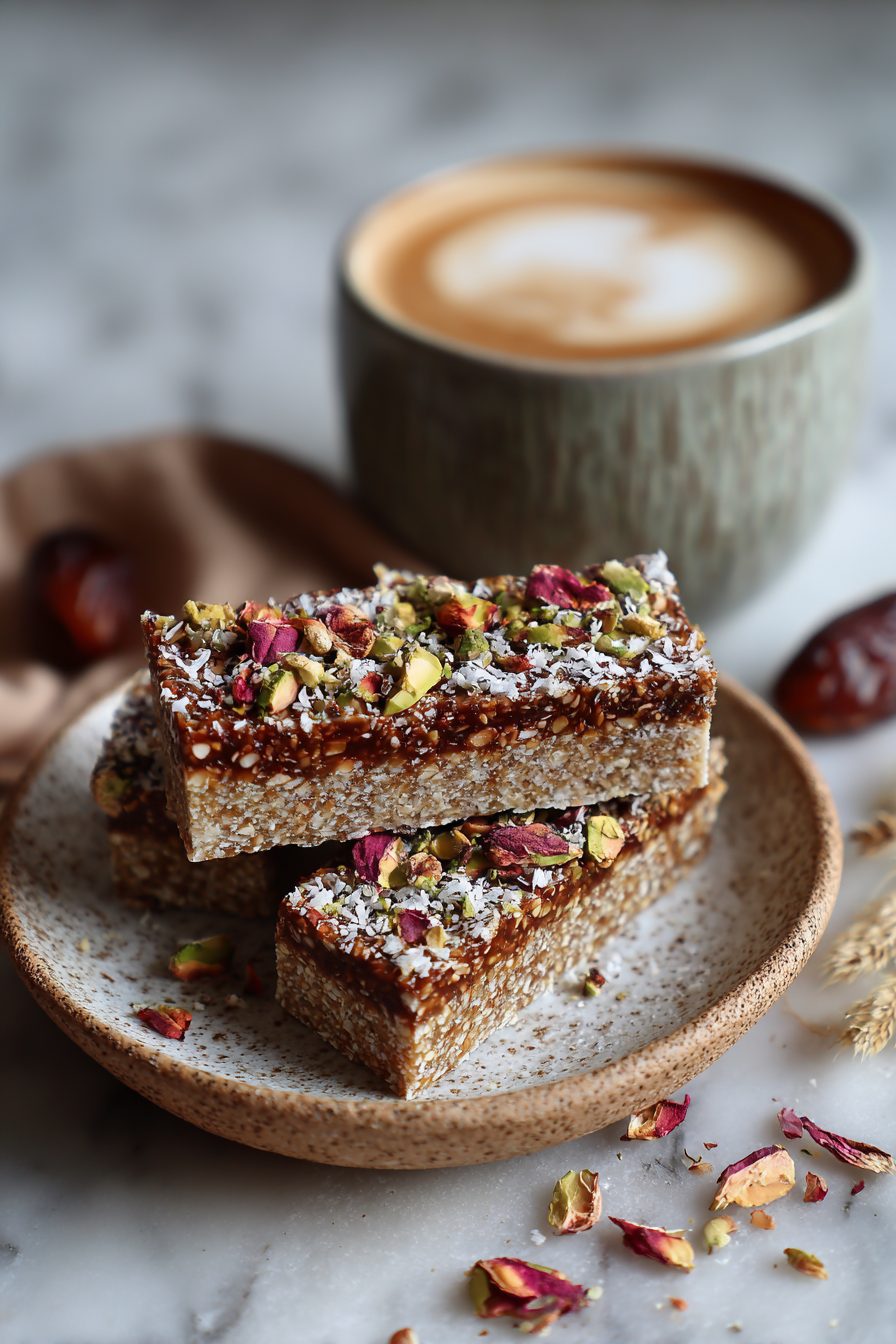
– They’re actually satisfying: chewy dates + crunchy nuts = texture heaven.
– Zero baking means a fast batch and no kitchen meltdown when it’s hot out.
– Vegan, naturally sweetened, and easily nut-free if needed — everyone can find something to like.
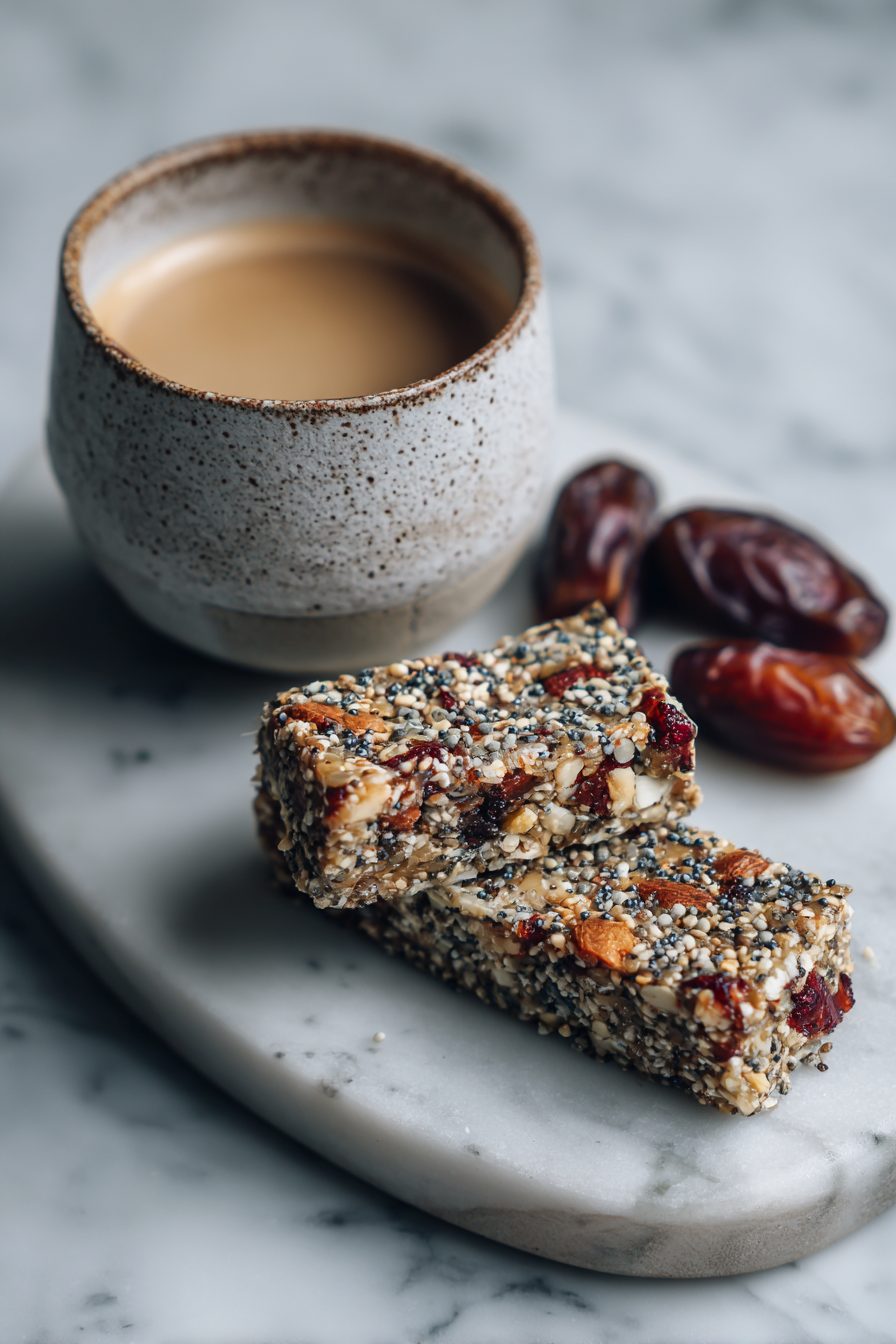
– Super portable for school lunches, hikes, and please-just-eat-something moments.
Kitchen Talk


I’ve made these with way too much optimism and also very little patience. The one time I tried to chop everything by hand (no food processor), it was a hot mess and I vowed never again. Also: soaking dates for five minutes in hot water if your batch is a little dry will save your life. I learned that swapping half the almonds for sunflower seeds made them toddler-friendly at daycare (no peanuts allowed), and salted butter-slicked parchment makes un-molding dramatically more satisfying.
Oh my goodness, these no-bake energy bars are a lifesaver! So easy to throw together when you need a quick, healthy snack. They taste like a delicious treat but give you that much-needed boost. Definitely a new staple in my kitchen!
MORE OF OUR FAVORITE…
Shopping Tips
– Produce/Fruit: Buy soft, pitted dates (Medjools are dreamy but more pricey); look for plump, slightly glossy skins — not rock-hard.
– Nuts & Seeds: Use raw or roasted almonds/walnuts depending on how toasty you want the bars; pre-chopped saves processing time.
– Sweeteners: If you want extra stick, grab a small jar of good maple syrup or a spoonable nut butter — both help bind and add flavor.
– Chocolate: If you plan to drizzle or mix in chips, choose vegan chocolate chips or a chopped bar; tempering not required, just chunk it up.
– Fats & Oils: A little coconut oil helps with firming if you live somewhere warm — choose refined if you don’t want the coconut flavor.
Prep Ahead Ideas
– Pulse nuts and prep the dates the night before so the food processor step is just a button press in the morning.
– Press the mixture into the pan and wrap tightly; chill overnight and slice the next day for cleaner edges.
– Store cut bars in a shallow airtight container separated by parchment or in individual wrappers so they’re grab-and-go for the week.
Time-Saving Tricks
– Buy pitted dates to skip the hands-on pit-removal step.
– Use the pulse setting on your food processor — quick pulses keep some crunch and prevent turning everything into paste.
– Microwave for 10–15 seconds if your nut butter is too stiff; it makes mixing smoother and faster.
– Press the mixture with the bottom of a measuring cup to get an even surface in half the time.
Common Mistakes
– Too crumbly: usually from old, dry dates — soak briefly in hot water and drain, then remix.
– Over-processed: pulse slowly; I once made “date butter” by accident and had to fold in extra chopped nuts to salvage texture.
– Too soft: too much oil or syrup, or not chilled long enough. Pop the tray in the freezer for 15–20 minutes to firm up.
– Sticky mess: if bars stick to the knife when cutting, wipe the blade with a damp towel between slices.
What to Serve It With
– A big mug of coffee or a cinnamon latte for morning energy.
– Yogurt (dairy or plant) and fresh berries for a slightly nicer breakfast.
– A smoothie if you’re truly on the run — toss a bar in your bag as backup.
– Cheese board? We did olives and sharp vegan cheddar once; surprising but kind of brilliant.
Tips & Mistakes
– Use room-temp nut butter unless you want a workout stirring.
– Pulse nuts and dates separately if you want noticeable bits of nut.
– Salt at the end or sprinkle flaky salt on top — it makes them taste more complex.
– If slices crumble, press them back into the pan and chill again; it usually holds.
Storage Tips
Keep these in an airtight container in the fridge for up to two weeks, or freeze for 2–3 months. Eating them cold is perfectly fine — I personally love the chilled texture for breakfast with coffee. If you forget one on the counter, it’ll soften but still be edible for a day or two depending on humidity.
Variations and Substitutions
Play around: swap almonds for cashews or pumpkin seeds for a nut-free bar. Swap maple syrup for agave or a little brown rice syrup if you need stick but want alternative flavor. Add cocoa powder for chocolate bars, or lemon zest and coconut flakes for a brighter version. Don’t add much water — if it needs moisture, go nut-butter or syrup route first.
Frequently Asked Questions
No-Bake Vegan Date Energy Bars
Ingredients
Main Ingredients
- 2.25 cup pitted Medjool dates, packed
- 1.75 cup old-fashioned rolled oats
- 0.75 cup raw almonds
- 0.5 cup unsweetened shredded coconut
- 1.5 tbsp chia seeds
- 2 tbsp unsweetened cocoa powder or cacao powder
- 0.5 cup creamy almond butter stirred until smooth
- 2.5 tbsp pure maple syrup
- 1.25 tsp vanilla extract
- 0.25 tsp fine sea salt
- 0.33 cup mini dairy-free chocolate chips optional
Instructions
Preparation Steps
- Line an 8-inch square pan with parchment, leaving overhang for easy lifting.
- Pulse oats and almonds in a food processor until a coarse, sandy meal forms.
- Add dates and process until finely chopped and starting to stick together.
- Sprinkle in coconut, chia, cocoa, and salt; pulse to evenly distribute.
- Stir almond butter, maple syrup, and vanilla together until smooth.
- Drizzle in the almond butter mixture; process until the dough holds when pressed. Add 1–2 tsp water if dry.
- Fold in chocolate chips by pulsing briefly or stirring by hand.
- Press mixture firmly into the pan. Chill 30 minutes, then lift out and cut into bars.
Notes
Featured Comments
“This flavorful recipe was will make again — the bite-sized really stands out. Thanks!”
“New favorite here — turned out amazing. crispy was spot on.”
“New favorite here — absolutely loved. crispy was spot on.”
“This bite-sized recipe was family favorite — the flavorful really stands out. Thanks!”
“Super easy and family favorite! My family asked for seconds. Saving this one.”
“Impressed! Clear steps and so flavorful results. Perfect for busy nights.”
“This bite-sized recipe was will make again — the flavorful really stands out. Thanks!”
“Made this last night and it was absolutely loved. Loved how the flavorful came together.”
“Impressed! Clear steps and family favorite results. Perfect for busy nights.”
“New favorite here — turned out amazing. bite-sized was spot on.”