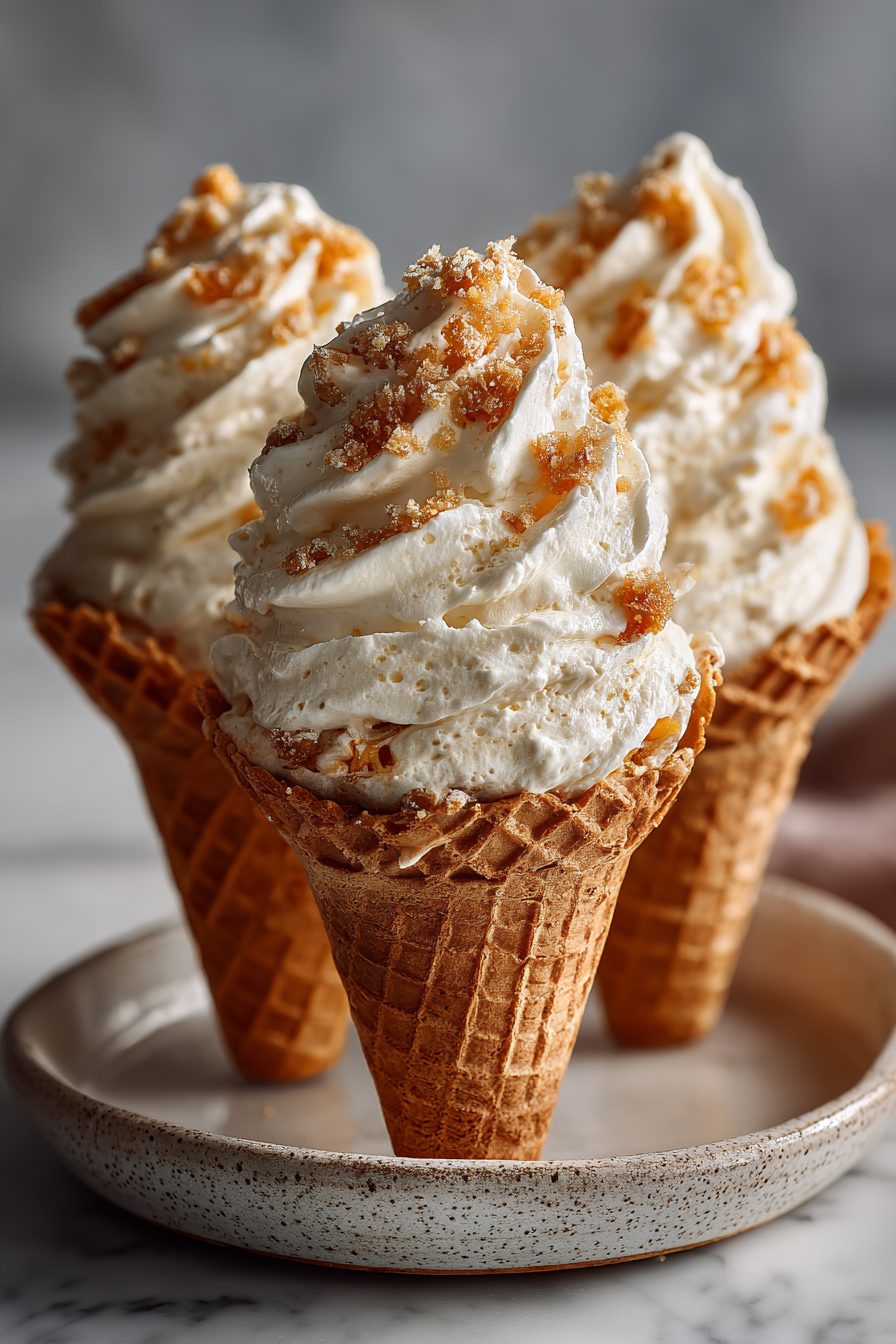
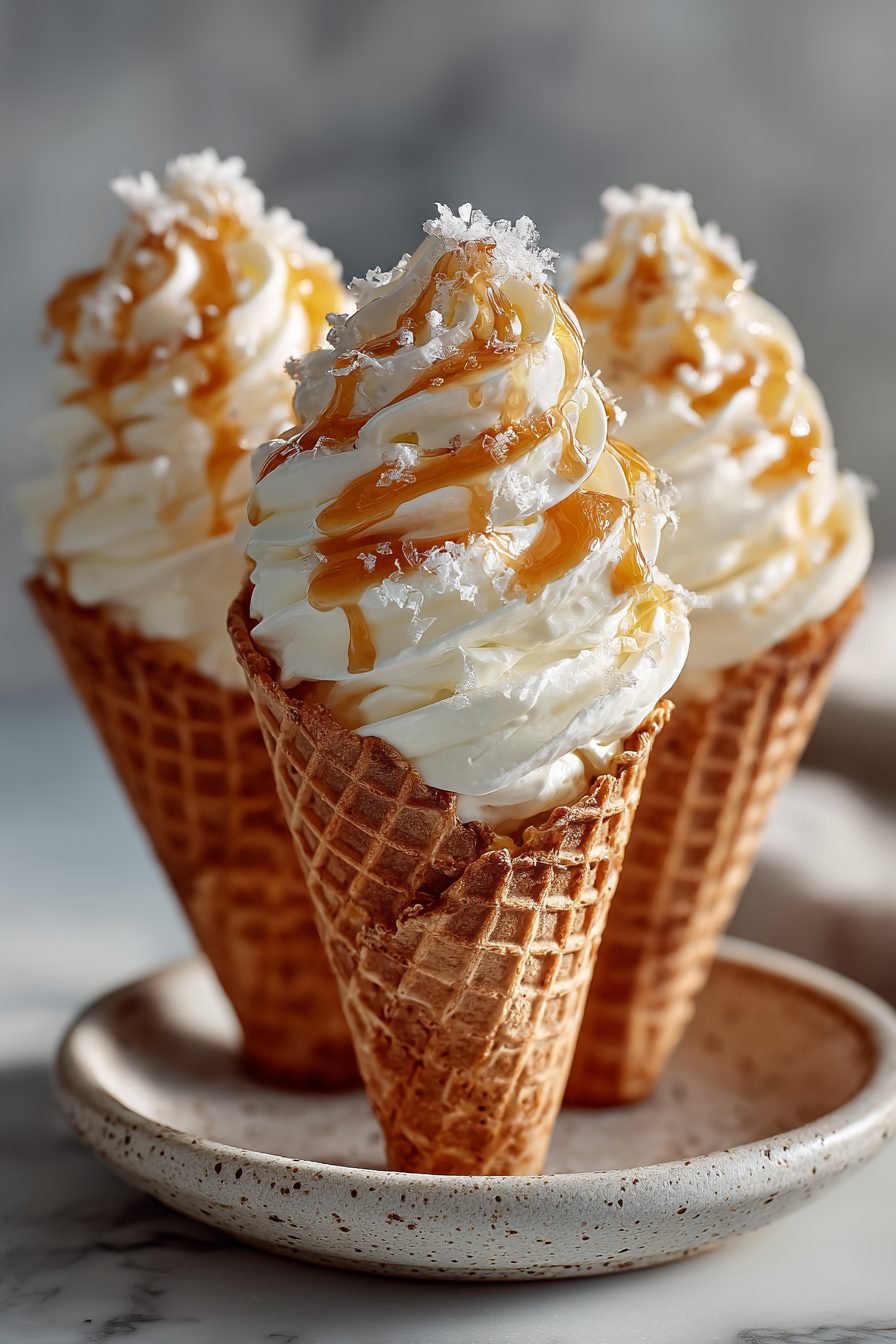
Peachy Cheesecake Cones
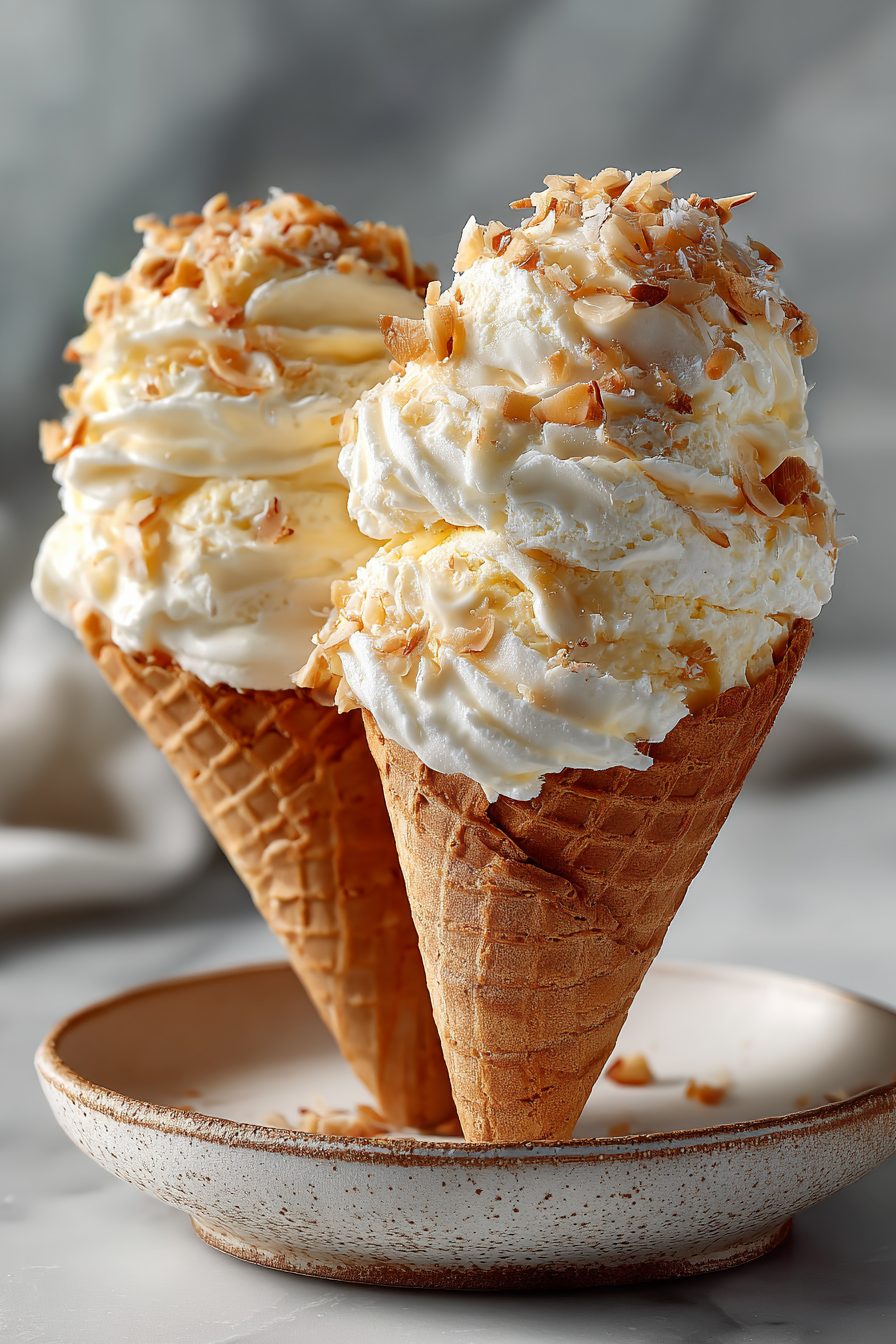
This is my slightly ridiculous, wildly delicious Peachy Cheesecake Cones recipe — think creamy no-bake cheesecake filling swirled with a bright peach compote and piled into crispy waffle cones. It’s summer in handheld form: sweet, tangy, a little messy, and impossibly fun for backyard hangs or when you need dessert but also need to keep things casual. Try them because they look impressive with almost no drama, and they make peaches feel like a party trick.
My husband is the official cone thief in this house. I’ll set a tray down to cool and he’ll wander by pretending to check on the grill and then casually “test” the edges until one’s mysteriously gone. Our kid announces whenever peaches are on the menu (“Peaches! CHEESE!”) and eats half the compote straight from the pot with a spoon. These cones became a weekend staple because they’re quick enough for a last-minute sweet and fancy enough for when my mother-in-law drops by unexpectedly.
Why You’ll Love This Peachy Cheesecake Cones
– Portable summer dessert that doesn’t need plates or forks (but you’ll want napkins).
– Bright, seasonal peach flavor cuts through the rich cheesecake filling — not too sweet, not too precious.
– Totally customizable: swap the fruit, add nuts, or toast the cone edges for drama.
– Great for kids, potlucks, and the human who always “forgets” dessert exists until 9pm.
Kitchen Talk
There’s something delightfully chaotic about making these — the compote thickens faster than you expect, the cones are gloriously fragile, and if you over-pepper the filling (oops) you’ll taste it. I once swapped regular cream cheese for mascarpone because we were out and everyone agreed it was silkier, though a tiny bit richer. I also learned the hard way that piping the filling makes a cleaner cone; spooning looks cute until your kid tips it and peaches go everywhere. Embrace the mess. It’s part of the charm.
MORE OF OUR FAVORITE…
Shopping Tips
– Produce/Fruit: Choose ripe but firm peaches — they should give slightly, smell fragrant, and not be mushy; underripe ones won’t sweeten as well in the compote.
– Dairy: Full-fat cream cheese and a touch of heavy cream make the filling velvety; low-fat versions can get grainy so skip them if you can.
– Baking Basics (Flour/Sugar/Leaveners): Keep granulated sugar and vanilla on hand for the compote and filling — a little extra sugar is okay if your peaches aren’t super sweet.
– Fats & Oils: A tiny pat of butter in the compote deepens the flavor; use unsalted so you control the salt level.
– Crunch Extras: Crushed graham crackers, shortbread crumbs, or toasted almonds are great to sprinkle in the bottom of the cone for texture.
Prep Ahead Ideas
– Make the peach compote a day or two ahead and refrigerate in an airtight jar; it actually tastes better after the flavors meld.
– Whip and chill the cheesecake filling the morning of or the night before; keep it covered so it doesn’t pick up fridge odors.
– Crush cookies or toast nuts into a sealed container; store the cones in a cool, dry place and assemble at the last minute to keep them crisp.
– Bring everything together right before serving — assembly takes five minutes and makes weeknight dessert feel festive.
Time-Saving Tricks
– Use frozen, thawed peaches in a pinch — they make compote fast because they release juices quickly.
– Buy pre-made waffle cones if you don’t want to fuss with toasting or making them yourself.
– A hand mixer or stand mixer will get the filling silky in under 3 minutes — no hand-arm workout required.
– Don’t rush cooling the compote: let it cool slightly so it won’t melt your filling on contact, but assembly can proceed while it’s still a touch warm.
Common Mistakes
– Adding the compote to piping-hot filling will collapse the texture; cool the compote a bit. I once poured lava-hot peaches into the bowl and ended up with sad soup — rescue by chilling everything and re-whipping the filling.
– Overfilling cones causes early sogginess and sticky faces — a little restraint goes a long way.
– Letting cones sit with wet filling overnight makes them limp; assemble only when you plan to eat.
– Using rock-solid frozen peaches without thawing leads to uneven cooking — thaw and drain excess liquid first.
What to Serve It With
– Iced coffee or cold brew for major contrast.
– Sparkling wine or prosecco for a breezy summer dessert pairing.
– A simple green salad with lemon vinaigrette to keep the meal light.
– Vanilla bean ice cream for the double-dairy obsessive (no judgment).
Tips & Mistakes
– Warm the compote just enough to loosen it, then cool briefly — piping works best with room-temp filling and slightly thick compote.
– Use a piping bag to control portions; a zip-top bag with the corner snipped will do in a pinch.
– If your compote is too runny, simmer a bit longer; too thick, stir in a splash of lemon juice or water.
– Salt is a flavor booster here — a tiny pinch in the filling makes the sweetness sing.
Storage Tips
Store compote and filling separately in airtight containers in the fridge for up to 3–4 days. Assembled cones are best same-day — they’ll get a little soft if left overnight. If you eat a leftover cone cold from the fridge the next morning, yes, it’s still delicious; unofficial breakfast status achieved. Leftover filling is unreal dolloped into yogurt or spread on toast.

Variations and Substitutions
– Swap peaches for strawberries, blueberries, or mango — cook them the same way for compote.
– Use mascarpone or ricotta mixed with a bit of cream if you want a lighter tang than cream cheese.
– Honey or maple syrup can replace some granulated sugar in the compote for a floral flavor.
– Make it nut-free by skipping crunchy nuts and using cookie crumbs instead; for vegan cones, use dairy-free cream cheese and coconut cream.
Frequently Asked Questions
Peachy Cheesecake Cones
Ingredients
Main Ingredients
- 4 oz sugar cones about 8 cones
- 8 oz cream cheese softened
- 0.5 cup powdered sugar sifted
- 0.75 cup heavy cream cold
- 1.25 tsp vanilla extract
- 0.125 tsp fine salt
- 0.5 cup graham cracker crumbs
- 0.5 cup white chocolate chips for dipping cone rims
- 1 tbsp unsalted butter, melted to help crumbs stick
- 2 cup diced peaches fresh or well-drained canned
- 2.5 tbsp granulated sugar
- 1.5 tsp lemon juice
- 0.5 tsp ground cinnamon
- 1 tsp cornstarch for thickening peaches
Instructions
Preparation Steps
- Line a tray with parchment and set the sugar cones on it.
- Melt white chocolate until smooth, then brush or dip cone rims. Mix crumbs with melted butter and press onto rims. Chill to set.
- Cook peaches with granulated sugar, lemon juice, cinnamon, and cornstarch over medium heat until glossy and slightly thick, 3–4 minutes. Cool completely.
- Beat cream cheese with powdered sugar, vanilla, and salt until creamy.
- Whip heavy cream to soft peaks, then fold into the cream cheese mixture until fluffy.
- Spoon or pipe cheesecake filling into cones. Top each with cooled peach mixture and any syrup.
- Serve right away, or chill 10–15 minutes to firm the filling.
Notes
Featured Comments
“Made this last night and it was turned out amazing. Loved how the lighter came together.”
“New favorite here — turned out amazing. quick was spot on.”
“Made this last night and it was turned out amazing. Loved how the fluffy came together.”
“Made this last night and it was so flavorful. Loved how the melt-in-your-mouth came together.”
“New favorite here — absolutely loved. chilled was spot on.”
“This fruity recipe was family favorite — the guilt-free really stands out. Thanks!”
“Super easy and absolutely loved! My family asked for seconds. Saving this one.”
“New favorite here — so flavorful. fun was spot on.”
“Impressed! Clear steps and so flavorful results. Perfect for busy nights.”
“Super easy and turned out amazing! My family asked for seconds. Saving this one.”