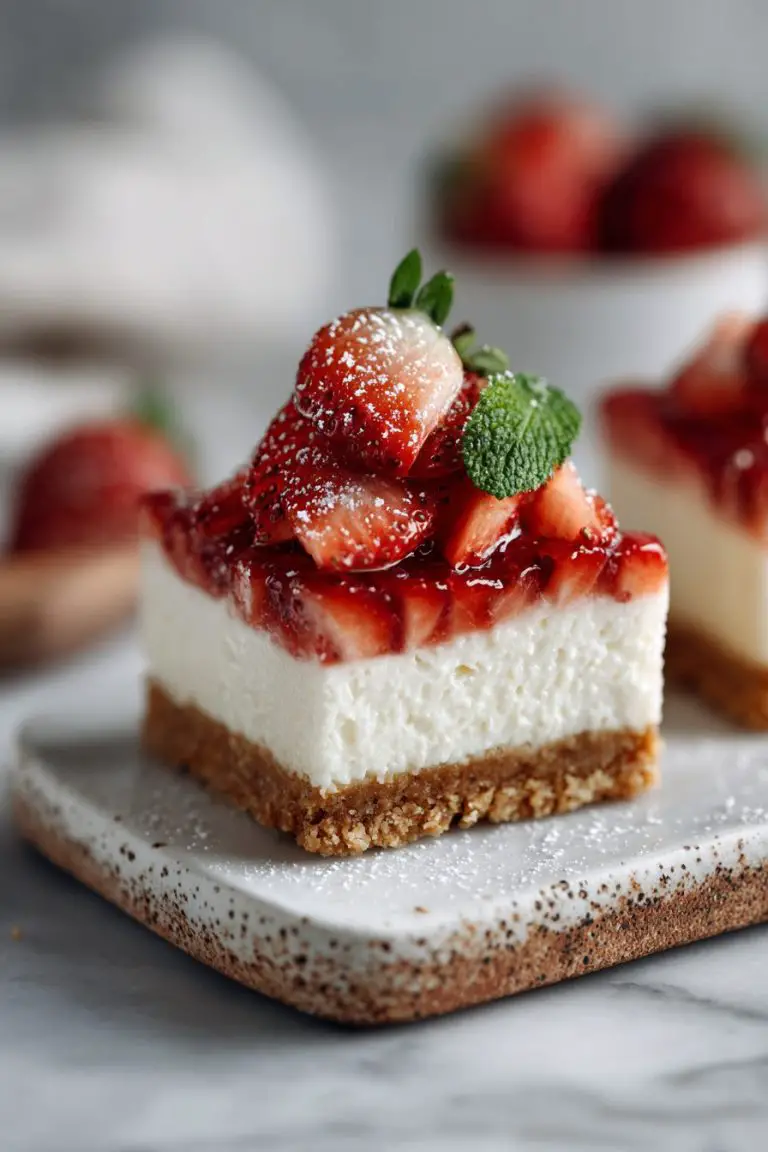
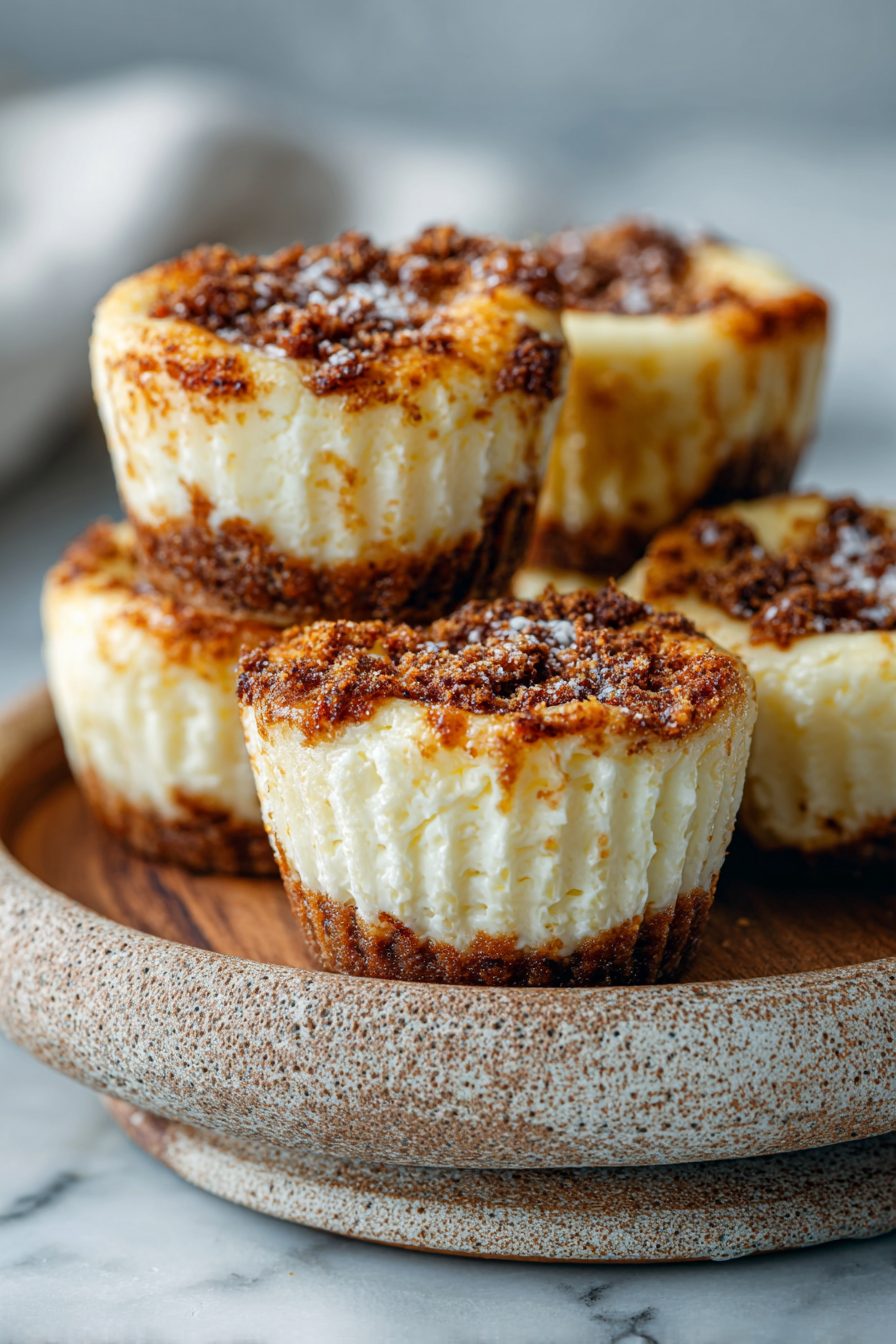
Mini Cheesecake Bites Made Easy
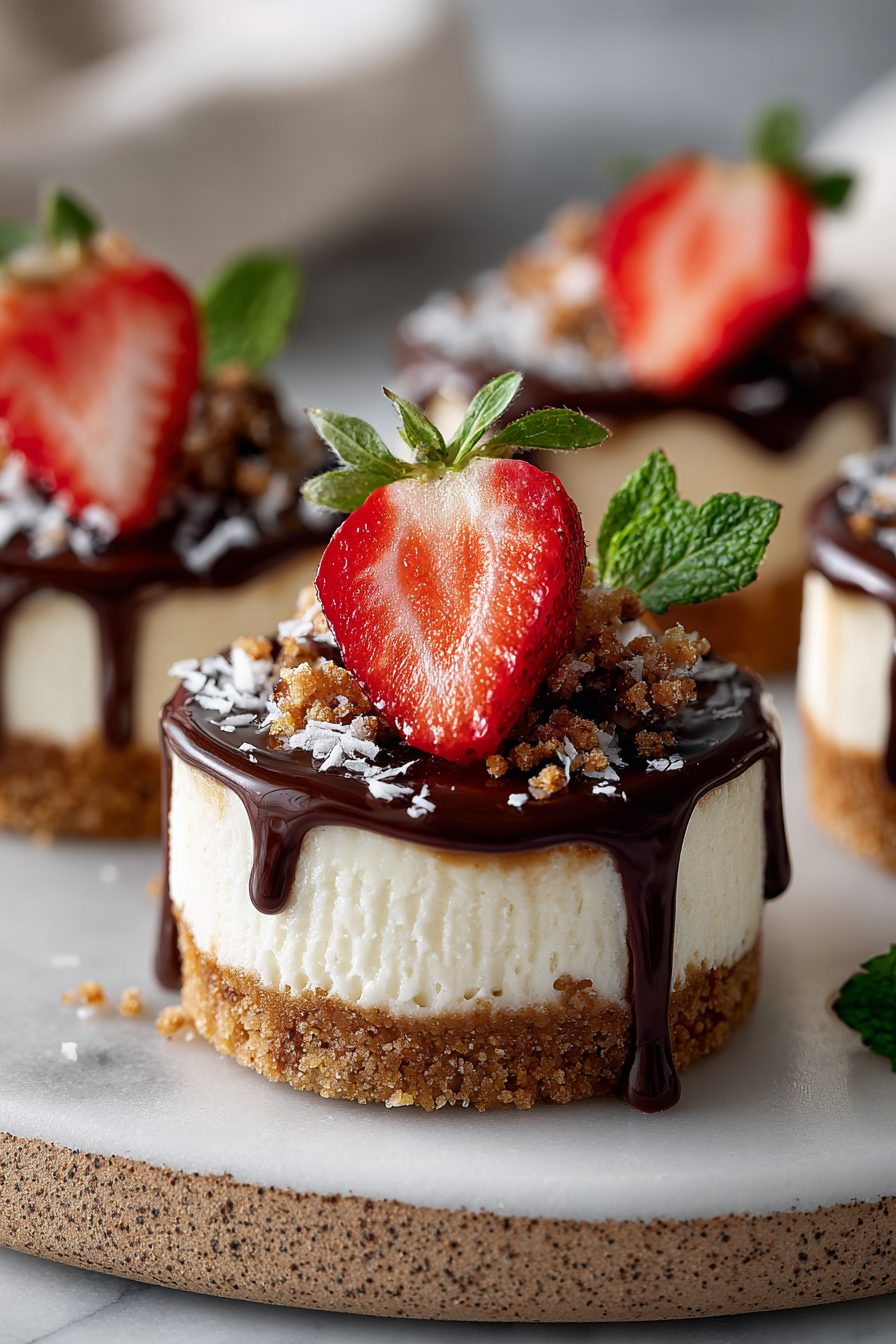
I did not plan on becoming the family’s unofficial dessert supplier, but then I discovered these mini cheesecake bites and everything changed. Tiny, creamy, and mostly foolproof, they’re the kind of treat that looks fancy but actually comes together without me losing my mind. Think graham or nut crust, a tangy-smooth cream cheese filling, and whatever topping you’re feeling that day—jam, chocolate, lemon curd, or plain ol’ sprinkles for maximum chaos.
My husband calls them “dangerous” because he can eat six before he notices the chaos in the living room. The kids? They’ve turned them into a negotiating tool: one bite for a clean room, two for extra screen time. I once made a double batch for a potluck and nearly came home with just the pan. They’re the recipe I turn to when I want to look like I tried, but really just wanted dessert without drama.
Why You’ll Love This Mini Cheesecake Bites Made Easy
– Tiny size = instant portion control (ha, lie).
– No fussy slice-and-serve drama; pop ’em out and look like a wizard.
– Extremely adaptable: swap crusts, toppings, or make them no-bake when you’re not in the mood to heat the house.
– Kid-approved and fancy enough for guests — win/win.
Kitchen Talk
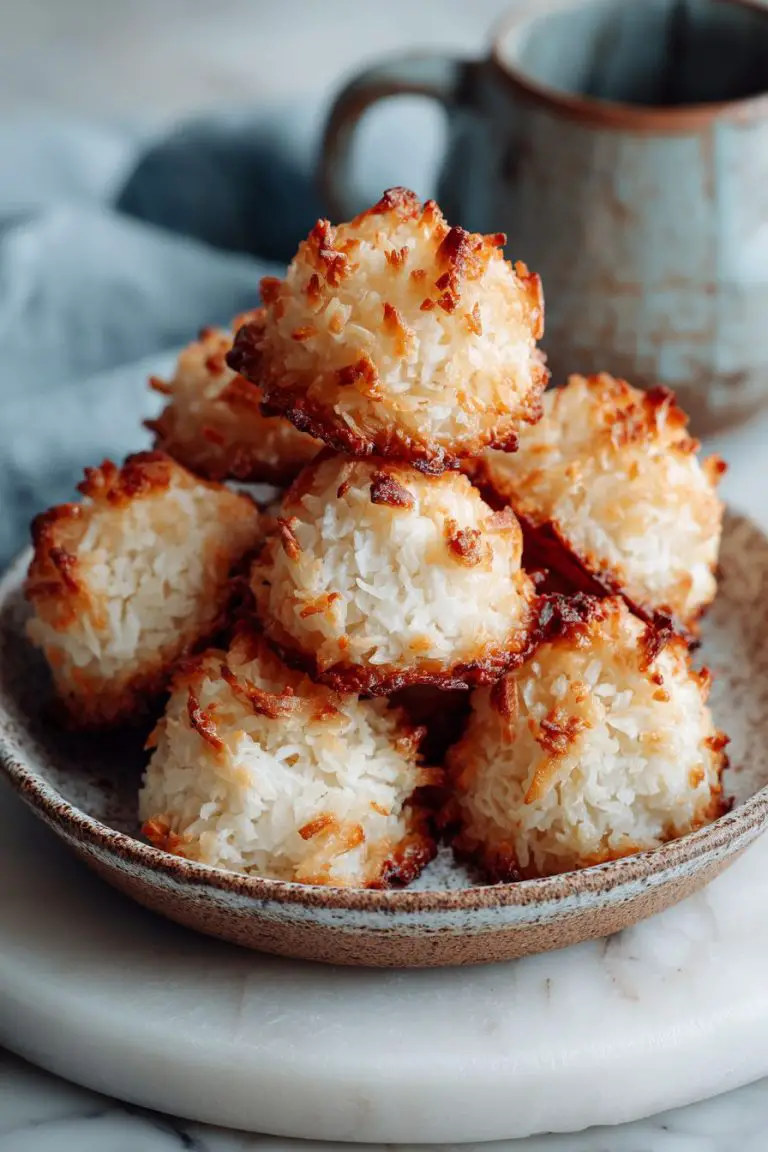
MORE EASY DESSERT RECIPES...


I’ll admit I used to terrorize mini muffin pans the first few times—crusts too thin, filling overflow, one pan mysteriously stuck to the counter. Then I learned a few small things: press the crust down dry and firm, don’t overwhip the filling or it gets airy and cracks when cool, and line the pan with silicone liners if you’re feeling lazy. Once I swapped half the crust for crushed almonds when I ran out of graham crackers, and it tasted like a little revelation. Also, I have a personal vendetta against crumbly crusts—so press, press, press.
MORE OF OUR FAVORITE…
Shopping Tips
– Dairy: Choose full-fat cream cheese for the creamiest, most forgiving filling; low-fat versions can turn curdly or softer than you want.
– Baking Basics (Flour/Sugar/Leaveners): Graham crackers or digestive biscuits are the classic crust; if you can’t find them, any neutral crunchy cookie will do.
– Eggs: If you plan to bake these, use room-temperature eggs so the filling blends smooth; cold eggs = lumpy filling.
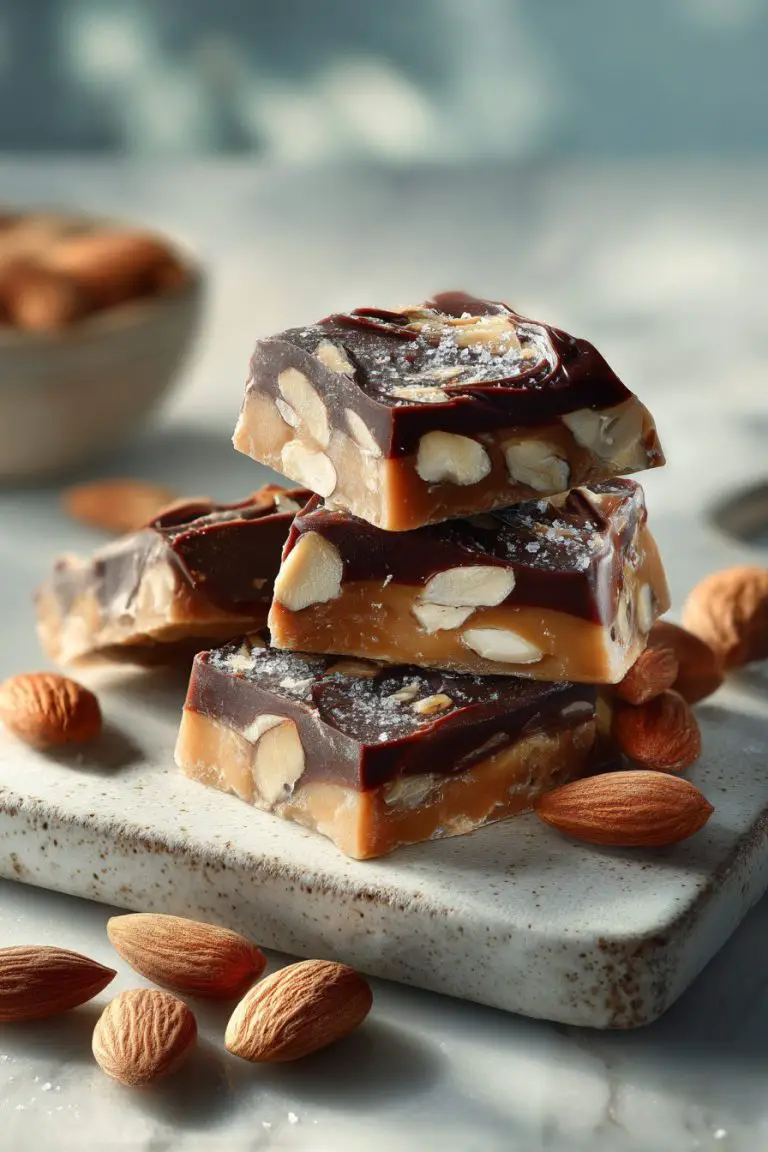
– Nuts & Seeds: Crushed almonds or pecans make an excellent gluten-free-ish crust—toast them lightly for extra flavor.
– Sweeteners: Powdered sugar keeps a silky texture in the filling, but honey or maple in the topping can add a grown-up twist.
Prep Ahead Ideas
– Make the crust a day ahead: press it into liners, cover tightly, and refrigerate so it’s firm and ready for filling.
– The cream cheese filling can be mixed and stored in an airtight container up to 24 hours; give it a quick stir before piping.
– Assembled bites need at least a few hours to set—overnight is my go-to; store in a covered cake box or shallow container with parchment between layers. This turns frantic dessert duty into a calm after-dinner gift.
Time-Saving Tricks
– Use store-bought cookie crumbs for the crust and a food processor for quick blending—instant shortcut.
– Pipe the filling with a zipper bag (snip a corner) if you don’t own a piping bag; it’s fast and way less messy than spooning.
– No-bake version: skip the oven entirely and chill; perfect for hot days or when you hate turning the dial.
Common Mistakes
– Overmixing the filling: I once whipped a batch like I was making meringue and it set fluffy with tiny cracks—beat gently and stop when smooth.
– Soggy crust: not pressing it firmly or adding too much butter will get you a sad, crumbly bottom—press with the bottom of a measuring cup for even compaction.
– Under-chilling: I served them too early once and they were wobbly mush; give them at least a few hours in the fridge so they slice cleanly.
What to Serve It With
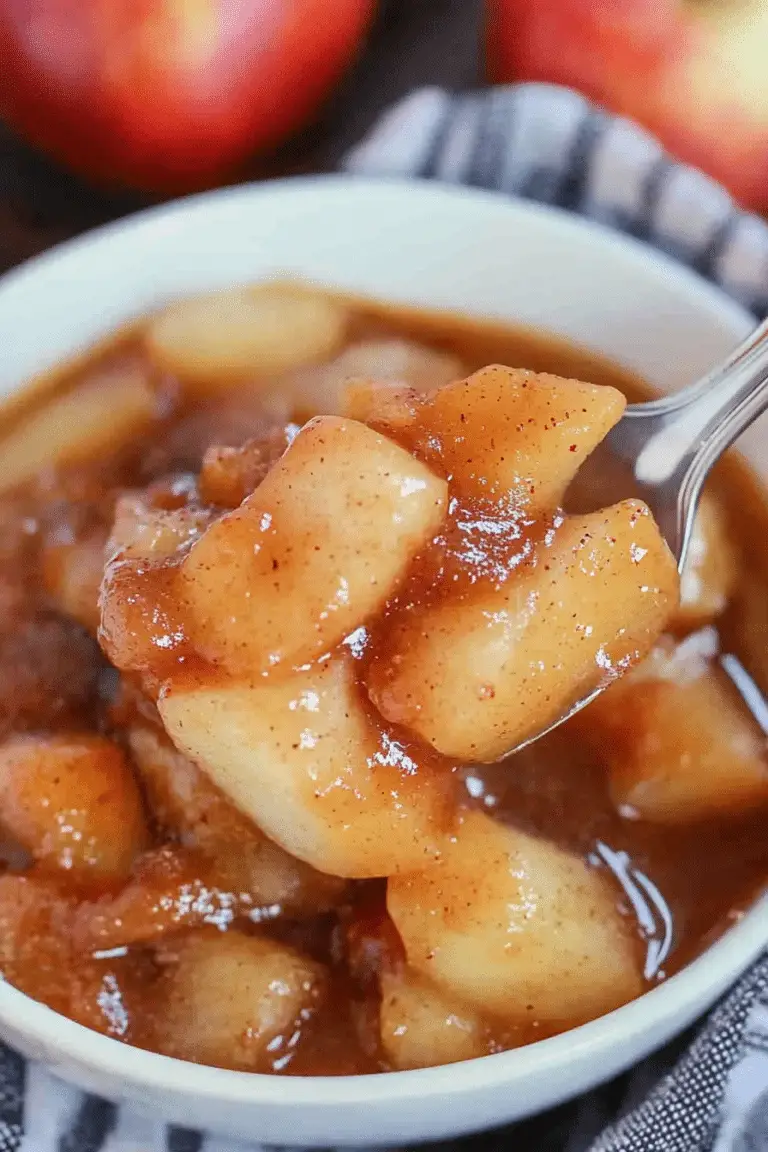
– Fresh berries or a quick berry compote.
– Espresso or a sweet dessert wine for after-dinner vibes.
– A simple green salad with citrus if you want to play it ironic and healthy.
– Warm salted caramel sauce drizzled over the top.
Tips & Mistakes
– Chill time is your friend—don’t rush it.
– If topping with fruit, add it just before serving unless you want a soggy top.
– For a glossy look, brush jam warmed with a splash of water over fruit.
– If one cracks, call it “rustic” and serve it first.
Storage Tips
Keep leftovers in a covered container in the fridge for up to 5 days. They’re totally fine cold (I’ve eaten them straight from the fridge for breakfast—no shame). For longer storage, freeze on a tray until firm, then transfer to a freezer bag for up to 2 months; thaw in the fridge before eating. Pro tip: if you like them slightly softer, take them out 15 minutes before serving.

Variations and Substitutions
– No-bake vs. baked: no-bake is faster and lighter; baked is denser and more classic—both are delicious.
– Dairy swaps: mascarpone or ricotta lighten the texture; dairy-free cream cheese works, but expect a different tang.
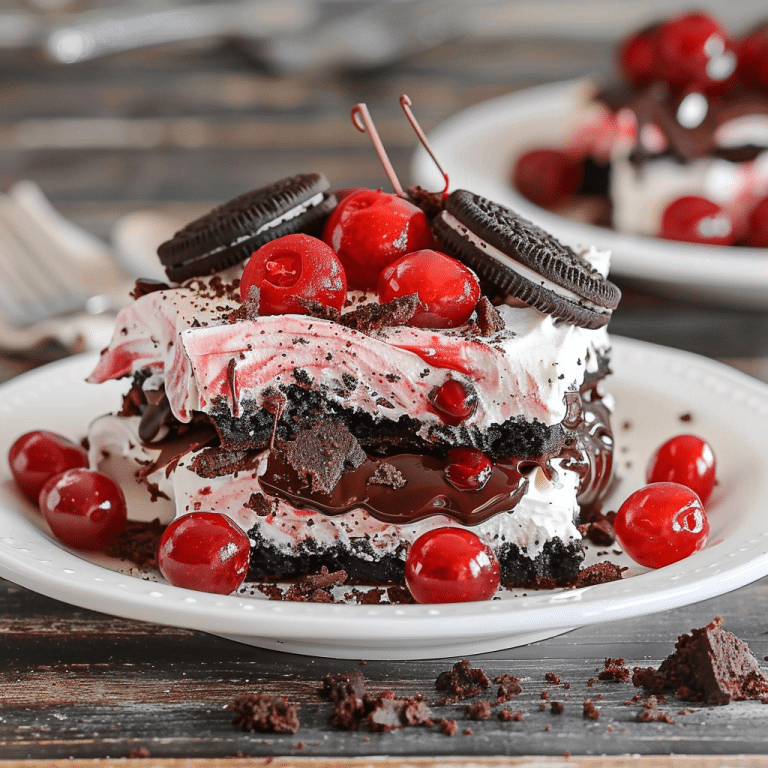
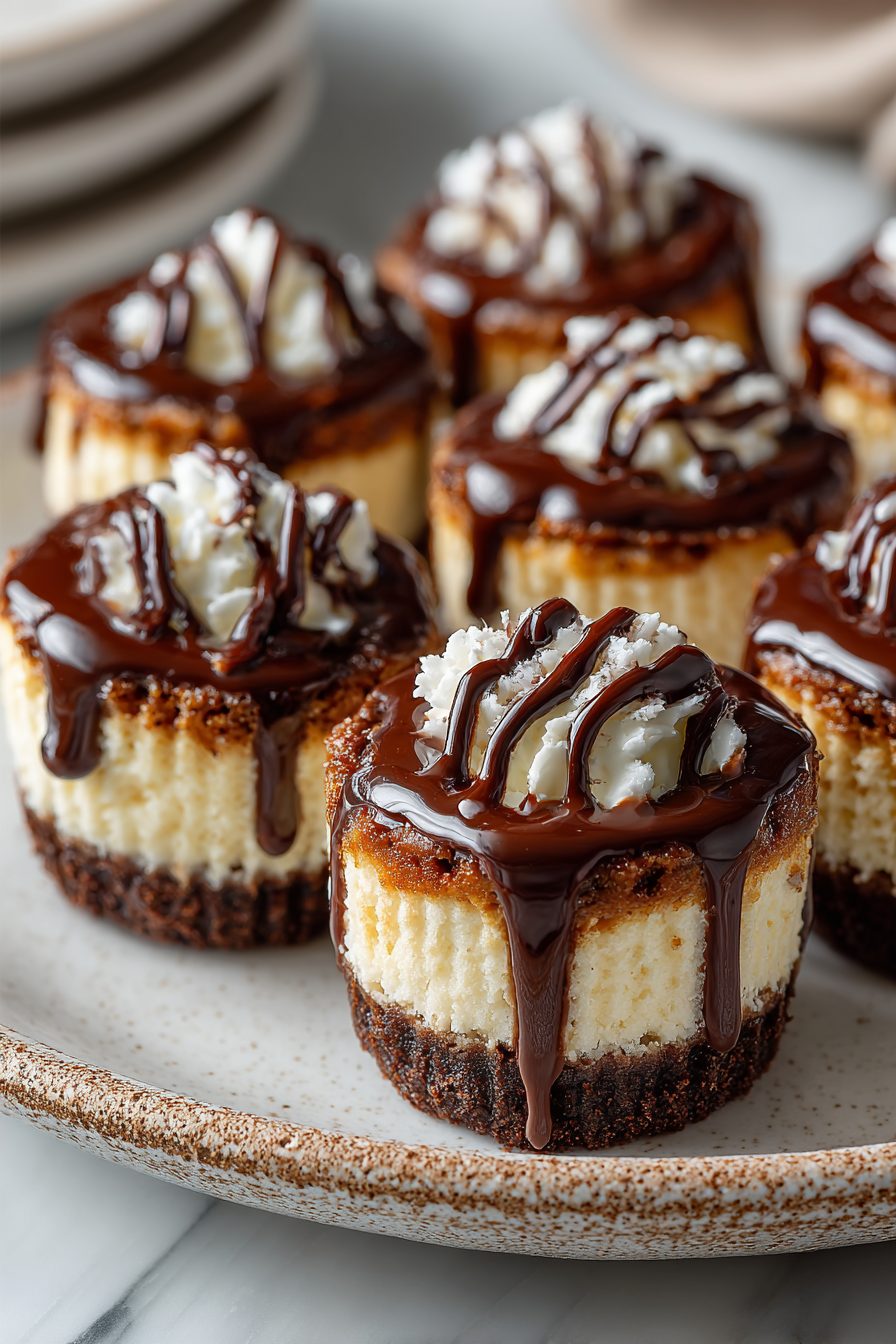
– Crust swaps: graham, Oreo crumbs (for chocolate lovers), or nut-based crust for gluten-free-ish options.
– Sweetener swaps: powdered sugar is standard in the filling; try honey or maple in the topping for a deeper flavor.
– Toppings: fruit, lemon curd, chocolate ganache, salted caramel, or chopped candies—go wild.
Frequently Asked Questions
Mini Cheesecake Bites Made Easy
Ingredients
Main Ingredients
- 1.25 cup graham cracker crumbs
- 4 tbsp unsalted butter, melted
- 2 tbsp granulated sugar for the crust
- 16 oz cream cheese, softened
- 0.5 cup granulated sugar for the filling
- 0.5 cup sour cream, room temperature
- 1.5 tsp vanilla extract
- 0.5 tsp finely grated lemon zest optional, brightens flavor
- 0.125 tsp fine salt
- 2 each large eggs, room temperature
- 0.75 cup berry jam or fresh berries for topping, optional
Instructions
Preparation Steps
- Heat oven to 325°F. Line a 24-cup mini muffin tin with paper liners.
- Stir graham crumbs, crust sugar, and melted butter in a bowl until evenly moistened.
- Spoon about 1 teaspoon crust mixture into each liner and press firmly to compact. Bake 5 minutes; set aside.
- Beat softened cream cheese and filling sugar until smooth and fluffy, about 1–2 minutes.
- Mix in sour cream, vanilla, lemon zest, and salt until combined. Add eggs one at a time on low, just to blend.
- Divide batter over crusts, filling liners almost to the top. Tap the pan to release bubbles.
- Bake 12–13 minutes, until edges are set and centers jiggle slightly. Do not overbake.
- Cool in the pan 10 minutes, then chill until cold, at least 1 hour. Top with jam or berries before serving.
Notes
Featured Comments
“This vibrant recipe was so flavorful — the rich really stands out. Thanks!”
“Impressed! Clear steps and family favorite results. Perfect for busy nights.”
“Impressed! Clear steps and family favorite results. Perfect for busy nights.”
“Made this last night and it was family favorite. Loved how the flavorful came together.”
“Super easy and so flavorful! My family asked for seconds. Saving this one.”
“Impressed! Clear steps and will make again results. Perfect for busy nights.”
“This party favorite recipe was absolutely loved — the fresh really stands out. Thanks!”
“Super easy and will make again! My family asked for seconds. Saving this one.”
“Made this last night and it was family favorite. Loved how the celebratory came together.”
“Made this last night and it was will make again. Loved how the crunchy came together.”