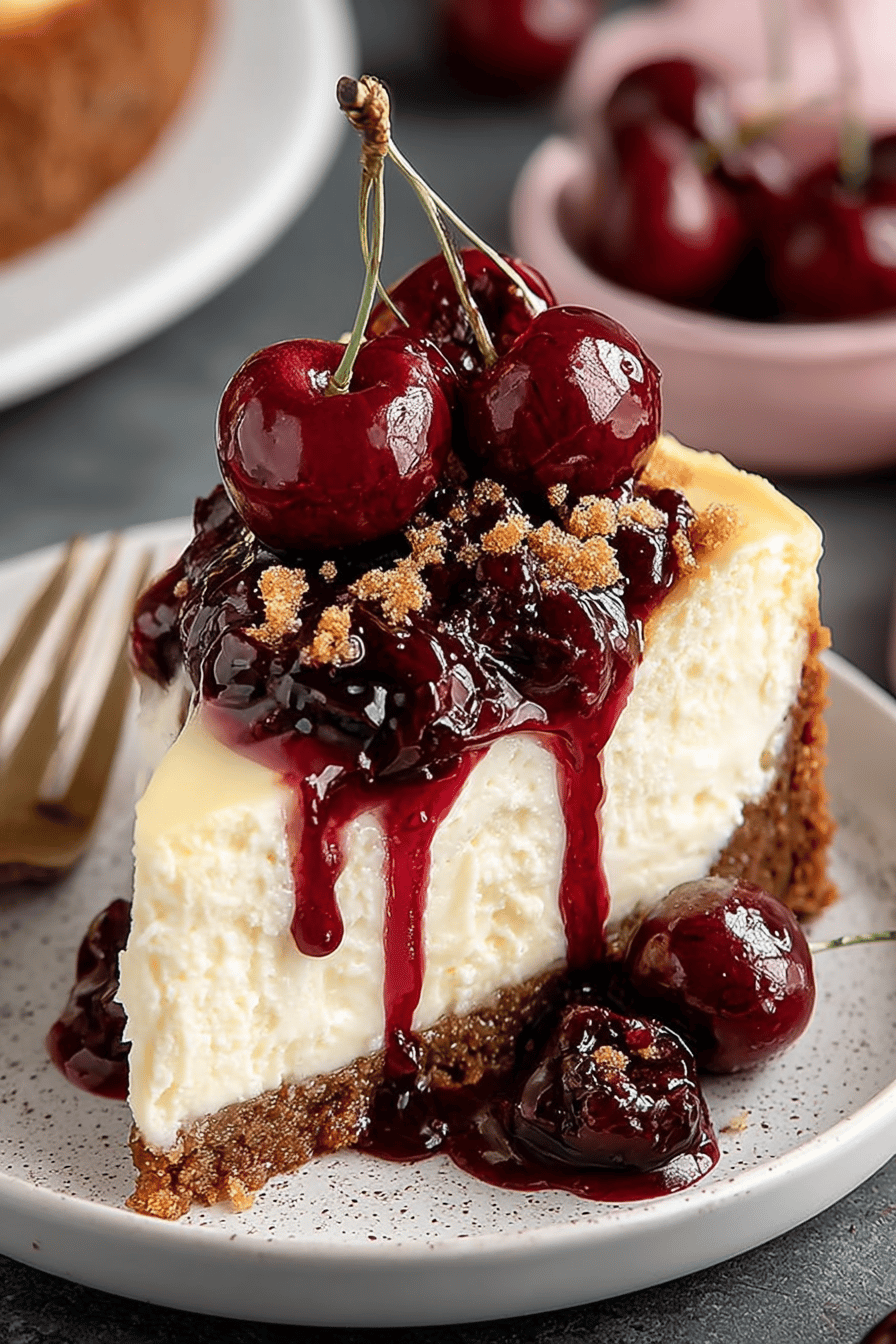
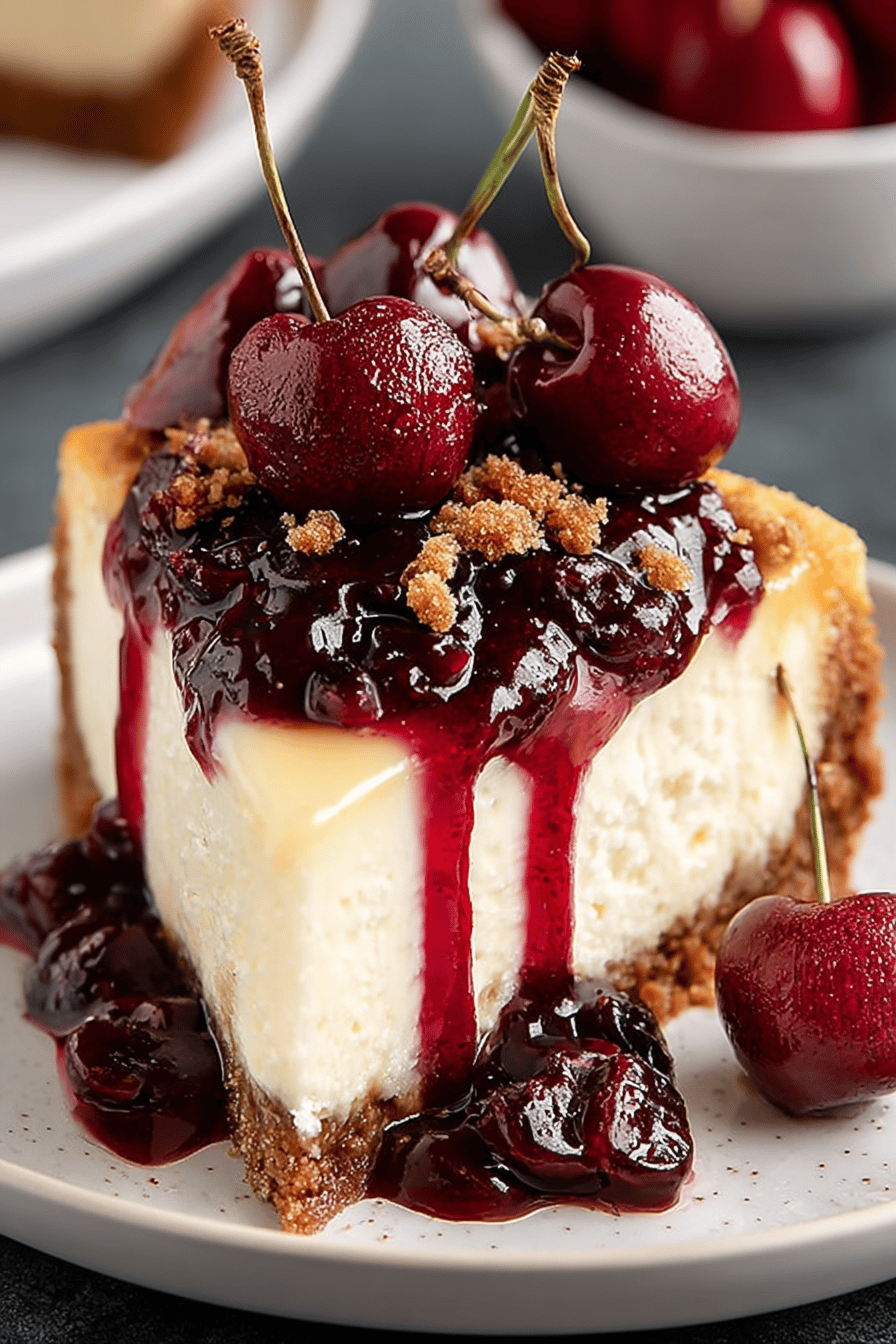
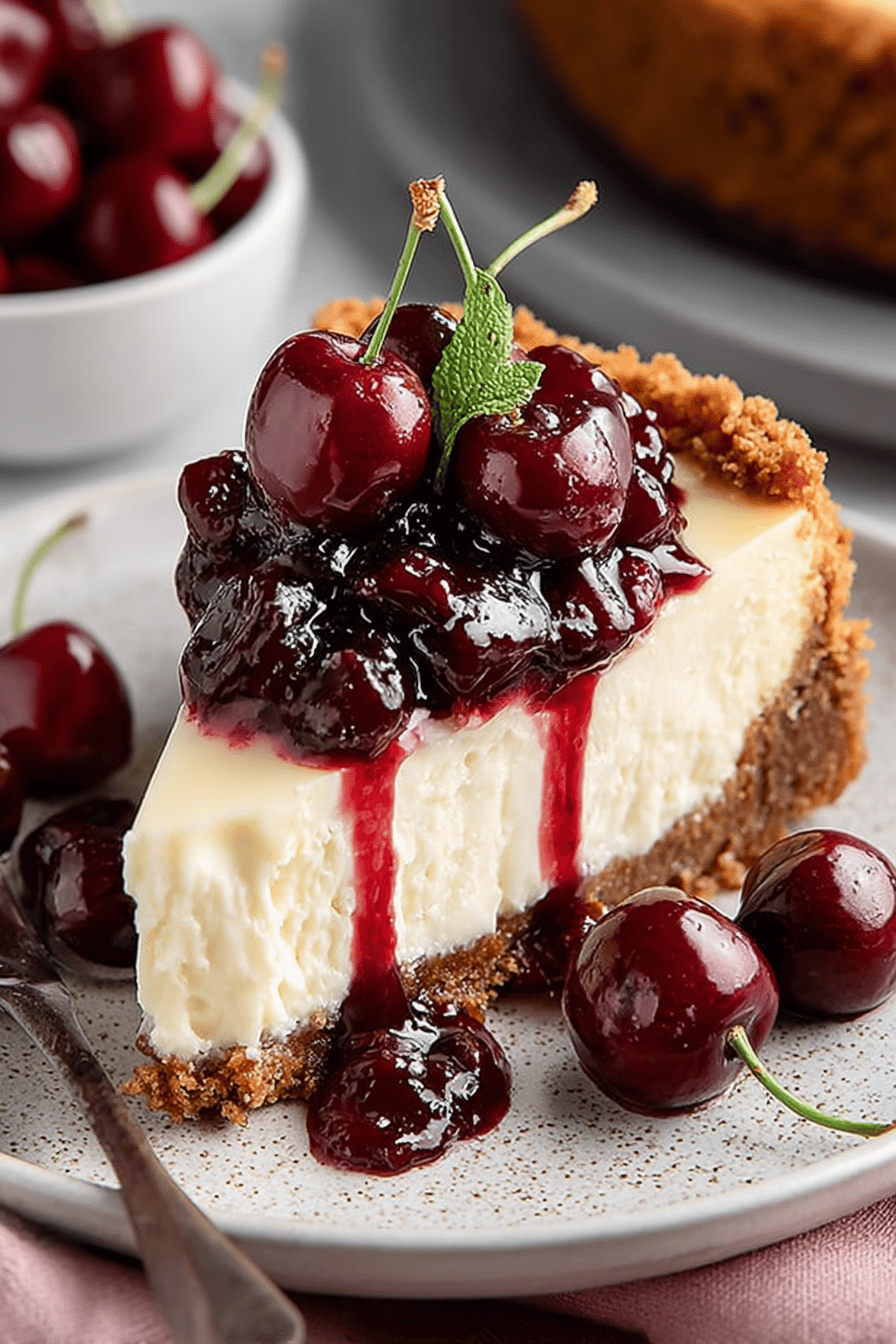
Easy No-Pie-Filling Cherry Cheesecake
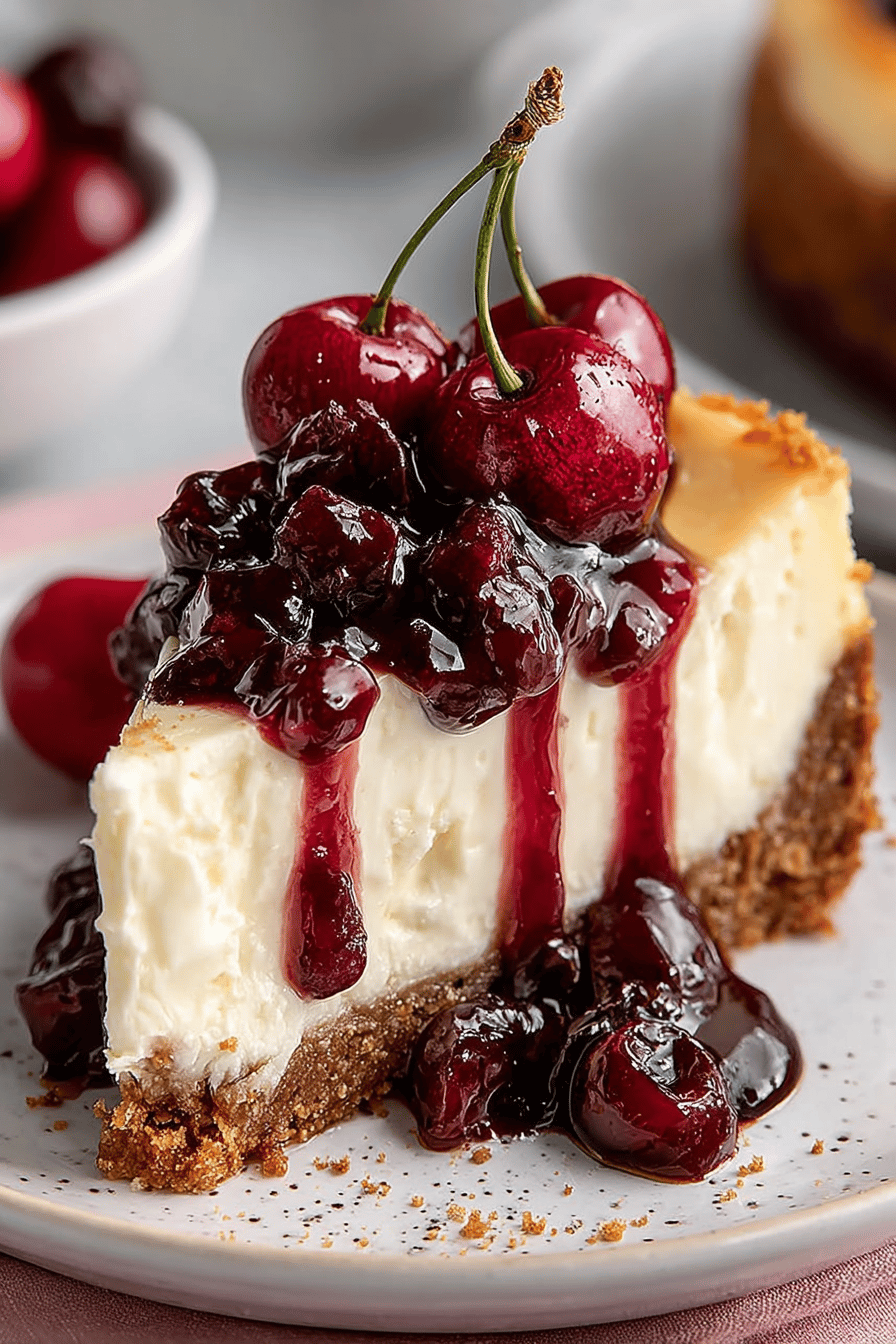
Okay, so listen up, buttercups! I’m about to drop some dessert knowledge on you that’ll change. Your. Life. This Easy No-Pie-Filling Cherry Cheesecake — yeah, I said it, no pie filling required — is the answer to all your cheesecake cravings, especially when you’re short on time and patience. Think creamy, dreamy, tangy cheesecake vibes with the sweet-tart pop of cherries, all without the fuss of a complicated pie crust. You’re gonna love it.
Now, let me tell you about my fam’s obsession with this thing. My husband, bless his heart, isn’t much of a dessert person (I know, I know, who is that person?!), but he goes absolutely BONKERS for this cheesecake. Last week, I made one for a “small gathering,” and he ate half of it STRAIGHT FROM THE FRIDGE with a fork while watching the game. No regrets. My kids are no different, they literally run around the kitchen when they know I’m making it. I swear, this recipe keeps my sanity alive. It’s become a Sunday staple at our house.
Why You’ll Love This Easy No-Pie-Filling Cherry Cheesecake
- It’s ridiculously easy. Like, if you can stir, you can make this.
- No pie crust drama! We’re skipping that whole mess.
- It’s the perfect balance of creamy, tangy, and sweet with that delicious cherry pop.
- Impress your friends without actually trying that hard. Secret weapon, unlocked!
- It’s perfect for when you forget you promised to bring dessert to the party. #TrueStory
How to Make It
Alright, so picture this: you, me, and a bowl full of cheesecake dreams. First things first, preheat that oven to 325°F (160°C). Then, grab a springform pan – if you don’t have one, honestly, just use whatever round pan you got and line it with parchment paper. Cross your fingers it comes out in one piece!
MORE EASY DESSERT RECIPES...


Now, for the crust (easy peasy!), smash up some graham crackers – I usually throw them in a ziplock bag and go at it with a rolling pin because, hey, stress relief. Mix those crumbs with melted butter and a little sugar, then press it into the bottom of your pan. Bake it for like, 10 minutes, until it smells all toasty and amazing.
MORE OF OUR FAVORITE…
While the crust is cooling, it’s cheesecake filling time! Beat together cream cheese (make sure it’s softened, or you’ll end up with lumpy cheesecake!), sugar, sour cream (or Greek yogurt if that’s all you have!), vanilla extract (don’t skimp on this!), and an egg. Seriously, just toss it all in a bowl and beat it until it’s smooth and creamy. I’ve definitely forgotten the sour cream before, and it’s still edible, just a bit denser.
Fold in some of those cherries now. Save a few for topping.
Pour that glorious batter over the crust and bake for about 50-55 minutes. The center should still have a slight jiggle. Let it cool completely, then chill in the fridge for at least 4 hours (or overnight – even better!). Top with the remaining cherries, slice, and devour. And don’t feel guilty about eating it cold straight from the fridge. I won’t judge.
Ingredient Notes
- Graham Crackers: The base, the foundation, the crunch! If you’re out, digestive biscuits work in a pinch. I once tried using Ritz crackers (don’t ask), and it was… interesting. Not in a good way.
- Cream Cheese: Full-fat, baby! Don’t even try using the low-fat stuff unless you want a sad, watery cheesecake. Ask me how I know!
- Sour Cream: Adds tang and richness. I sometimes use Greek yogurt when I’m feeling “healthy.” Don’t tell anyone.
- Cherries: Fresh or frozen, pitted! I prefer frozen because they’re easier to work with. And pitting cherries is the actual worst.
- Vanilla Extract: Do NOT skip this! It adds that warm, cozy flavor that makes cheesecake… cheesecake.
- Egg: Binds everything together. I’ve forgotten it before (oops!), and the cheesecake was a bit crumbly, but still edible.
Recipe Steps:
- Preheat: Preheat your oven to 325°F (160°C).
- Crush: Crush graham crackers and mix with melted butter and sugar.
- Press: Press the mixture into a springform pan.
- Bake: Bake the crust for 10 minutes.
- Beat: Beat together cream cheese, sugar, sour cream, vanilla extract, and an egg until smooth.
- Fold: Fold cherries into the cream cheese mixture.
- Pour: Pour the mixture over the baked crust.
- Bake: Bake for 50-55 minutes until the center jiggles slightly.
- Cool: Let cool completely.
- Chill: Chill in the fridge for at least 4 hours.
- Top: Top with remaining cherries and serve.
What to Serve It With
Honestly? Nothing. It’s perfect on its own. But if you’re feeling fancy, a dollop of whipped cream or a drizzle of chocolate sauce never hurt anyone.
Tips & Mistakes
- Make sure your cream cheese is SOFT. Like, leave-it-out-for-a-couple-of-hours soft. Lumpy cheesecake is a sad cheesecake.
- Don’t overbake it! A slight jiggle is good. It’ll firm up in the fridge.
- If your crust starts to brown too much, tent it with foil.
- Don’t open the oven while it’s baking! You’ll risk a cracked cheesecake.
- If you DO get a crack, don’t panic! Just cover it with whipped cream or more cherries. Problem solved!
Storage Tips
Store leftover cheesecake in the fridge, covered, for up to 3-4 days. And yes, it’s perfectly acceptable to eat it cold for breakfast. Especially on Mondays. Trust me.
Variations and Substitutions
- Crust: Use Oreo crumbs instead of graham crackers for a chocolatey twist. I’ve done this. It’s dangerous.
- Cherries: Try other fruits! Blueberries, raspberries, even peaches would be amazing.
- Sugar: Use honey or maple syrup instead of granulated sugar. It’ll change the flavor slightly, but it’s still delicious. I’ve subbed Stevia before. I won’t ever do it again!
- Flavor: Add a squeeze of lemon juice for extra tang or a tablespoon of almond extract for a nutty flavor.
- No Cherries: Make it a plain vanilla cheesecake. This is also great, especially for the unadventurous eaters.
Frequently Asked Questions
Easy No-Pie-Filling Cherry Cheesecake
Ingredients
Main Ingredients
- 1.5 cups graham cracker crumbs finely ground
- 0.5 cup unsalted butter melted
- 2 tablespoons sugar
- 3 packages cream cheese 8 oz each, softened
- 1 cup sugar
- 1 teaspoon vanilla extract
- 4 large eggs
- 1.5 cups fresh cherries pitted and halved
Instructions
Preparation Steps
- Preheat your oven to 325°F (162°C).
- In a medium bowl, mix graham cracker crumbs, melted butter, and sugar until well combined.
- Press the mixture into the bottom of a 9-inch springform pan.
- In a large bowl, beat cream cheese with sugar and vanilla extract until smooth.
- Add eggs, one at a time, beating after each addition until just blended.
- Fold in fresh cherries gently into the cream cheese mixture.
- Pour the cream cheese mixture over the crust in the springform pan.
- Bake for 50-60 minutes, or until the center is set and the top is lightly golden.
- Allow the cheesecake to cool to room temperature, then refrigerate for at least 4 hours before serving.
Notes
Nutrition
Featured Comments
“Super easy and family favorite! My family asked for seconds. Saving this one.”
“New favorite here — will make again. flavor-packed was spot on.”
“New favorite here — family favorite. clean was spot on.”
“This stacked recipe was turned out amazing — the loaded really stands out. Thanks!”
“Made this last night and it was turned out amazing. Loved how the anytime came together.”
“Super easy and absolutely loved! My family asked for seconds. Saving this one.”
“New favorite here — absolutely loved. dairy-free was spot on.”
“Made this last night and it was so flavorful. Loved how the shareable came together.”
“New favorite here — family favorite. warming was spot on.”
“New favorite here — turned out amazing. satisfying was spot on.”