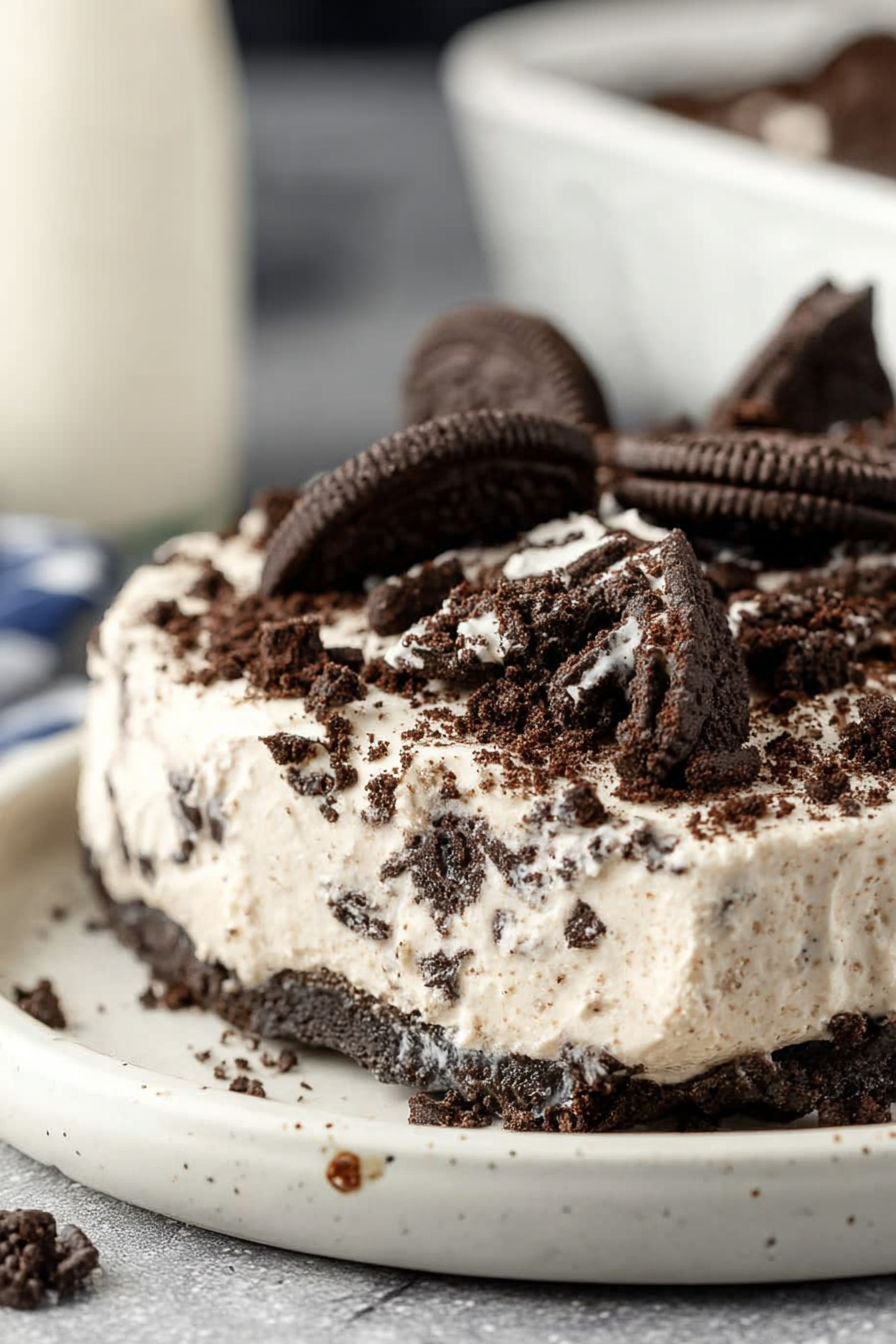
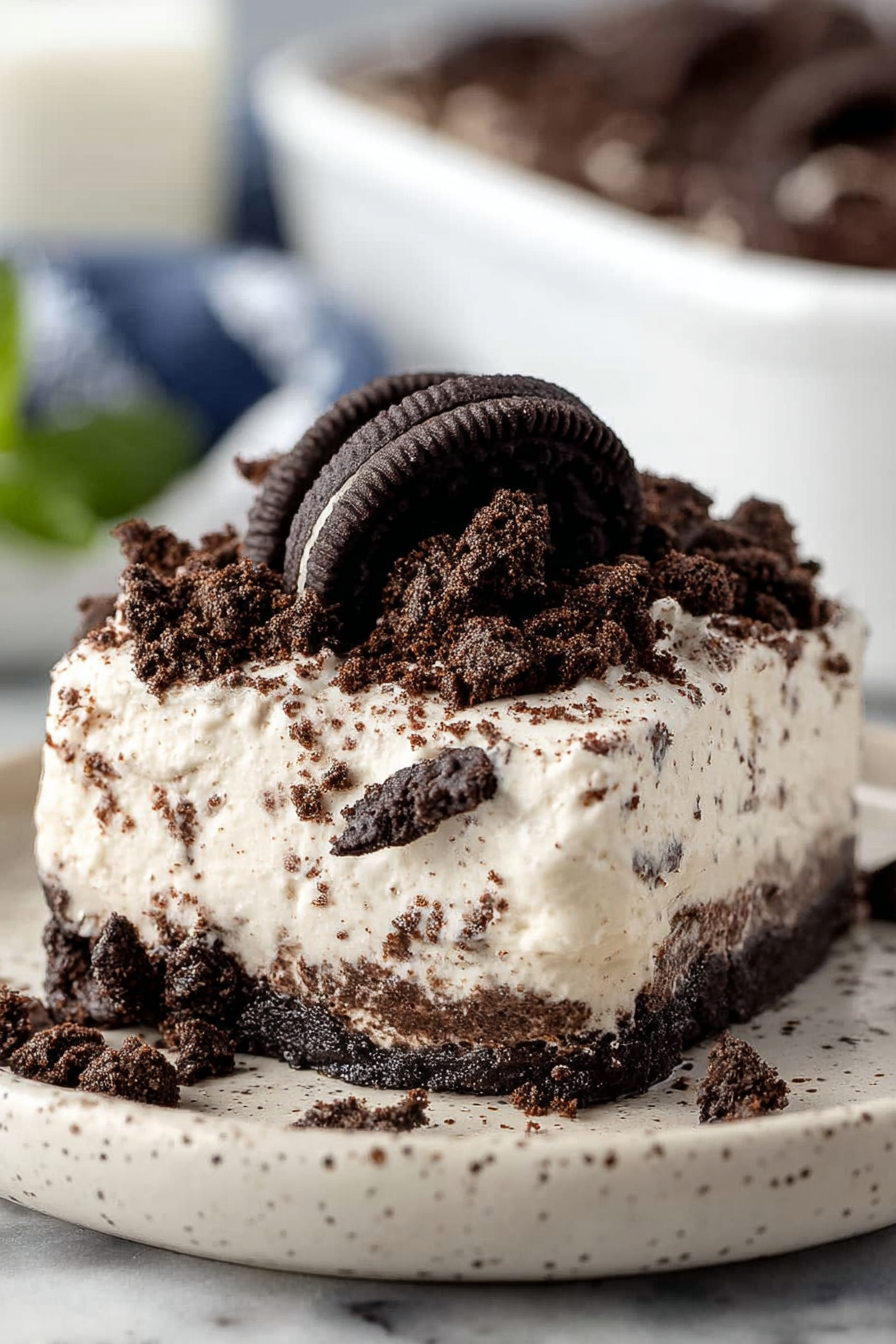
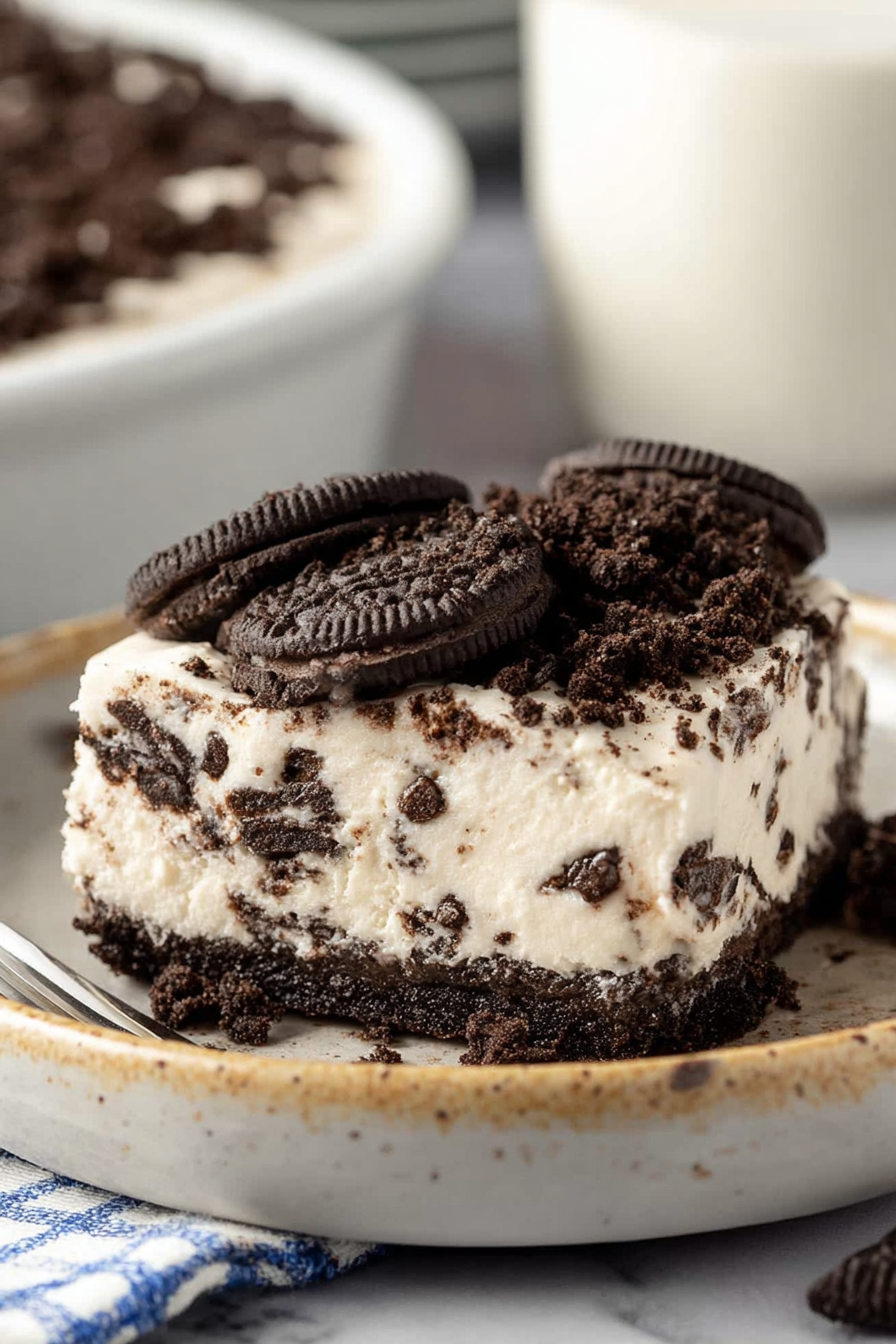
Easy No-Bake Oreo Dessert
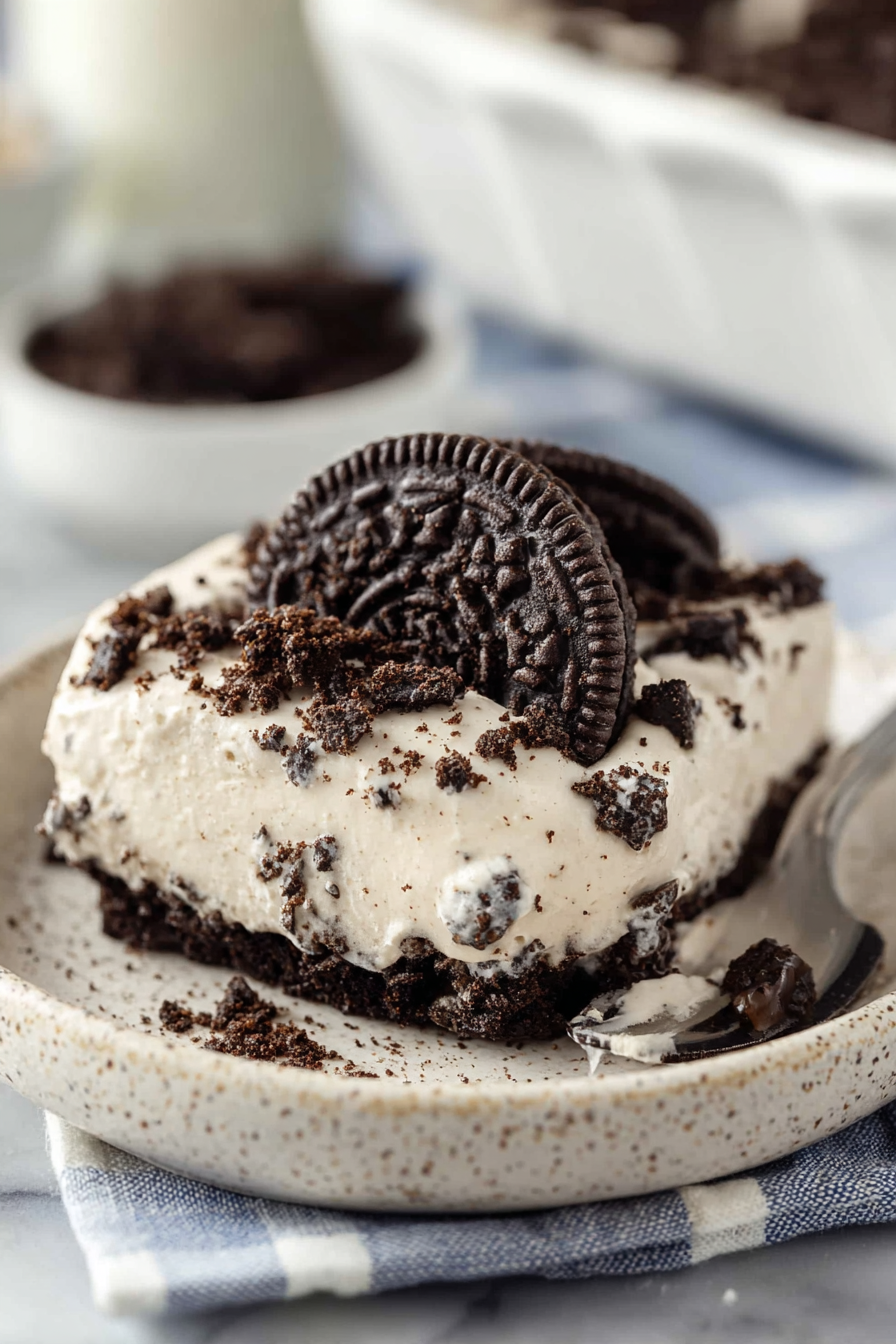
I make this thing when I want dessert that feels like an indulgent, slightly naughty hug but without turning my kitchen into a war zone. It’s a layered, no-bake Oreo dessert — crunchy cookie base, creamy sweet middle, and a glossy chocolatey finish — that comes together in bowls or a pan and makes people do that ridiculous happy-mouth, half-smile thing. It’s fast, forgiving, and perfect for when you need to bring something to a party or just need 12 oz of comfort at 9 pm.
My husband calls it “the cookie collapse” because he demolishes his portion so fast the layers look like they’re collapsing into one glorious mess. The kids think it’s magic because it involves cookies and chocolate but no oven, so I get applause and no heatstroke. Once I made it for a last-minute bake sale and forgot the serving spoons; people still dug in with napkins and left happier. It’s become our go-to when company says “we’re on our way” and I have roughly 17 minutes and zero shame.
Why You’ll Love This Easy No-Bake Oreo Dessert
– It’s ridiculously fast — most of the work is waiting for layers to set, not cooking.
– Zero oven = no summer kitchen meltdown. Your AC will thank you.
– Crowd-pleaser: Oreo crunch plus creamy sweet layers = immediate bedtime stories about the dessert.
– Flexible: serve it in a casserole dish for a party or in jars for a cute single-serve vibe.
– Kid-friendly assembly: teens can crush cookies like demolition experts while you supervise with coffee.
Kitchen Talk
MORE EASY DESSERT RECIPES...


I’ve made this with four different whipped toppings, two kinds of cream cheese (room temp is everything), and once — don’t judge — straight-up mascarpone when I was out of both. That version felt bougie and everyone pretended it was always meant to be that way. The one time I tried to skip chilling? Disaster: the layers slid like a sad landslide. Also, crushing Oreos by hand while holding a wooden spoon over a bowl is very therapeutic and makes me feel like I’m earning dessert. Pro tip I learned the hard way: if your chocolate topping is a little too thin, let it cool a beat so it doesn’t soak the top layer.
This Easy No-Bake Oreo Dessert is a total winner—super simple to put together and perfect for when you want a crowd-pleasing treat without turning on the oven. The layers of cream cheese, chocolate pudding, and crushed Oreos create a rich, creamy texture that's just the right balance of sweet and chocolatey. Definitely a go-to recipe for casual get-togethers!
MORE OF OUR FAVORITE…
Shopping Tips
– Chocolate: Use a decent bittersweet baking chocolate for the ganache — it keeps the sweetness from getting cloying. Chips melt faster if you’re in a hurry.
– Dairy: Full-fat cream cheese and real whipped topping (or heavy cream you’ll whip yourself) make a silkier filling; low-fat versions can weep.
– Baking Basics (Flour/Sugar/Leaveners): You don’t need flour or leaveners here, but make sure you have powdered sugar or a sweetener on hand for the cream layer.
– Crunch Extras: Classic Oreo cookies are the star; if buying alternatives, pick ones that are similarly crunchy so the base holds up.
– Flavor Boosts (vanilla/zest): Pure vanilla extract is worth the tiny splurge — it brightens the whole dessert and masks any canned-topping “off” notes.
Prep Ahead Ideas
– Crush the cookies and press the crust into your pan a day ahead; cover tightly with plastic wrap so it doesn’t pick up fridge smells.
– Make the cream layer the night before and keep it in an airtight container; give it a quick whisk before layering if it settles.
– Ganache can be made and cooled, then gently re-warmed for pouring — great for reducing last-minute fuss.
– Store single-serve jars in the fridge, stacked, for quick grab-and-go dessert needs.
Time-Saving Tricks
– Use a food processor to blitz cookies in seconds — or toss them in a sealed bag and whack with a rolling pin while pretending you’re working out.
– Buy pre-whipped topping if you’re rushing, but fold it in gently to avoid deflating the entire thing.
– Microwave chocolate in short bursts (15–20 seconds) and stir between blasts to avoid burning.
– Make it in a 9×13 pan instead of individual jars to save on assembly and cleanup.
Common Mistakes
– Not chilling long enough: sliced pieces will slump and fall apart. I’ve served a half-set pan before; it looked like modern art, not dessert.
– Using cold cream cheese: if it’s not softened, you’ll get lumps — and no one wants to bite into errant cream-cheese pockets.
– Pouring hot ganache directly onto a soft filling: it can melt the top layer. Let it cool slightly so it pours and sets nicely.
– Over-crushing the crust into a powder: you want crumbs with a little texture, not dust.
What to Serve It With
– A scoop of plain vanilla ice cream for serious indulgence.
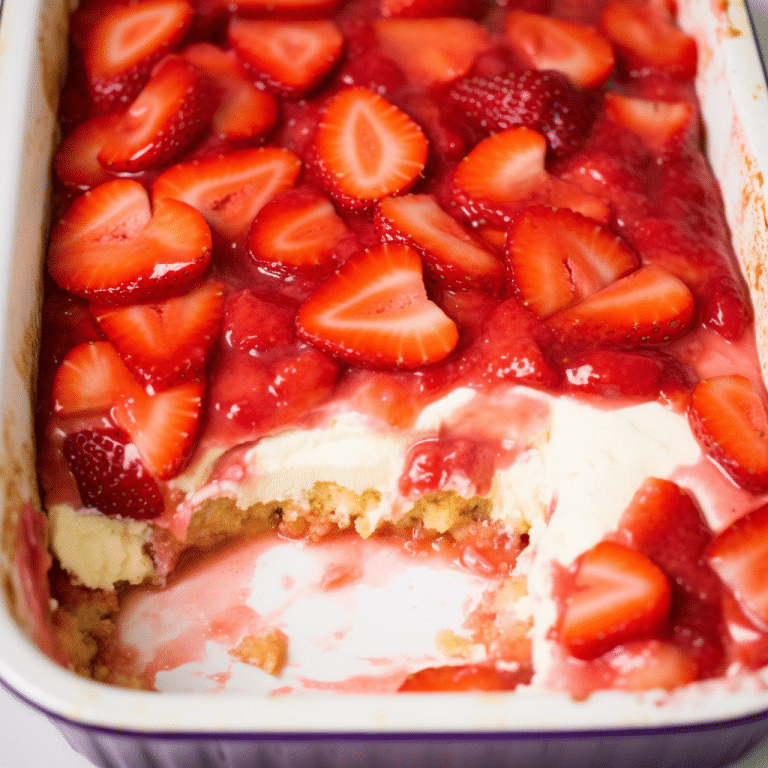
– Fresh berries (strawberries or raspberries) to cut through the richness.
– Hot coffee or espresso — the bitter bite balances the sweet.
– Crumbled on top of pancakes for a ridiculous weekend breakfast idea.
Tips & Mistakes
– Always soften the cream cheese at room temp — it saves you from a lumpy filling.
– Fold in whipped topping gently to keep the filling light; overeager stirring equals dense glop.
– If your ganache gets grainy, warm it gently and whisk until smooth again.
– Didn’t chill long enough? Pop it in the freezer for 10–15 mins to firm up before serving.
Storage Tips
Keep this dessert covered in the fridge for up to 4 days. It’s actually fine cold out of the fridge — I’ve eaten it for breakfast and yes, I judged myself but enjoyed it. If you need to store longer, freeze in portions for up to a month; thaw in the fridge overnight. Note: the crust softens over time, so fresh is best if you want that satisfying crunch.
Variations and Substitutions
– Peanut butter swirl: fold in a few tablespoons of creamy peanut butter to the filling for a Reese’s vibe.
– Mint Oreo: swap in mint cookies and a drop of peppermint extract for a cool twist.
– Lighter version: use reduced-fat cream cheese and a lighter whipped topping, but know the texture changes.
– Gluten-free: use gluten-free chocolate sandwich cookies for the same structure.
– Boozy adult version: stir a tablespoon of coffee liqueur or Kahlúa into the chocolate layer for grown-up richness.

Frequently Asked Questions
Easy No-Bake Oreo Dessert
Ingredients
Main Ingredients
- 24 cookies Oreo cookies Crushed
- 0.5 cup unsalted butter Melted
- 2 cups cream cheese
- 1 cup powdered sugar
- 1 cup whipped topping Thawed
Instructions
Preparation Steps
- In a large bowl, combine crushed Oreo cookies and melted butter, mixing well.
- Press the cookie mixture into the bottom of a 9x13 inch dish to form a crust.
- In another bowl, beat cream cheese and powdered sugar until smooth.
- Fold in whipped topping until combined, then spread mixture over the crust.
- Chill in the refrigerator for at least 4 hours before serving.
Notes
Featured Comments
“New favorite here — so flavorful. creamy was spot on.”
“Impressed! Clear steps and will make again results. Perfect for busy nights.”
“This party favorite recipe was absolutely loved — the zesty really stands out. Thanks!”
“New favorite here — family favorite. creamy was spot on.”
“Impressed! Clear steps and so flavorful results. Perfect for busy nights.”
“Made this last night and it was family favorite. Loved how the fluffy came together.”
“Impressed! Clear steps and absolutely loved results. Perfect for busy nights.”
“Impressed! Clear steps and family favorite results. Perfect for busy nights.”
“Made this last night and it was will make again. Loved how the crowd-pleaser came together.”
“Super easy and will make again! My family asked for seconds. Saving this one.”