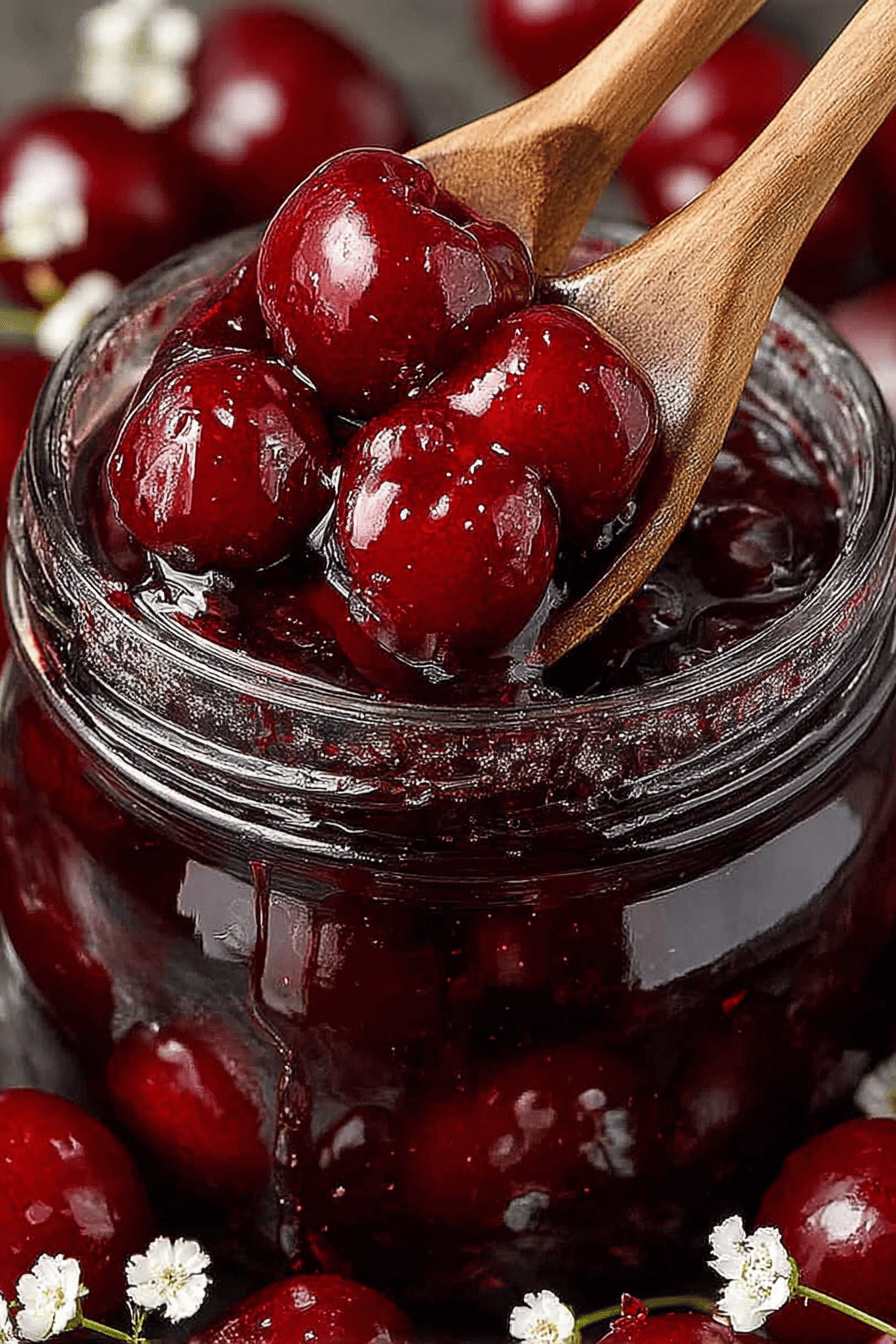
Easy Homemade Cherry Pie Filling
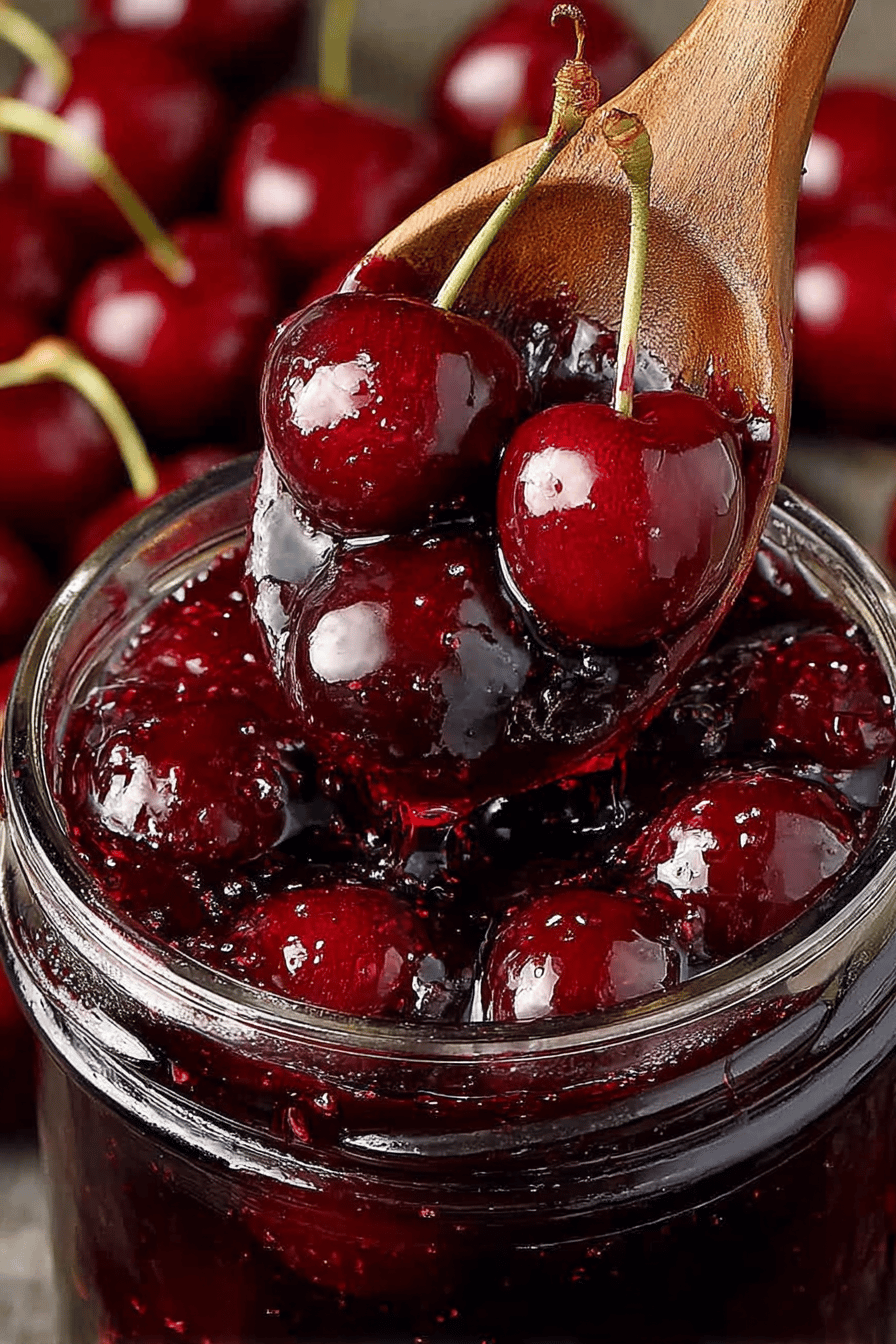
There’s just something about homemade cherry pie filling that feels like a little slice of magic. Store-bought versions are fine and all, but making it yourself? Totally next level—the cherries pop with fresh flavor, and you can tweak the sweetness or tartness exactly how you like. Plus, when you pull it out for a quick pie, or heck, just spoon it over ice cream, it tastes like you put way more love into it than you actually did. It’s sweet, sticky, a little glossy, and perfect for those moments when you want dessert but also kinda want to impress without sweating it.
My husband has seriously become obsessed with this stuff—he’ll sneak bites straight from the jar and once even declared it “better than actual pie.” The kids got on the bandwagon too, using it as a pancake topping, snacking on it after school, and convincing me to bake cherry turnovers for their friends’ birthday party. It’s been a game changer in our house, especially for a quick dessert fix or when I want something that feels homemade but doesn’t require twenty steps.
Why You’ll Love This Easy Homemade Cherry Pie Filling
– It’s the perfect combo of sweet and tart, like cherries throwing a little party in your mouth.
– No weird preservatives here—just real cherries doing their thing.
– You can make it ahead and feel fancy when you whip up pie or cobbler out of nowhere.
– Bonus: it’s insanely versatile. Spoon it on yogurt, toast, pancakes—you name it.
– It’s super forgiving. Overcook a bit? Still tastes great. Mess up the sugar ratio? No big deal.
How to Make It


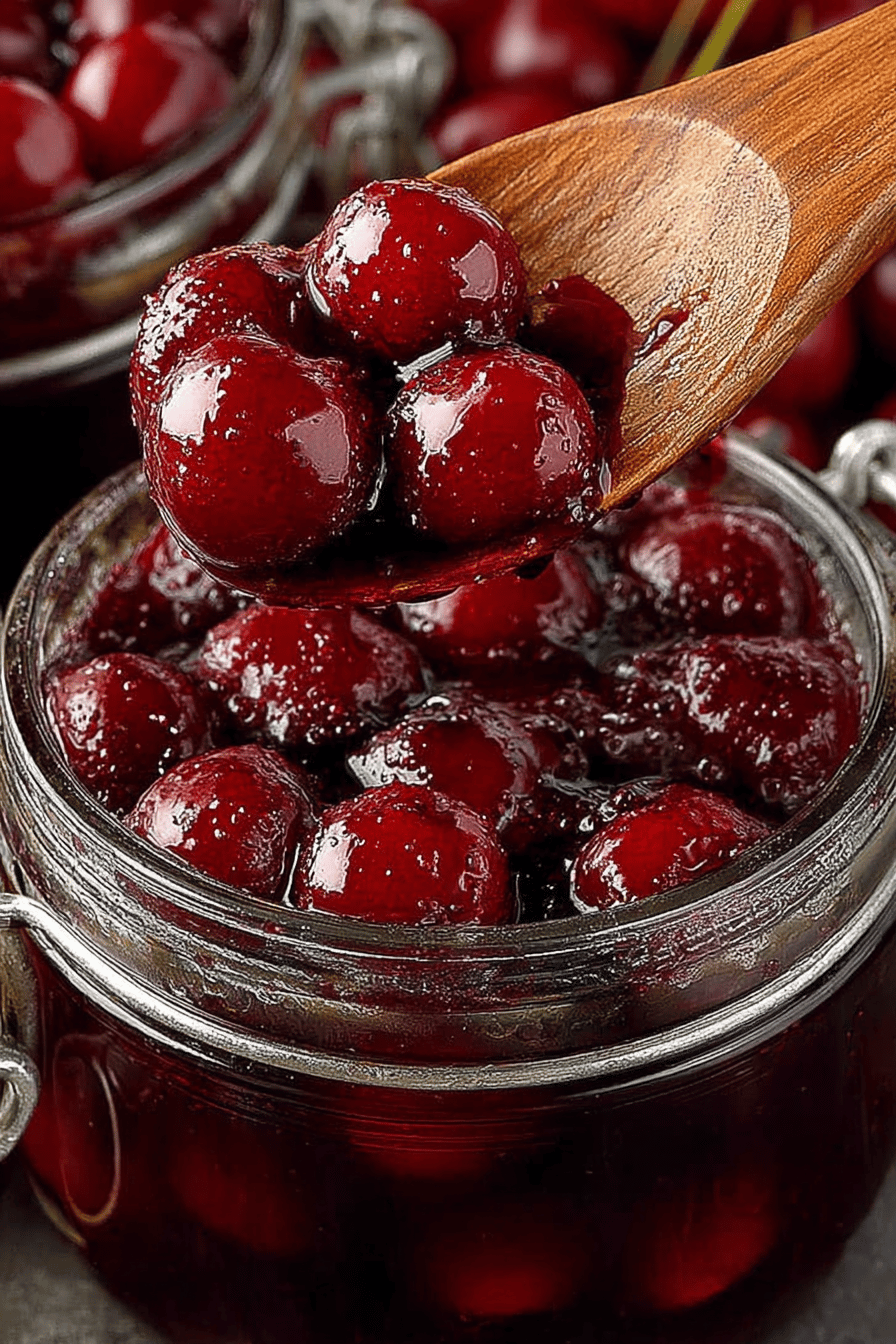
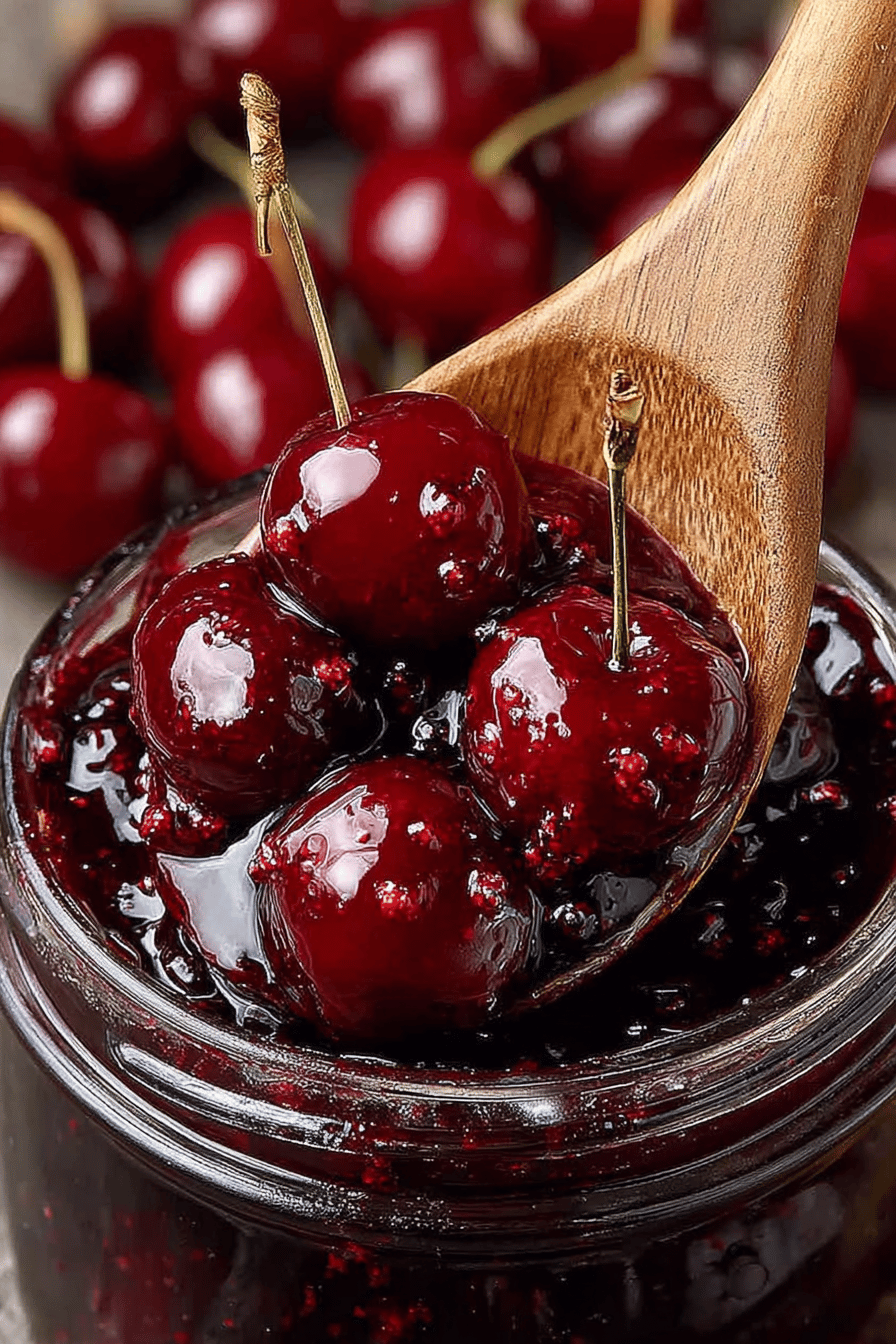
Alright, so grab a pot and toss in your cherries—you can use fresh if it’s cherry season, or frozen works just fine (no thawing necessary, just dump ’em in). Add in sugar and a little cornstarch for that glossy, thick finish. Give it a good stir, then turn on the heat. It’ll bubble up, get all syrupy, and smell like heaven in your kitchen. Don’t wander off. Stir often so it doesn’t stick or burn. When it thickens and looks like cherry jam, remove from heat. Add a splash of lemon juice at the end to brighten things up—trust me, it wakes the whole thing up. Cool it down if you’re not using it right away.
This cherry pie filling was an absolute hit with my family! It was super easy to make and had the perfect balance of sweetness and tartness. I’ll definitely be using this recipe for all my future pies and desserts!
This cherry pie filling turned out absolutely delicious and was so simple to make! My kids loved helping stir it on the stove, and it tasted way better than anything from a can. We’ll definitely be using this recipe again for our weekend pies!
MORE OF OUR FAVORITE…
Ingredient Notes
– Cherries: Fresh or frozen—that tart-and-sweet balance is key. Make sure to pit ’em unless you want some surprises in the pie.
– Sugar: Adjust to taste and mood. More sugar means sweeter filling; less is perfect if your cherries are super ripe and sweet already.
– Cornstarch: Magic dust that thickens the filling. Use too much and things get weirdly stiff, too little and it’s a runny mess.
– Lemon Juice: Just a splash makes the flavors pop and keeps the color from going all sad and brown.
– Vanilla Extract (optional): I like adding a little for depth, but definitely not mandatory—your call.
Recipe Steps
1. Pit the cherries if using fresh, or just measure out frozen.
2. Combine cherries, sugar, and cornstarch in a medium pot.
3. Stir well to coat the cherries and dissolve the cornstarch.
4. Heat over medium heat, stirring often, until the mixture thickens and bubbles.
5. Remove from heat, stir in lemon juice (and vanilla if you’re using it).
6. Let cool before using, or store in the fridge until you’re ready to get creative.
What to Serve It With
If you’re feeling traditional, obviously dump it into a pie crust and bake. But don’t stop there—try it with vanilla ice cream, swirl it into oatmeal, spoon it on toast with a smear of cream cheese, or serve it alongside pound cake. We even shook up a cherry filling parfait once and that was a total hit.
Tips & Mistakes
Keep your eye on the pot! Cornstarch works fast, and if you don’t stir, you’ll end up scraping burnt bits. Taste-test your cherries before adding sugar; some batches are sweeter than others, so adjust sugar accordingly. If it’s too thick after cooling, stir in a splash of water or juice to loosen it up.
Storage Tips
Pop leftover filling into an airtight container and refrigerate for up to a week. It’s delicious cold, no shame eating it straight from the jar, especially over yogurt or pancakes. You can also freeze it in little containers for a quick cherry fix later—just thaw overnight in the fridge.
Variations and Substitutions
Swapping sugar for honey is cool if you want a different kind of sweetness, but keep an eye on consistency since honey is liquidy. Tried maple syrup once, it worked but gave a distinct flavor that’s not classic cherry pie, so only if you’re feeling adventurous. Cornstarch can be swapped for arrowroot if you want gluten-free or a cleaner thickener—same idea but arrowroot holds up better if you freeze the filling. If you want it less shiny and more rustic, skip the vanilla.
Frequently Asked Questions
Easy Homemade Cherry Pie Filling
Ingredients
Main Ingredients
- 4 cup fresh pitted cherries
- 1.5 cup granulated sugar
- 0.5 cup water
- 3 tablespoon cornstarch for thickening
- 1 tablespoon lemon juice freshly squeezed
- 0.25 teaspoon almond extract optional
Instructions
Preparation Steps
- In a medium saucepan, combine sugar, cornstarch, and water. Whisk until smooth.
- Cook over medium heat, stirring constantly until mixture thickens and boils.
- Add cherries and lemon juice; cook for 5 minutes until cherries are heated through.
- Remove from heat and stir in almond extract if using.
- Let cool completely before using as pie filling or storing.
Notes
Nutrition
Featured Comments
“Made this last night and it was so flavorful. Loved how the saucy came together.”
“Super easy and will make again! My family asked for seconds. Saving this one.”
“Impressed! Clear steps and family favorite results. Perfect for busy nights.”
“This buttery recipe was absolutely loved — the crowd-pleasing really stands out. Thanks!”
“This hearty recipe was absolutely loved — the lighter really stands out. Thanks!”
“Impressed! Clear steps and turned out amazing results. Perfect for busy nights.”
“Impressed! Clear steps and will make again results. Perfect for busy nights.”
“Impressed! Clear steps and absolutely loved results. Perfect for busy nights.”
“Super easy and absolutely loved! My family asked for seconds. Saving this one.”
“Impressed! Clear steps and absolutely loved results. Perfect for busy nights.”