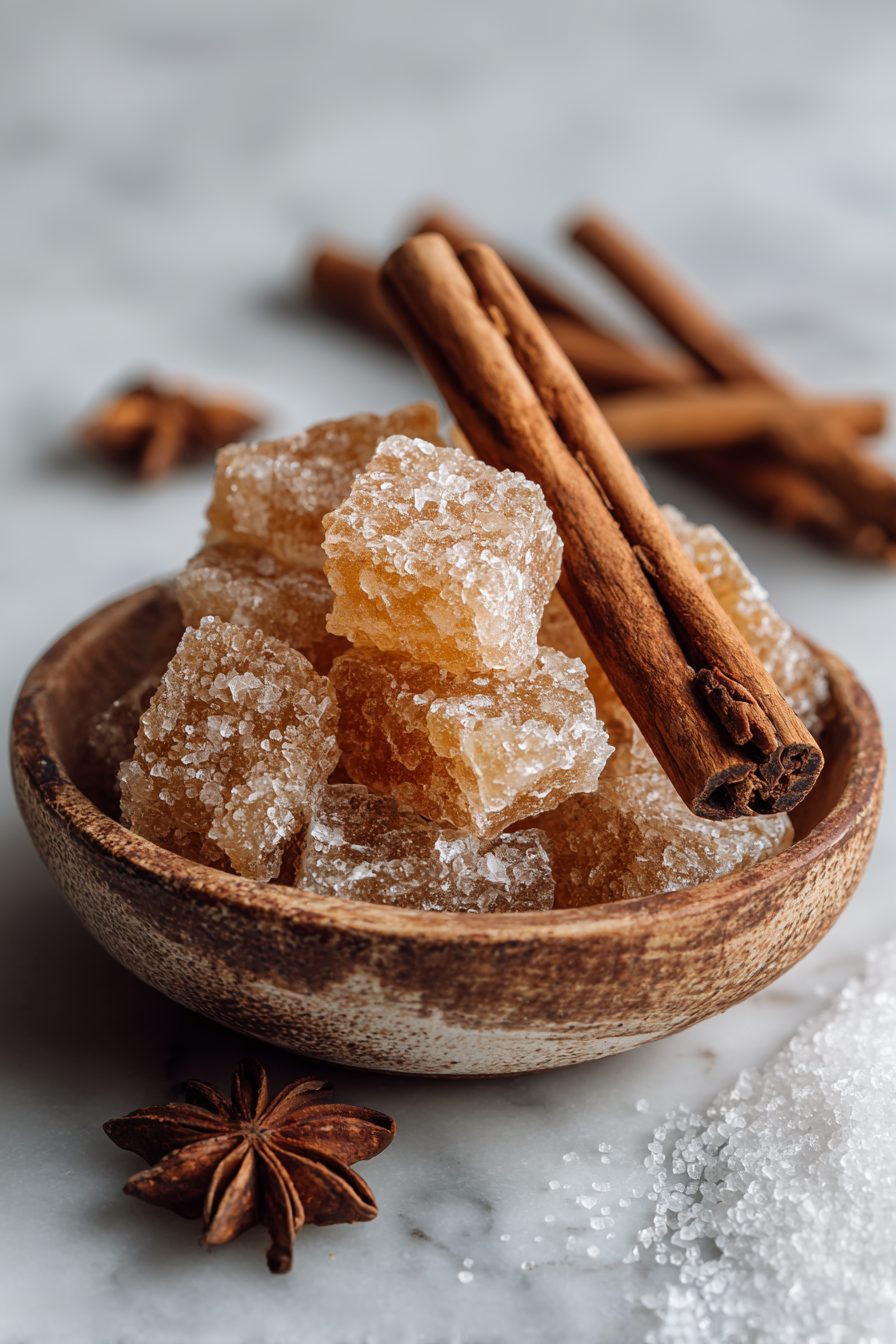
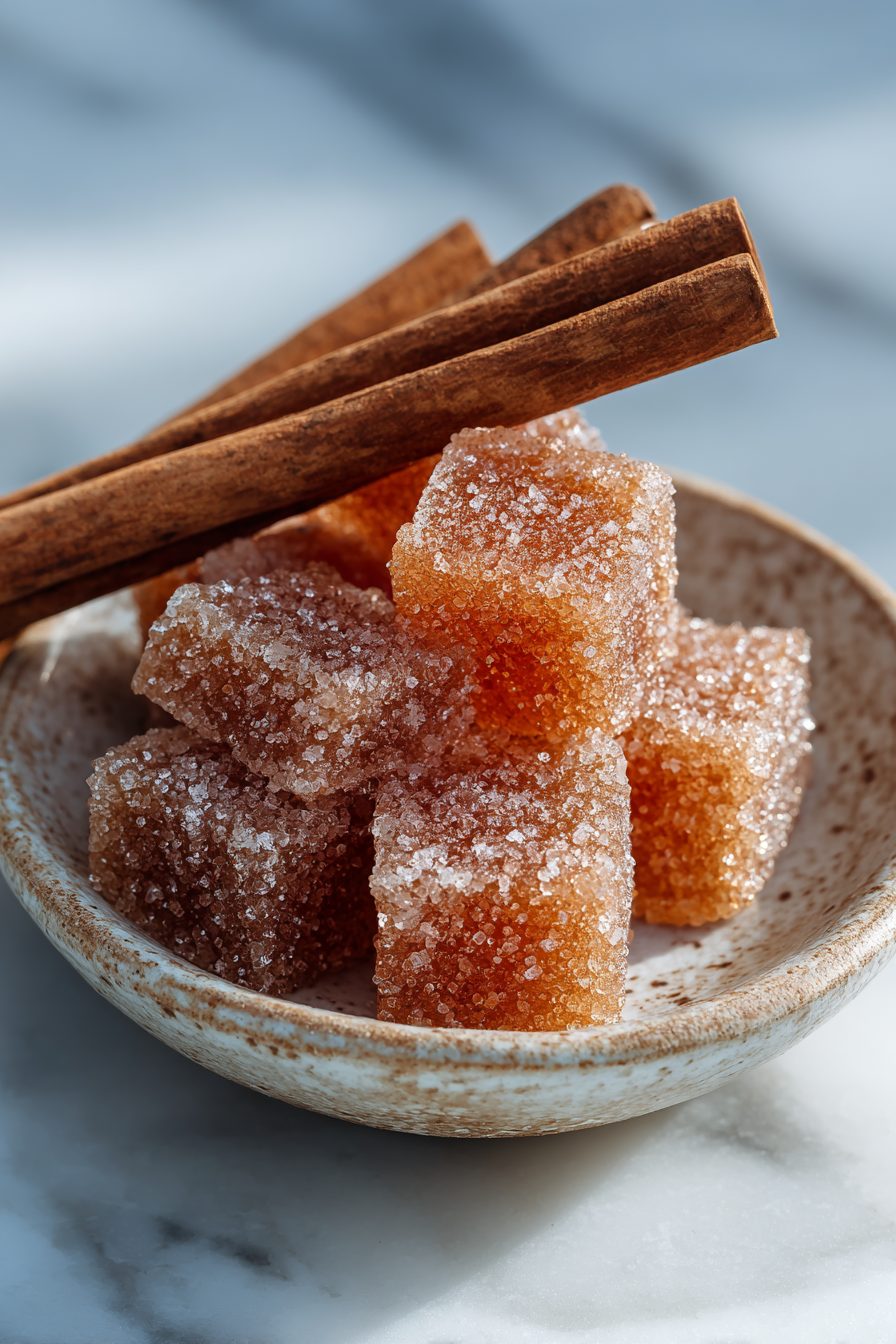
Cinnamon Rock Candy Recipes
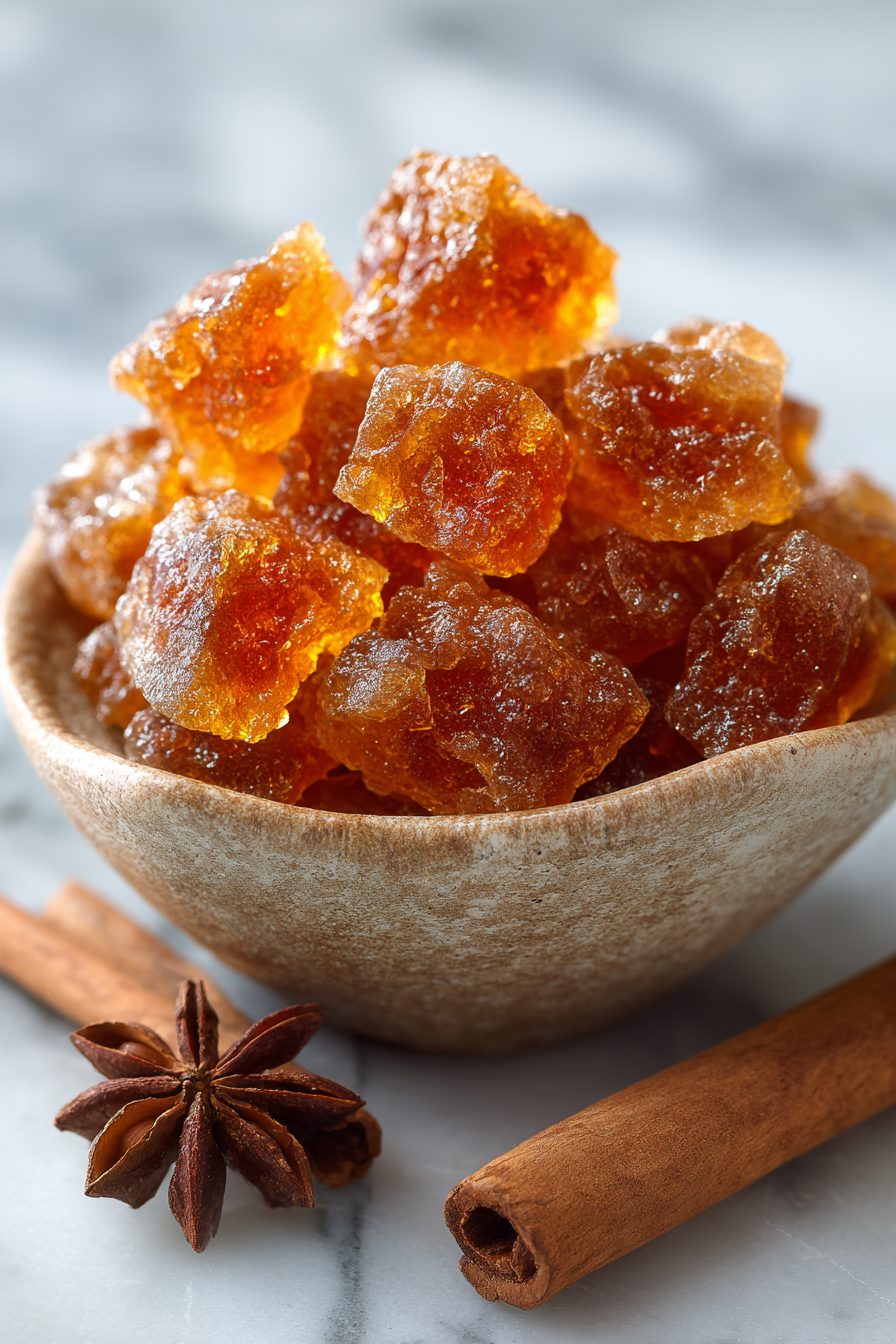
Okay, so here’s the deal: this is my riff on cinnamon rock candy — crunchy, a little bit nostalgic, and weirdly comforting. It’s the kind of candy that makes you feel like a kid again but also like an adult who can handle boiling sugar without crying. It’s basically crystallized cinnamon vibes on a stick, perfect for tea, gifting, or just licking in secret while doing dishes.
My husband calls these “danger sticks” because once he starts one, he won’t stop. True story: I made a batch on a rainy Sunday because I wanted something simple to keep my hands busy. He walked in, took one bite, and disappeared with a mug of hot chai and a conspiratorial grin. Our kid tried a shard and announced, very seriously, that it should be legal to eat them for breakfast. Now it’s become the thing we make when guests come — everyone ends up with sugar on their face and stories they didn’t mean to tell.
Why You’ll Love This Cinnamon Rock Candy Recipes
– Crunchy, cozy, and a little bit sassy — cinnamon gives classic rock candy a grown-up twist.
– Great for gifts: you can jar them up and they look fancy even if your kitchen looks like a war zone.
– Zero oven drama; it’s mostly hands-on stove time and then patience, which I’ve learned to call “taste-testing.”
– Kid-friendly and party-ready — they double as drink stirrers for hot tea or autumn cocktails.
Kitchen Talk
This one is equal parts science and stubbornness. I once tried to rush the cooling because I was late to a Zoom call and ended up with sad, syrupy strings that never properly crystallized. Lesson learned: sugar will do its own thing, and your job is to be dramatic and patient.
MORE OF OUR FAVORITE…
Also: cinnamon sticks? They’re not just for flavor — they make the kitchen smell like a bookstore and grandma’s cardigan. I experimented with cinnamon oil one time because I thought it’d be faster; it was potent and a bit too punk-rock for the candy. Whole sticks or a gentle extract are the way to go.
I ruined one batch by using a shallow pan and getting sugar all over the stove; deep pot, people. No one needs that fight.
Shopping Tips
– Baking Basics (Flour/Sugar/Leaveners): Buy plain white granulated sugar — it’s the workhorse that forms the crystals. Avoid coarse or powdered sugar for this one.
– Spices: Grab good-quality cinnamon sticks or a warm cinnamon extract; cheap powdered cinnamon tastes flat when heated.
– Specialty Item: Consider a candy thermometer or sugar thermometer so you’re not guessing — it makes the process less scary and more successful.
– Budget Swaps: A store-brand sugar works fine; splurge on nicer cinnamon if you’re gifting the candy.
– Sweeteners: If you’re tempted to sub honey or maple, don’t — they interfere with crystal formation and change the texture.
Prep Ahead Ideas
– Dissolve the sugar syrup the day before and keep it sealed in the fridge; gently reheat and start the crystal-setting process when you’re ready.
– Prep jars, sticks, or strings the night before: clean, dry, and labeled so you can drop everything in quickly.
– Store cinnamon sticks in a small container so they’re ready to go; it saves fumbling with spice jars while hot sugar is involved.
– Use airtight glass jars for the resting phase; they make moving the whole thing if you need to clear the counter way less annoying.
– Doing these steps ahead means you only need to babysit the cooling and the first few hours — big time-saver for busy evenings or when guests show up unexpectedly.
Time-Saving Tricks
– Use a deeper pot so sugar doesn’t boil over — less cleanup equals faster recovery.
– Prep your sticks and jars while the syrup heats; multitasking is your friend.
– Use pre-warmed jars (boiled then dried) to reduce sudden temperature shock that can mess with crystal formation.
– If you’re short on time, make smaller batches; they set faster and are easier to gift.
– Don’t rush cooling — but you can move jars to a cool corner to speed things without disturbing them.
Common Mistakes
– Turning up the heat too high: I scorched a batch once and the smell haunted me for days. Fix? Toss it and start over — burnt sugar is not forgiving.
– Not protecting your sticks/strings: they need to hang free. If they touch the jar sides, crystals grow wonky. Rescue by gently removing and re-suspending.
– Using flavored sweeteners (honey, syrup): tried it once out of desperation; it never crystallized properly. Sugar-only is the safe route.
– Disturbing the jars while crystals are forming: I opened one early and got sticky, sad candy. If it’s wobbly, wait longer.
What to Serve It With
– Hot tea or chai — use a cinnamon rock candy as an instant stirrer and sweetener.
– Coffee drinks or lattes for a nostalgic, crunchy garnish.
– Cocktail rim sugar for autumn cocktails — dip the rim and press on crushed cinnamon rock shards.
– A simple cookie platter for a holiday spread; they add height and drama to snack tables.
Tips & Mistakes
– Use glass jars — they’re inert and show the pretty crystals.
– Don’t skip the “seed crystal” step; it’s how big crystals get their act together.
– If your sugar looks cloudy, that’s normal at first — crystals will clarify as they grow.
– Oops-move: if the syrup starts to darken too fast, lower the heat immediately; darker = burnt.
Storage Tips
Store finished rock candy in airtight jars at room temperature; keep them away from humidity or they’ll melt into sad, sticky sculptures. If you end up eating one cold straight from the jar, that’s allowed — they still crunch, just more pleasantly solid. Breakfast? No judgment here; sugar with coffee can be considered a balanced meal in my house.
Variations and Substitutions
– Cinnamon extract vs cinnamon sticks: sticks give aroma and are prettier in jars; extract is stronger and you’ll need far less.
– Color and flavor: add a drop of food coloring or a touch of vanilla for a twist, but keep flavors simple — overstretching can confuse crystal growth.
– Sugar swaps: brown sugar or honey won’t behave the same — tried brown once and it grew weirdly, so stick to white sugar for predictable crystals.
– Alcohol-infused versions? Skip — alcohol interferes with sugar crystallization and tends to make a mess.
Frequently Asked Questions
Cinnamon Rock Candy Recipes
Ingredients
Main Ingredients
- 2.25 cup granulated sugar
- 0.75 cup light corn syrup
- 0.75 cup water
- 1 tsp cinnamon oil (food-grade) Very potent; avoid contact with skin and eyes
- 0.25 tsp red food coloring Gel or liquid
- 0.5 cup confectioners' sugar for dusting
Instructions
Preparation Steps
- Line a 9x13-inch pan with parchment or foil. Dust lightly with confectioners' sugar.
- Combine granulated sugar, corn syrup, and water in a heavy 3-quart saucepan.
- Warm over medium heat, stirring just until the sugar dissolves and the mixture looks clear.
- Clip on a candy thermometer. Boil without stirring until the syrup reaches 300°F (hard-crack).
- Remove from heat. Let bubbles settle for 10–15 seconds, then stir in cinnamon oil and food coloring. Ventilate; fumes are strong.
- Immediately pour the hot candy into the prepared pan and tilt to spread evenly.
- Cool completely until firm, about 30–45 minutes.
- Dust the top with more confectioners' sugar. Lift out, crack into pieces, and toss to coat.
- Store candy in an airtight container at room temperature.
Notes
Featured Comments
“Impressed! Clear steps and family favorite results. Perfect for busy nights.”
“Made this last night and it was so flavorful. Loved how the weeknight winner came together.”
“New favorite here — absolutely loved. melt-in-your-mouth was spot on.”
“Impressed! Clear steps and family favorite results. Perfect for busy nights.”
“This anytime recipe was turned out amazing — the crowd-pleasing really stands out. Thanks!”
“Super easy and so flavorful! My family asked for seconds. Saving this one.”
“Made this last night and it was will make again. Loved how the fizzy came together.”
“New favorite here — family favorite. plant-powered was spot on.”
“Super easy and absolutely loved! My family asked for seconds. Saving this one.”
“New favorite here — will make again. hearty was spot on.”