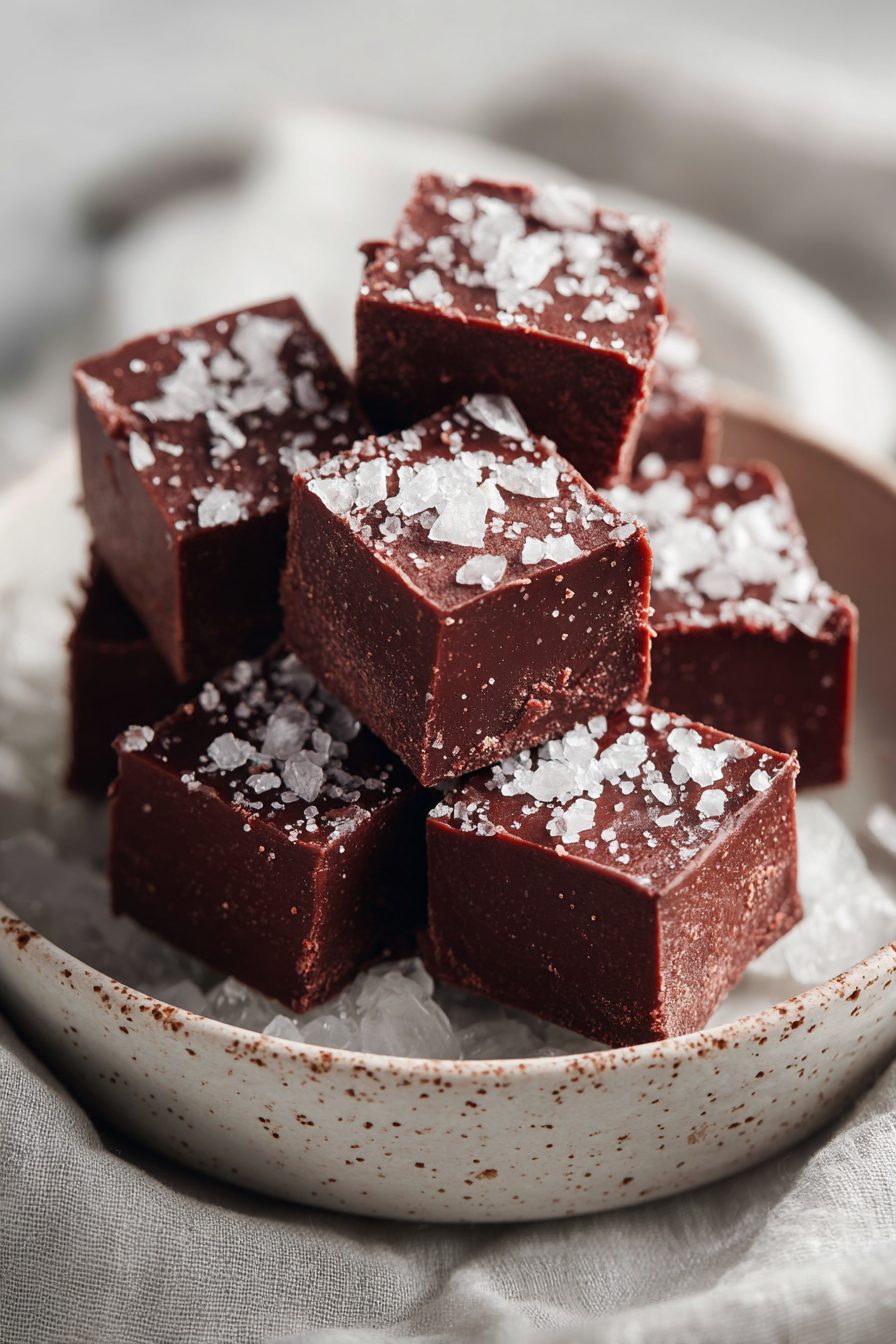
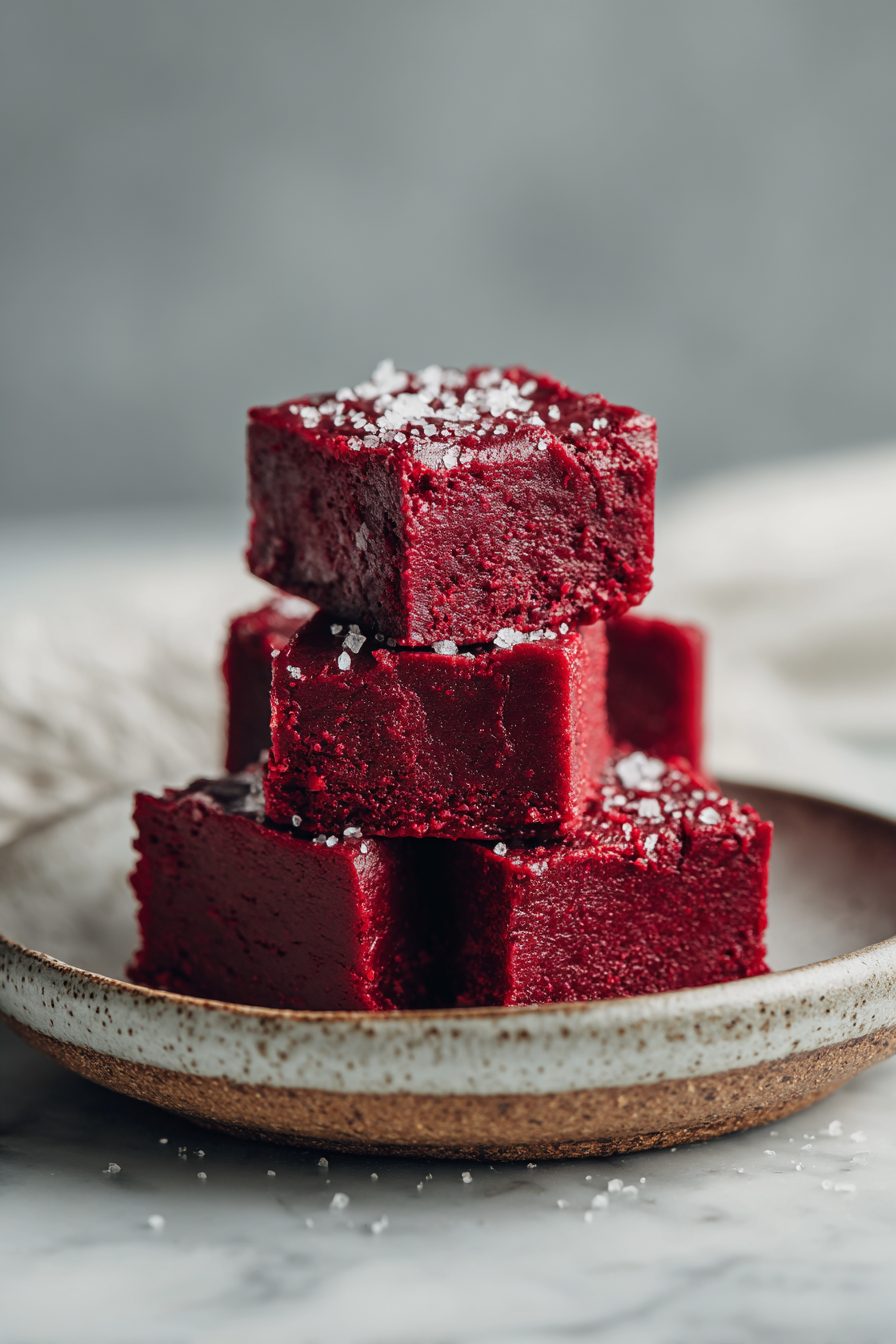
Red Velvet Fudge Delight

I made this Red Velvet Fudge Delight on a whim one sad Tuesday because I had leftover white chocolate and an unreasonable amount of cream cheese. The result was ridiculous: dense, slightly tangy, crimson squares that look fancy but are stupidly easy to make. It’s basically dessert armor for any occasion — Valentine’s Day, potlucks, or “I deserve sugar” nights.
My husband is the kind of person who pretends he doesn’t like sweets but will eat half a pan if I’m not looking. He walked in the door, took one bite, and declared it the fifth-best thing I’ve ever made (I’m still bargaining for top three). The kids call it cake that sits like a brick — in the best way — and beg for “just one more tiny square” which inevitably becomes three. It’s become our post-soccer ritual: hot showers, sticky fingers, red crumbs everywhere, and a box of these on the counter. True love, I tell you.
Why You’ll Love This Red Velvet Fudge Delight
– It looks fancy but takes way less effort than frosting a layer cake.
– Rich, creamy texture meets just enough cocoa tang to feel nostalgic.
– Can be made ahead, chilled, and transported without drama.
– Perfect for gifting — slice, box, and pretend you nailed pastry school.
Kitchen Talk
This recipe is the kind of cooking where a messy countertop is a badge of honor. I once tried to get cute with gel food coloring and ended up with a bowl that looked like a crime scene — vivid, uneven color and my toddler wearing an accidental red cheek stripe. After a few tries, I learned: stir gently, don’t overheat the chocolate, and don’t panic if the color looks off in the pan; it deepens as it cools. I also briefly swapped cream cheese for mascarpone once and the texture was silkier, but slightly less tangy — still dangerous.
Oh man, this Red Velvet Fudge Delight turned out so creamy and packed with that classic tangy red velvet flavor—way better than I expected for how quick it was to whip up! The vibrant red color and chocolatey richness make it perfect for holiday gifting, and it disappeared in no time at my family gathering. Honest truth, it's my new go-to fudge recipe—addictive and foolproof!
MORE OF OUR FAVORITE…
Shopping Tips
– Chocolate: Use good-quality white chocolate—bars melt smoother than chips, and cheap stuff can seize.
– Dairy: Full-fat cream cheese and butter give the best mouthfeel; don’t try this with low-fat versions.
– Sweeteners: Granulated sugar is fine here; if using powdered, adjust texture expectations (it’ll be denser).
– Nuts & Seeds: If you like crunch, toasted pecans or walnuts are great—buy whole and chop for fresher flavor.
– Flavor Boosts: Pure vanilla extract and a tiny hit of cocoa powder or espresso powder deepen the red velvet profile—skip imitation vanilla.
Prep Ahead Ideas
– Make the fudge the day before: pour, chill, then slice the next day for cleaner edges.
– Line your pan with parchment overhang so you can lift the whole block out to cut — less smudging, less mess.
– Store cut squares in a single layer between parchment in an airtight container; they keep the shape and color better.
– Want to prep for a party? Freeze slices spaced on a tray, then pack in a box; they thaw quickly at room temp.
Time-Saving Tricks
– Melt chocolate gently in short bursts in the microwave, stirring between bursts to avoid scorching.
– Use room-temperature cream cheese so it blends faster and smoother — saves elbow grease.
– Bake-less fudge? Yes. The stovetop method is quicker than any oven affair here.
– Don’t rush chilling: pop it in the freezer for 20–30 minutes if you’re impatient, but finish chilling in the fridge for best texture.
Common Mistakes
– Overheating the chocolate — it can seize and get grainy. If that happens, add a splash of warm cream and stir slowly to smooth.
– Too much food coloring — it tastes fine but looks chemical; start small and add color gradually.
– Cutting too soon — slices will crumble. Let it set fully, or chill briefly in the freezer for cleaner cuts.
– Using low-fat dairy — the fudge can turn rubbery or too soft. Learned that the hard way, with a very sad pan.
What to Serve It With
– Strong coffee or an espresso — cuts the sweetness and is perfect for after-dinner.
– Vanilla ice cream or whipped cream for contrast and extra indulgence.
– A simple mixed berry salad to add brightness and cut through the richness.
– Toasted nuts on the side for crunch.
Tips & Mistakes
– Use a shallow pan so the fudge isn’t blocky — 8×8 or similar works great.
– Let everything come to room temp before mixing to avoid lumps.
– If it’s too sweet, a pinch of flaky sea salt on top helps.
– One time I added extra cocoa instead of a teaspoon of vanilla; it made it more chocolatey but less “red velvet” — be careful with substitutions.
Storage Tips
Store leftovers in an airtight container in the fridge for up to a week. They’re perfectly fine cold (and kind of addictive), and honestly make a no-judgment breakfast with coffee. Want them longer? Freeze wrapped squares for up to 3 months — thaw on the counter or nibble frozen for an ice-cream-like bite.
Variations and Substitutions
– Swap white chocolate for ruby or pink chocolate for a different hue and flavor.
– Replace half the white chocolate with high-quality white compound if you’re worried about melting behavior.
– For a vegan version, use coconut cream and vegan white chocolate—texture will be softer, but still delicious.
– Try swapping cream cheese for mascarpone for a silkier, less tangy bite.
– If you’re avoiding artificial dye, try powdered beetroot or freeze-dried strawberry powder for color (milder but prettier).
Frequently Asked Questions
Red Velvet Fudge Delight
Ingredients
Main Ingredients
- 3 cup white chocolate chips
- 14 oz sweetened condensed milk
- 2 tbsp unsalted butter cut into pieces
- 1 tbsp unsweetened cocoa powder
- 1.25 tsp vanilla extract
- 0.25 tsp fine sea salt
- 0.75 tsp red gel food coloring add more to reach desired shade
- 4 oz cream cheese, softened room temperature
- 0.5 cup powdered sugar
- 1 tbsp heavy cream
- 2 tbsp mini chocolate chips or sprinkles optional topping
Instructions
Preparation Steps
- Line an 8-inch square pan with parchment, leaving overhang; lightly grease the paper.
- Beat cream cheese, powdered sugar, and heavy cream until smooth and fluffy; set aside.
- Warm condensed milk and butter in a medium saucepan over low heat, stirring until the butter melts.
- Stir in white chocolate chips until fully melted and silky; keep heat low to prevent scorching.
- Remove from heat. Mix in vanilla, cocoa, and salt. Tint the mixture a deep red with gel coloring.
- Spread the red fudge into the prepared pan. Spoon small dollops of the cream cheese mixture over the top.
- Swirl gently with a knife to marble. Tap the pan to level, then add mini chips or sprinkles if using.
- Chill until firm, about 2 hours. Lift out with parchment and cut into squares with a warm knife.
Notes
Featured Comments
“Impressed! Clear steps and will make again results. Perfect for busy nights.”
“This flavorful recipe was family favorite — the tender really stands out. Thanks!”
“This nostalgic recipe was turned out amazing — the satisfying really stands out. Thanks!”
“Super easy and so flavorful! My family asked for seconds. Saving this one.”
“Super easy and will make again! My family asked for seconds. Saving this one.”
“Super easy and so flavorful! My family asked for seconds. Saving this one.”
“Super easy and will make again! My family asked for seconds. Saving this one.”
“Impressed! Clear steps and so flavorful results. Perfect for busy nights.”
“Impressed! Clear steps and turned out amazing results. Perfect for busy nights.”
“This golden recipe was will make again — the saucy really stands out. Thanks!”