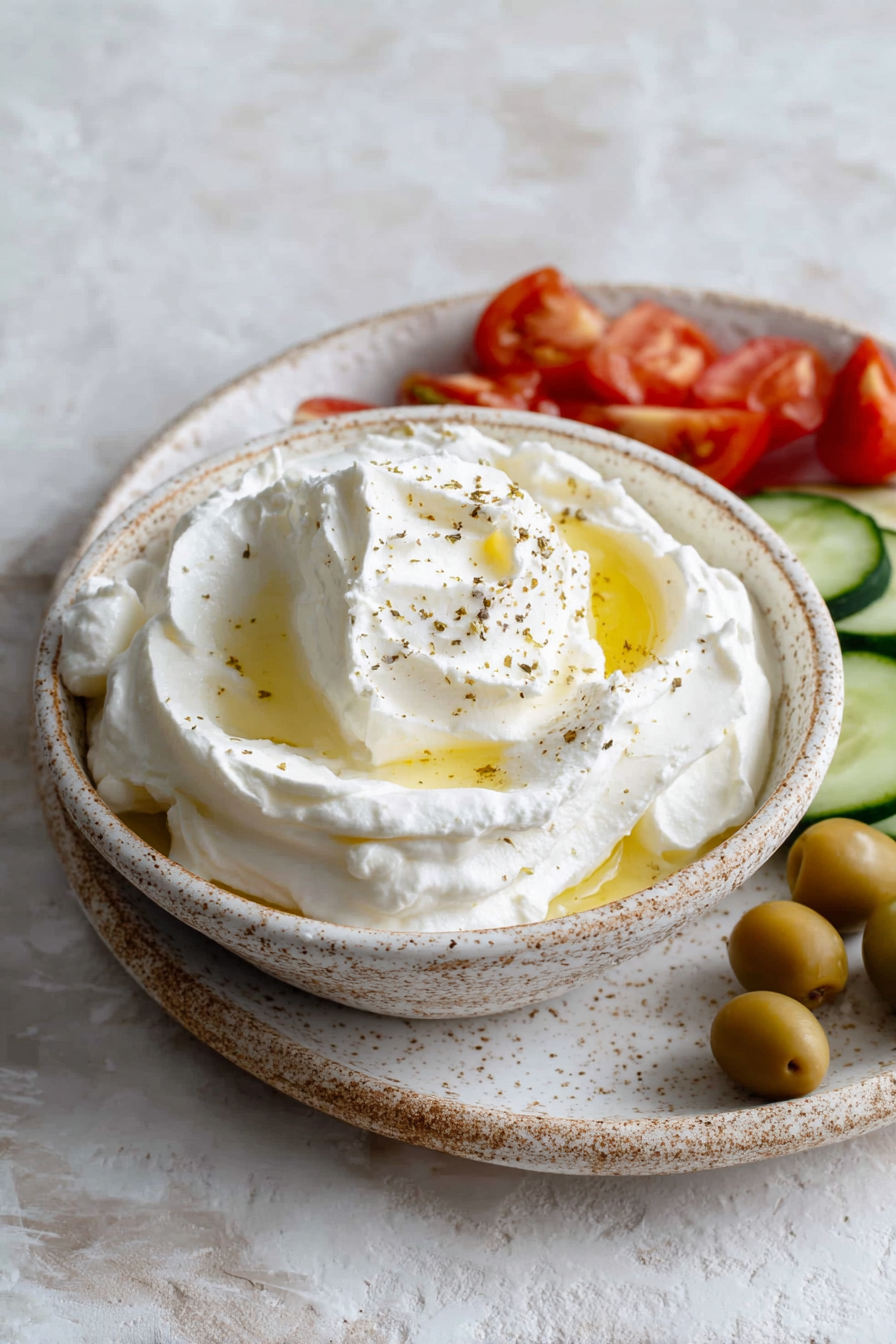
Easy Creamy Labneh Recipe for Every Meal
If creamy, tangy, obsessed-with-olive-oil things are your love language, labneh is about to be your new friend. It’s strained yogurt turned into a lush, dreamy spread that skates between dip, sauce, and “why am I eating this straight off a spoon?” energy. It’s the easiest homemade something that tastes like you’ve got a tiny café in your kitchen—no fancy gear, just patience and a good pinch of salt.
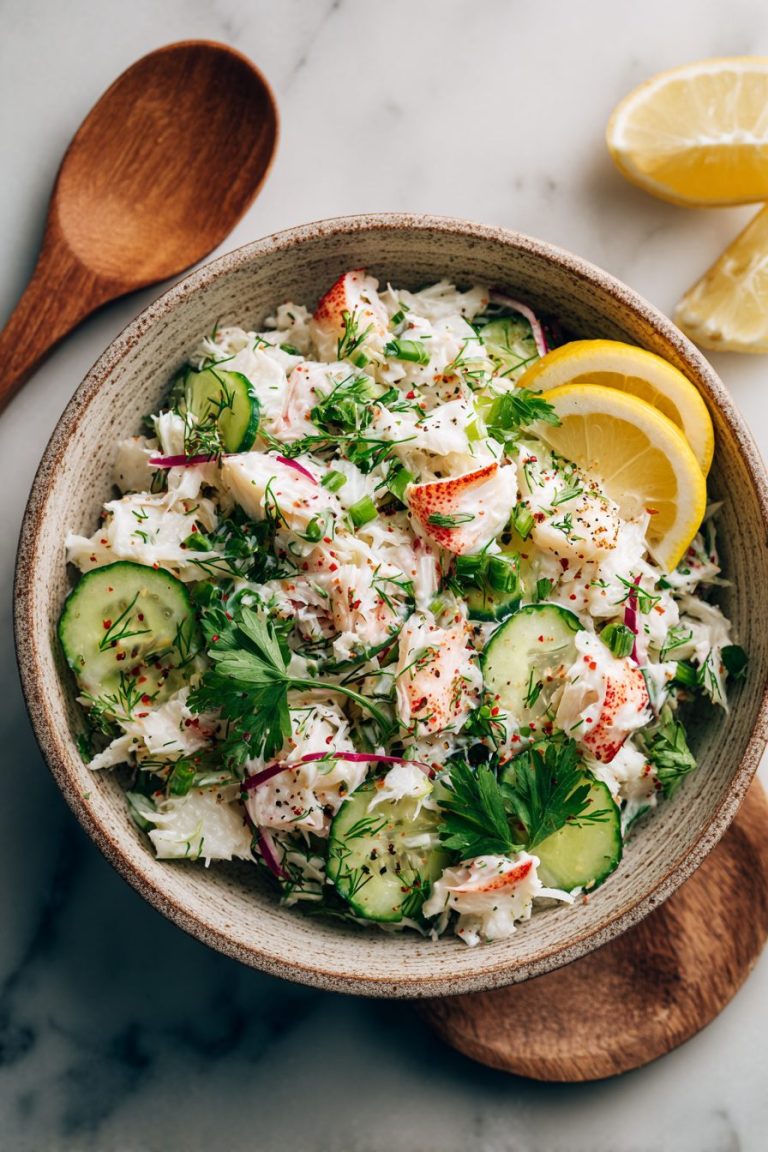
My family is unhinged for this. The small human calls it “cloud cheese” and dunks cucumbers in it like it’s a sport. My husband ruins perfectly good toast (his words, not mine) by loading it with labneh, tomatoes, and way too much za’atar, then swears he invented brunch. It’s become our weekly fixer—goes on eggs, slides under roasted veg, swirls into soups, and pretty much saves me whenever dinner is “uhhh… what if we just do snacks?”
Why You’ll Love This Easy Creamy Labneh Recipe for Every Meal
– It’s two-ingredient magic: yogurt + salt + time = creamy, tangy bliss.
– Breakfast, lunch, dinner, snack—labneh shapeshifts like a pro.
– Cheap thrill. Feels fancy, costs yogurt money.
– Mega customizable: garlicky, herby, lemony, spicy—choose your vibe.
– Meal-prep hero. One strain and you’ve got a week of “put it on everything” sauce.


I absolutely loved this Easy Creamy Labneh recipe! It was so simple to make and added a delightful creaminess to my dishes. Perfect for dipping veggies or spreading on toast—I'm definitely keeping this one in my regular rotation!
MORE OF OUR FAVORITE…
Kitchen Talk
So here’s the thing: I used to think you needed cheesecloth. Cute. I’ve done this with a clean tea towel, a paper coffee filter, even a nut milk bag. The key is a chill spot in the fridge and something heavy on top. Once I used a jar of pickles as a weight. It worked. It was chaotic. Do not recommend unless you want your labneh whispering “dill.”
If you like it extra tangy, add a squeeze of lemon after straining. If you add lemon before straining, it can get a little too tart and tight. Been there. Pucker city.
Garlic is fab—just microplane it or smash it into a paste and give it a minute in olive oil to take off the bite. I once tossed in raw minced garlic and then had vampire-proof breath for 48 hours. Powerful but… socially complicated.
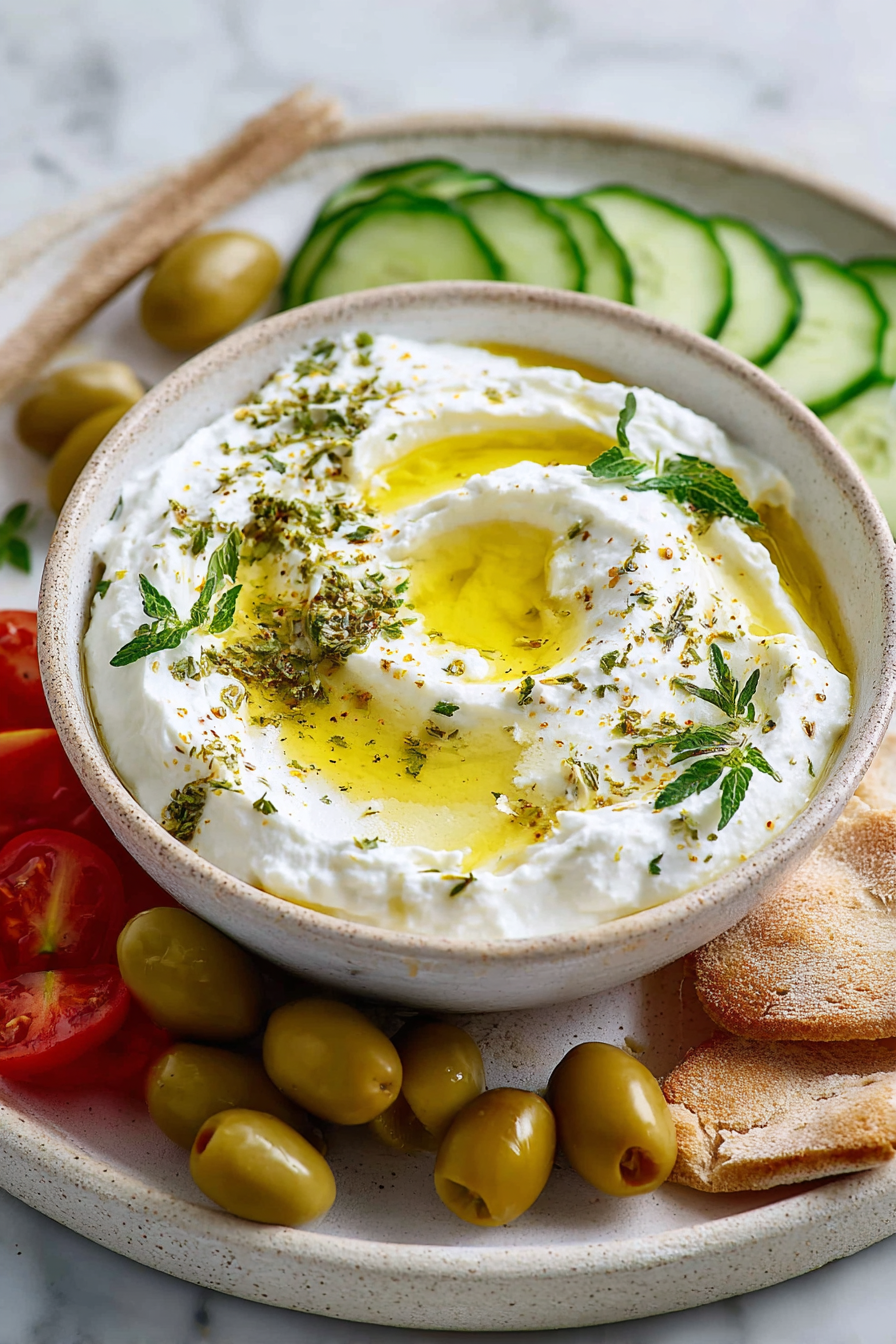
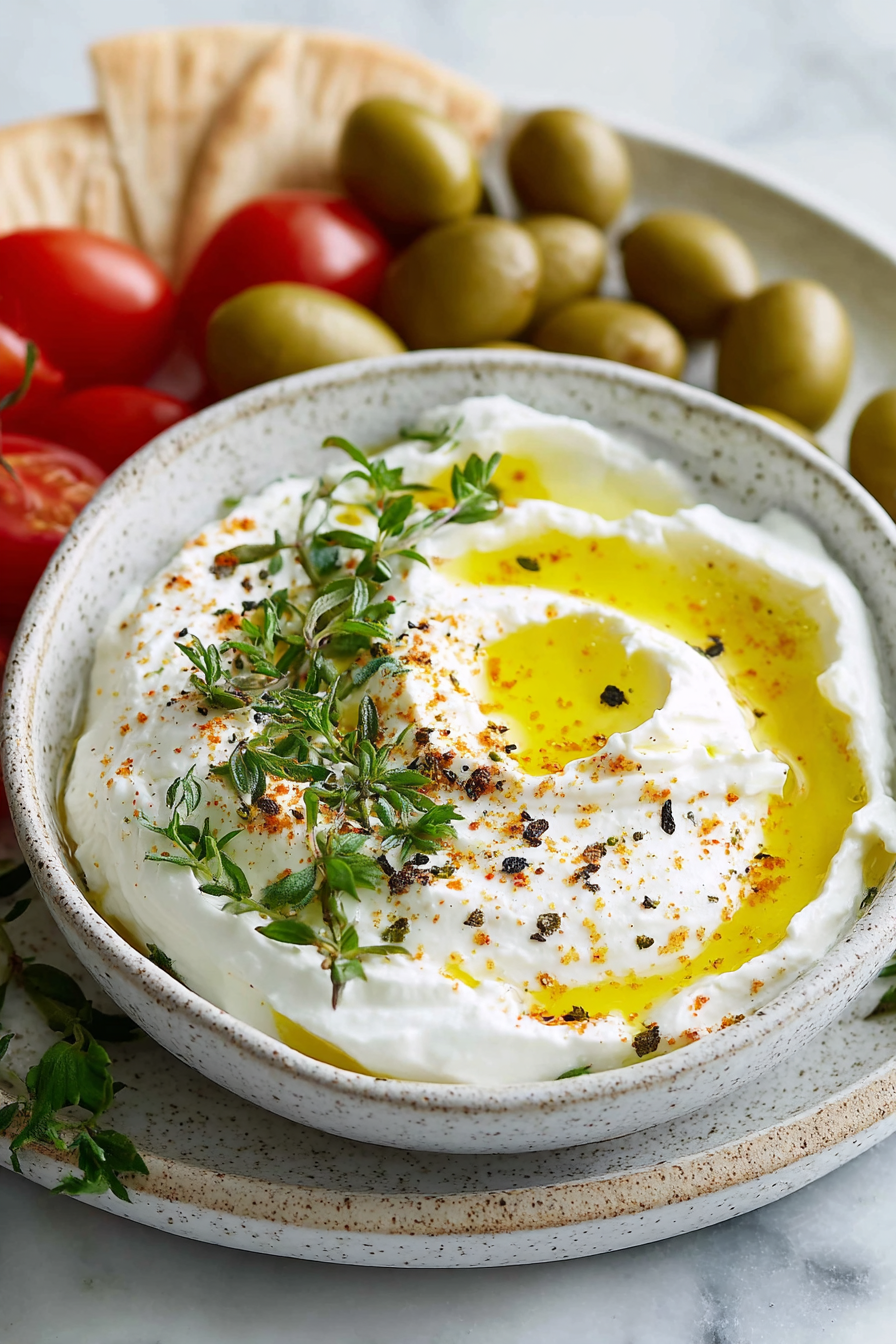
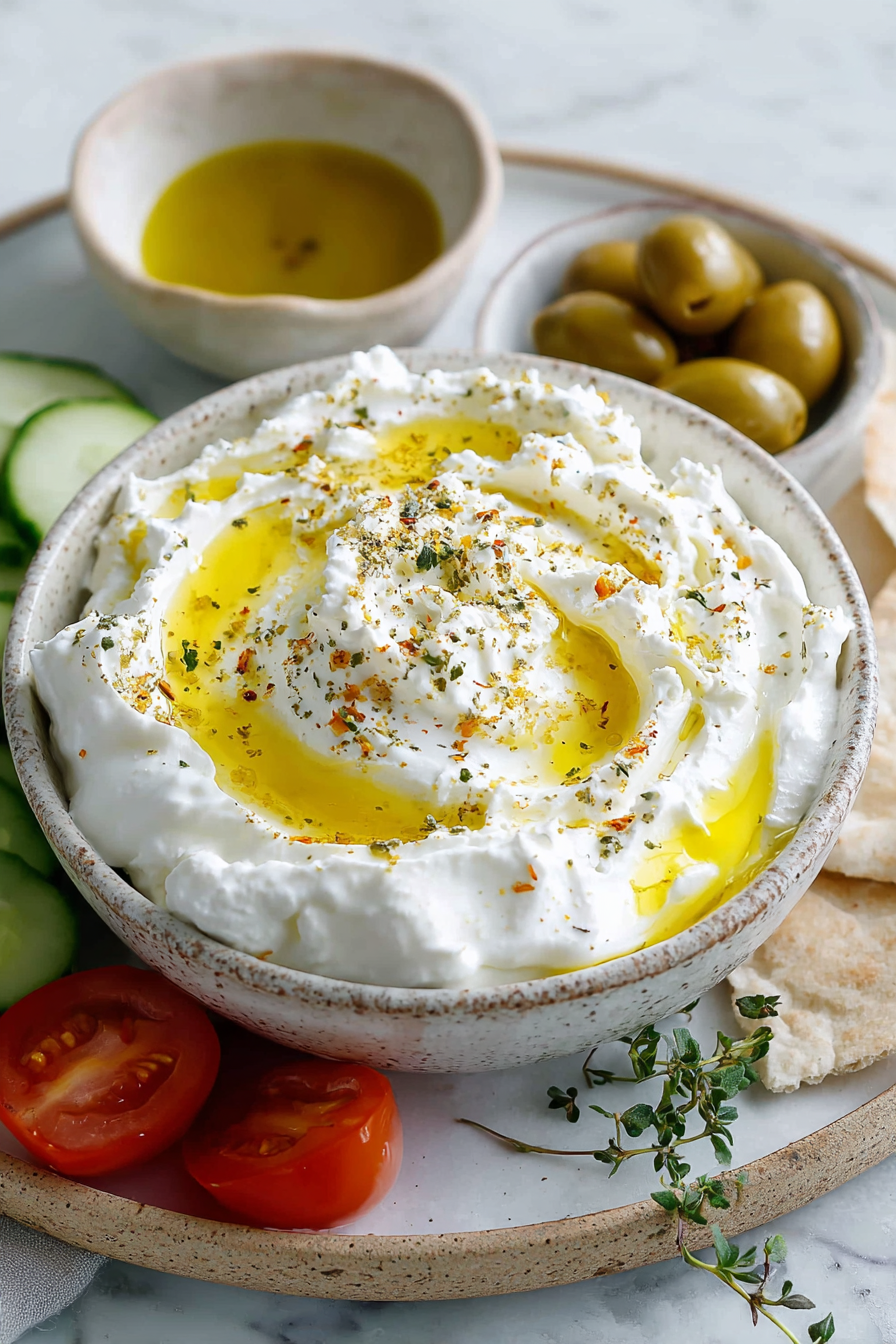
Oh, and drizzle. A lil pool of olive oil, a dust of sumac or za’atar, maybe chili crunch. That’s how you go from “nice spread” to “wait, is this dinner?”
Shopping Tips
– Yogurt: Whole-milk plain yogurt gives the creamiest labneh. Skip the flavored stuff—it won’t strain right.
– Cheesecloth: A clean cheesecloth or thin kitchen towel is key. Paper towels or napkins? Don’t even try.
– Olive oil: Use a decent extra-virgin olive oil for drizzling—it really shines here.
– Salt: Fine sea salt mixes in smoothly. Don’t overdo it, the flavor concentrates as it strains.
– Flavor extras: Garlic, fresh herbs, or chili flakes if you want a little flair.
– Budget swaps: Store-brand yogurt works fine; just make sure it’s full-fat for the best texture.
Prep Ahead Ideas
– Strain the yogurt the night before. In the morning, boom: thick, spreadable labneh ready to go.
– Chop herbs (dill, mint, parsley) ahead and stash in a paper towel–lined container so they stay perky.
– Toast spices or nuts in advance for topping. Keep them sealed so they stay crisp.
– Make a little “labneh bar” container: labneh on one side, olive oil and a lemon wedge on the other. Pull out for quick breakfasts, lazy lunches, midnight snacking.
Time-Saving Tricks
– Start with thicker yogurt (Greek or strained-style) to cut down the wait.
– Double up strainers: colander + towel + a few paper towels for turbo-drain. Not fancy, just effective.
– Use a nut milk bag if you’ve got one—super quick to set up and clean.
– Don’t rush the last bit: letting it chill after mixing in lemon/garlic/herbs makes the flavor settle in and the texture dreamier.
Common Mistakes
– Oversalting early. Salt intensifies as moisture drains. Start light; you can add more at the end.
– Soggy setup. If your towel dips into the liquid, you’re just making yogurt soup. Elevate that cloth above the whey.
– Too much raw garlic. A tiny bit goes a long way—or bloom it in warm oil to tame it.
– It’s too loose: wrap it back up and pop it in for a longer chill. Too thick: whisk in a splash of olive oil or a spoon of yogurt to loosen.
– Bitter oil moment: use a nice-tasting olive oil. If it tastes harsh on a spoon, it’ll taste harsh on your labneh.
What to Serve It With
– Warm pita or crusty sourdough, plus tomatoes and cucumbers.
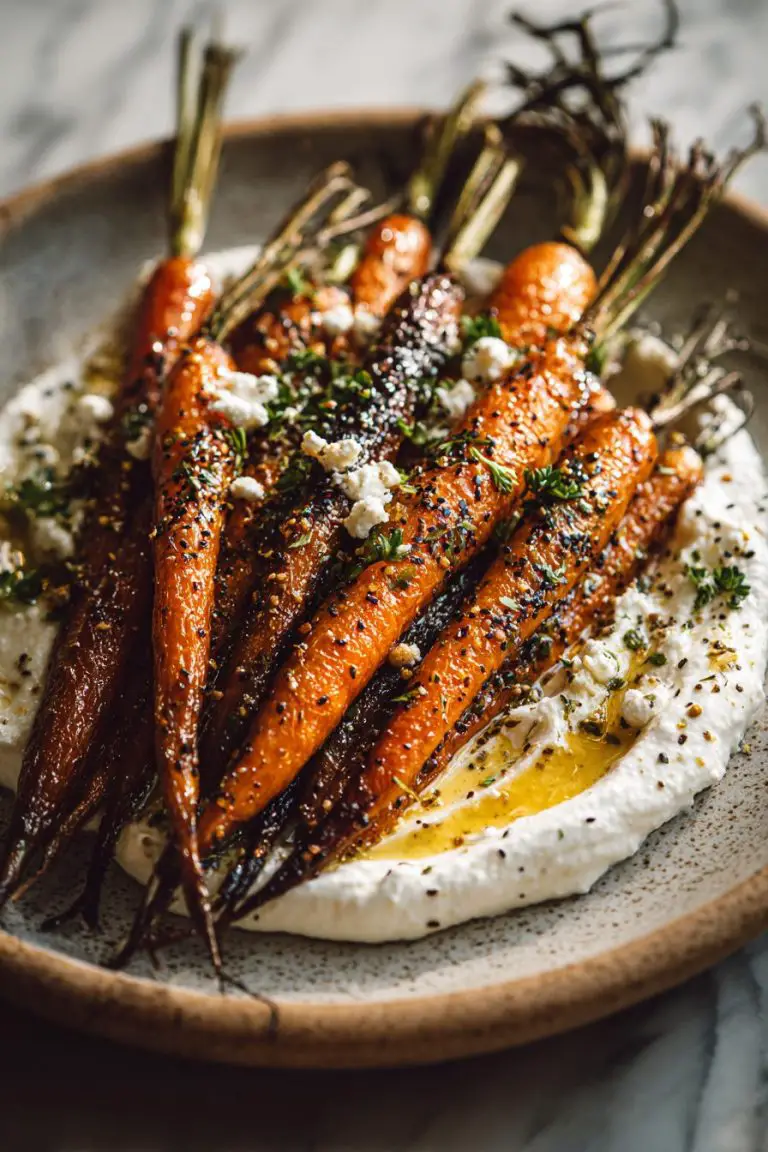
– Roasted veggies (carrots, eggplant, peppers) with a drizzle of honey-chili oil.
– Grilled chicken or salmon bowls with herbs and lemon.
– Eggs: dollop on a skillet scramble or nestle under poached eggs with chili flakes.
Tips & Mistakes
– Go full-fat for best texture; low-fat works but won’t hit the same creamy note.
– Salt lightly first, taste after straining, then adjust.
– If your kitchen towel is perfumed like detergent, don’t use it—your labneh will taste like laundry.
– Want swirls? Don’t overmix toppings; ripple in olive oil, pesto, or harissa at the end.
Storage Tips
Pop it in a sealed container in the fridge. If you plan to keep it longer, smooth the top and pour a thin layer of olive oil over it—it keeps the surface fresh. It’s incredible cold on toast in the morning with honey and flaky salt. And if you sneak a spoonful at 10 p.m.? That’s self-care.
Variations and Substitutions
– Lemon + herb: Stir in lemon zest and chopped dill or mint.
– Garlicky za’atar: Bloom a small smashed garlic clove in warm olive oil, cool, then fold in with za’atar.
– Chili-honey: Swirl in chili crisp and a ribbon of honey. Sweet heat, unstoppable.
– Smoky vibe: Paprika + roasted pepper ribbons.
– Dairy tweaks: Lactose-free yogurt works; plant-based yogurt can strain but texture varies big time—look for thicker coconut or cashew styles and expect a looser finish.
– Acid swaps: Lemon juice or a tiny splash of white wine vinegar both work; go slow so you don’t tip it sour.
Frequently Asked Questions
Easy Creamy Labneh Recipe for Every Meal
Ingredients
Main Ingredients
- 4 cup plain full-fat yogurt whole milk; not Greek
- 0.75 teaspoon kosher salt
- 2 tablespoon extra-virgin olive oil for serving, optional
- 1 teaspoon za'atar for serving, optional
- 0.5 teaspoon lemon zest optional
- 0.25 teaspoon freshly ground black pepper optional
- 1 clove garlic finely grated, optional
Instructions
Preparation Steps
- Line a fine-mesh strainer with a double layer of cheesecloth and set over a deep bowl to catch whey. Make sure the bottom of the strainer does not touch the liquid.
- In a medium bowl, whisk the yogurt with the salt until smooth. Spoon the yogurt into the cheesecloth-lined strainer and fold the cloth over the top.
- Refrigerate and let drain until thick and spreadable, 12 to 24 hours. For extra-thick labneh, strain up to 48 hours, emptying the whey bowl as needed.
- Transfer the labneh to a bowl. If using, stir in the garlic and lemon zest. Spread onto a plate, then drizzle with olive oil and sprinkle with za'atar and black pepper.
- Serve with warm pita, fresh vegetables, or as a creamy base for roasted vegetables and grilled meats.
Notes
Nutrition
Featured Comments
“Super easy and absolutely loved! My family asked for seconds. Saving this one.”
“This flavorful recipe was so flavorful — the bite-sized really stands out. Thanks!”
“Impressed! Clear steps and will make again results. Perfect for busy nights.”
“This bite-sized recipe was so flavorful — the flavorful really stands out. Thanks!”
“Made this last night and it was family favorite. Loved how the crispy came together.”
“Super easy and turned out amazing! My family asked for seconds. Saving this one.”
“New favorite here — turned out amazing. shareable was spot on.”
“New favorite here — turned out amazing. shareable was spot on.”
“Made this last night and it was so flavorful. Loved how the bite-sized came together.”
“Made this last night and it was turned out amazing. Loved how the bite-sized came together.”