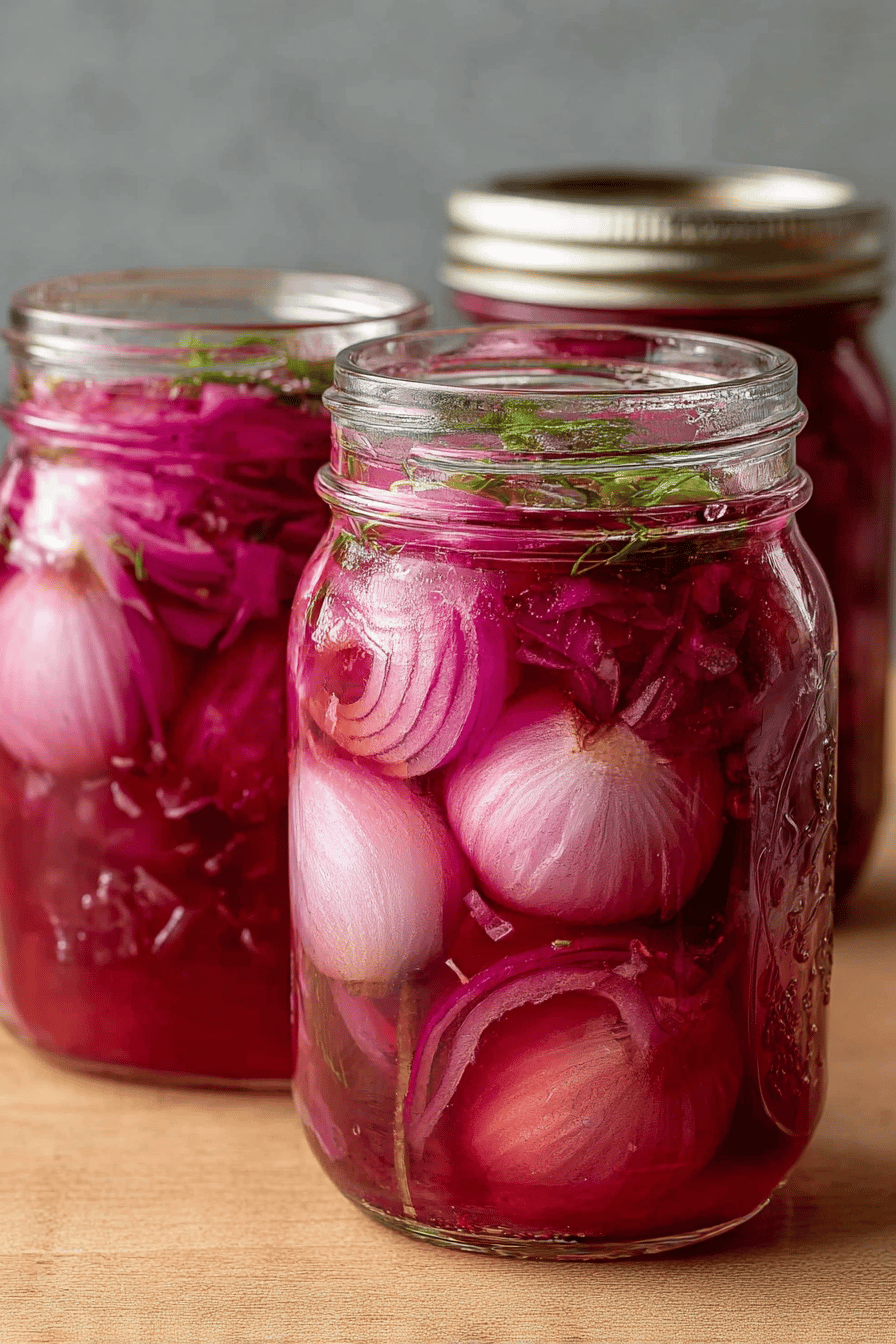
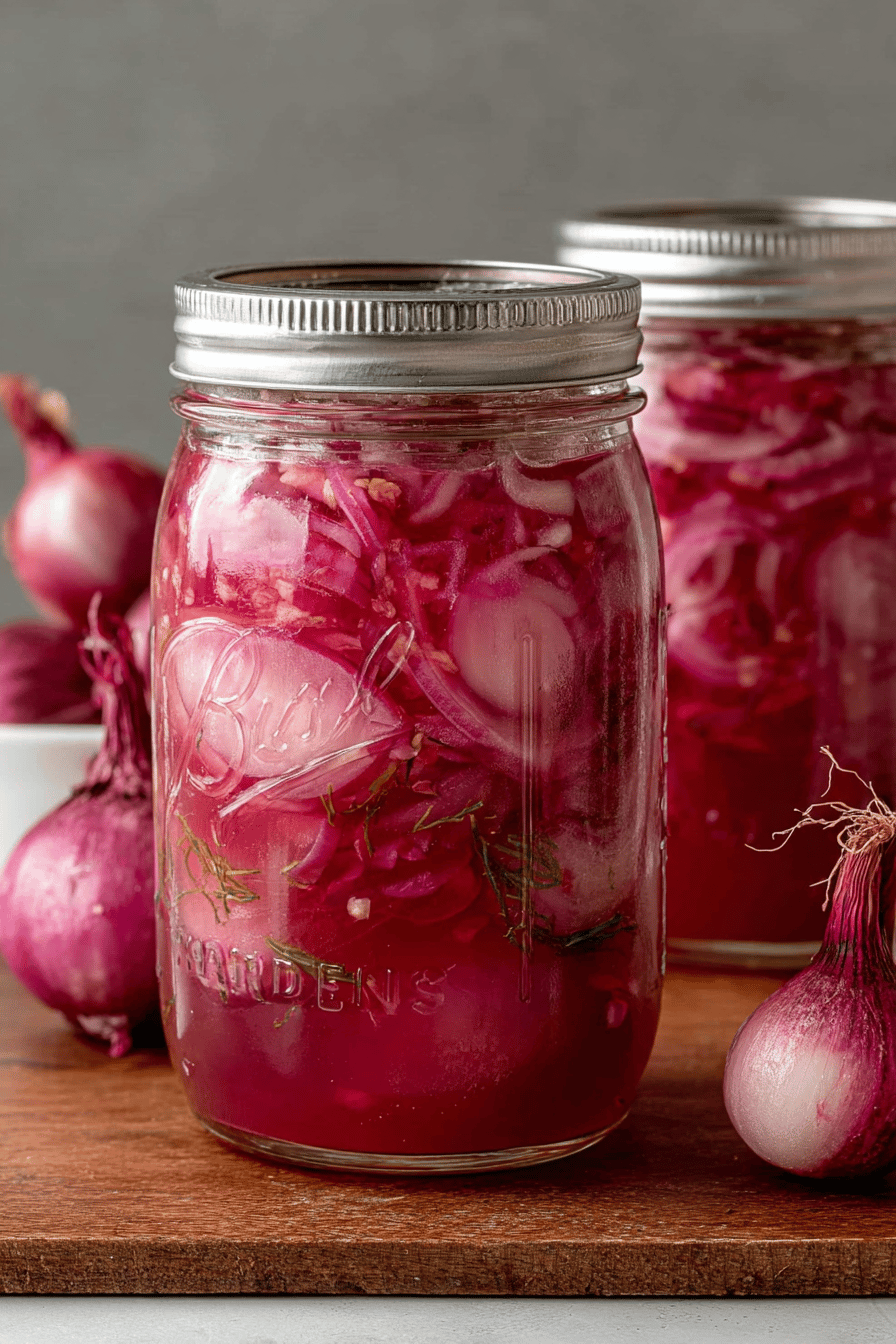
Easy Pickled Onions Recipe
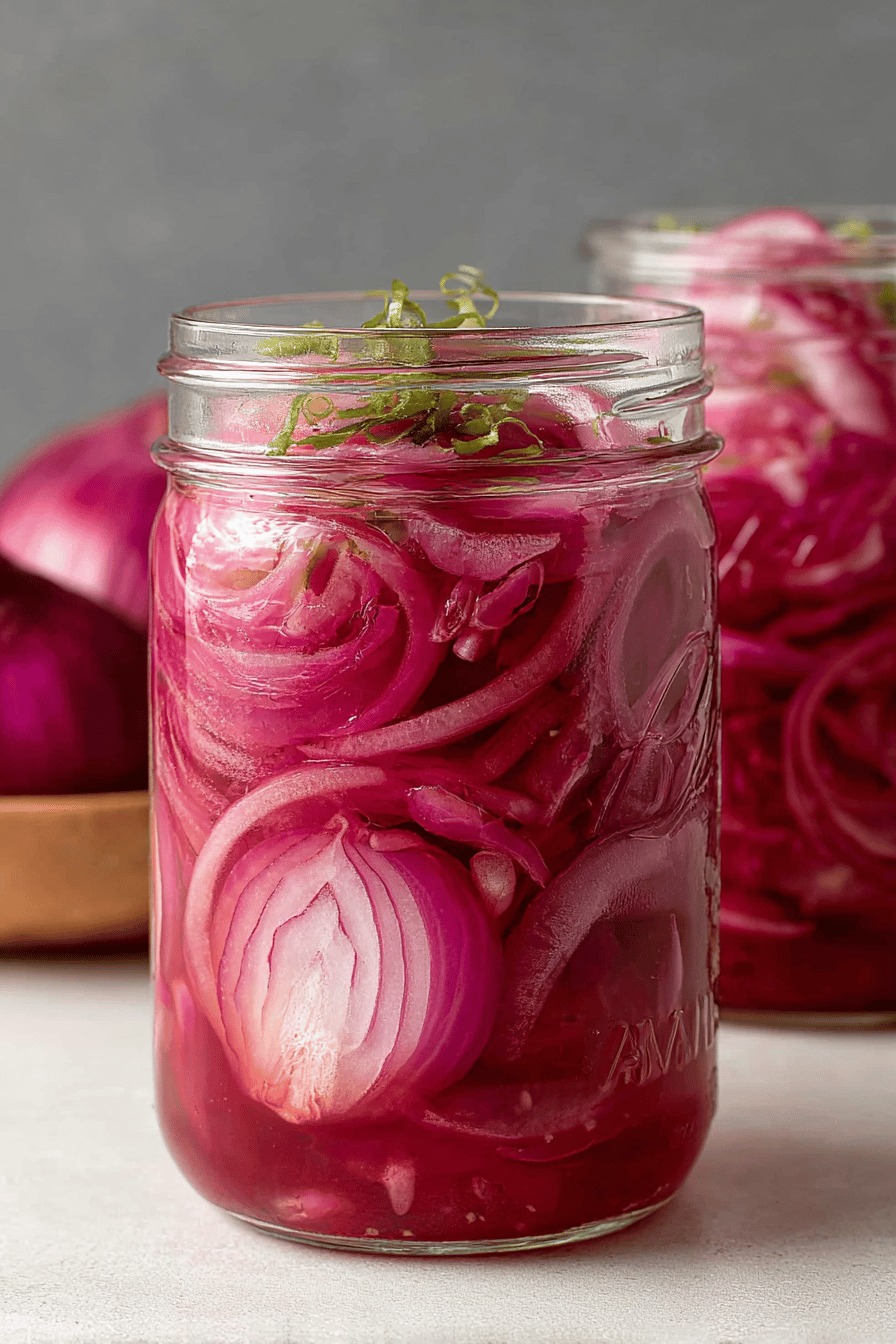
I’m calling these the magical pink confetti you didn’t know your tacos needed. Quick-pickled onions are paper-thin red onions bathed in a hot vinegar brine so they turn neon pink, tangy, and crunchy—ready in about 30 minutes, wildly snackable by the forkful, and the quickest way to make anything taste like you actually planned dinner.
My husband acts like a calm, rational adult until a jar of these hits the table. Then it’s: “Just a few” on eggs, “just a sprinkle” on burgers, and—oops—the jar is mysteriously empty by Sunday. Our little family has a deal: whoever finishes the jar has to start the next batch. We learned that the hard way during taco night when we forgot to restock and everyone stared at a sad pile of plain onions like it was a Shakespearean tragedy.
Why You’ll Love This Easy Pickled Onions Recipe
– It’s a 10-minute hands-on project with a 30-minute payoff. By dinner, they’re ready.
– No canning. No drama. Just a hot brine and the fridge.
– They make leftovers taste like a new meal. Tacos, bowls, sandwiches—instant upgrade.
– Pretty pink. I mean, hello. They make your food look like it got invited to a party.
– Cheap pantry ingredients you probably already have.
– Flexible: use white vinegar, apple cider vinegar, or rice vinegar; sweeten with sugar, honey, or maple.
I tried the Easy Pickled Onions Recipe and I absolutely loved it! The instructions were straightforward, and the result was tangy and delicious. They added the perfect crunch to my tacos and salads!
MORE OF OUR FAVORITE…
How to Make It
Okay, here’s the vibe: slice one big red onion very thin—like, as thin as you can without swearing at your knife. Pack it into a clean pint jar. On the stove, warm 3/4 cup white or apple cider vinegar with 3/4 cup water, 1 to 1 1/2 teaspoons kosher salt, and 1 to 2 tablespoons sugar (I do 1 1/2 tbsp). Don’t boil it into oblivion—just heat until the sugar and salt dissolve. If you’re feeling fancy, toss in a clove of smashed garlic, a pinch of chili flakes, a few peppercorns, and a bay leaf.
Pour the hot brine over the onions (tuck them down with a spoon so everybody gets a bath). Let it sit on the counter until it cools to room temp—about 20–30 minutes—then pop it in the fridge. They’re tasty at 30 minutes, great at 1 hour, and perfect by tomorrow. Makes one heaping pint.
Ingredient Notes
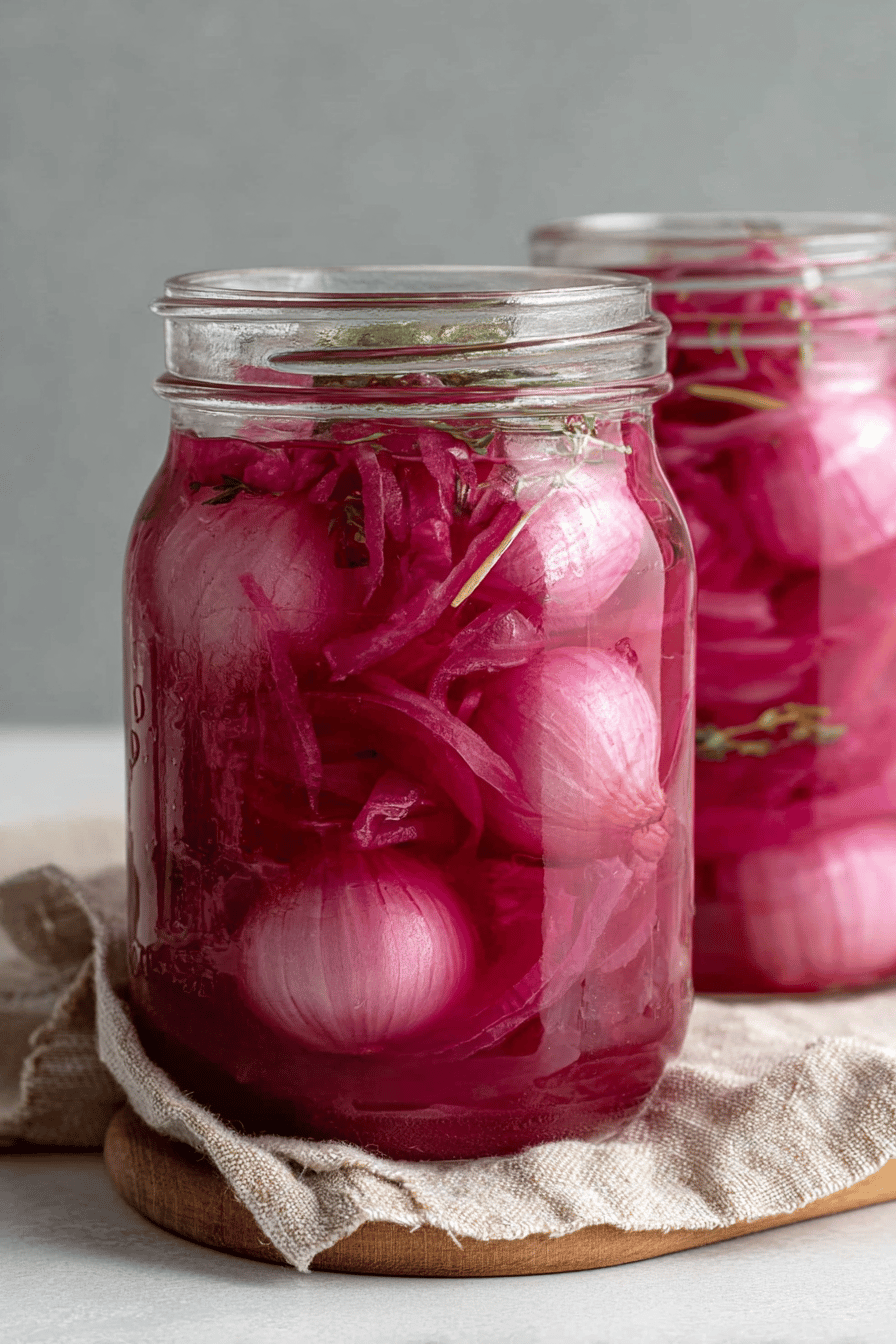
– Red onions: They’re the drama queens that turn hot pink. White or yellow works if that’s what you’ve got—just less color. If the bite is too aggressive, rinse slices in cold water for 10 seconds first.
– Vinegar: White vinegar = sharp and classic. Apple cider = a little fruity. Rice vinegar = gentle and slightly sweet. Skip balsamic unless you want brown pickles (delicious, not cute).
– Sugar: Balances the tang. Use white sugar, honey, or maple. I’ve done all three. Start with 1 tablespoon if you like it puckery; bump to 2 for mellow.
– Kosher salt: Go for kosher or sea salt. Iodized can taste metallic here and make the brine cloudy.
– Spices & extras: Peppercorns, chili flakes, coriander seeds, garlic, bay leaf, even a slice of jalapeño—say yes to personality. Just don’t overcrowd the jar.
– Water: Filtered if your tap water is… a little “pool day.” It keeps things crisp and clean-tasting.
Recipe Steps
1. Thinly slice 1 large red onion (about 12 oz) and pack tightly into a clean pint jar.
2. Heat 3/4 cup vinegar, 3/4 cup water, 1 to 2 tbsp sugar, and 1 to 1 1/2 tsp kosher salt until dissolved.
3. Add optional aromatics (garlic clove, 1/2 tsp peppercorns, pinch chili flakes, bay leaf) to the jar or the pot.
4. Pour hot brine over onions, press to submerge, and tap the jar to release air bubbles.
5. Cool at room temp 20–30 minutes until warm, then cap and refrigerate.
6. Eat after 30 minutes; best flavor and color after 1–24 hours. Keeps up to 3 weeks.
What to Serve It With
– Tacos, tostadas, carnitas, or grilled fish
– Burgers, hot dogs, pulled pork, BBQ anything
– Grain bowls, roasted veggie bowls, and meal-prep lunches
– Salads that need a wake-up call
– Avocado toast or egg sandwiches
– Nachos, pizza, and yes—charcuterie boards
Tips & Mistakes
– Slice thin for fast flavor. Thicker slices need longer rest time.
– Don’t boil the onions in the brine unless you like them soft. Hot brine + raw onions = crisp.
– Pack the jar tight but leave a little headspace so brine can fully cover.
– If it tastes too sharp, add a teaspoon more sugar and shake the jar; flavors chill out by day two.
– Forgot to cool before refrigerating? It’s okay—just don’t put a scalding jar straight on a glass shelf.
– Color looking shy? Give it time. The pink deepens overnight.
Storage Tips
Fridge all the way—these are refrigerator pickles, not shelf-stable. They’ll hang out happily for 2–3 weeks. Always use a clean fork (no double-dipping or rogue crumbs) to keep the brine clear. Cold straight from the jar on breakfast eggs? Zero regrets. If the brine turns murky, smells off, or you see floaty fuzz, it’s a no from me—toss and start fresh.
Variations and Substitutions
– Vinegar swap: Try half white + half apple cider for balanced tang. Rice vinegar for gentler vibes. Avoid malt vinegar if you’re gluten-free.
– Sweetener: White sugar, honey, or maple all work. For less sweet, start with 1 tbsp and adjust.
– Heat: Jalapeño slices or a pinch of red pepper flakes bring a friendly burn.
– Spice route: Coriander seeds + bay leaf = deli vibes. Mustard seeds + turmeric = sunshine yellow (but it will tint everything).
– Alliums galore: Try shallots for a fancy, delicate version; thinly sliced radishes join the party nicely, too.
– Low-sugar: Use erythritol or monkfruit; dissolve well and expect a slightly different finish.
– Reuse the brine: You can refill once with fresh onions within a few days. It’ll be milder—taste and tweak salt/sugar if needed.
Frequently Asked Questions
Easy Pickled Onions Recipe
Ingredients
Main Ingredients
- 1 large red onion thinly sliced
- 0.75 cup apple cider vinegar
- 0.75 cup water
- 1 tablespoon granulated sugar
- 1 teaspoon kosher salt
- 1 clove garlic smashed
- 0.5 teaspoon whole black peppercorns
- 0.25 teaspoon red pepper flakes optional
- 1 leaf bay leaf optional
Instructions
Preparation Steps
- Peel the red onion and slice it very thinly (about 0.125 inch). Pack slices into a clean pint jar, leaving a little room at the top.
- In a small saucepan, combine vinegar, water, sugar, salt, garlic, peppercorns, red pepper flakes, and bay leaf. Bring to a simmer over medium heat, stirring until sugar and salt dissolve.
- Carefully pour the hot brine over the onions until fully submerged. Tap the jar gently to release air bubbles and press onions down if needed.
- Let cool uncovered at room temperature for about 20 minutes, then seal and refrigerate. Ready to eat in 30 to 60 minutes; best after 1 day.
- Store in the refrigerator and use clean utensils to serve. Consume within 2 weeks.
Notes
Nutrition
Featured Comments
“New favorite here — family favorite. anytime was spot on.”
“Made this last night and it was absolutely loved. Loved how the anytime came together.”
“This simple recipe was so flavorful — the anytime really stands out. Thanks!”
“New favorite here — so flavorful. perfect pair was spot on.”
“Impressed! Clear steps and family favorite results. Perfect for busy nights.”
“Super easy and turned out amazing! My family asked for seconds. Saving this one.”
“New favorite here — turned out amazing. perfect pair was spot on.”
“Made this last night and it was absolutely loved. Loved how the flavorful came together.”
“New favorite here — so flavorful. flavorful was spot on.”
“This anytime recipe was so flavorful — the flavorful really stands out. Thanks!”