Easy Vegan Chocolate Cheesecake Recipe
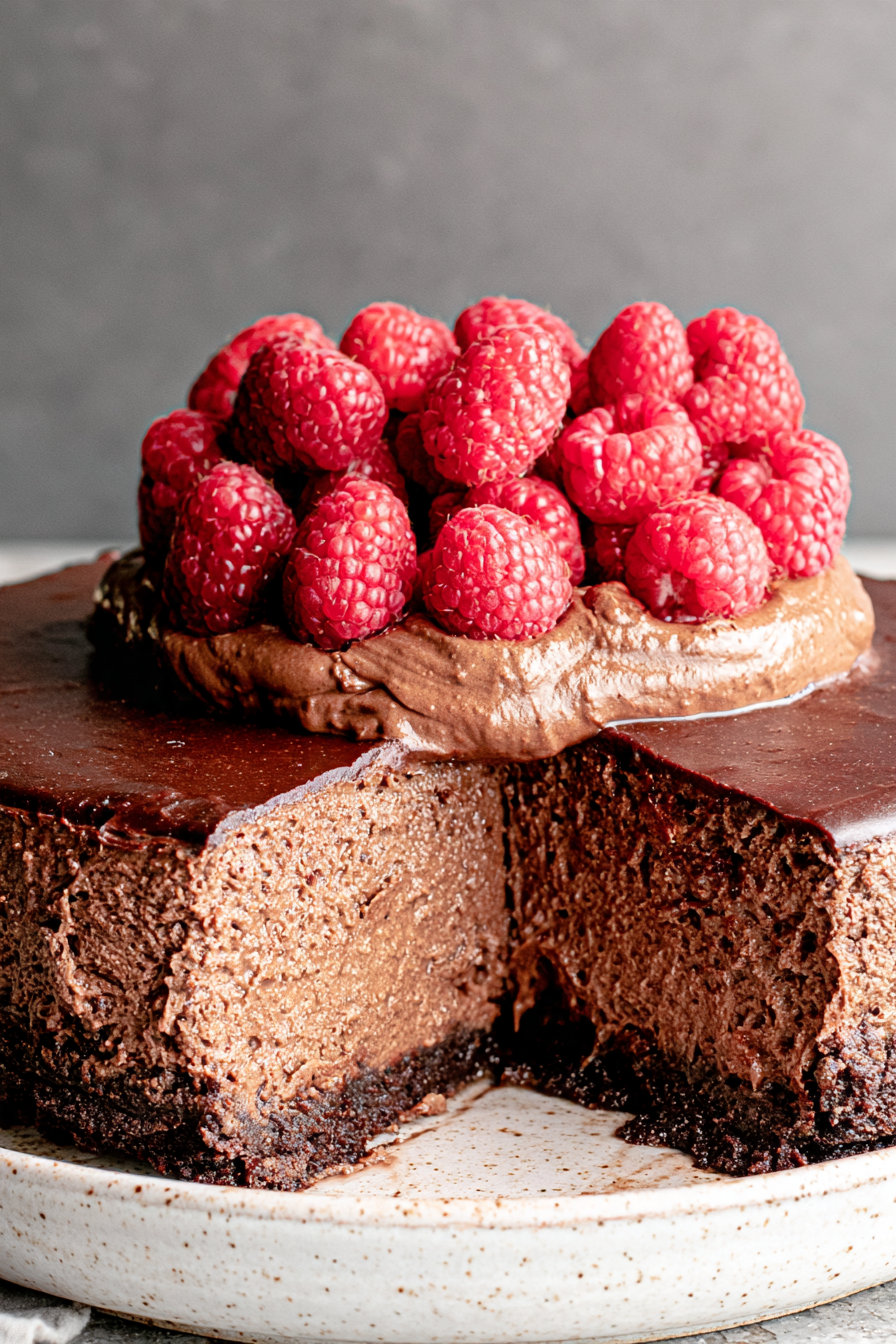
This no-bake vegan chocolate cheesecake is a lush, silky dessert with a crunchy Oreo crust, a deep, chocolatey filling, and a cloud of coconut whipped cream on top. It tastes rich and indulgent without baking, so it’s a good choice when you want a show-stopping dessert that’s surprisingly simple to pull together.
If you need a quick note: the recipe is naturally vegan-friendly but also accepts regular cream cheese if you’re not avoiding dairy.
Why This Easy Vegan Chocolate Cheesecake Recipe Works
- The Oreo crust presses together firmly and sets in the freezer, creating a sturdy base without baking.
- Melting the chocolate and folding it into whipped coconut cream yields a smooth, dense filling that still feels light.
- Using softly whipped coconut cream keeps the filling airy enough for clean slices while staying stable after chilling.
Ingredients
- Cream cheese: Gives the filling its tang, body, and creamy structure.
- Chocolate: Provides the deep chocolate flavor and the glossy texture when folded into the base.
- Oreos (cookie crumb crust) and vegan butter: Make a no-bake crust that holds its shape when pressed and chilled.
- Coconut whipped cream: Lightens the filling and creates the fluffy topping.
See the recipe card below for the full ingredient list and exact amounts.
Substitutions and Variations
- Optional: Use regular cream cheese instead of vegan cream cheese for a dairy version—expect a slightly richer, less coconut-forward flavor.
- Optional: Swap the Oreos for another firm cookie (graham crackers or chocolate cookies) for a different crust flavor; the texture will be similar but the taste will change.
- Optional: If you prefer, melt chocolate in the microwave in short bursts instead of using a double boiler (the recipe notes this option).
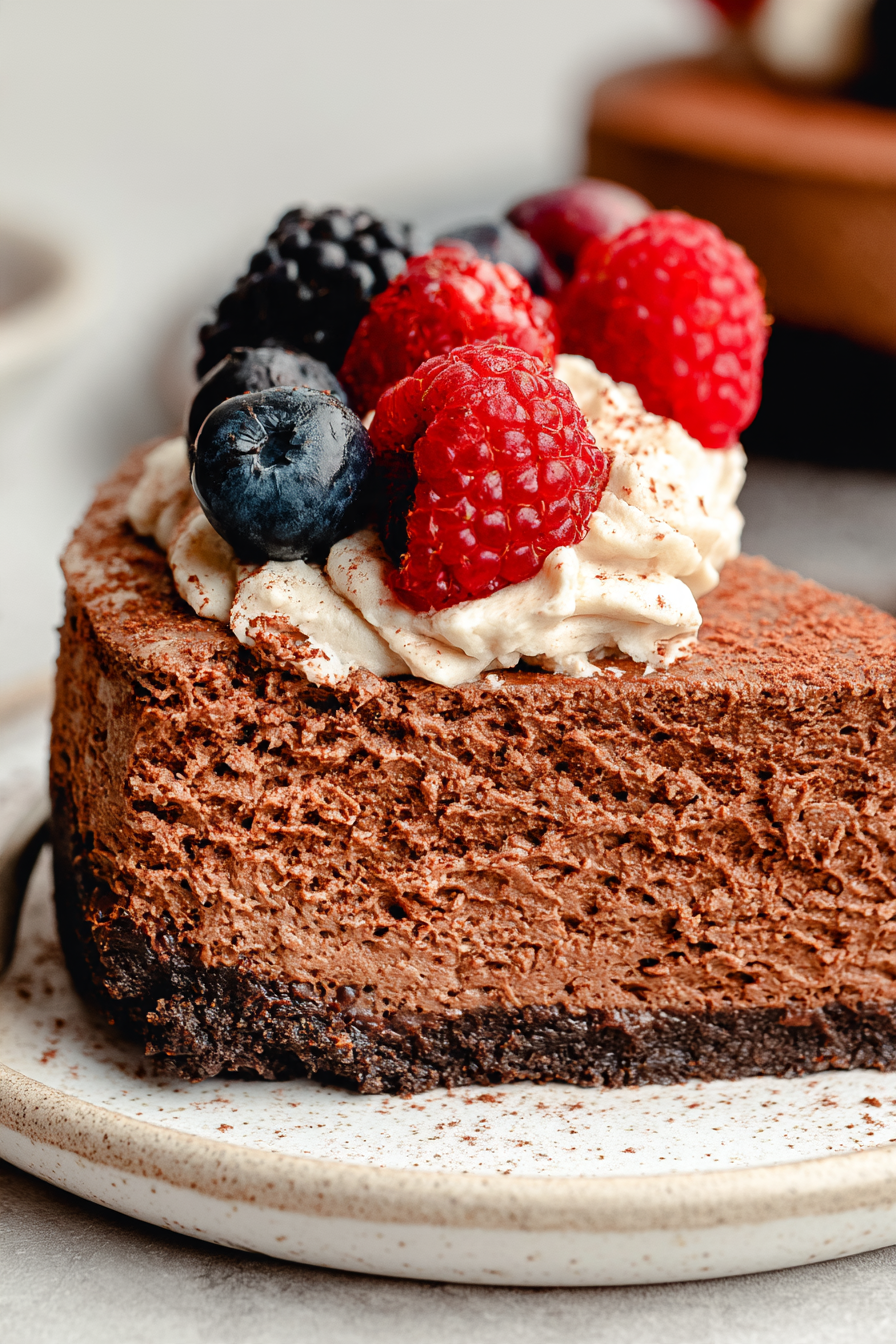
- Optional: Top with fresh berries, a drizzle of softened chocolate, or extra coconut whipped cream; these are finishing choices and won’t affect set time.
How to Make Easy Vegan Chocolate Cheesecake Recipe
The recipe flows from melting and cooling chocolate, to making a creamy filling by beating cream cheese and folding in whipped coconut cream, then pressing an Oreo crumb crust into an 8-inch springform pan and chilling the assembled cake until set. The crust is briefly frozen to firm up before adding the filling, and the finished cheesecake chills overnight for best texture.
See the recipe card below for the full step-by-step instructions.
Tips for the Best Results
- Make sure the cream cheese is fully softened before beating so the filling becomes silky and lump-free.
- Let the melted chocolate cool until lukewarm and slightly thickened before adding it to the cream cheese to avoid a runny filling.
- Press the crust firmly and up the sides (about 1½ inches) and freeze 15 minutes so it holds shape when filled.
- Chill the finished cheesecake for the recommended 8–12 hours (overnight is best) so it firms properly for clean slices.
Common Mistakes
- Chocolate too hot when added to the filling — fix: cool it until lukewarm so it blends without thinning the mixture.
- Cream cheese still cold or lumpy — fix: let it soften fully at room temperature before beating.
- Overfolding the whipped cream — fix: gently fold just until no streaks remain to keep the filling light.
- Not chilling long enough — fix: be patient; under-chilled cheesecake will be soft and difficult to slice.
Storage
MORE EASY DESSERT RECIPES...

Store the cheesecake covered in the refrigerator; it keeps well for several days. If you need to keep it longer, freeze slices or the whole cake well wrapped and thaw in the fridge before serving.
MORE OF OUR FAVORITE…
How to Serve Easy Vegan Chocolate Cheesecake Recipe
- Optional toppings: extra coconut whipped cream, chocolate curls or shavings, and fresh berries.
- Pair with: strong coffee, espresso, or a simple fruit salad to balance the richness.
- Occasions: great for dinner parties, birthdays, or anytime you want a make-ahead dessert that looks special.
More Helpful Notes
This is a no-bake, dense but slightly airy cheesecake—expect a creamy, sliceable texture rather than a light mousse. It’s ideal to make the day before serving so the filling has plenty of time to set.
Frequently Asked Questions
Easy Vegan Chocolate Cheesecake Recipe
Ingredients
Main Recipe
- 18 oz cream cheese vegan or regular; fully softened
- 3/4 cup granulated sugar
- 1 1/2 tsp vanilla extract
- 9 oz semi-sweet or dark chocolate chopped
- 1 1/4 cup coconut whipped cream homemade or store-bought; softly whipped
- 1/2 tsp instant espresso powder optional; boosts chocolate flavor
- 22 Oreo cookies crushed to fine crumbs
- 5 tbsp vegan butter melted
Instructions
Preparation Steps
- Prep the pan: Lightly grease an 8-inch springform pan. Line the base with a round of parchment so the cake releases cleanly.
- Melt the chocolate: Set a heatproof bowl over a pot with 1 inch of barely simmering water (do not let the bowl touch the water). Add the chopped chocolate and stir until smooth. Remove from heat and let cool until lukewarm and thickened slightly, about 10 minutes. (Microwave in 15–20 second bursts, stirring between each, if you prefer.)
- Make the filling base: In a stand mixer (or with a handheld mixer), beat the softened cream cheese on medium until creamy, 1–2 minutes. Gradually add the sugar and continue mixing until fluffy, another 1–2 minutes.
- Flavor it: Mix in the vanilla and the espresso powder, if using, just until combined.
- Chocolate time: With the mixer on low, stream in the cooled melted chocolate and blend just until uniform. Scrape the bowl well.
- Lighten the filling: If using tubbed whipped topping, briefly whisk it to loosen. Gently fold the whipped cream into the chocolate mixture in two additions until no streaks remain. Set the bowl in the fridge while you make the crust.
- Make the crust: Pulse the Oreos in a food processor to fine crumbs. Stir in the melted vegan butter until the texture resembles damp sand.
- Press and set: Firmly press the crumb mixture into the prepared pan, covering the bottom and about 1 1/2 inches up the sides. Use the flat bottom of a measuring cup to compact it well. Freeze for 15 minutes to set.
- Fill the crust: Spoon the chilled filling into the cold crust and smooth the top. Tap the pan firmly on the counter 4–5 times to release any trapped air.
- Chill to set: Cover and refrigerate until fully set, at least 8 hours and up to 12 hours (overnight is best).
- Unmold and serve: Run a thin knife around the edge, release the springform ring, and transfer to a serving plate. Top with additional vegan whipped cream and chocolate curls, then slice and enjoy.
Notes
Featured Comments
“Made this last night and it was absolutely loved. Loved how the fun came together.”
“New favorite here — turned out amazing. juicy patty was spot on.”
“Impressed! Clear steps and so flavorful results. Perfect for busy nights.”
“Super easy and absolutely loved! My family asked for seconds. Saving this one.”
“Made this last night and it was turned out amazing. Loved how the fizzy came together.”
“Super easy and turned out amazing! My family asked for seconds. Saving this one.”
“This family favorite recipe was will make again — the cheesy really stands out. Thanks!”
“Super easy and so flavorful! My family asked for seconds. Saving this one.”
“Super easy and will make again! My family asked for seconds. Saving this one.”
“This fluffy recipe was family favorite — the hearty really stands out. Thanks!”