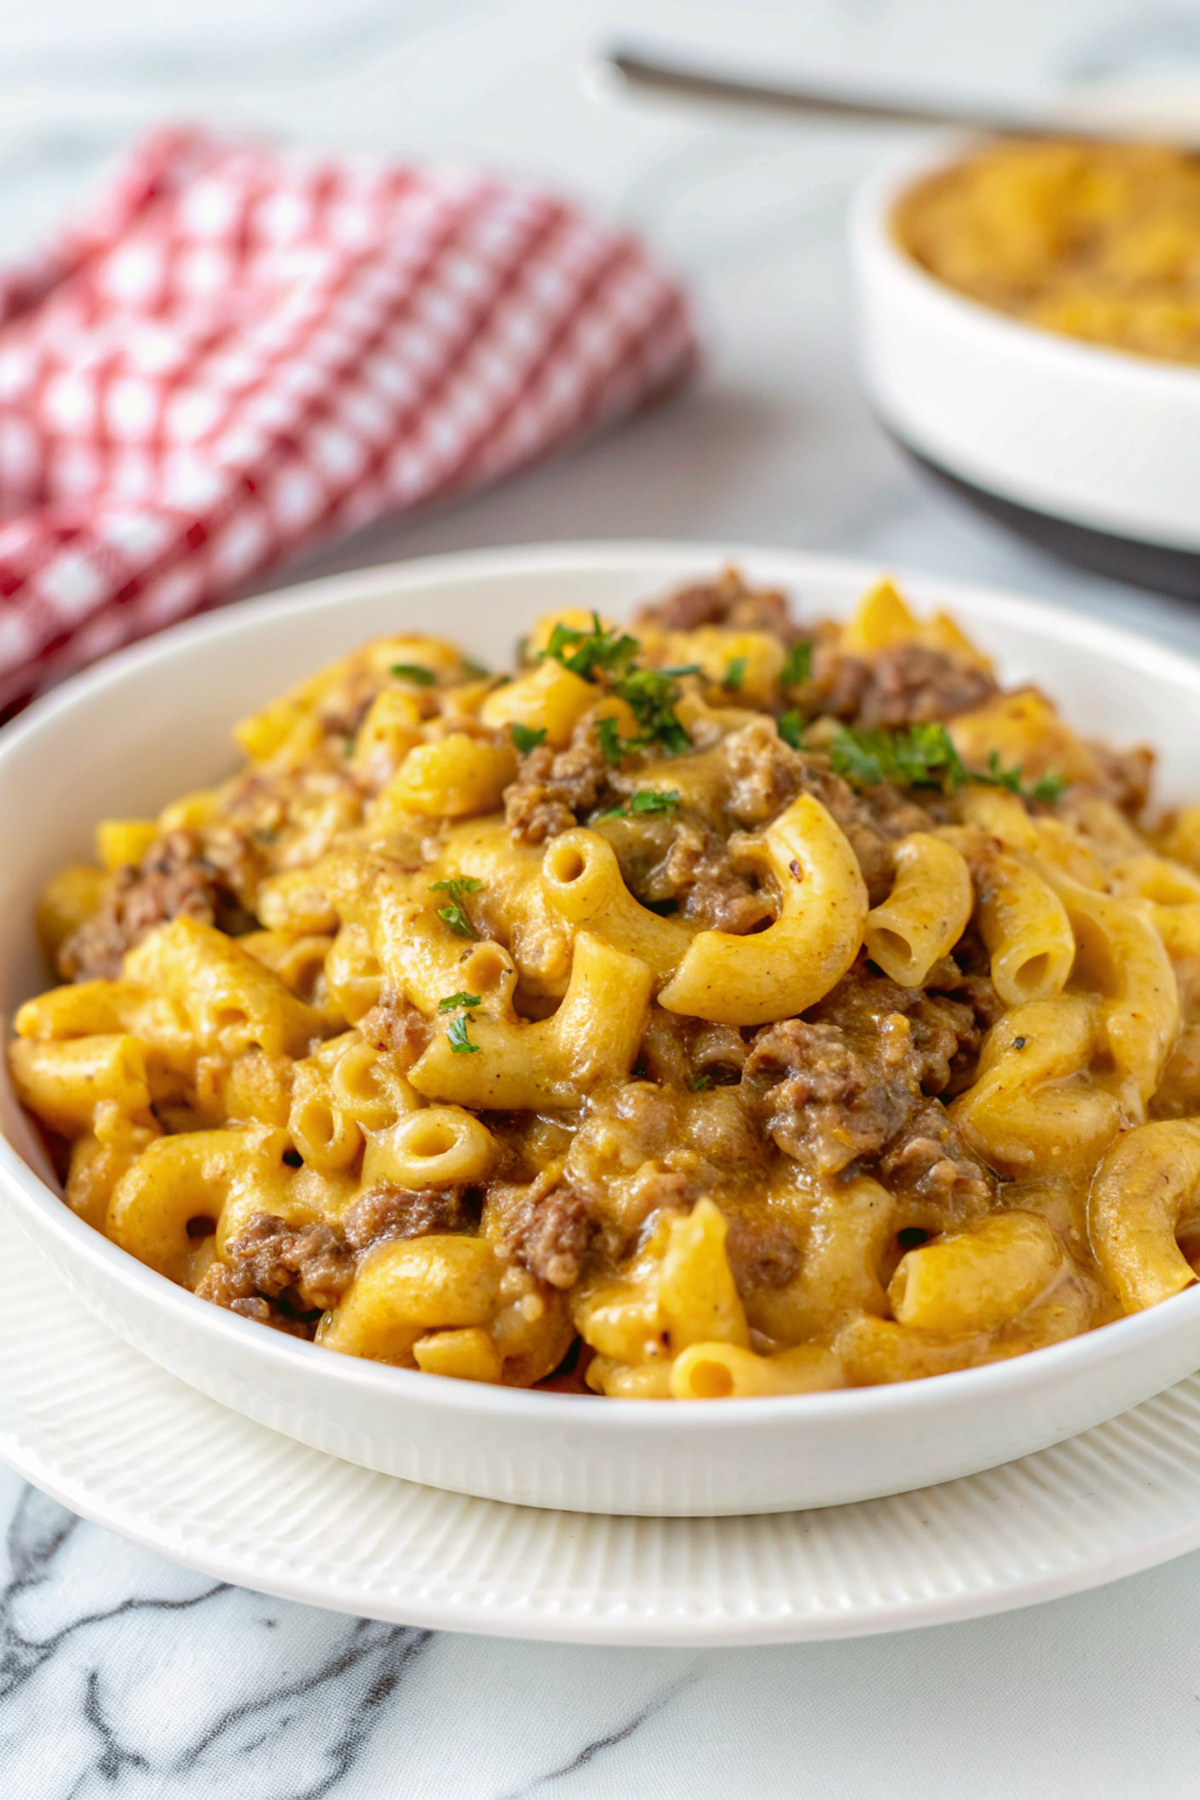
Peanut Butter Kiss Cookies
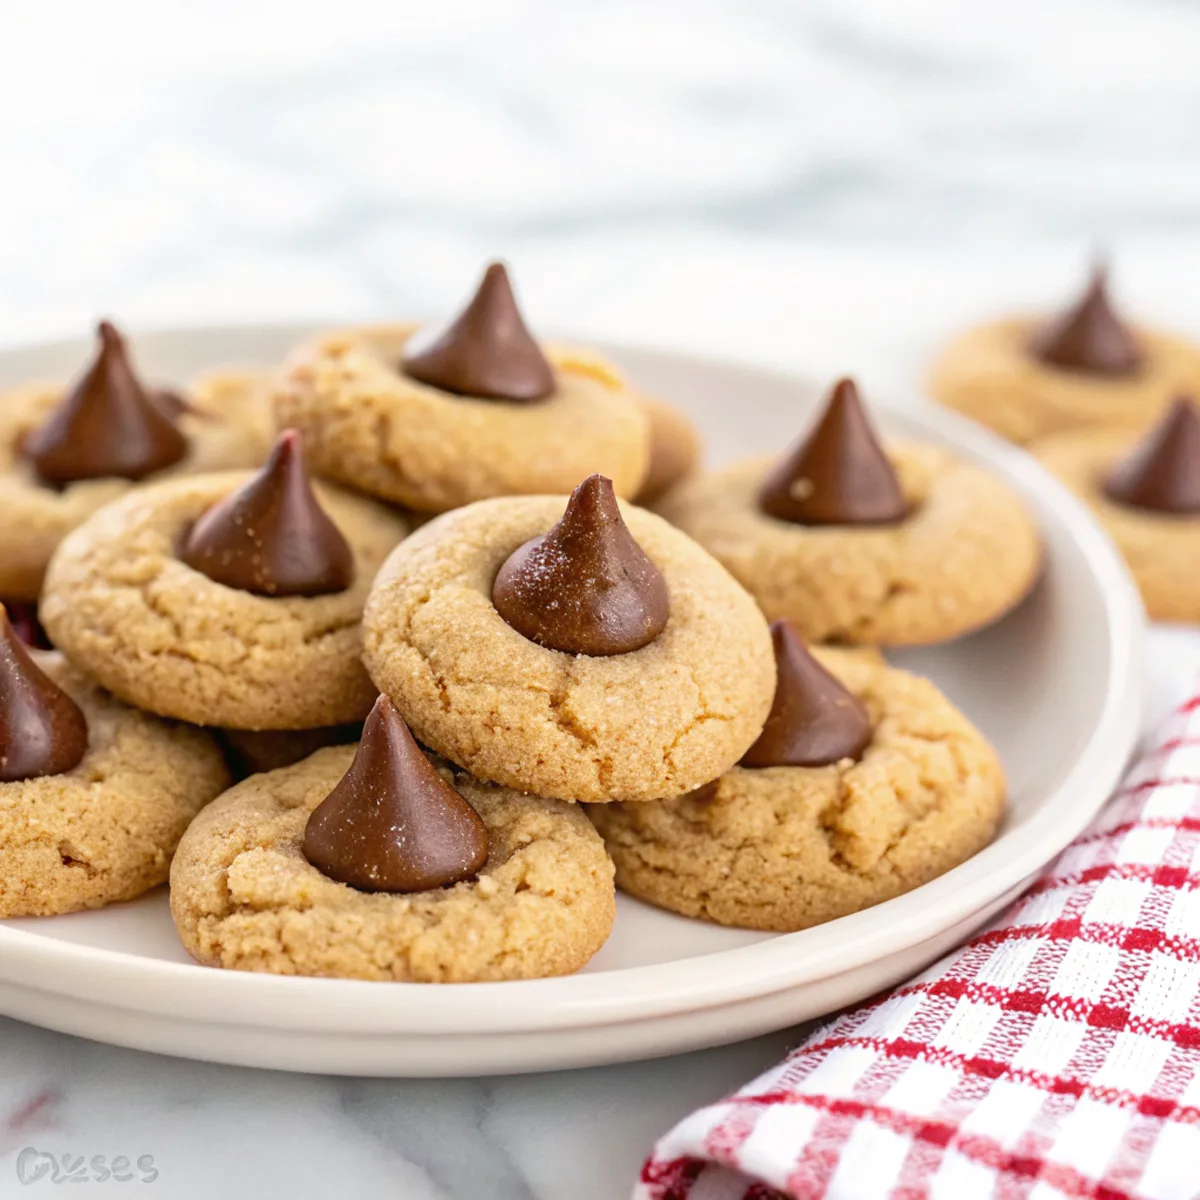
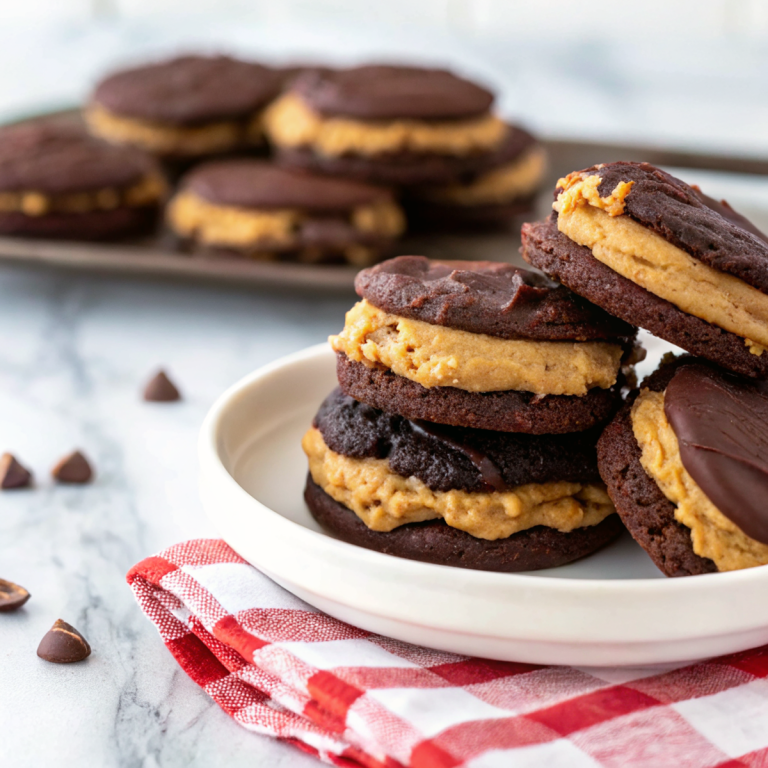
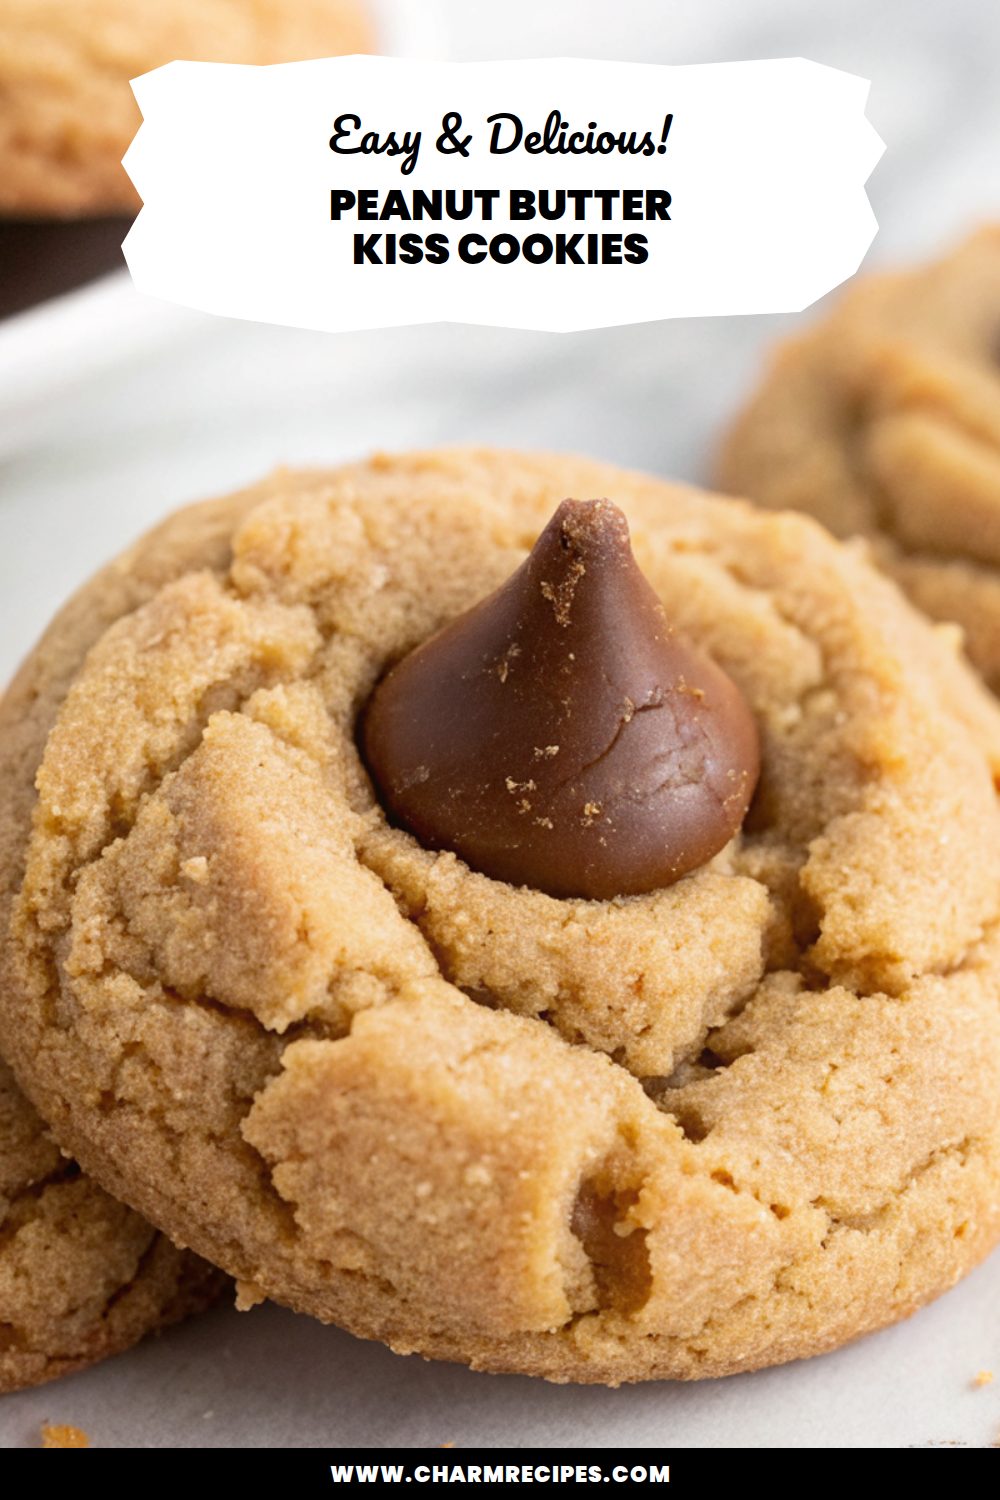
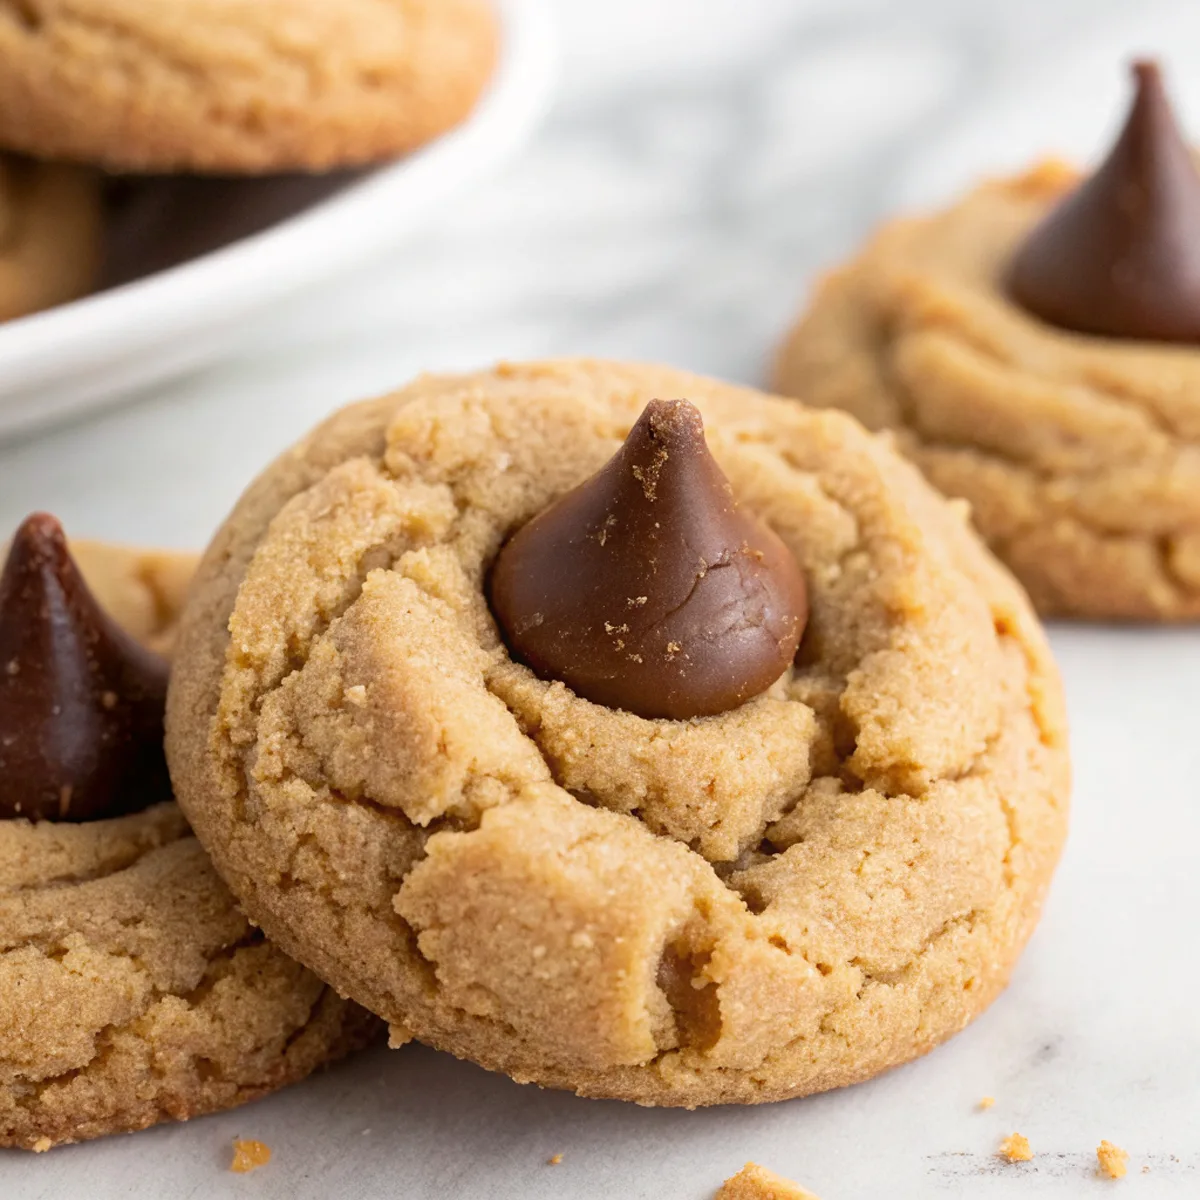
These peanut butter kiss cookies are soft, slightly chewy peanut butter cookies with a melty chocolate kiss pressed into the center. They balance nutty, savory peanut butter flavor with a sweet chocolate center and a lightly crackled sugar exterior — an easy bake that always feels a little special.
They’re quick to mix and forgiving to make, and you can have the dough ready in minutes. I like to roll the dough in granulated sugar before baking for texture and a pretty finish, but the recipe works well either way.
Why This Peanut Butter Kiss Cookies Works
1. Peanut butter-forward flavor: Creamy peanut butter gives a strong nutty base so you taste peanut in every bite.
2. Soft center, firmer edges: Slightly underbaking and the melted kiss create a tender middle with a gentle chew.
3. Simple pantry ingredients: No fancy equipment or rare ingredients — mostly butter, sugars, flour, egg, and peanut butter.
4. Crowd-pleasing presentation: The chocolate kiss makes each cookie look finished and festive with almost no extra effort.
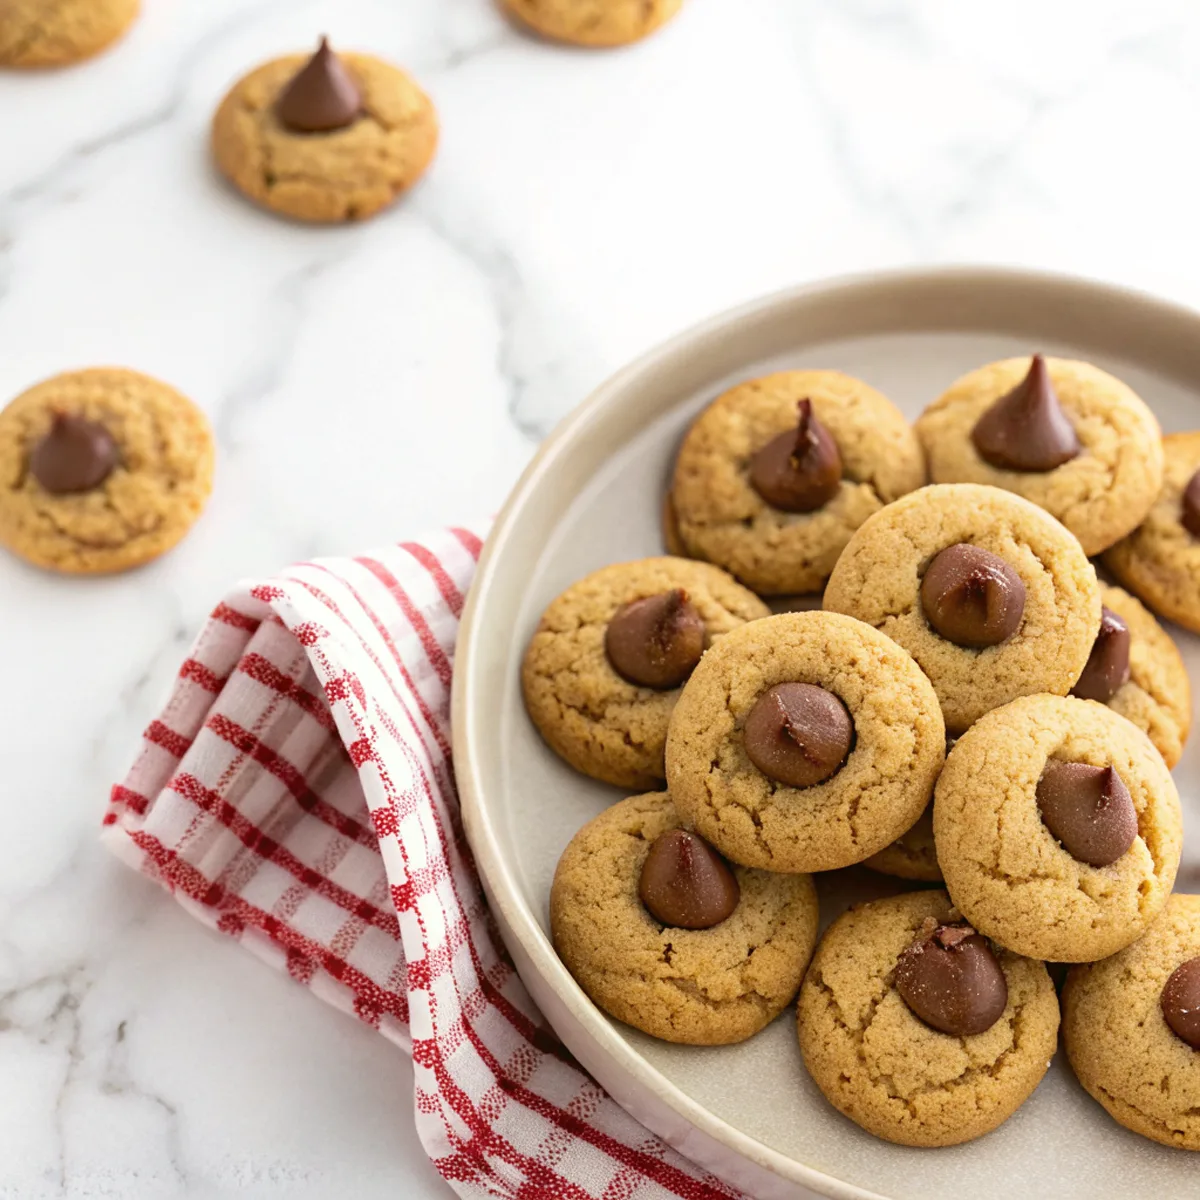
Ingredients




A quick note on what’s important in this recipe and why.
MORE OF OUR FAVORITE…
– Creamy Peanut Butter: Provides the cookie’s main flavor and texture; use a stable, no-stir peanut butter for best spread control.
– Butter: Adds richness and helps the cookies spread; room temperature (not melted) gives a tender crumb.
– Sugars (granulated + brown): Granulated for structure and sugar coating, brown for moisture and depth of flavor.
– Egg + Vanilla: Egg binds and gives lift; vanilla rounds the flavors.
– All-Purpose Flour: The structure of the cookie; measure by spooning into the cup or weighing for consistency.
– Baking Soda & Salt: Baking soda gives a little rise and tender crumb; salt brightens the peanut flavor.
– Chocolate Kisses: Use individually wrapped milk or dark chocolate kisses; unwrap before pressing into cookies.
Substitutions and Variations
– Swap creamy for crunchy peanut butter: Adds more texture — cookies will be a bit chunkier.
– Use all brown sugar instead of a sugar split: Results in a moister, chewier cookie with deeper caramel notes.
– Replace butter with equal coconut oil (solid): Slightly different flavor and a bit more tenderness; cookies may spread a touch more.
– Use mini chocolate kisses or chocolate chips: Mini kisses give more chocolate per bite without overpowering; chips won’t have the same cone shape but melt similarly.
– Add a sprinkle of flaky sea salt after pressing the kiss: Enhances contrast and brings out the peanut flavor.
How to Make Peanut Butter Kiss Cookies
This is a short summary — the full recipe card has exact amounts and baking times.
1. Preheat oven and line baking sheets with parchment or a silicone mat.
2. Cream butter with granulated and brown sugar until light and slightly fluffy.
3. Beat in peanut butter, egg, and vanilla until smooth and combined.
4. Whisk together flour, baking soda, and salt; stir into the wet ingredients until just mixed.
5. Scoop or roll dough into uniform balls, then roll each ball in a little granulated sugar if desired.
6. Bake until edges are set and centers are still soft (cookies will finish setting as they cool). Immediately press an unwrapped chocolate kiss into the center of each warm cookie.
7. Cool on the pan for a few minutes so the kiss sets, then transfer to a wire rack to finish cooling.
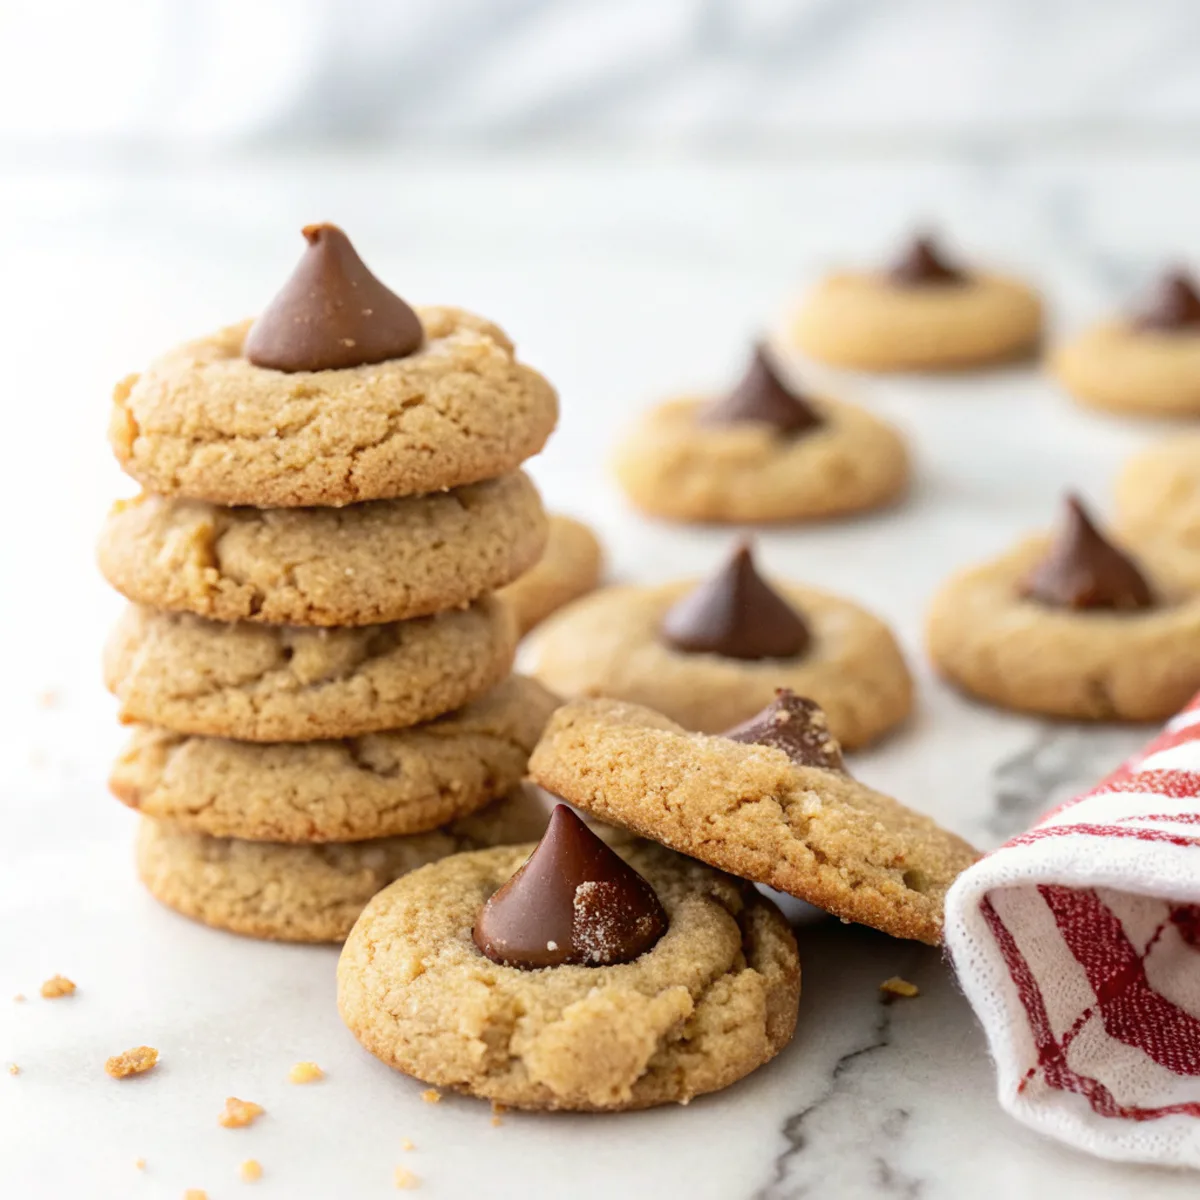
Tips for the Best Results
1. Slightly underbake by 1–2 minutes for a soft center that pairs well with the melted kiss.
2. Use uniform dough portions (a small cookie scoop) so all cookies bake evenly.
3. Press the kiss into the cookie while it’s hot from the oven so the chocolate softens and adheres.
4. Chill the dough 15–30 minutes if your kitchen is warm or if the dough is very soft to reduce spreading.
5. Line pans with parchment or silicone to prevent sticking and promote even browning.
Common Mistakes
– Dough too warm and cookies spread flat: Chill dough briefly or refrigerate scooped balls before baking.
– Overbaking until dry: Pull cookies when edges are set but centers still look slightly underdone.
– Pressing the kiss too late: Wait only a few seconds off the oven; pressing after fully cooled won’t melt the chocolate into the cookie.
– Using natural runny peanut butter: Cookies can be oily and very flat — use a thicker, no-stir style or adjust flour slightly.
– Uneven cookie sizes: Use a scoop to keep baking times consistent and avoid some cookies burning while others are underdone.
Storage
Storing: Keep baked cookies in an airtight container at room temperature for up to 4 days. Place layers between parchment to prevent sticking.
Freezing: Dough balls freeze very well — freeze them on a tray until solid, then store in a sealed bag for up to 3 months. Bake from frozen, adding a minute or two to the bake time. You can also freeze baked cookies without kisses; thaw and press fresh kisses into warm cookies to set.
Reheating or serving later: Warm cookies for 8–10 seconds in the microwave to soften the center, then press a fresh kiss on top if you want a melty chocolate center.
How to Serve Peanut Butter Kiss Cookies
– Serve warm with a cold glass of milk for a classic pairing.
– Arrange on a holiday cookie platter alongside sugar cookies and chocolate thumbprints.
– Pack in lunchboxes or cookie tins — they travel well at room temperature.
– Offer with coffee or hot chocolate for an afternoon treat.
More Helpful Notes
– Room temperature ingredients (butter and egg) mix together more uniformly for a consistent crumb.
– If you prefer less sweetness, use dark chocolate kisses or reduce the granulated sugar coating.
– For uniformly round cookies, gently roll the dough in your palms before coating in sugar.
– Measure flour properly; too much flour makes dry, cakey cookies — spoon and level or weigh for accuracy.
Frequently Asked Questions
Peanut Butter Kiss Cookies
Ingredients
Cookie Dough
- 1 1/3 cups all-purpose flour
- 1 tablespoon cornstarch
- 1/2 teaspoon baking soda
- 1/2 teaspoon fine sea salt
- 6 tablespoons unsalted butter, softened
- 2/3 cups dark brown sugar, packed
- 1/3 cup granulated sugar
- 1 large egg
- 1 1/2 teaspoons pure vanilla extract
- 2/3 cup creamy no-stir peanut butter
For Rolling & Finishing
- 1/4 cup turbinado sugar
- 1/4 teaspoon ground cinnamon
- 24 Hershey’s Kisses, unwrapped and chilled
Instructions
Preparation Steps
- Unwrap the chocolate Kisses and place them in the refrigerator to chill while you prepare the dough.
- Whisk the flour, cornstarch, baking soda, and salt in a medium bowl; set aside.
- In a large bowl, beat the softened butter with the dark brown sugar and granulated sugar on medium speed until light and fluffy, 2 to 3 minutes.
- Beat in the egg and vanilla until glossy. Add the peanut butter and mix on low just until smooth (do not overbeat or the cookies may spread).
- Add the dry ingredients and mix on low until a soft dough forms. Cover and chill the bowl for 15 to 20 minutes to firm slightly.
- Meanwhile, preheat the oven to 360°F (182°C). Line two baking sheets with parchment. Stir the turbinado sugar and cinnamon together in a shallow dish for rolling.
- Scoop dough into 1-tablespoon portions (about 24), roll into balls, then coat in the cinnamon sugar. Arrange on the prepared sheets 2 inches apart. Lightly flatten each ball to about 3/4-inch thick with the bottom of a glass dipped in the sugar mixture.
- Bake one sheet at a time until edges are set and tops look matte but centers are still pale, 8 to 10 minutes. Cool on the sheet for 1 to 2 minutes.
- Gently press a chilled chocolate Kiss into the center of each warm cookie. Slide the baking sheet into the refrigerator (or a cool garage/balcony) for 5 to 10 minutes to set the chocolate, then move cookies to a rack to finish cooling.
Notes
Featured Comments
“This flavorful recipe was will make again — the shareable really stands out. Thanks!”
“This nourishing recipe was absolutely loved — the family-style really stands out. Thanks!”
“Super easy and will make again! My family asked for seconds. Saving this one.”
“This sweet treat recipe was turned out amazing — the satisfying really stands out. Thanks!”
“Made this last night and it was will make again. Loved how the nutty came together.”
“New favorite here — family favorite. fruity was spot on.”
“New favorite here — absolutely loved. foolproof was spot on.”
“New favorite here — absolutely loved. bold was spot on.”
“This chilled recipe was will make again — the creamy really stands out. Thanks!”
“Impressed! Clear steps and will make again results. Perfect for busy nights.”