Peanut Butter Balls
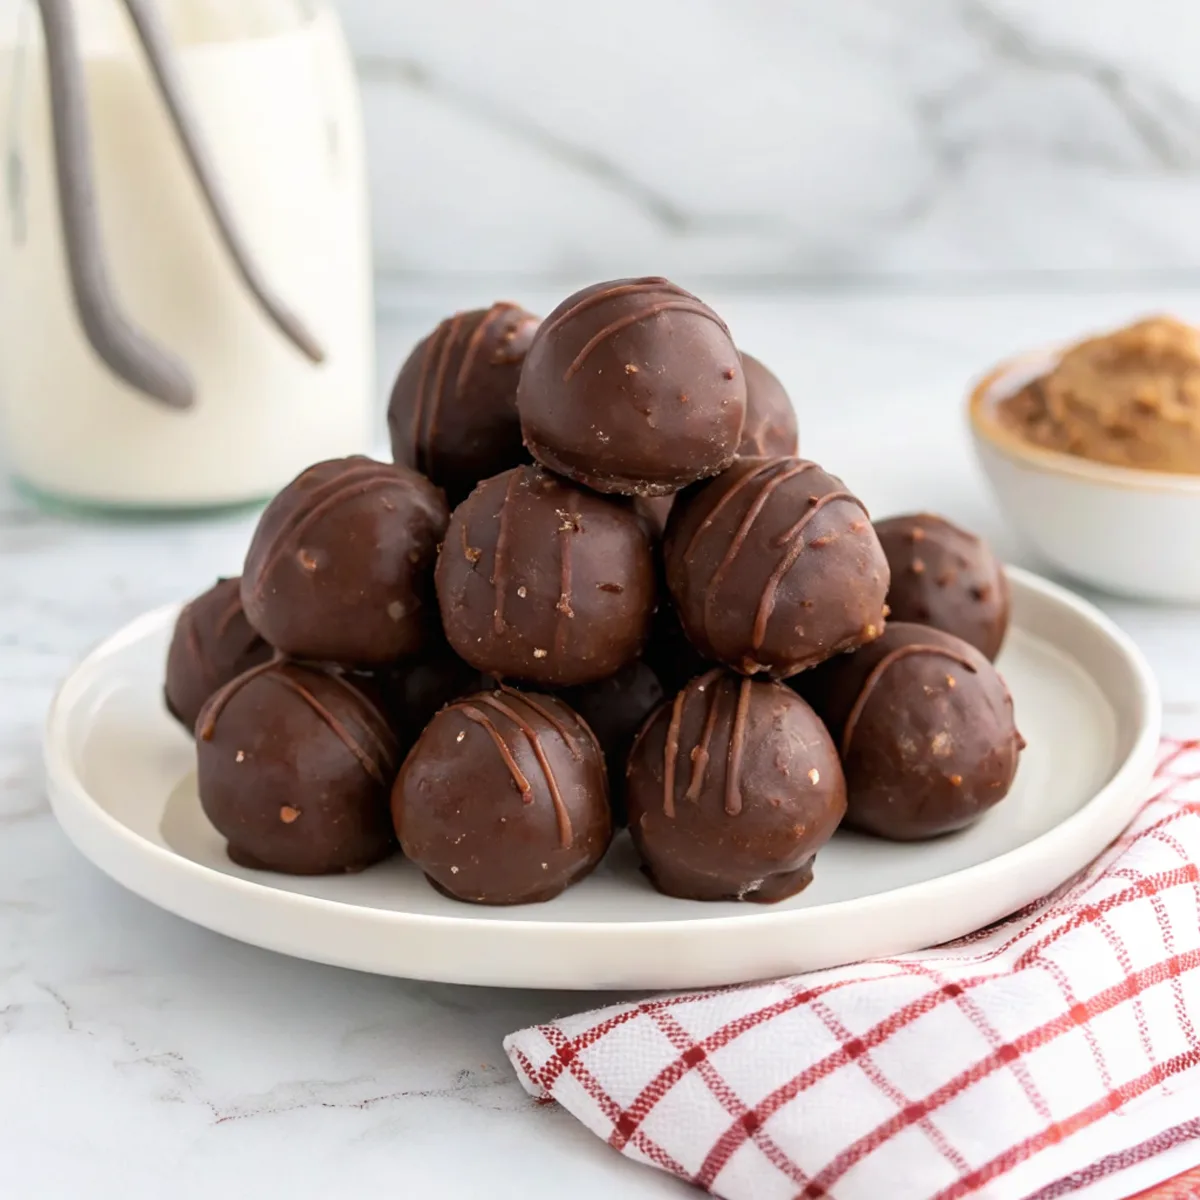
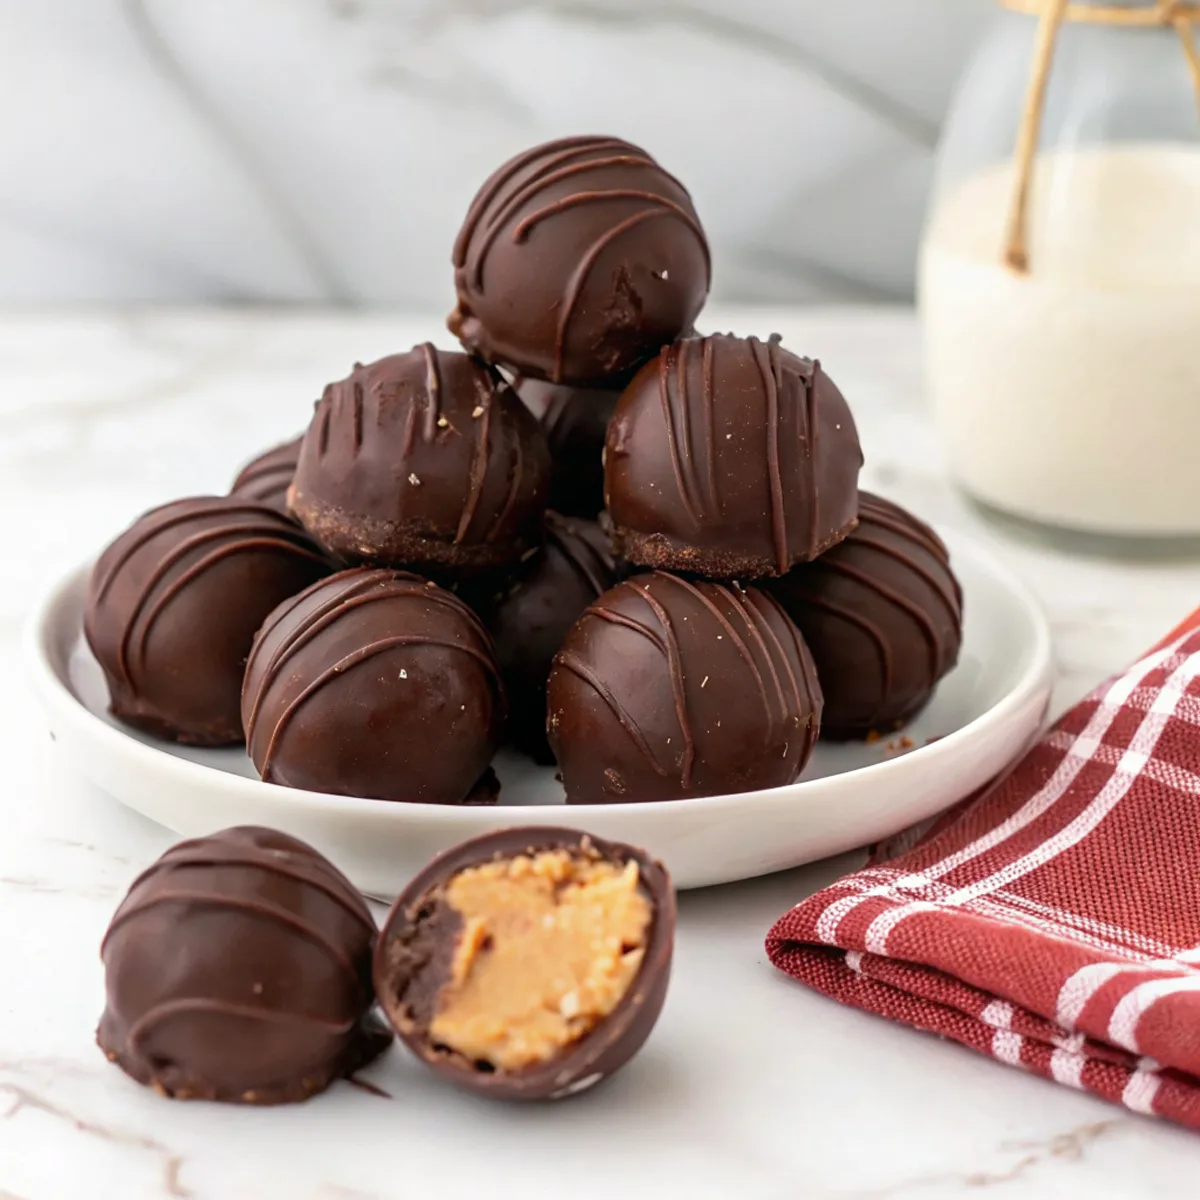
These peanut butter balls are a simple no-bake treat — dense, sweet peanut butter centers coated in chocolate for a smooth, slightly crisp shell and a soft, creamy inside. They’re worth making because they come together fast, use pantry-friendly ingredients, and hold up well for gifting or a ready-to-eat snack.
I like keeping a tray in the freezer for last-minute guests or to pack with lunchboxes. They’re forgiving to make and easy to scale up when you need more.
Why This Peanut Butter Balls Works
1. Flavor balance: creamy peanut butter plus a touch of salt and vanilla keeps the filling rich but not cloying.
2. Texture contrast: a firm, slightly chewy center against a crisp chocolate shell makes each bite satisfying.
3. Easy technique: no baking required—mix, roll, chill, and dip—good for beginners.
4. Flexible ingredients: you can swap nut butters or coating chocolate without changing the method.
Ingredients




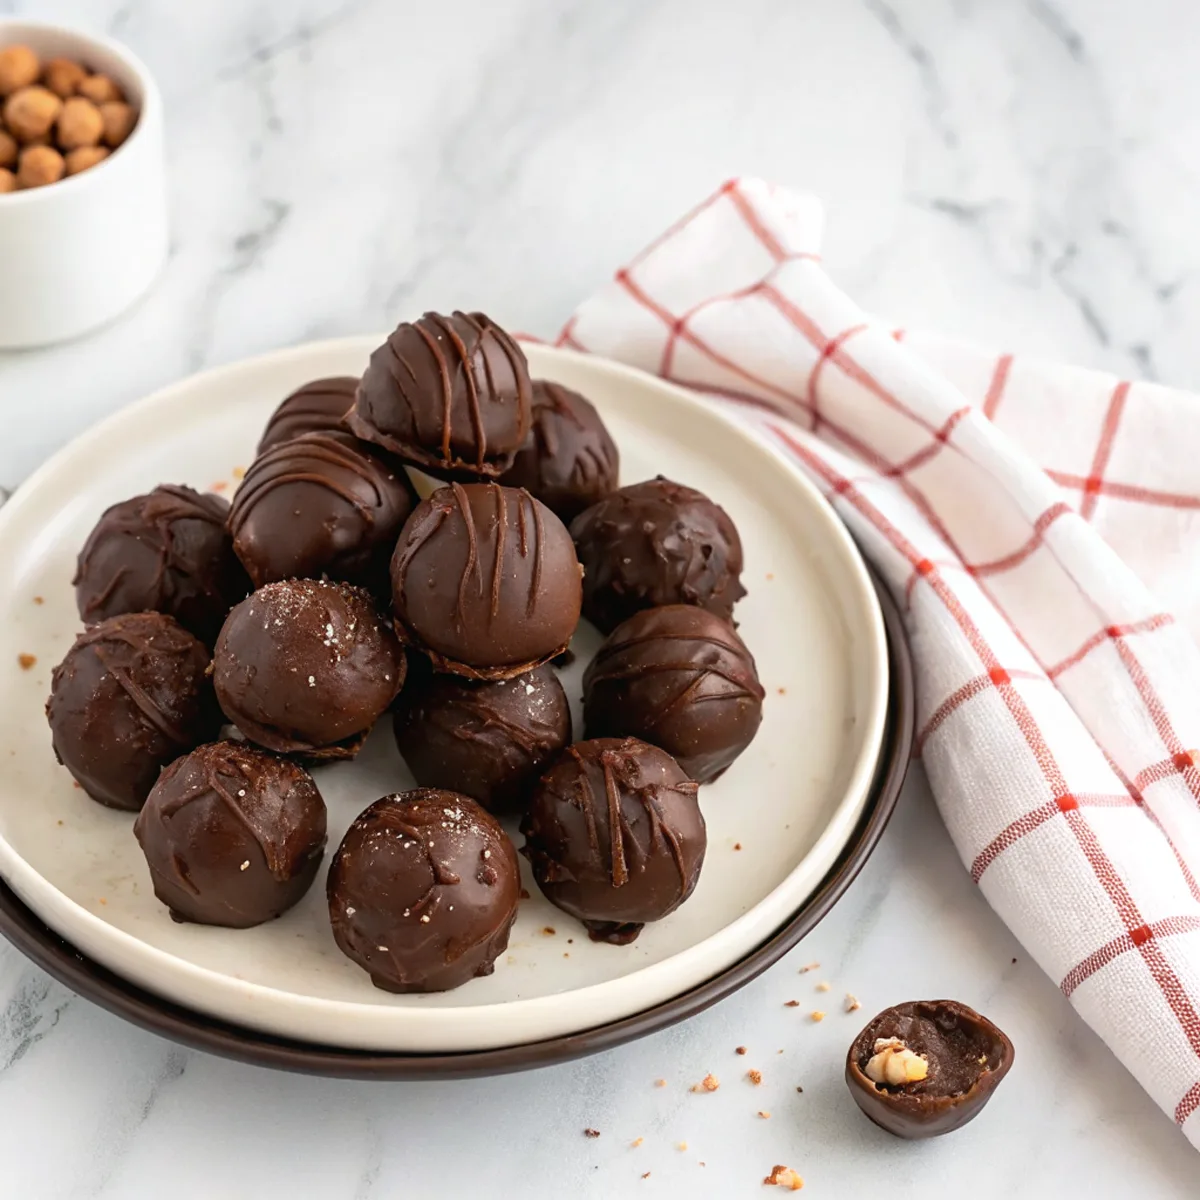
Here are the main ingredients you’ll need and why they matter.
MORE OF OUR FAVORITE…
– Peanut butter: Use smooth, well-stirred peanut butter for a silky filling; natural styles need stirring and may affect texture.
– Powdered sugar: Adds sweetness and helps the mixture firm up; use sifted if lumpy.
– Unsalted butter: Softened butter gives a richer mouthfeel and helps the mixture roll smoothly.
– Vanilla extract: Small amount lifts the flavor and rounds out the sweetness.
– Salt: A pinch (or flaky salt on top) balances the sweetness and enhances peanut flavor.
– Semi-sweet chocolate: Chocolate chips or coating melts for dipping; choose quality chocolate for a smooth shell.
– Optional add-ins: Crushed graham crackers, finely chopped nuts, or toasted oats can firm the filling and add texture.
Substitutions and Variations
– Use almond or cashew butter instead of peanut butter — flavor changes to a milder, slightly sweeter profile.
– Swap powdered sugar for a mix of honey and finely ground oats for a less sweet, chewier ball (texture will be softer).
– Dip in white or dark chocolate instead of semi-sweet — dark is less sweet and pairs nicely with salted tops.
– Add 1–2 tablespoons of crushed graham crackers or cookie crumbs to make the center firmer and less sticky.
– Make buckeyes by leaving a small circle of peanut center showing (half-dipped) for a classic look.
How to Make Peanut Butter Balls
This is a short summary — the recipe card has exact amounts and timings.
1. Combine peanut butter, softened butter, vanilla, and a pinch of salt in a bowl until smooth.
2. Gradually mix in powdered sugar until a firm, rollable dough forms. Chill 15–30 minutes if too soft.
3. Scoop and roll the dough into even balls (use a tablespoon or small cookie scoop for uniform size).
4. Place balls on a parchment-lined tray and chill until very firm, about 30–60 minutes.
5. Melt chocolate in a heatproof bowl over a double boiler or in short microwave bursts, stirring until smooth.
6. Dip chilled balls in chocolate using a fork, letting excess drip off, then return to the tray.
7. Sprinkle with flaky salt or toppings if desired and chill briefly to set before serving.
Tips for the Best Results
1. Chill the dough well before rolling — it’s easier to shape and won’t stick to your hands.
2. Use a small cookie scoop for even-sized balls so they set and dip uniformly.
3. Warm the chocolate just until melted; overheating can make it grainy.
4. If chocolate thickens between dips, rewarm gently in short bursts and stir.
5. For a glossy finish, temper the chocolate or add a teaspoon of neutral oil to the melted chocolate.

Common Mistakes
– Mixing with too little powdered sugar: filling will be sticky and won’t hold shape — fix by adding more powdered sugar a tablespoon at a time.
– Rolling warm dough: balls will flatten or stick — chill the mixture until firm before rolling.
– Dipping warm balls: melted centers can cause chocolate to slide off — always dip fully chilled balls.
– Chocolate seizing or becoming grainy: avoid water contact and don’t overheat; if it seizes, add a small spoon of oil to smooth it.
– Not draining excess chocolate: thick coating can pool on the bottom — tap the fork lightly to remove drips before transferring.
Storage
Storing: Keep peanut butter balls in an airtight container in the refrigerator for up to 2 weeks. They’re best when slightly chilled but not rock-hard.
Freezing: They freeze well. Layer balls between parchment in a freezer container and freeze up to 3 months. Thaw in the fridge before serving.
Reheating or serving later: Bring from fridge to room temperature for 10–15 minutes before serving so the filling softens slightly. If frozen, thaw in the fridge overnight and then sit at room temperature briefly.
How to Serve Peanut Butter Balls
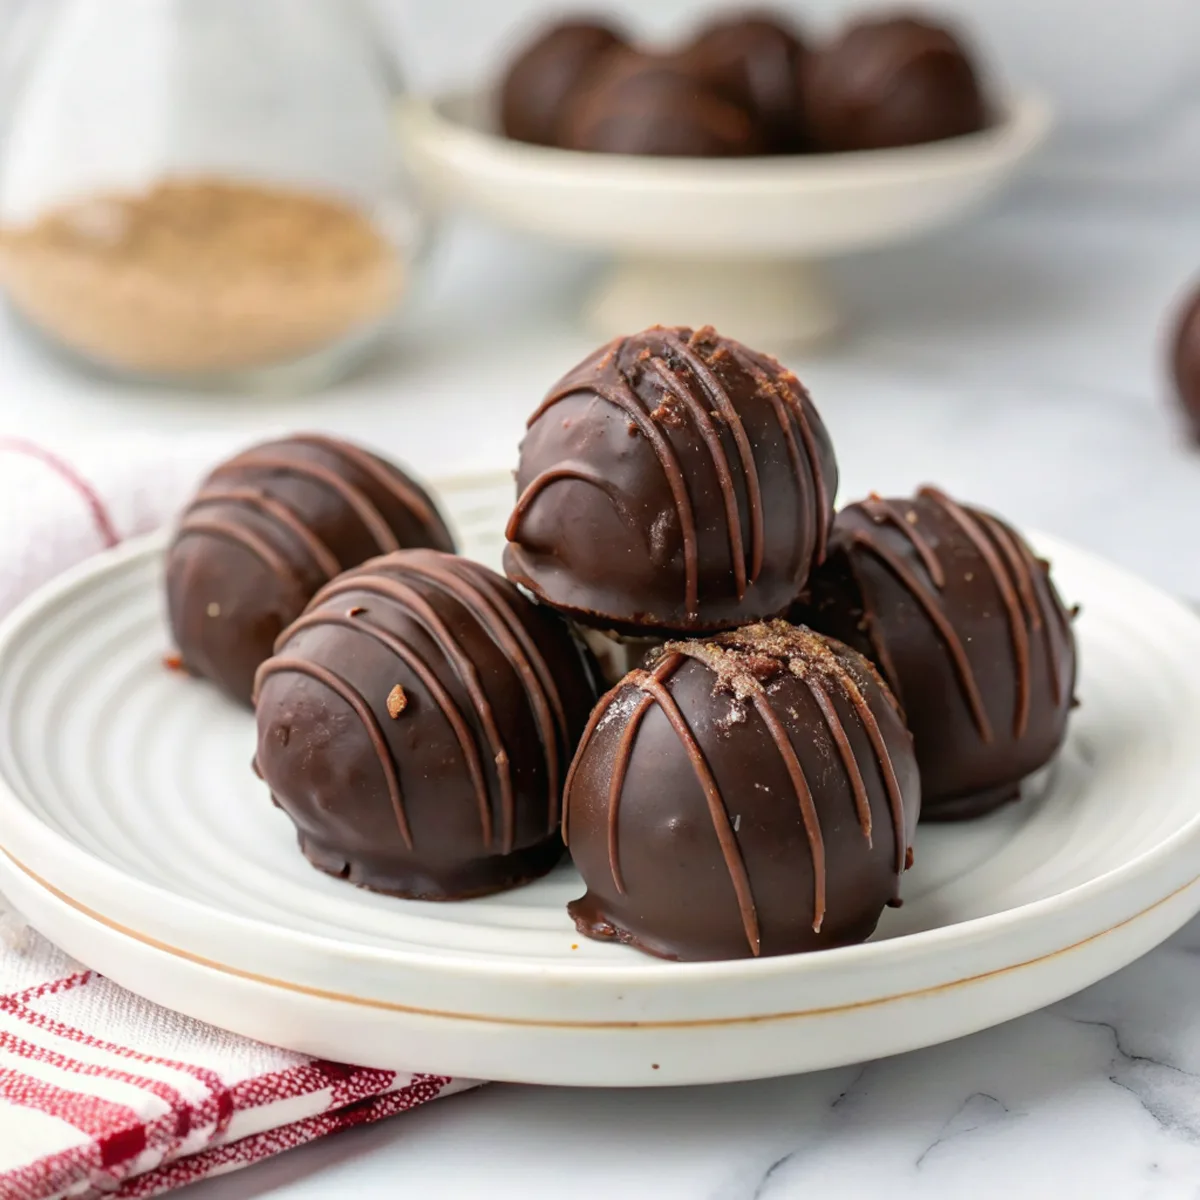
– Arrange on a small dessert plate with a sprinkle of flaky sea salt or cocoa powder.
– Pack a few in a lunchbox or cookie tin as a sweet snack.
– Serve alongside coffee or tea for an easy dessert pairing.
– Use as part of a holiday cookie platter or gift box.
More Helpful Notes
– For uniformly sized results, chill the scooped balls on a tray before rolling smooth with warm hands.
– If you prefer a drier center, add a tablespoon or two more powdered sugar.
– Decorating options include toasted coconut, chopped peanuts, or colored sprinkles before the chocolate sets.
– If using natural peanut butter, stir well and consider chilling the mixture longer because of extra oil.
Frequently Asked Questions
Peanut Butter Balls
Ingredients
Peanut Butter Center
- 1 1/2 cups creamy peanut butter (not natural/separated)
- 4 tablespoons unsalted butter, cut into pieces
- 3 cups powdered sugar, sifted
- 1/4 teaspoon fine sea salt
- 2 1/2 cups crispy rice cereal (Rice Krispies)
Chocolate Coating
- 14 ounces dark chocolate wafers or chopped bars (60–70%)
- 2 teaspoons coconut oil
Instructions
Preparation Steps
- Line two baking sheets with parchment paper and place one of them in the freezer to chill while you mix the filling.
- In a medium saucepan over low heat, melt the butter with the peanut butter, stirring just until smooth and warm, 1–2 minutes. Remove from the heat and stir in the powdered sugar and sea salt until a thick, cohesive dough forms.
- Fold in the crispy rice cereal until evenly distributed. Let the mixture stand for 5 minutes to firm up slightly so it scoops cleanly.
- Using a 1-tablespoon scoop, portion the mixture onto the chilled baking sheet, then roll each portion between your palms to form smooth balls. Freeze until very firm, about 20 minutes.
- Set a heatproof bowl over a small pot of barely simmering water (the bowl should not touch the water). Add the dark chocolate and coconut oil and stir gently until melted and glossy. Keep the water at the lowest simmer to hold the chocolate fluid.
- Working with 6–8 centers at a time (keep the rest frozen), dip each ball into the melted chocolate using a fork. Tap the fork on the bowl’s edge to let excess chocolate drip off, then return the coated ball to the second parchment-lined sheet. If the chocolate thickens, rewarm it briefly over the steam.
- Let the chocolate set at cool room temperature for 30–45 minutes or refrigerate for 10–15 minutes until the shells are firm. If you’d like a decorative finish, rewarm a spoonful of chocolate and drizzle over the set candies, then let set again.
Notes
Featured Comments
“Super easy and family favorite! My family asked for seconds. Saving this one.”
“Impressed! Clear steps and will make again results. Perfect for busy nights.”
“New favorite here — so flavorful. satisfying was spot on.”
“This comforting recipe was turned out amazing — the cheesy really stands out. Thanks!”
“Impressed! Clear steps and so flavorful results. Perfect for busy nights.”
“New favorite here — so flavorful. wholesome was spot on.”
“Made this last night and it was so flavorful. Loved how the quick bite came together.”
“Made this last night and it was absolutely loved. Loved how the quick bite came together.”
“Super easy and will make again! My family asked for seconds. Saving this one.”
“New favorite here — family favorite. effortless was spot on.”