Chocolate Peppermint Layered Dessert Cake
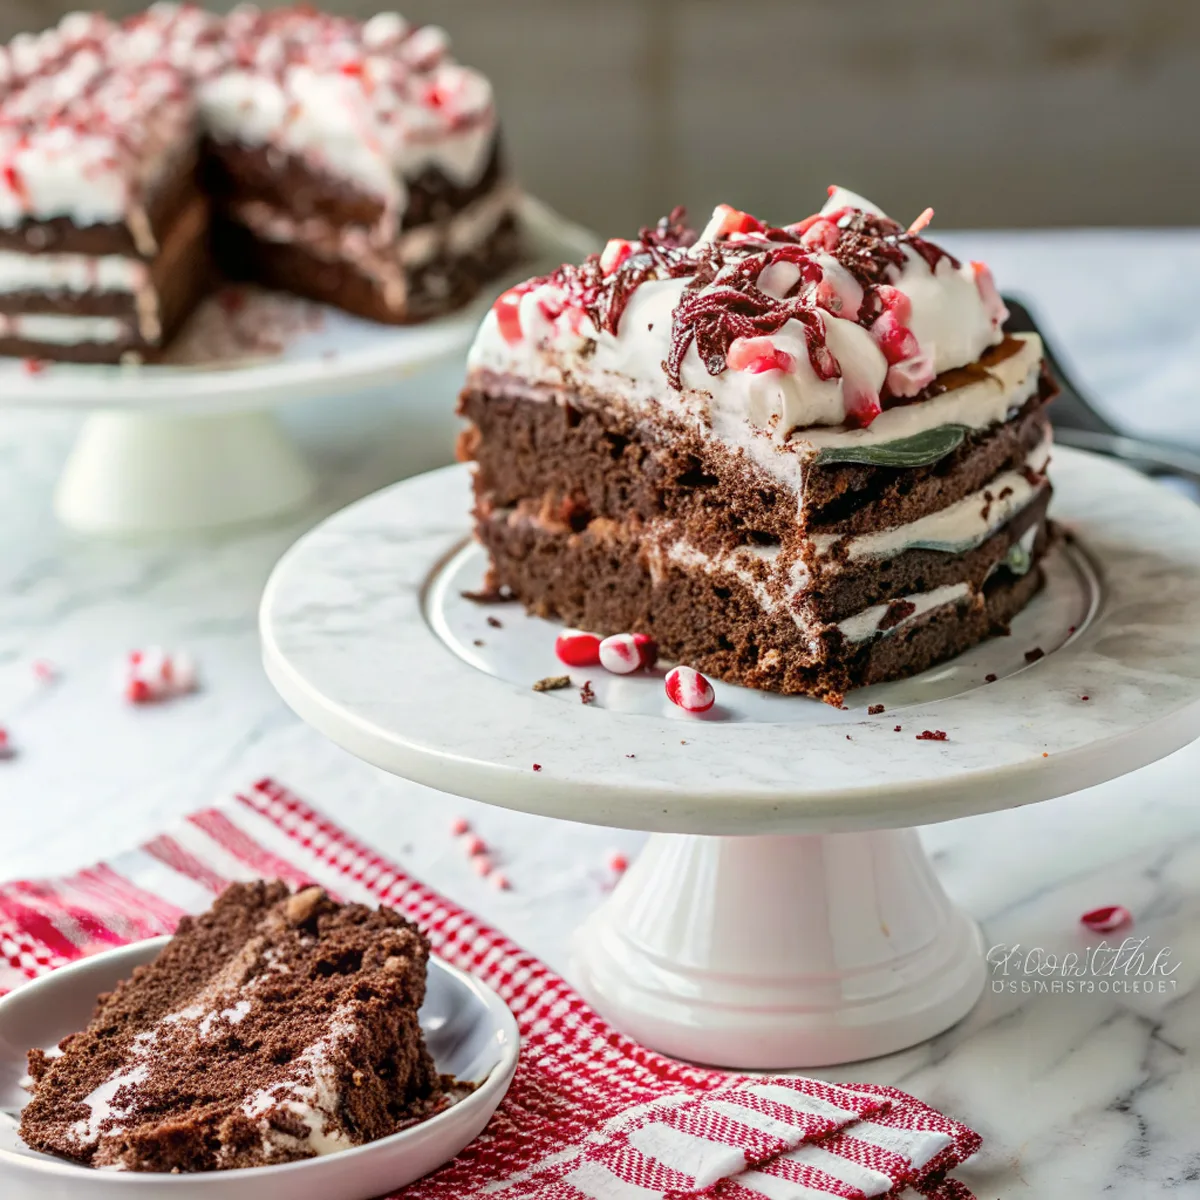
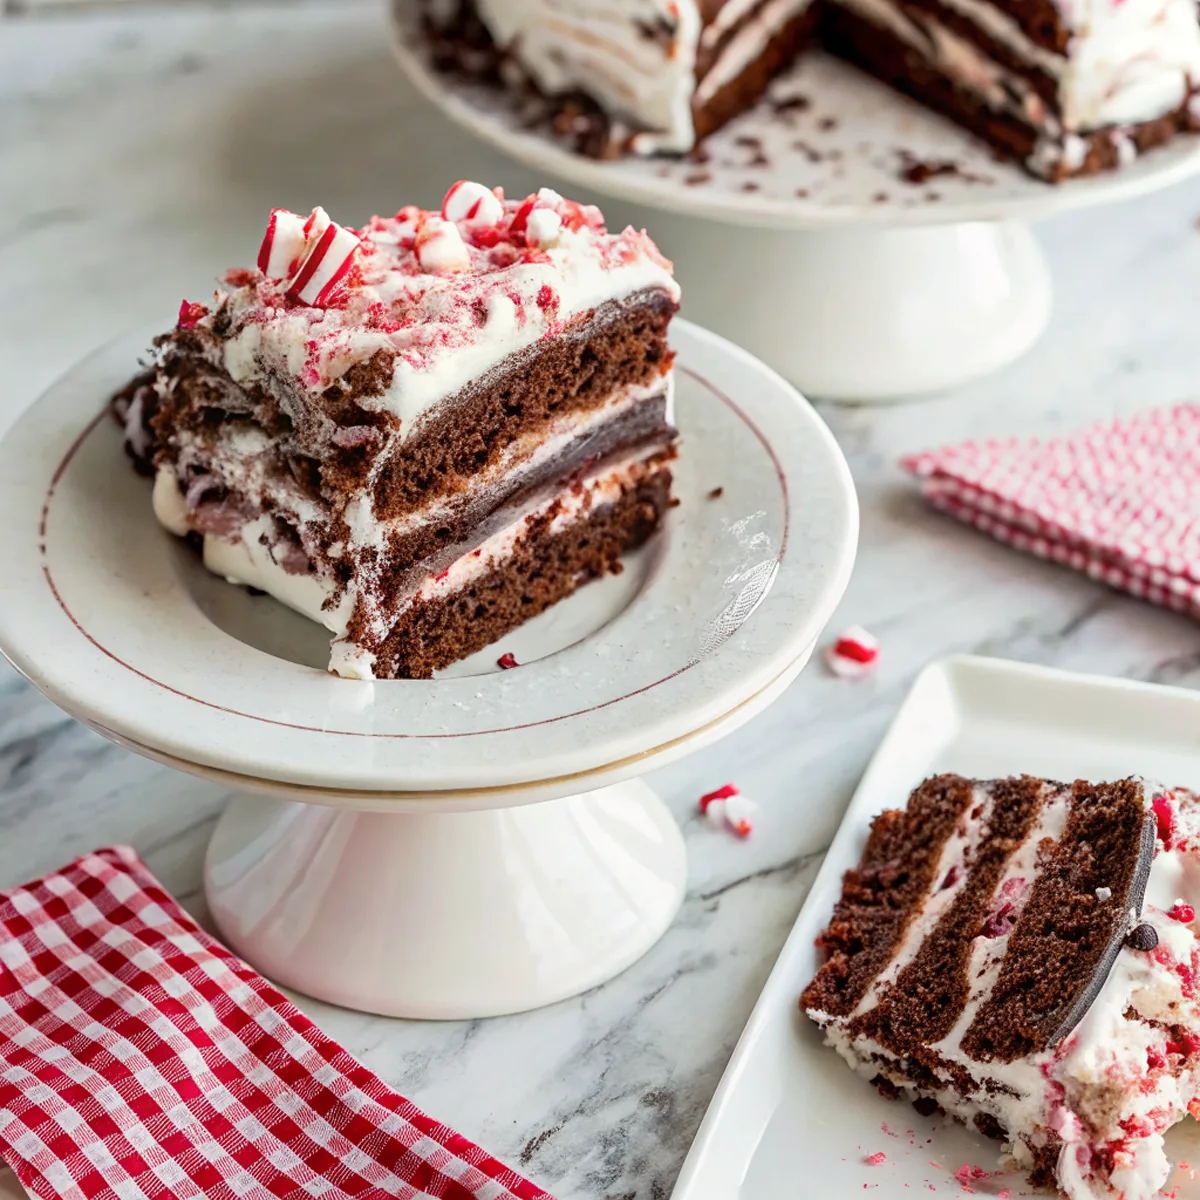
A festive, easy-to-build layered dessert with moist chocolate cake, a glossy chocolate ganache and a light peppermint buttercream that brightens each bite. It’s rich but not heavy — chocolate for depth, peppermint for freshness, and a crunchy candy-cane finish for texture.
It’s straightforward to assemble in stages, so you can bake the layers one day and finish the frosting and assembly the next. The components are forgiving and suitable for a simple holiday table or an extra-treat weeknight dessert.
Why This Chocolate Peppermint Layered Dessert Cake Works
1. Deep chocolate layers balance the bright peppermint, keeping the cake rich without feeling one-note.
2. A silky ganache adds shine and a fudgy texture that contrasts with the light peppermint buttercream.
3. The recipe is modular — bake, chill, and assemble in separate steps for easier timing.
4. Crushed candy cane or peppermint pieces add a refreshing crunch and make a pretty finish.
Ingredients




These are the key components to gather and why each matters.
MORE OF OUR FAVORITE…
– All-purpose flour: Provides structure; measure by spooning into the cup to avoid dense cake.
– Cocoa powder: Use unsweetened Dutch-process or natural for different depth—Dutch-process is smoother.
– Sugar (granulated): Sweetens and helps with cake tenderness; brown sugar can add a hint of molasses.
– Eggs: Give lift and stability—room temperature eggs mix more evenly.
– Unsalted butter or neutral oil: Butter adds flavor; oil keeps the cake extra moist.
– High-quality dark chocolate: For ganache—choose 60–70% for good balance and glossy finish.
– Heavy cream: Needed for ganache and to create a smooth, spreadable texture.
– Peppermint extract and crushed candy canes: Extract for flavoring the buttercream (use sparingly), crushed candy for garnish and crunch.
Substitutions and Variations
– Swap butter for oil in the cake for a moister crumb; texture will be slightly denser but tender.
– Use milk chocolate in the ganache if you prefer a sweeter, softer finish; slices will taste milder.
– Replace peppermint extract with crushed mint tea or finely grated orange zest for a different bright note.
– Make a dairy-free version with coconut cream and dairy-free chocolate; freeze ganache briefly to firm before spreading.
– Turn it into cupcakes by using the same batter and smaller baking time; pipe the ganache and buttercream on top.
How to Make Chocolate Peppermint Layered Dessert Cake
This is a summary — the full recipe card has exact amounts, baking times, and tips.
1. Preheat oven and prepare two or three cake pans (depending on desired layer count); line bottoms with parchment.
2. Whisk dry ingredients (flour, cocoa, baking powder/soda, salt) and separately cream or whisk wet ingredients; combine until just mixed.
3. Divide batter into pans and bake until a toothpick comes out with a few moist crumbs; cool in pans briefly then transfer to a rack.
4. While cakes cool, warm heavy cream and pour over chopped dark chocolate to make ganache; stir until smooth and let cool to spreadable thickness.
5. Make peppermint buttercream by creaming butter, adding powdered sugar, a touch of cream and a small amount of peppermint extract; adjust to spreading consistency.
6. Trim cake layers flat if needed, place the first layer on a board, spread a thin layer of ganache, pipe or spread buttercream, then repeat for remaining layers; chill briefly between layers for clean edges.
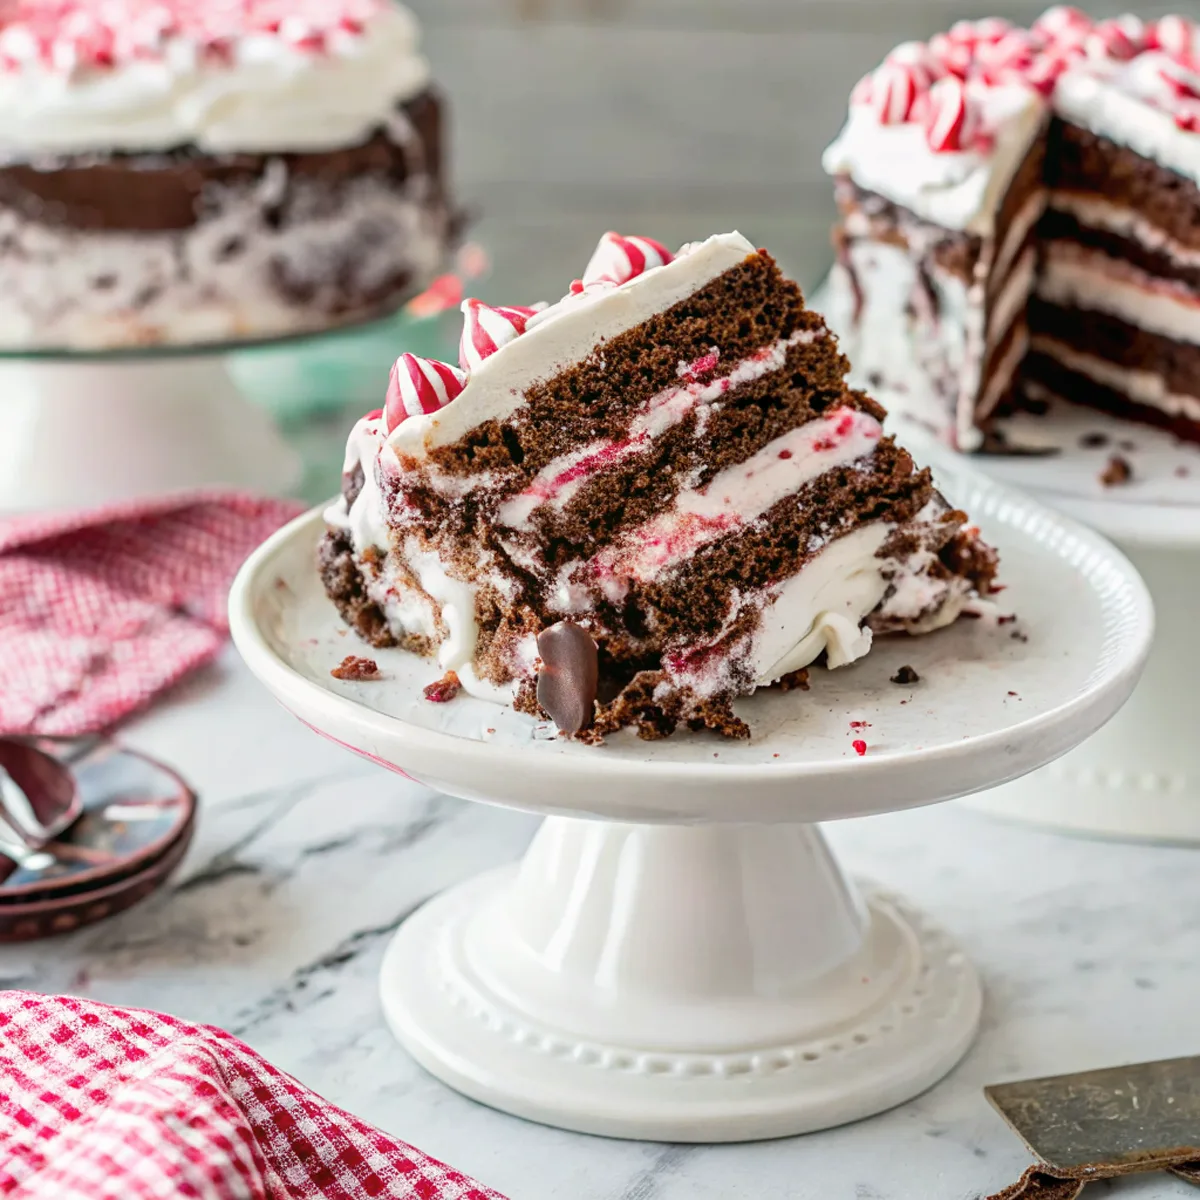
7. Finish by pouring remaining ganache over the top for a glossy drip, press crushed candy canes onto the sides or top, then chill until set before slicing.
Tips for the Best Results
1. Use room-temperature eggs and butter so batters emulsify and bake evenly.
2. Don’t overmix the batter once you add the flour — overworking creates a tough crumb.
3. Let ganache cool to lukewarm before spreading so it won’t melt the buttercream.
4. Chill the cake 15–30 minutes between layers to keep them from sliding and to get clean edges.
5. If making ahead, fully chill the assembled cake and bring to room temperature 20–30 minutes before serving.
Common Mistakes
– Underbaked center: bake a few minutes longer and test with a toothpick; tent with foil if the top browns too quickly.
– Buttercream too soft: chill the bowl for 10 minutes, then rewhip to firm up before piping.
– Ganache too runny: cool longer in the fridge in short intervals, stirring often, until spreadable.
– Using too much peppermint extract: start with a small amount; extract is potent and can taste medicinal if overused.
– Not cooling layers before stacking: warm cake layers will compress and make the frosting melt — always cool completely.
Storage
Storing: Keep the cake chilled in an airtight cake box or covered with plastic wrap for up to 4 days in the refrigerator. Let sit at room temperature 20–30 minutes before slicing for the best texture.
Freezing: The cake freezes well. Wrap the whole cake tightly in plastic and foil, or freeze individual slices on a tray and then bag them. Freeze up to 2 months; thaw in the refrigerator overnight.
Reheating or serving later: For the best flavor, bring chilled slices to room temperature for about 20–30 minutes before serving. If the ganache firms too much, a quick 10–20 second blast in a warm oven (under 200°F/90°C) will soften slightly—watch closely.
How to Serve Chocolate Peppermint Layered Dessert Cake
– Serve slices slightly chilled with a cup of coffee or hot chocolate for contrast.
– Add a dollop of lightly sweetened whipped cream and extra crushed candy canes on the side.
– Drizzle a little extra warm ganache over slices for an indulgent finish.
– Plate with fresh raspberries to cut through the richness.
More Helpful Notes
– Measure flour by spooning and leveling for consistent cake texture.
– If you don’t have peppermint extract, steep crushed candy cane in warm cream, strain, and use that cream for buttercream.
– For cleaner slices, chill the cake before cutting and wipe the knife between cuts.
– If the candy cane garnish gets soggy, add it right before serving.
Frequently Asked Questions
Chocolate Peppermint Layered Dessert Cake
Ingredients
Main Recipe
- 1 box chocolate graham crackers (14 oz) as needed to cover three layers
- 1 box Hershey’s Dark Chocolate instant pudding mix (3.4 oz)
- 2 1/4 cups cold milk
- 8 oz cream cheese room temperature
- 1 3/4 cups powdered sugar
- 3 tbsp heavy cream
- 1/4 tsp peppermint extract
- 1/2 tsp pure vanilla extract optional
- 16 oz Cool Whip thawed and divided (8 oz for filling, 8 oz for topping)
- 1 1/4 cups Andes Peppermint Chips divided
- dark chocolate sauce or melted dark chocolate for drizzling
- additional Andes Peppermint Chips for garnish
Instructions
Preparation Steps
- Line a 9x13-inch pan with parchment for easy lifting. Set aside a handful of graham crackers for trimming to fit gaps.
- Make the peppermint cream: Beat the cream cheese on medium-high until velvety and no lumps remain, 1–2 minutes. Add powdered sugar, heavy cream, peppermint extract, and the optional vanilla; beat until light and fluffy.
- Fold in 8 oz (about 3 cups) of Cool Whip and 1 cup of the Andes Peppermint Chips; reserve the remaining 1/4 cup chips for layering. Chill this cream mixture for 10 minutes to slightly firm up.
- Prepare the pudding: Whisk the dark chocolate pudding mix with the cold milk for 2 minutes. Let stand 5–8 minutes until thickened yet spreadable.
- Anchor the first layer: Spread a very thin swipe of the peppermint cream in the bottom of the pan so the crackers don’t slide. Arrange a tight layer of chocolate graham crackers, trimming to fit as needed.
- Spread half of the peppermint cream evenly over the crackers. Sprinkle 1–2 tablespoons of the reserved peppermint chips over this layer for extra crunch.
- Gently spoon on half of the pudding and smooth to the edges. Tap the pan once or twice to settle the layers.
- Add a second graham layer, turning the crackers the opposite direction. Top with the remaining peppermint cream, then the remaining pudding, smoothing each layer before adding the next.
- Finish with the remaining 8 oz Cool Whip, swirling it across the surface. Cover and refrigerate at least 4 hours, preferably overnight, until the crackers have softened and the layers slice cleanly.
- Right before serving, drizzle with warm dark chocolate sauce and shower with additional Andes Peppermint Chips. For ultra-neat squares, freeze the pan for 10–15 minutes and cut with a hot, dry knife.
Notes
Featured Comments
“Super easy and turned out amazing! My family asked for seconds. Saving this one.”
“Impressed! Clear steps and so flavorful results. Perfect for busy nights.”
“Made this last night and it was absolutely loved. Loved how the allergen-friendly came together.”
“This weeknight winner recipe was family favorite — the saucy really stands out. Thanks!”
“Made this last night and it was turned out amazing. Loved how the gooey came together.”
“Impressed! Clear steps and family favorite results. Perfect for busy nights.”
“Made this last night and it was absolutely loved. Loved how the shareable came together.”
“New favorite here — so flavorful. wholesome was spot on.”
“Made this last night and it was absolutely loved. Loved how the baked came together.”
“Super easy and turned out amazing! My family asked for seconds. Saving this one.”