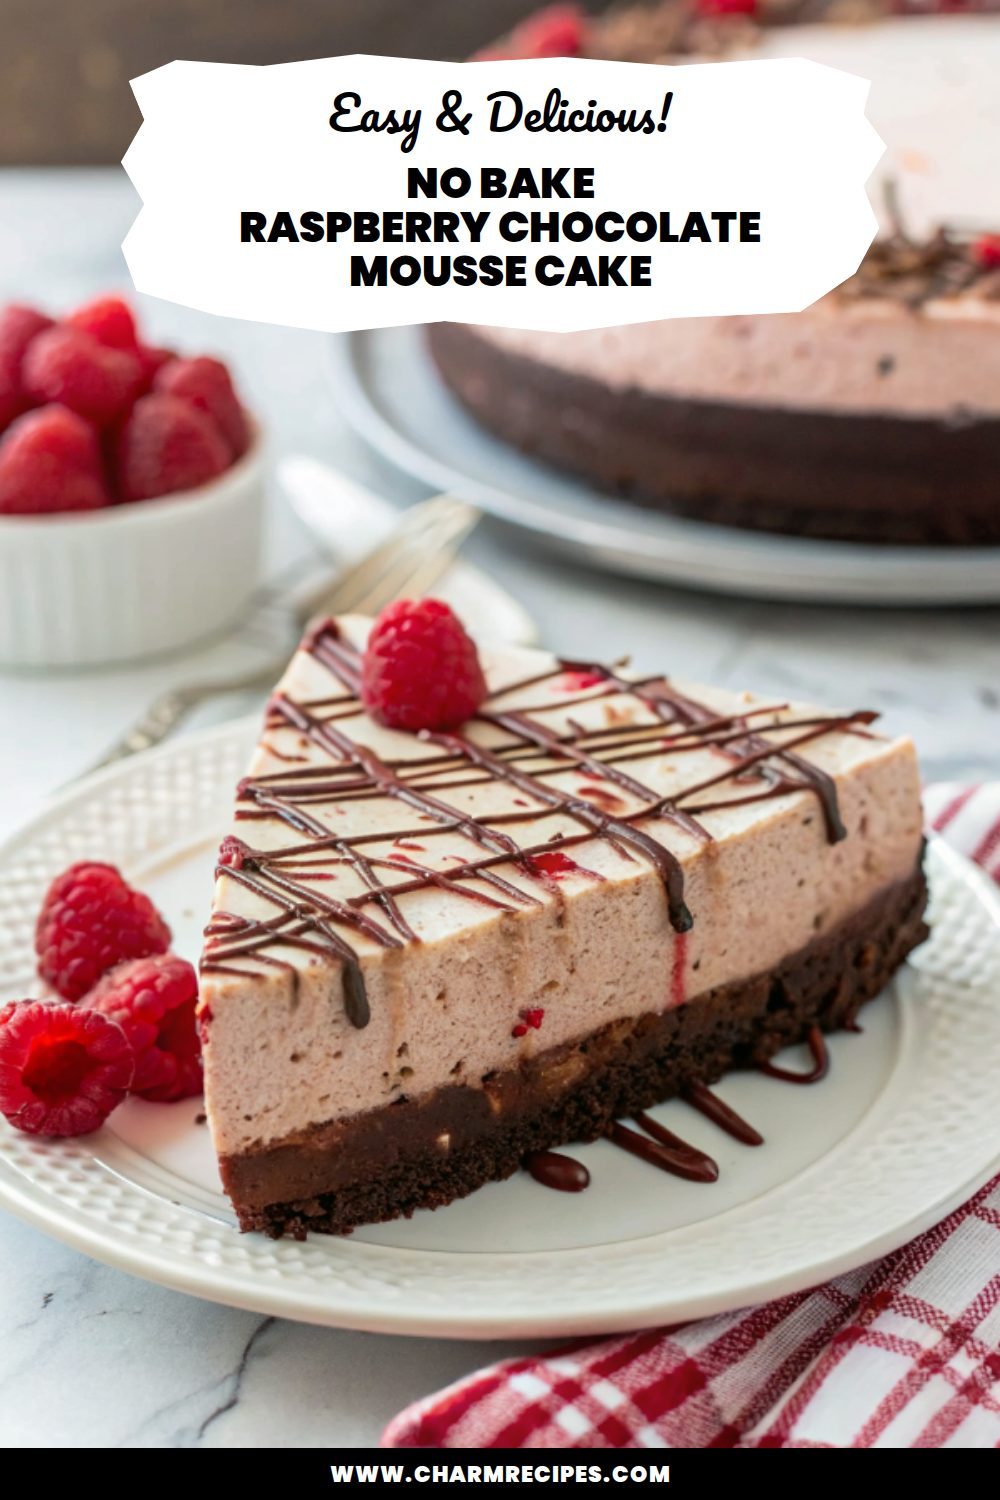
No Bake Raspberry Chocolate Mousse Cake
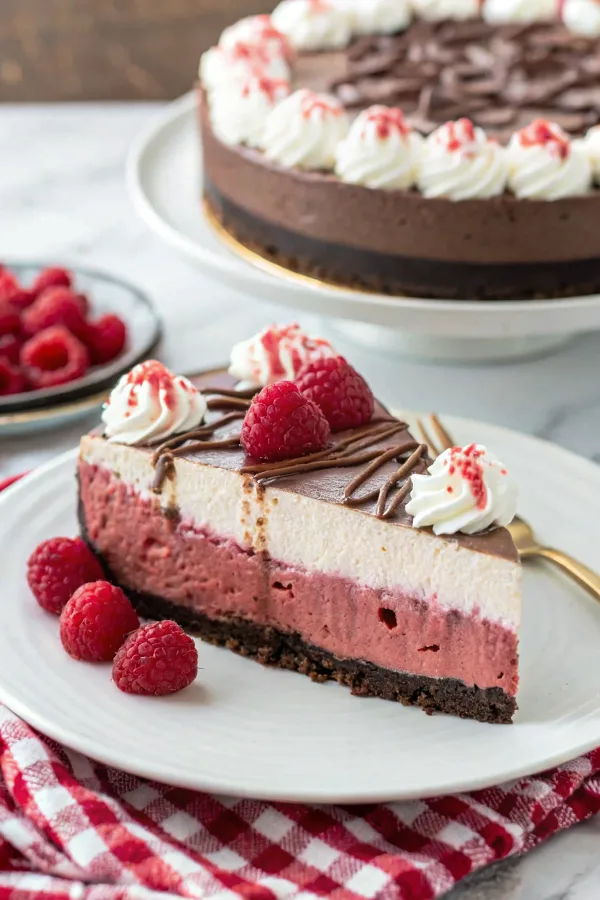
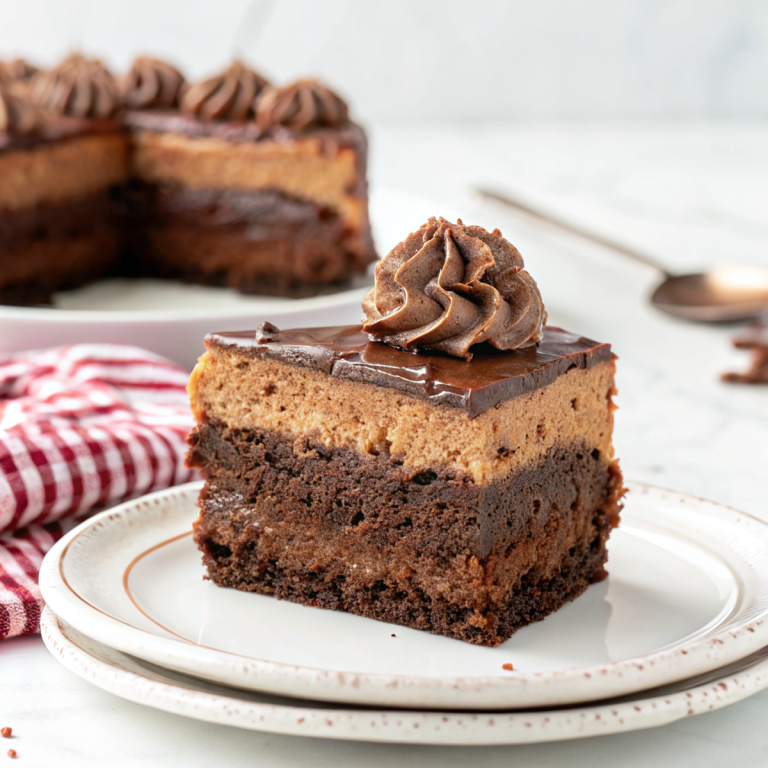
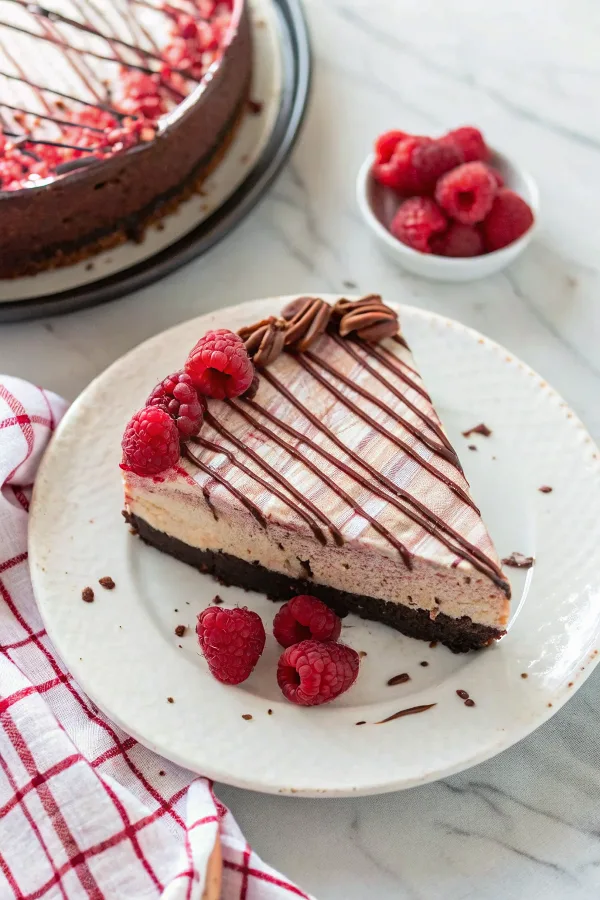
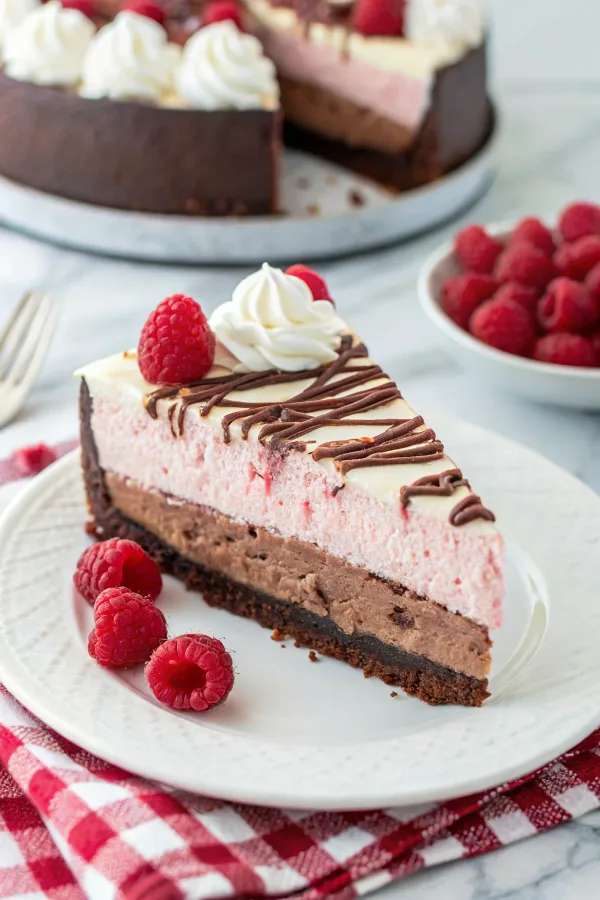
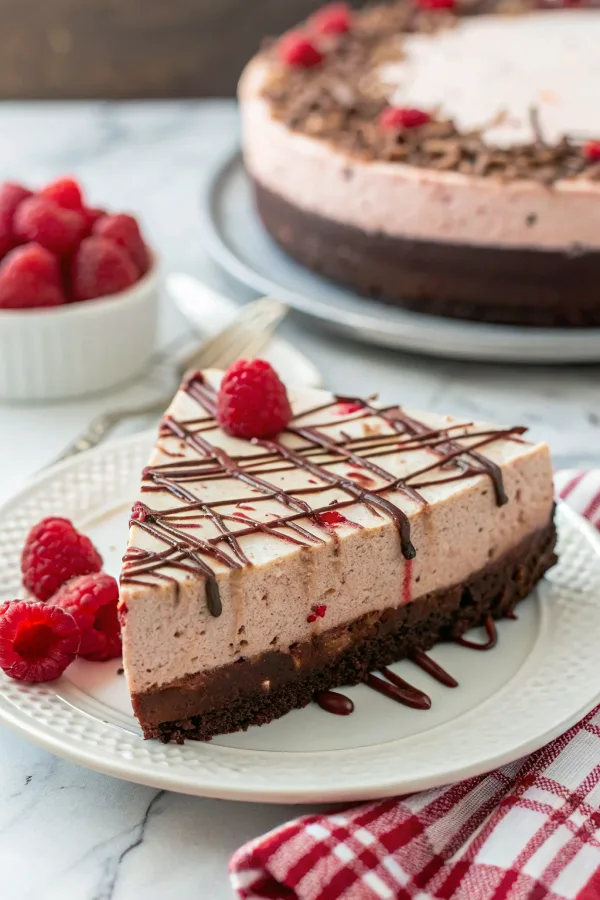
This no-bake raspberry chocolate mousse cake combines a crisp cookie base, a bright raspberry layer, and a silky dark chocolate mousse — creamy, lightly tangy, and elegant without turning on the oven. It’s worth making when you want a showstopping dessert that’s actually simple to assemble and can be made ahead.
It’s an easy recipe to scale and time around your day: the layers need chilling more than hands-on work, and small swaps (like using frozen raspberries or a nut crust) keep it flexible for what you have on hand.
Why This No Bake Raspberry Chocolate Mousse Cake Works
1. Contrasting textures: crunchy cookie crust, smooth mousse, and a slightly tart raspberry layer balance each bite.
2. Bright chocolate-berry pairing: dark chocolate’s bitterness cuts through the raspberry’s acidity for a well-rounded flavor.
3. No oven needed: great for hot days or when you want dessert ready ahead of time.
4. Stable enough to slice nicely when you use a set raspberry layer and properly chilled mousse.
Ingredients




You’ll assemble three main components: the crust, the raspberry layer, and the chocolate mousse.
MORE OF OUR FAVORITE…
– Cookie crumbs (digestive/ graham/oreo): Forms the crunchy base — choose plain cookies for a neutral flavor or Oreos for extra chocolate.
– Butter: Binds the crust; use unsalted and melt it for an even press.
– Dark chocolate (60–70%): Gives the mousse depth and keeps it from being cloying — higher cocoa yields less sweetness.
– Heavy cream (double cream): Whipped to fold into the chocolate for lightness; full-fat is important for structure.
– Raspberries (fresh or frozen): Make the tart layer — if using frozen, thaw and strain to remove excess liquid.
– Gelatin (powdered) or agar-agar: Helps the raspberry layer and mousse hold firm for clean slices; agar is the vegan swap.
– Sugar and vanilla: Adjust sweetness in the raspberry purée and add vanilla to the mousse for depth.
Substitutions and Variations
– Swap the cookie crust for a nut-based crust (almond or hazelnut): gives a richer, slightly oilier texture and deeper flavor.
– Use milk or white chocolate for the mousse: results in a sweeter, creamier mousse that needs less sugar in the raspberry layer.
– Replace gelatin with agar-agar for a vegan set: expect a slightly firmer, less creamy mouthfeel.
– Turn the raspberry layer into fresh raspberry halves on the crust with a thin coulis on top: more texture but less smooth for slicing.
– Add a splash of liqueur (Chambord, raspberry liqueur, or coffee liqueur) to the chocolate for an adult twist — small change in moisture and flavor intensity.
How to Make No Bake Raspberry Chocolate Mousse Cake
This is a summary — the full recipe card has exact amounts and precise chilling times.
1. Make the crust: pulse cookies to fine crumbs, mix with melted butter, press into the base and sides of a springform pan, then chill until firm.
2. Prepare the raspberry layer: purée raspberries with a little sugar, strain if you want smoothness, bloom and dissolve gelatin into the warm purée, then pour over the chilled crust and refrigerate until set.
3. Melt the chocolate gently over a bain-marie or short bursts in the microwave; let it cool slightly.
4. Whip the heavy cream to soft peaks, then fold a small amount into the melted chocolate to loosen it before folding in the rest gently to keep air.
5. If using gelatin in the mousse for extra stability, dissolve and fold it in while the chocolate is warm but not hot.
6. Pour the chocolate mousse over the set raspberry layer, smooth the top, then chill 4 hours or overnight until fully set. Unmold with a warm knife for clean slices and garnish as desired.
Tips for the Best Results
1. Chill the crust well before adding the raspberry layer so the purée doesn’t seep into the crumbs.
2. Make sure the chocolate is warm, not hot, before folding in whipped cream to avoid deflating or seizing.
3. Bloom gelatin gently in cold water and fully dissolve in the warm liquid to prevent grainy bits.
4. Whip cream to soft-medium peaks — overwhipping makes the mousse grainy, underwhipping makes it runny.
5. Use a springform pan and line the base with parchment for the easiest unmolding and clean edges.
Common Mistakes
– Pouring warm mousse onto the raspberry layer: can soften or melt that layer — cool the mousse slightly first.
– Skipping gelatin or not blooming it properly: the cake may not hold clean slices — bloom and dissolve it fully.
– Overwhipping cream: leads to a grainy, broken mousse — stop at soft-medium peaks.
– Using very low-cocoa milk chocolate: result will be too sweet and less stable — prefer 60% dark for balance.
– Not chilling long enough before serving: slices will be sloppy — chill at least 4 hours or overnight.
Storage
Storing: Keep the cake covered in the refrigerator for up to 3 days. A cake dome or wrapped springform pan prevents fridge odors.
Freezing: You can freeze individual slices wrapped tightly for up to 1 month; thaw in the fridge overnight. Texture may soften slightly after freezing.
Reheating or serving later: No reheating needed. Remove from fridge 15–30 minutes before serving for the mousse to soften slightly and show the best texture.
How to Serve No Bake Raspberry Chocolate Mousse Cake
– Top with fresh raspberries and a dusting of cocoa powder or powdered sugar for contrast.
– Serve with a spoonful of raspberry coulis or warm berry sauce on the side.
– Add a dollop of lightly sweetened whipped cream or a quenelle of vanilla ice cream for extra indulgence.
– Pair slices with strong coffee or a berry-forward dessert wine.
More Helpful Notes
– If using frozen raspberries, thaw and strain to control extra liquid in the purée.
– Pan size matters: a smaller pan gives taller layers, a larger pan spreads them thinner.
– Taste the raspberry purée for sweetness before setting — it should be a bit brighter than you think since chocolate will mellow it.
– If you want a very smooth mousse, press the melted chocolate through a fine sieve before folding in cream.
Frequently Asked Questions
No Bake Raspberry Chocolate Mousse Cake
Ingredients
Cookie Crust
- 36 cookies chocolate sandwich cookies (about 13 oz), finely ground
- 7 tablespoons unsalted butter, melted
- 1 pinch fine sea salt
Chocolate Mousse Layer
- 1 1/4 teaspoons powdered gelatin
- 1 tablespoon cold water (for blooming gelatin)
- 1 cup heavy whipping cream, divided (1/4 cup for ganache + 3/4 cup to whip)
- 4 ounces dark chocolate, finely chopped
- 3 tablespoons unsweetened cocoa powder, divided
- 8 ounces cream cheese, softened
- 1/3 cup granulated sugar
- 1 teaspoon vanilla extract
- 3 tablespoons powdered sugar (for whipping the cream)
Raspberry–White Chocolate Mousse Layer
- 1 1/4 cups fresh raspberries, divided 3/4 cup for puree, 1/2 cup chopped to fold in
- 1 1/2 teaspoons powdered gelatin
- 1 tablespoon cold water (for blooming gelatin)
- 4 ounces white chocolate, finely chopped
- 1 cup heavy whipping cream, divided (1/4 cup for ganache + 3/4 cup to whip)
- 8 ounces cream cheese, softened
- 1/3 cup granulated sugar
- 1/2 teaspoon finely grated lemon zest
- 2 tablespoons powdered sugar (for whipping the cream)
Finishing
- 3/4 cup heavy whipping cream (for piping)
- 2 tablespoons powdered sugar
- 1/2 teaspoon vanilla extract
- 2 ounces dark chocolate, finely chopped (for drizzle)
- 1/4 cup heavy whipping cream (for drizzle)
Instructions
Preparation Steps
- Line a 9-inch springform pan with a parchment round and, if you have one, a cake collar around the sides. Place a metal mixing bowl and whisk attachment in the refrigerator to chill while you start the fillings.
- For the raspberry base: Puree 3/4 cup raspberries in a mini processor and press through a fine sieve to yield about 1/4 cup seedless puree. Sprinkle 1 1/2 teaspoons gelatin over 1 tablespoon cold water; let stand 5 minutes. Warm the raspberry puree in a small saucepan just until steamy, then whisk in the bloomed gelatin until fully dissolved. Set aside to cool to room temperature. Separately, heat 1/4 cup cream until hot (do not boil) and pour over 4 ounces chopped white chocolate; rest 2 minutes, then whisk smooth. Let both mixtures cool until barely warm.
- Make the crust: Pulse the chocolate sandwich cookies into fine crumbs. Stir in the melted butter and a pinch of sea salt until evenly moistened. Press firmly into the bottom and 1 1/2 inches up the sides of the prepared pan. Freeze for 15 minutes to set.
- Start the chocolate ganache base: Bloom 1 1/4 teaspoons gelatin in 1 tablespoon cold water for 5 minutes. Warm 1/4 cup cream until steaming, whisk in 1 tablespoon cocoa powder and the bloomed gelatin until dissolved. Pour this over 4 ounces chopped dark chocolate; let sit 2 minutes, then whisk until silky. Stir in the vanilla and let cool to lukewarm.
- Chocolate mousse: Beat 8 ounces cream cheese with 1/3 cup granulated sugar and the remaining 2 tablespoons cocoa until light and smooth. Beat in the cooled dark chocolate mixture. In the chilled bowl, whip 3/4 cup cream with 3 tablespoons powdered sugar to medium peaks; fold into the chocolate base in two additions. Spread into the cold crust and tap the pan gently to level. Refrigerate 20–30 minutes to begin setting.
- Raspberry–white chocolate mousse: In a clean bowl, beat 8 ounces cream cheese with 1/3 cup granulated sugar and lemon zest until creamy. Mix in the cooled raspberry–gelatin puree, then the cooled white chocolate mixture until fully combined. Whip 3/4 cup cream with 2 tablespoons powdered sugar to medium peaks and fold into the raspberry base. Gently fold in the remaining 1/2 cup raspberries (halved). Spoon over the chocolate layer and smooth the top.
- Chill the assembled cake, covered, for at least 4 hours or until the layers are sliceably firm. Overnight is ideal for the cleanest cuts.
- Finishing: Unmold the cake and transfer to a serving plate. Whip 3/4 cup cream with 2 tablespoons powdered sugar and 1/2 teaspoon vanilla to medium-firm peaks; pipe rosettes around the edge. For an easy drizzle, heat 1/4 cup cream until hot and pour over 2 ounces chopped dark chocolate; rest 1 minute, then whisk smooth and cool briefly. Drizzle over the cake and rosettes.
- Practical tip: For ultra-clean slices, dip a large knife in hot water, wipe it dry, and cut straight down—reheat and wipe the blade between each slice.
Notes
Featured Comments
“Made this last night and it was family favorite. Loved how the nostalgic came together.”
“Made this last night and it was family favorite. Loved how the baked came together.”
“Made this last night and it was turned out amazing. Loved how the flavorful came together.”
“Impressed! Clear steps and family favorite results. Perfect for busy nights.”
“New favorite here — absolutely loved. vibrant was spot on.”
“Impressed! Clear steps and absolutely loved results. Perfect for busy nights.”
“Super easy and turned out amazing! My family asked for seconds. Saving this one.”
“Super easy and turned out amazing! My family asked for seconds. Saving this one.”
“New favorite here — will make again. clean was spot on.”
“Super easy and family favorite! My family asked for seconds. Saving this one.”