Peppermint Hot Chocolate Poke Cake
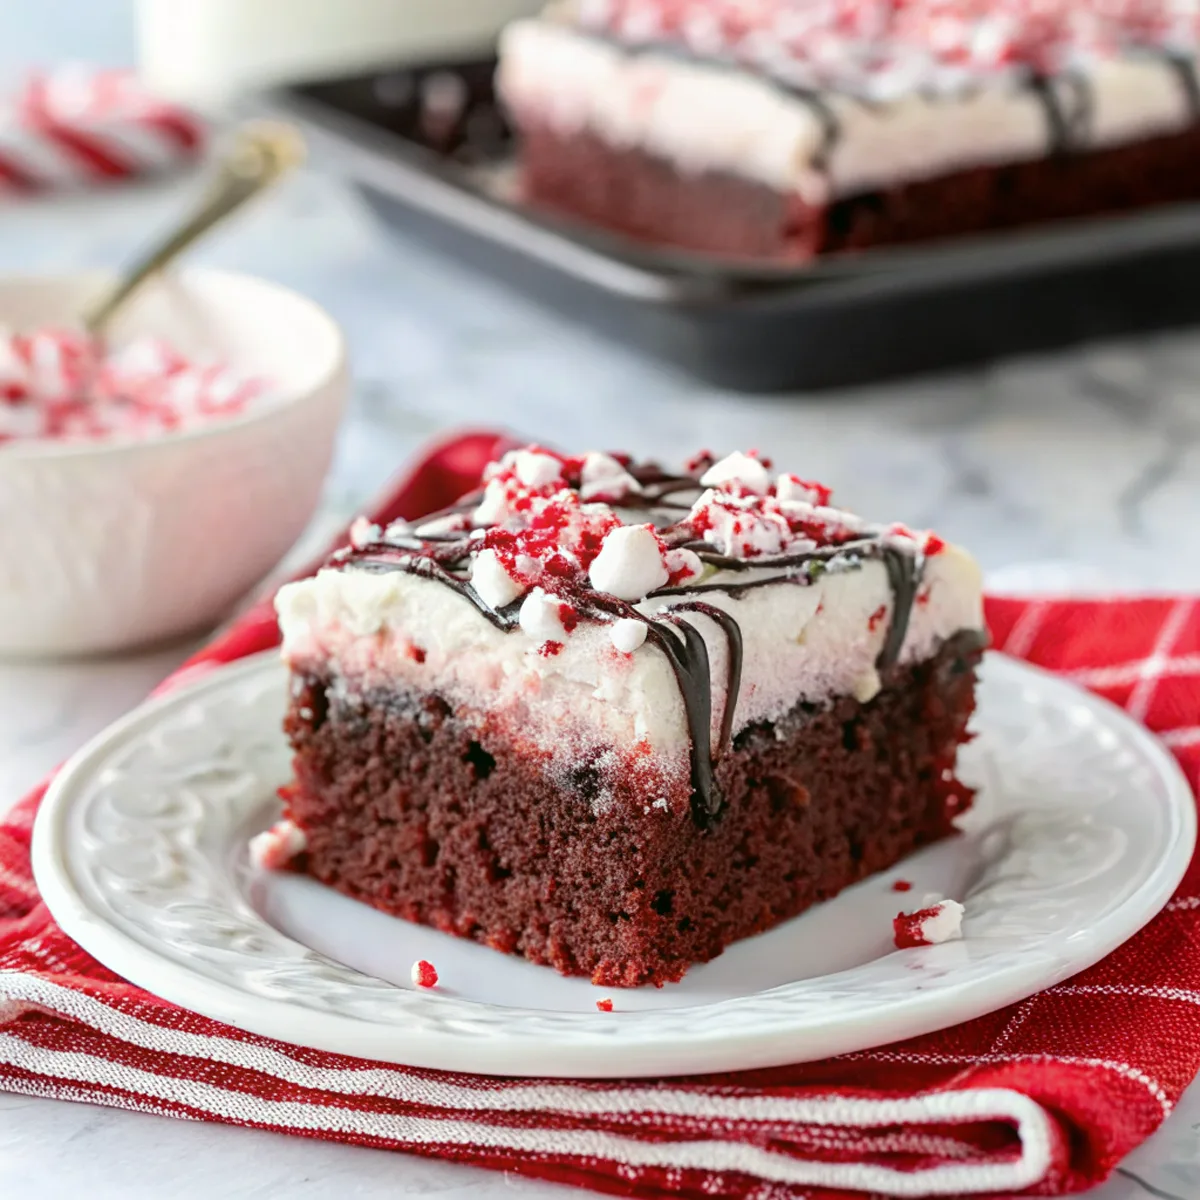
Light, chocolatey cake studded with warm hot‑cocoa sauce and bright peppermint — this Peppermint Hot Chocolate Poke Cake tastes like an easy, sliceable hot chocolate with a cool mint finish. It’s soft and moist from the cocoa filling, topped with whipped cream or ganache and crushed candy canes for crunch.
I like this for holiday get‑togethers or a cozy dessert night because the assembly is straightforward and most of the work is hands‑off while the cake chills and sets.
Why This Peppermint Hot Chocolate Poke Cake Works
1. The poke method lets rich hot‑cocoa sauce sink into the crumb, keeping the cake extra moist.
2. Peppermint lifts the deep chocolate flavor, so the cake tastes festive rather than heavy.
3. It’s quick to assemble — bake, poke, pour warm cocoa, chill, and finish — great for busy days.
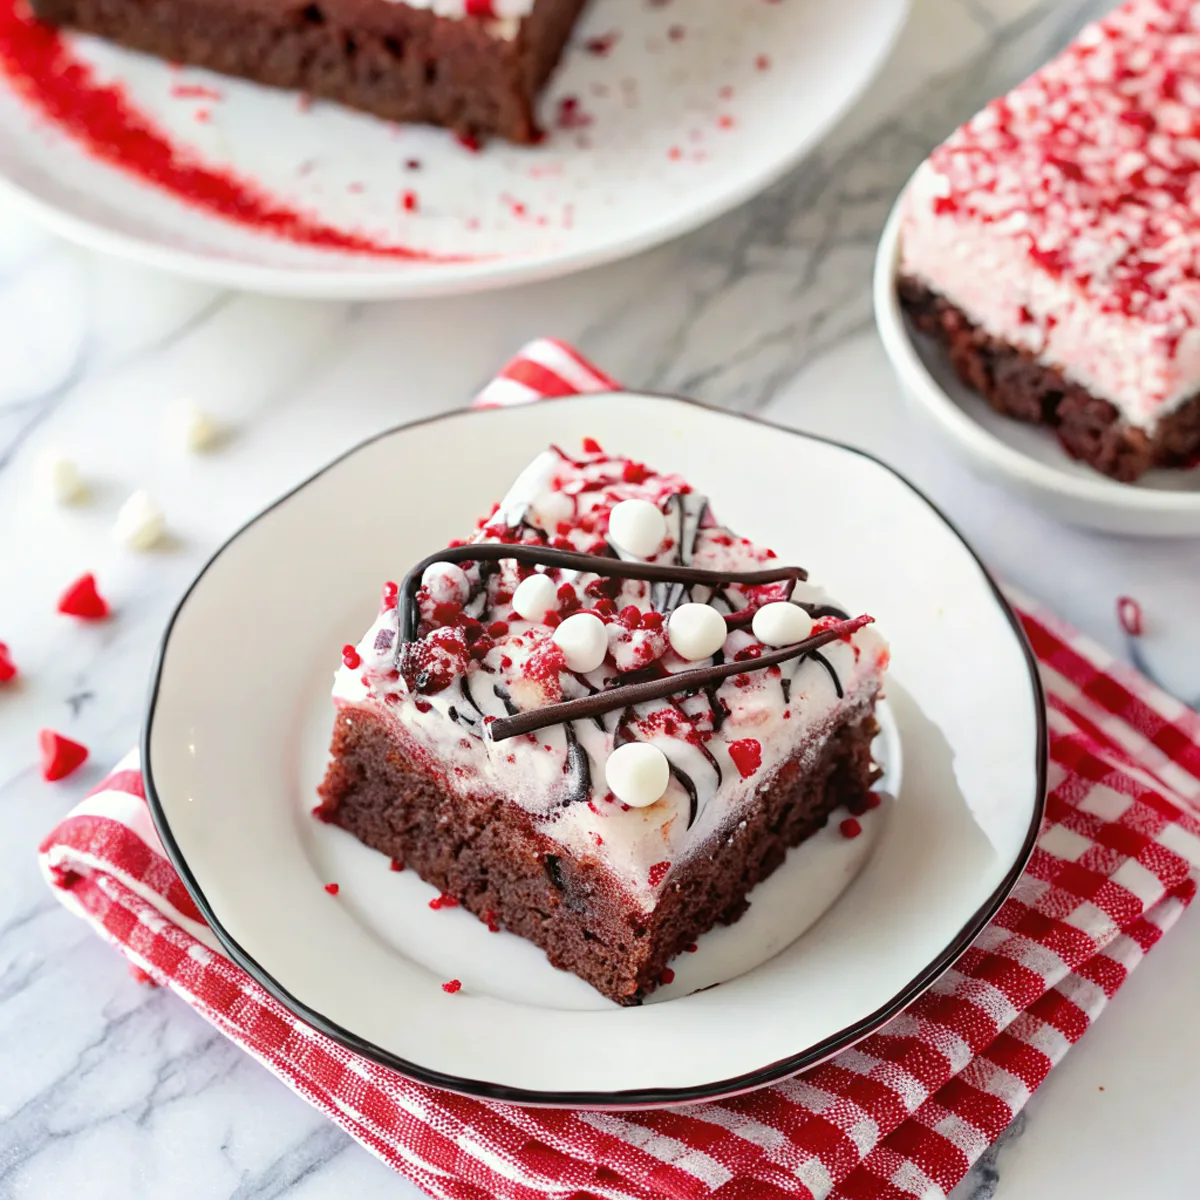
4. Toppings (whipped cream, toasted marshmallows, crushed candy cane) add texture and visual contrast.
Ingredients




A few notes on the main components so you can swap confidently.
MORE OF OUR FAVORITE…
– Chocolate cake (box or scratch): A tender chocolate base — a 9×13 chocolate cake works best for even soaking.
– Instant hot cocoa mix: This creates the pourable filling; choose a rich mix for deeper chocolate flavor.
– Milk or water (for cocoa): Use milk for a creamier sauce; warm it so the mix dissolves fully.
– Peppermint extract or peppermint syrup: Adds mint flavor — start small because it’s potent.
– Whipped topping or chocolate ganache: A smooth finish that contrasts with the soaked cake; ganache gives more chocolate punch.
– Mini marshmallows: Optional for a hot‑cocoa feel — can be toasted lightly.
– Crushed candy canes or peppermint candies: For garnish and crunch; add right before serving to keep them crisp.
Substitutions and Variations
– Use a dark cocoa cake for a more intense chocolate flavor — cake will taste richer and less sweet.
– Swap instant hot cocoa for homemade hot chocolate (cocoa powder + sugar) — texture will be slightly thinner, so reduce liquid a touch.
– Replace peppermint extract with 2–3 tablespoons of peppermint schnapps or syrup for adult guests — chilling time is the same, flavor is milder.
– Use chocolate ganache instead of whipped topping for a fudgier finish — ganache sets firmer and cuts cleaner.
– Add a layer of marshmallow fluff before the topping for extra gooeyness — cake becomes sweeter and denser.
How to Make Peppermint Hot Chocolate Poke Cake
This is a summary; the full recipe card has exact amounts and baking times.
1. Bake a 9×13 chocolate cake and let it cool until just warm (not hot).
2. Use the handle of a wooden spoon to poke holes evenly across the cake (about 1–2 inches apart).
3. Warm milk and whisk in instant hot cocoa mix until fully dissolved; stir in peppermint extract to taste.
4. Pour the warm cocoa slowly over the cake, letting it sink into the holes and spread across the surface.
5. Chill the cake for at least 2 hours so the filling sets and the flavors meld.
6. Spread whipped topping or pour cooled ganache over the chilled cake; smooth to edges.
7. Sprinkle with crushed candy canes and mini marshmallows; toast marshmallows briefly if desired.
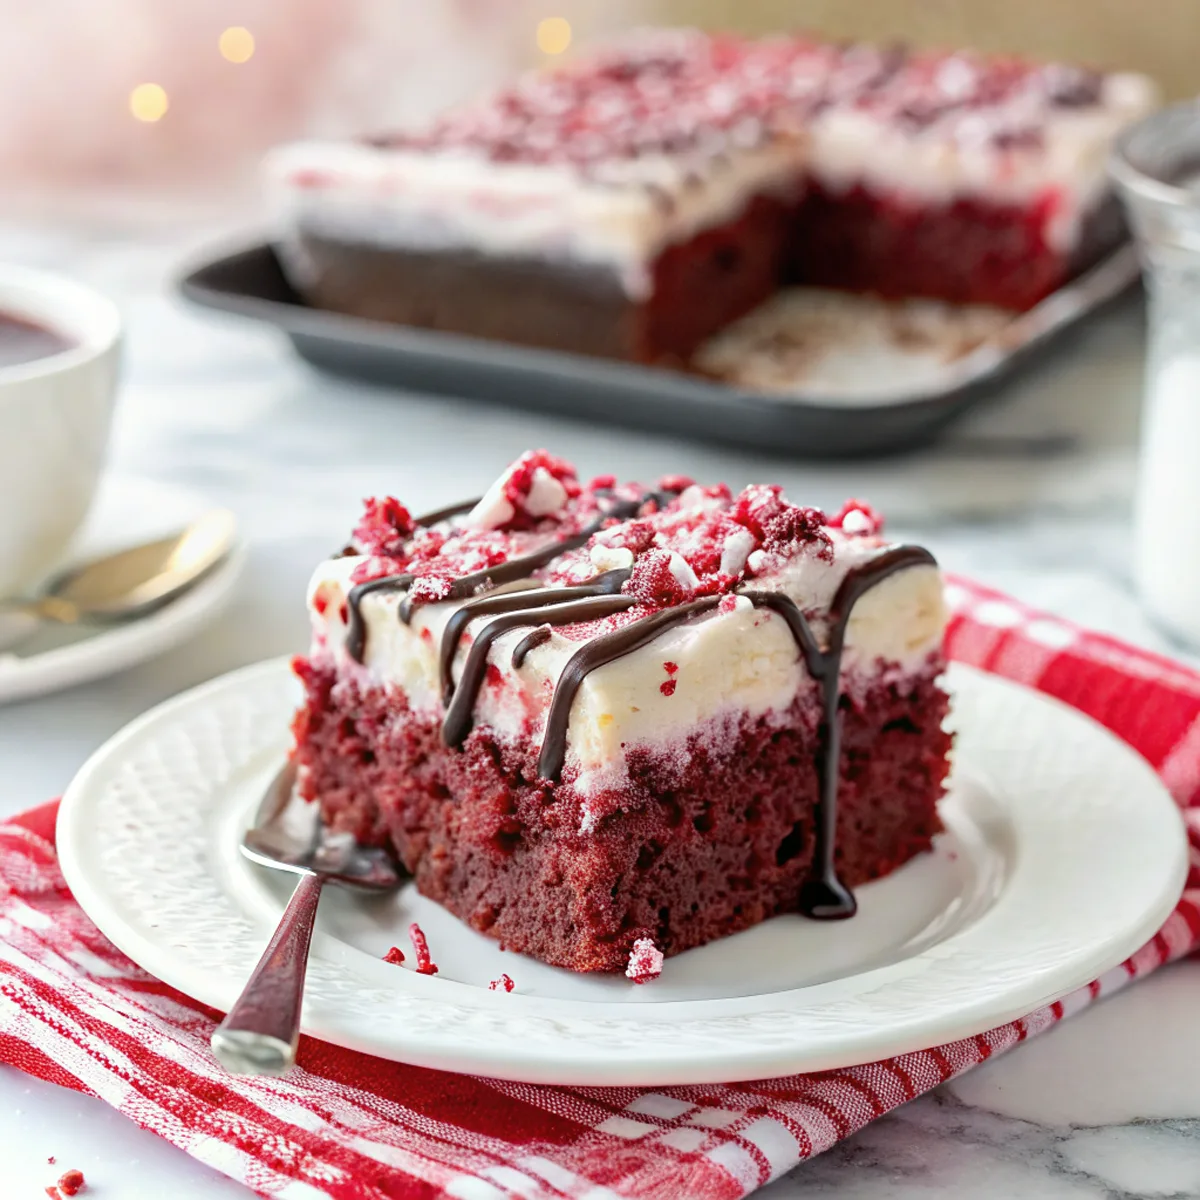
Tips for the Best Results
1. Let the cake cool to warm before poking so holes are clean and the cake doesn’t tear.
2. Make the cocoa warm but not boiling — very hot liquid can make the cake gummy.
3. Poke holes evenly and deep enough to reach the bottom but not so large that the cake falls apart.
4. Chill the cake well (at least 2 hours) so the filling sets and slicing is neat.
5. If using whipped topping, whip to soft peaks for a light finish; for a glossier look use ganache.

Common Mistakes
– Pouring boiling liquid over the cake: fix by cooling the cocoa to warm so the crumb absorbs without getting gummy.
– Poking holes while the cake is too hot: fix by waiting until it’s just warm or room temperature to avoid tearing.
– Using too much peppermint: fix by adding extract gradually — you can always add more after tasting.
– Skimping on chilling time: fix by refrigerating at least a couple of hours; it slices cleaner and flavors meld.
– Adding toppings too early: fix by adding crushed candy canes right before serving so they stay crunchy.
Storage
– Storing: Keep covered in the refrigerator for up to 4 days. Chill maintains texture and keeps the whipped topping stable.
– Freezing: You can freeze the cake (without crunchy candy canes on top) wrapped tightly for up to 2 months; thaw overnight in the fridge and add fresh toppings before serving.
– Reheating or serving later: This cake is best served chilled or at room temperature. If you prefer warm, reheat individual slices briefly in the microwave and add fresh whipped topping or a scoop of ice cream.
How to Serve Peppermint Hot Chocolate Poke Cake
– Slice and serve chilled with a dusting of cocoa or powdered sugar.
– Add a scoop of vanilla or peppermint ice cream for contrast.
– Serve with hot coffee or a mug of real hot cocoa to echo the flavors.
– Top individual slices with a few toasted mini marshmallows for presentation.
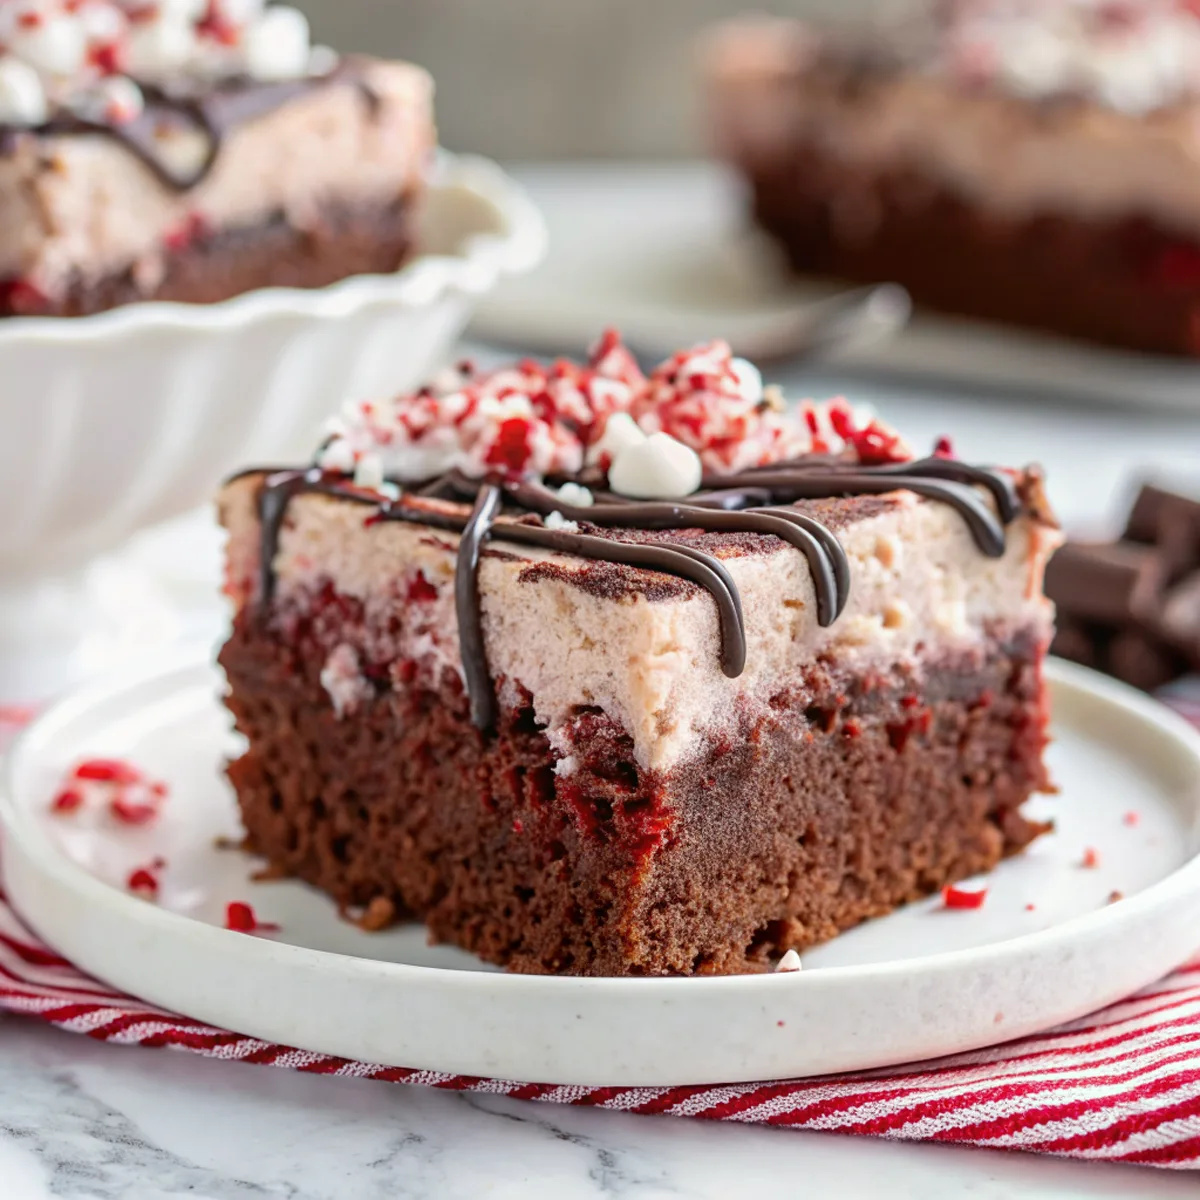
More Helpful Notes
– Taste the cocoa mixture before pouring so you can adjust sweetness or peppermint.
– Use a fine‑grind hot cocoa mix for a smoother filling that won’t leave grains in the cake.
– If you want cleaner slices, chill the cake longer and run a hot, dry knife between cuts.
– Use decorative candy cane pieces of varying sizes for both visual appeal and texture contrast.
Frequently Asked Questions
Peppermint Hot Chocolate Poke Cake
Ingredients
Red Velvet Cake
- 1 box (15.25 oz) red velvet cake mix
- eggs, oil, and water (as listed on the cake mix box)
- 1/2 teaspoon peppermint extract
Peppermint Pudding Soak
- 1 box (3.4 oz) instant white chocolate (or vanilla) pudding mix
- 1 1/2 cups cold milk
- 1/4 teaspoon peppermint extract
Hot Chocolate Whipped Topping & Finish
- 1 3/4 cups cold heavy whipping cream
- 3/4 cup powdered hot chocolate mix
- 1/2 teaspoon pure vanilla extract
- 1 pinch fine sea salt
- 1/3 cup warm hot fudge sauce, for drizzling
- 1/3 cup crushed peppermint candies or candy canes
Instructions
Preparation Steps
- Line a 9×13-inch baking pan with a parchment sling and lightly coat the sides with nonstick spray. Preheat the oven to 350°F.
- Whisk the pudding mix with the cold milk and 1/4 teaspoon peppermint extract for about 2 minutes until smooth. Refrigerate until slightly thickened but still pourable, 10–15 minutes.
- Prepare the cake batter according to the box directions, then mix in 1/2 teaspoon peppermint extract. Spread the batter into the prepared pan, smoothing the top.
- Bake 24–28 minutes, or until a toothpick inserted near the center comes out with a few moist crumbs. Cool on a rack for 5 minutes (cake should still be warm).
- With the handle of a wooden spoon or a thick chopstick, poke deep holes all over the cake about 1 inch apart, reaching the bottom of the pan. Gently twist the tool to widen the holes slightly for better absorption.
- Give the chilled pudding a quick whisk. Pour half over the warm cake, guiding it into the holes with an offset spatula. Firmly tap the pan on the counter to help it settle, then pour on the remaining pudding and tap again.
- Refrigerate the cake uncovered for 30–40 minutes, until the pudding is set and the cake is fully cooled to the touch.
- For the topping, chill a mixing bowl and whisk or beaters for 5 minutes. Beat the heavy cream to soft peaks, then sift in the hot chocolate mix and add the vanilla and a pinch of salt. Continue beating to medium-stiff peaks (creamy and sliceable).
- Spread the hot-chocolate whipped cream over the cold cake. Chill 15 minutes for cleaner slices.
- Warm the hot fudge until pourable and drizzle over the cake. Finish with crushed peppermint candies just before serving, then slice and enjoy.
Notes
Featured Comments
“New favorite here — so flavorful. gooey was spot on.”
“New favorite here — turned out amazing. hearty was spot on.”
“New favorite here — family favorite. fluffy was spot on.”
“Made this last night and it was family favorite. Loved how the crowd-pleaser came together.”
“New favorite here — absolutely loved. traditional was spot on.”
“This nostalgic recipe was family favorite — the creamy really stands out. Thanks!”
“Super easy and family favorite! My family asked for seconds. Saving this one.”
“Made this last night and it was so flavorful. Loved how the allergen-friendly came together.”
“New favorite here — family favorite. wholesome was spot on.”
“Impressed! Clear steps and will make again results. Perfect for busy nights.”