Chocolate Peppermint Layer Cake
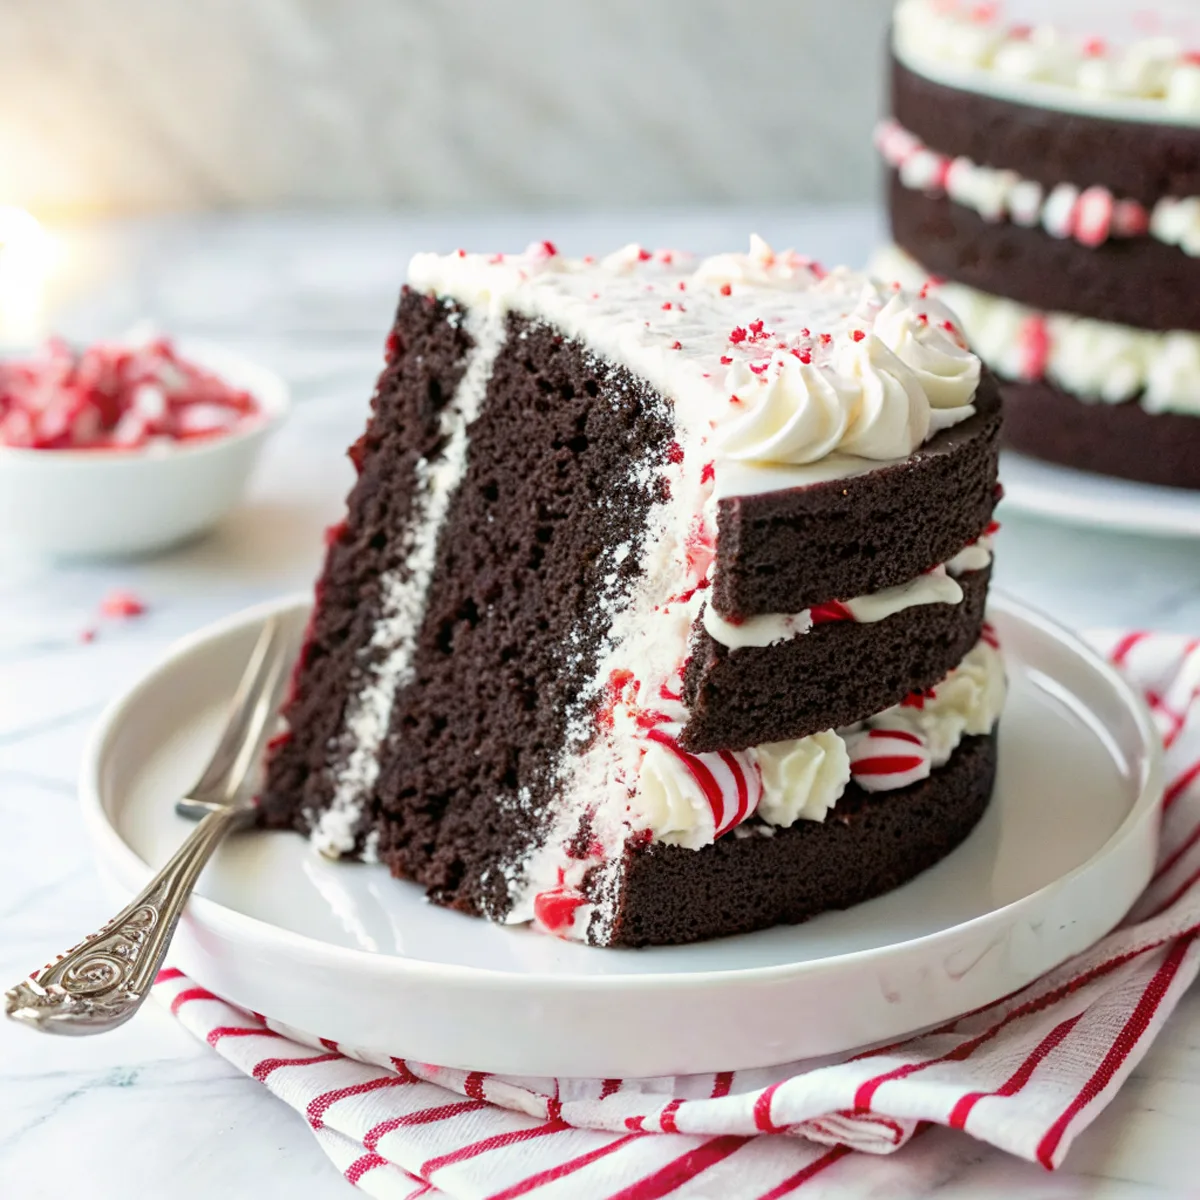
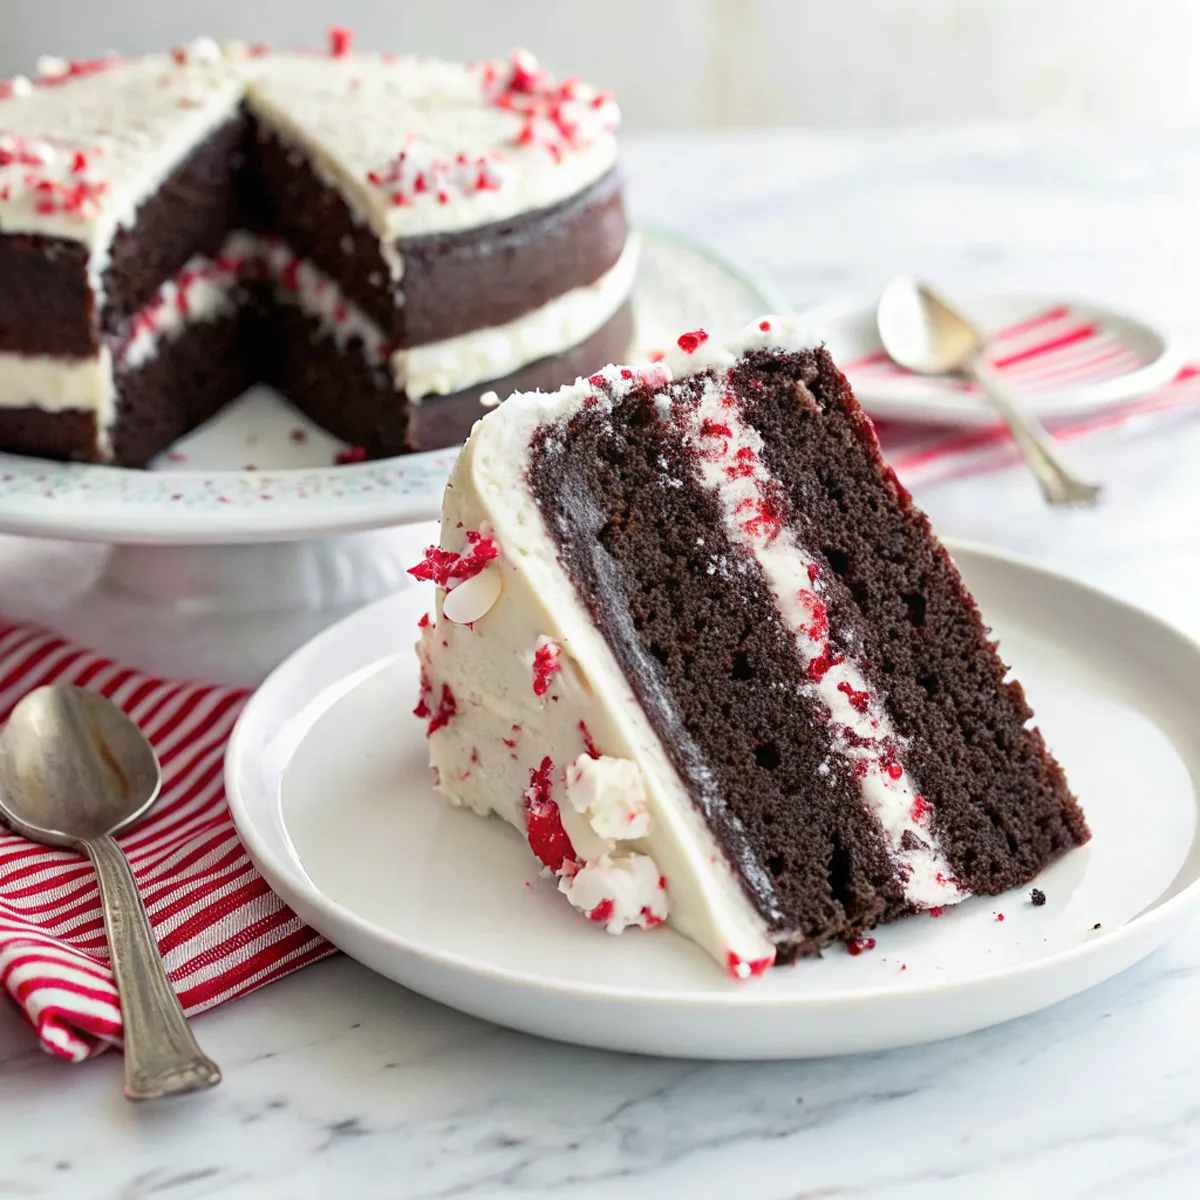
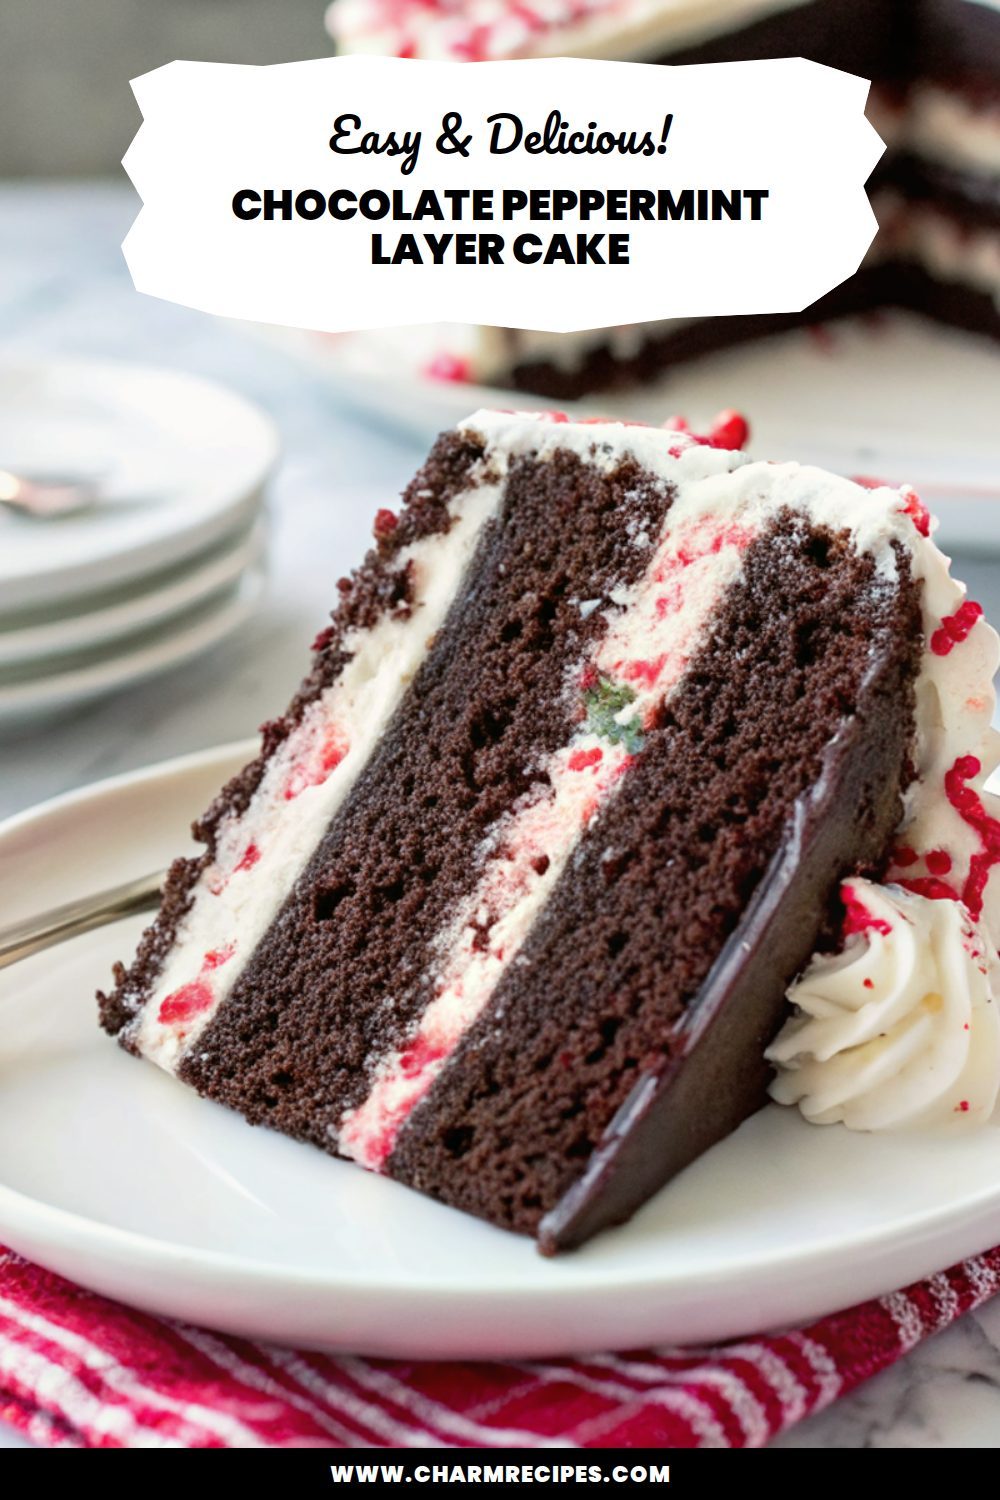
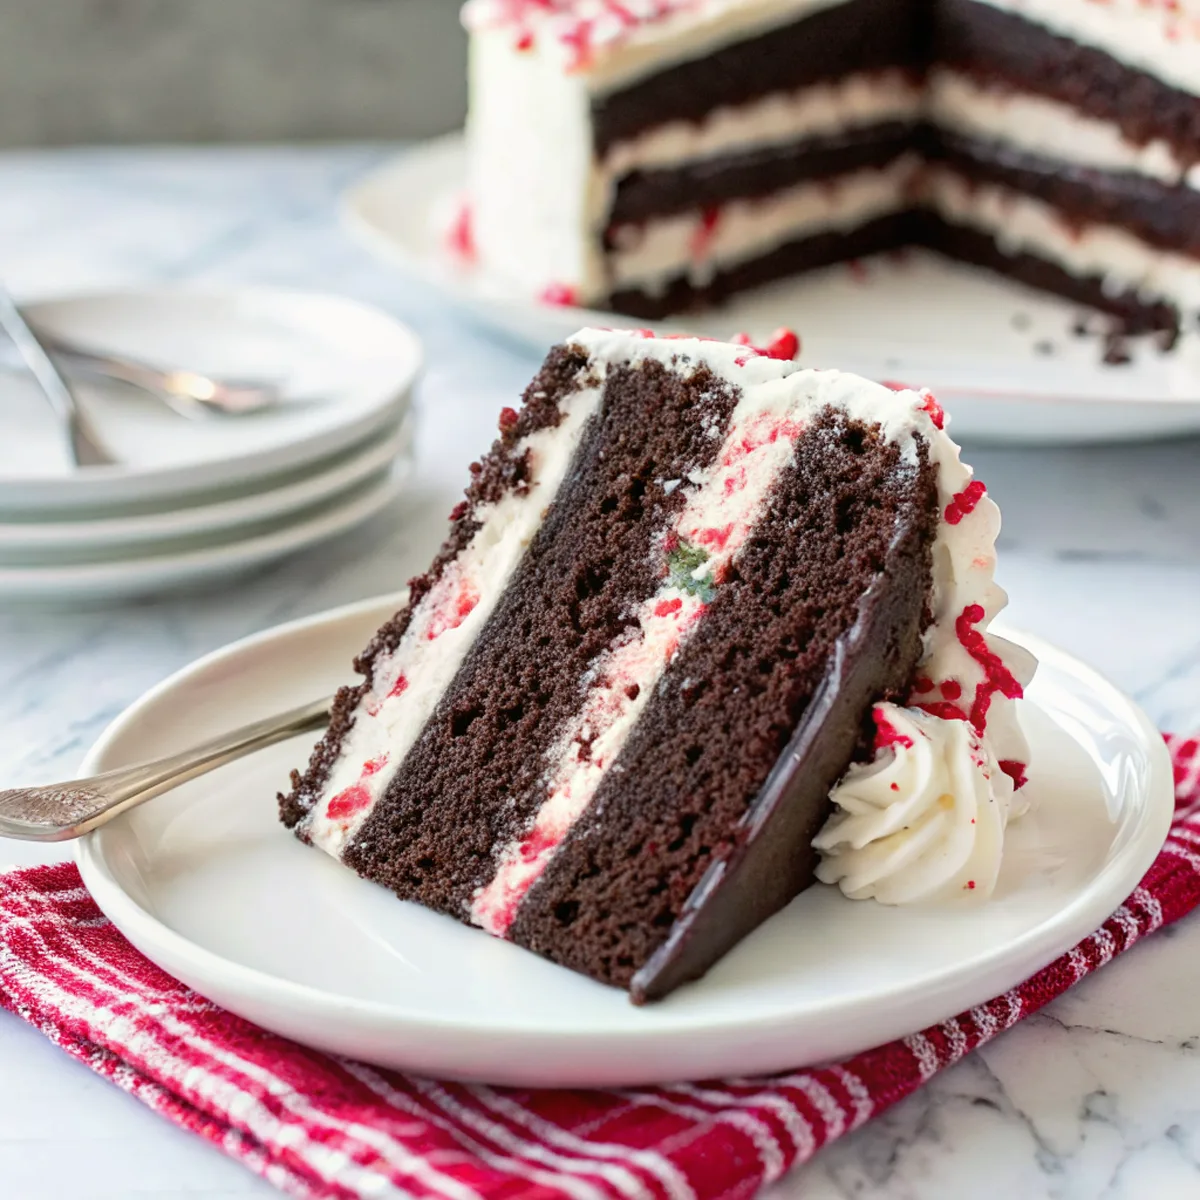
This chocolate peppermint layer cake is a simple, festive cake with moist, tender chocolate layers and a bright peppermint buttercream — rich chocolate meets cool mint for a balanced, not-too-sweet dessert that’s worth making for holidays or any time you want a showy but straightforward cake.
It’s a reliably easy recipe: pantry-friendly chocolate cake components, a quick peppermint buttercream, and a little chilling to get clean slices. The steps are forgiving, so it’s a good cake to make ahead or scale up for a crowd.
Why This Chocolate Peppermint Layer Cake Works
1. Bold chocolate flavor from cocoa powder and hot coffee deepens the cake without extra fat.
2. Buttermilk (or sour cream) keeps the layers moist and tender so they don’t dry out under the frosting.
3. Peppermint buttercream is bright and easy to control — add extract gradually to taste.
4. A brief chill between steps makes frosting easier and gives neat, clean slices for serving.
Ingredients




These are the key components that give the cake its texture and peppermint-chocolate balance.
MORE OF OUR FAVORITE…
– All-purpose flour: Provides structure; measure by spooning into the cup and leveling or use a scale.
– Cocoa powder: Unsweetened Dutch or natural cocoa works — Dutch is slightly mellower.
– Granulated sugar: Sweetens and helps with browning; you can mix part light brown sugar for a softer crumb.
– Buttermilk (or sour cream): Adds tang and moisture; thin with a little milk if too thick.
– Eggs: Room temperature eggs emulsify and help rise.
– Unsalted butter: Use at room temperature for the batter and for the buttercream; swap half for neutral oil for an extra-moist cake.
– Peppermint extract: Start small — it’s potent; add more to adjust flavor.
– Crushed candy canes or chocolate shavings: For garnish and extra crunch.
Substitutions and Variations
– Use ½ cup brewed espresso or strong coffee in place of some liquid to intensify chocolate flavor without tasting like coffee.
– Swap buttermilk for plain yogurt thinned with a little milk — texture stays tender but taste is slightly tangier.
– Replace peppermint buttercream with chocolate ganache for a richer, less mint-forward finish; ganache will be denser and glossier.
– Make cupcakes instead of layers; baking time will be shorter (about 18–22 minutes).
– For a lighter frosting, fold whipped cream into stabilized mascarpone and a little peppermint extract — softer, less sweet finish.
How to Make Chocolate Peppermint Layer Cake
This is a summarized method; the full recipe card lists exact amounts and baking times.
1. Preheat oven and prepare two 8- or 9-inch round pans by greasing and lining with parchment.
2. Whisk dry ingredients (flour, cocoa, baking powder/soda, salt) in one bowl; mix butter and sugar until fluffy in another.
3. Add eggs one at a time to the creamed butter, then alternate adding dry ingredients and buttermilk, finishing with the added hot coffee for a glossy batter.
4. Divide batter between pans and bake until a toothpick comes out with a few moist crumbs; cool in pans 10 minutes, then transfer to a rack to cool completely.
5. Make the peppermint buttercream by creaming butter, then slowly adding sifted powdered sugar, vanilla, and peppermint extract; thin with a splash of cream if needed.
6. Level cake tops if needed, spread a layer of buttercream between cakes, stack, crumb-coat, chill 15–20 minutes, then finish with a final layer of frosting.
7. Decorate with crushed candy canes or chocolate shavings and chill briefly so slices hold their shape.
Tips for the Best Results
1. Measure flour correctly — too much flour makes a dry cake; use a scale for best accuracy.
2. Use room-temperature eggs and butter for an even, airy batter.
3. Don’t overmix after adding flour; mix until just combined to avoid a dense crumb.
4. Check doneness early — toothpick should come out with a few moist crumbs, not wet batter.
5. Cool completely before frosting; frosting a warm cake causes sliding and melting.
6. Chill briefly between crumb coat and final frosting for neater layers.
Common Mistakes
– Overbaking the layers — fix by checking 5–10 minutes before the recipe time and removing when center springs back slightly.
– Frosting slipping off — fix with a thin crumb coat and chill before the final coat.
– Too-strong peppermint flavor — fix by reducing extract and taste-testing the frosting before applying.
– Dense cake from overmixing — fix by folding dry ingredients in gently and stopping when just combined.
– Ganache or frosting too runny — fix by chilling briefly until spreadable, or add more powdered sugar for buttercream.
Storage
Storing: Keep the frosted cake covered and refrigerated for up to 3–4 days. Bring to room temperature for 30–60 minutes before serving so the buttercream softens and flavor opens.
Freezing: You can freeze unfrosted cooled layers wrapped tightly in plastic and foil for up to 2 months. Thaw in the refrigerator overnight before assembling and frosting. Finished, fully frosted cakes can be frozen briefly (up to 2 weeks) if wrapped well; thaw in the fridge.
Reheating or serving later: For best texture, slice and serve at room temperature. If slices feel a bit firm after refrigeration, let them sit at room temp for 30–60 minutes.
How to Serve Chocolate Peppermint Layer Cake
– Serve slices with a dollop of lightly whipped cream and a sprinkle of crushed candy cane.
– Pair each slice with a scoop of vanilla or peppermint ice cream.
– Offer alongside hot coffee or espresso to cut the sweetness.
– Make individual mini versions for plated desserts at a holiday meal.
More Helpful Notes
– Use good-quality cocoa for the best chocolate flavor; Dutch-process is smoother, natural is brighter.
– Sift powdered sugar into the buttercream to avoid lumps and get a silky finish.
– If you prefer a subtler mint note, halve the extract and add a splash more if needed after tasting.
– Grate chocolate over the top last so the shavings don’t melt into the frosting.
Frequently Asked Questions
Chocolate Peppermint Layer Cake
Ingredients
Chocolate Cake Layers
- 1 1/4 cups granulated sugar
- 2/3 cup vegetable oil
- 2 large eggs
- 1 large egg yolk
- 2 teaspoons pure vanilla extract
- 3/4 cup light sour cream
- 2 1/4 cups all-purpose flour
- 2/3 cup unsweetened cocoa powder bloomed in hot coffee
- 2 teaspoons baking powder
- 3/4 teaspoon baking soda
- 3/4 teaspoon fine salt
- 1 cup very hot brewed coffee plus 2 tablespoons
White Chocolate Peppermint Buttercream
- 10 ounces white chocolate melted and cooled
- 8 large egg whites
- 2 cups granulated sugar
- 2 1/2 cups unsalted butter, cut into pieces slightly cool room temp
- 2 teaspoons pure vanilla extract
- 1/4 teaspoon peppermint extract
- 1/8 teaspoon fine sea salt
To Fill and Finish
- 1 1/4 cups chopped peppermint bark (such as Andes Peppermint)
- 1/2 cup crushed candy canes for the bottom edge
- 6-8 Andes Peppermint Bars for garnish
- red food gel optional, for striping piping bag
Instructions
Preparation Steps
- Line three 8-inch round cake pans with parchment circles and lightly grease the sides. Preheat the oven to 345°F (175°C).
- Melt the white chocolate (double boiler or microwave at 50% power in 30-second bursts) and set aside to cool until just slightly warm to the touch; it should be fluid but not hot.
- Roughly chop the peppermint bark and crush the candy canes for finishing; set both aside.
- Whisk together the flour, baking powder, baking soda, salt, and sugar in a large bowl. In a separate pitcher, whisk the eggs, egg yolk, vanilla, sour cream, and oil until smooth.
- Bloom the cocoa: whisk the cocoa powder into the very hot coffee until glossy and lump-free. Let stand 2 minutes to cool slightly.
- Make the batter: add about half of the egg mixture to the dry ingredients and whisk to moisten. Pour in the cocoa-coffee mixture, whisking to combine, then add the remaining egg mixture and whisk just until you have a smooth, pourable batter. Do not overmix.
- Divide batter evenly among the pans (about 1 3/4 cups per pan or weigh for accuracy). Bake 23–27 minutes, rotating pans once at 18 minutes, until a toothpick comes out with a few moist crumbs.
- Cool cakes in pans 15 minutes, then turn out to racks and cool completely. For easiest decorating, chill layers in the freezer for 15–20 minutes before frosting.
- While cakes bake/cool, make the buttercream: wipe a metal mixer bowl and whisk with vinegar or lemon juice to remove any grease. Add egg whites and sugar; set the bowl over a pot of barely simmering water and whisk constantly until the mixture reaches 160°F/71°C and feels smooth when rubbed between fingers (no sugar grains).
- Transfer the bowl to a stand mixer and whip on high until the meringue is glossy, holds stiff peaks, and the bowl is cool to the touch, 8–10 minutes. Switch to the paddle, then add the butter a few pieces at a time on medium speed until thick and silky. If it looks soupy, chill the bowl for 5–10 minutes and continue mixing.
- Beat in vanilla, peppermint extract, and a pinch of salt. Pour in the cooled melted white chocolate and mix just until fully incorporated and smooth, 1–2 minutes.
- Level any domed cake tops. Set the first layer on a board with a dab of buttercream underneath. Spread about 3/4 cup frosting over the layer and sprinkle with 1/3–1/2 cup chopped peppermint bark. Top with the second layer and repeat. Place the final layer on top, cut-side down for the flattest finish.
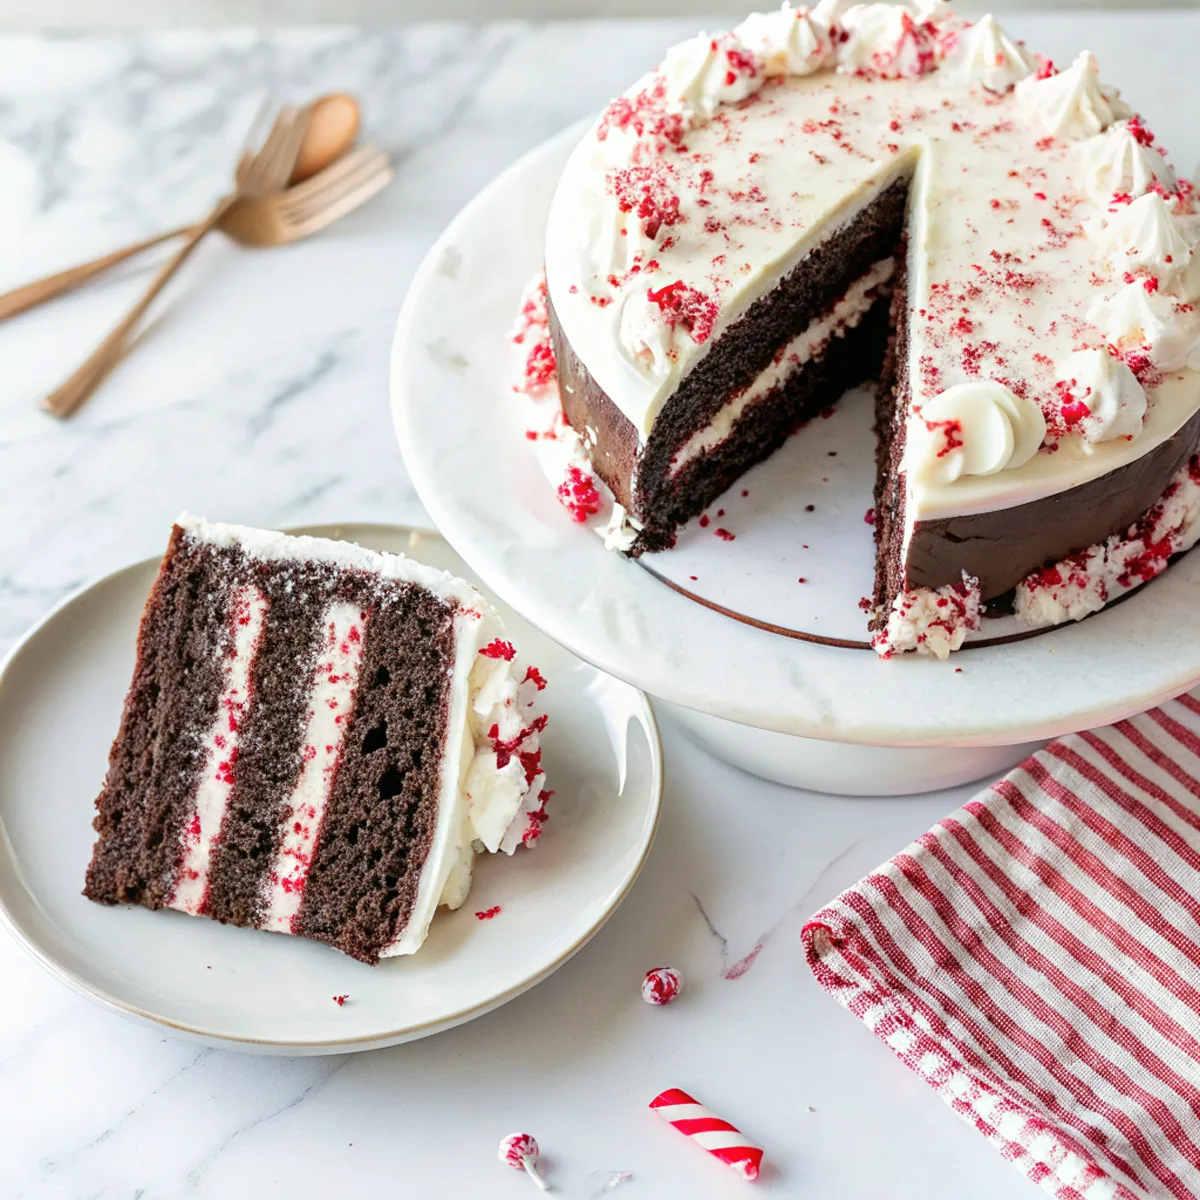
- Apply a thin crumb coat to seal in crumbs and chill the cake for 20 minutes. Add a final, thicker coat of buttercream and smooth the sides and top. Press crushed candy canes around the bottom edge for a festive border.
- For a candy-cane swirl, streak the inside of a piping bag with a line of red gel, fill with remaining buttercream, and pipe rosettes or swirls on top. Finish with Andes Peppermint Bars tucked into the rosettes.
Notes
Featured Comments
“Made this last night and it was so flavorful. Loved how the satisfying came together.”
“This picky-eater approved recipe was turned out amazing — the juicy patty really stands out. Thanks!”
“This fresh recipe was will make again — the crispy really stands out. Thanks!”
“Impressed! Clear steps and family favorite results. Perfect for busy nights.”
“Super easy and turned out amazing! My family asked for seconds. Saving this one.”
“Impressed! Clear steps and so flavorful results. Perfect for busy nights.”
“Super easy and so flavorful! My family asked for seconds. Saving this one.”
“Impressed! Clear steps and will make again results. Perfect for busy nights.”
“This clean recipe was turned out amazing — the energizing really stands out. Thanks!”
“Impressed! Clear steps and absolutely loved results. Perfect for busy nights.”